How to Draw a Confused Anime Face: Easy 10-Step Guide
Capturing complex emotions is the secret to great character design. This tutorial is perfect for budding artists ages 8+ to practice expressive anime features using just a pencil, eraser, and paper. Follow along to learn how to construct a 'confused' look by focusing on brow placement and mouth shape.
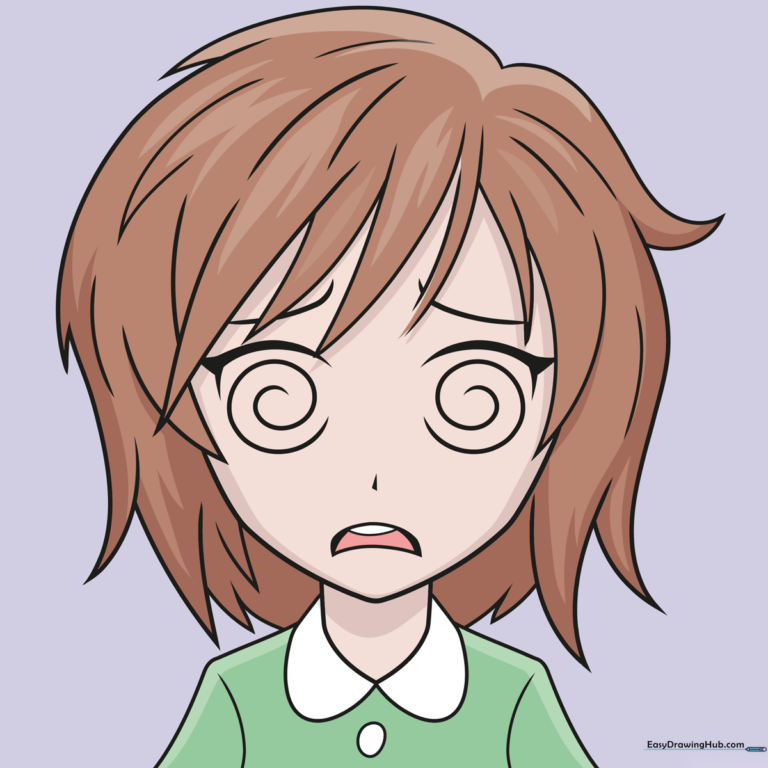
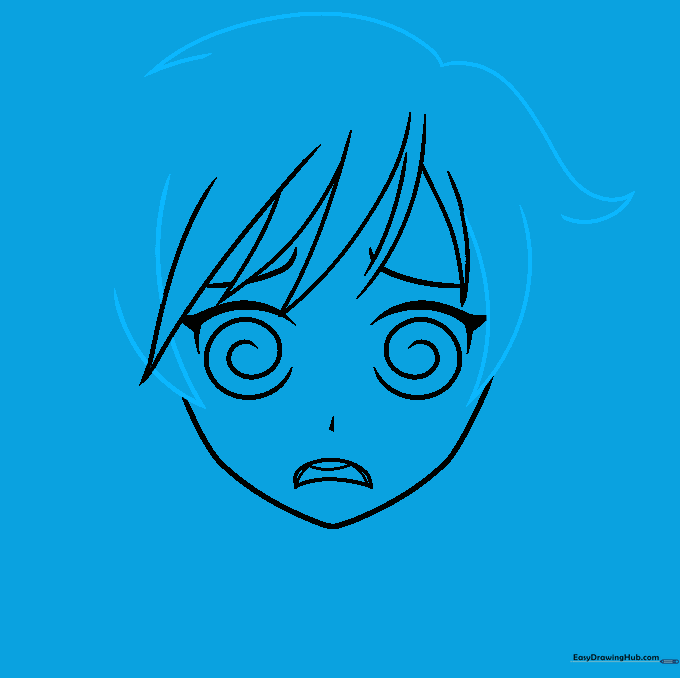
🎯 Final Result
Step-by-Step Instructions
Step 1: Sketching the Expressive Eyes

Start by drawing two spiral-curved lines for the eyes. Above them, add two thick, angled lines that meet at a point to form the eyebrows. Teacher's Tip: Keep your pencil pressure light here so you can easily adjust the angle if the 'confusion' doesn't look quite right yet.
Step 2: Defining the Emotion
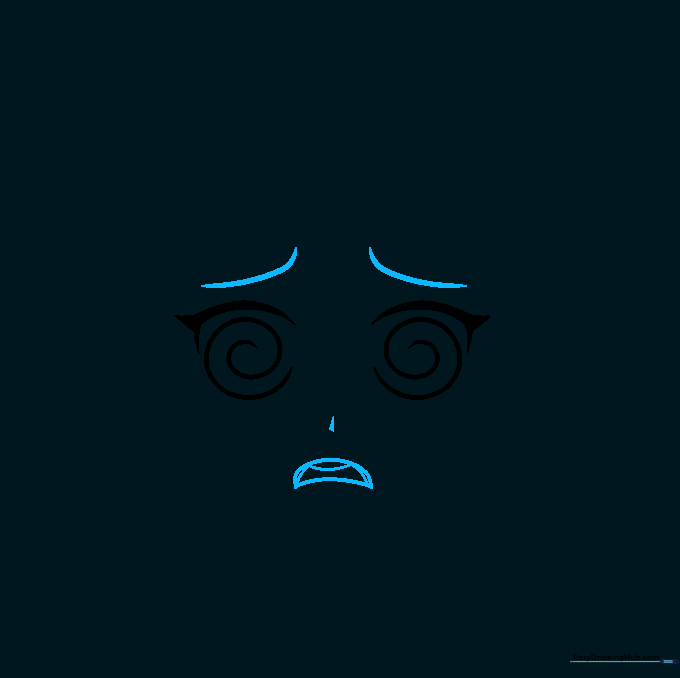
Add small curved lines above the eyes to represent a furrowed brow. Place a short dash for the nose and a downturned, open mouth shape. Tip: Draw the mouth slightly asymmetrical to emphasize the feeling of being puzzled.
Step 3: Framing the Face
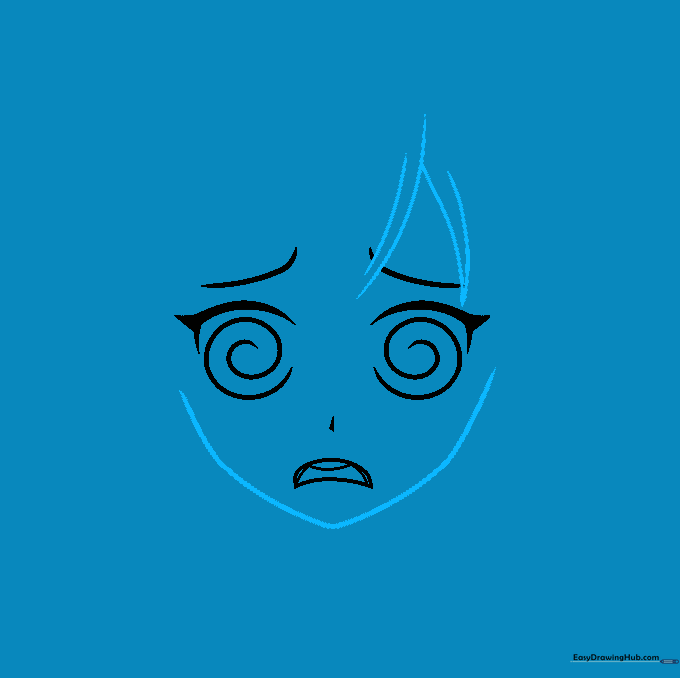
Sketch the chin and cheeks using soft, curved lines that meet at a gentle point. Add a few locks of hair falling across the forehead. Tip: Use long, sweeping strokes for the hair to keep the flow natural.
Step 4: Adding Hair Volume
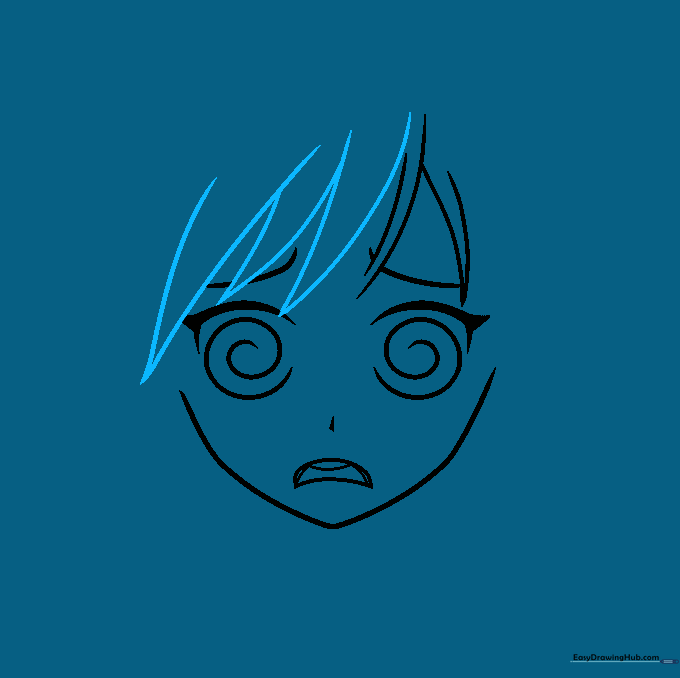
Layer more hair strands across the forehead. Ensure the lines meet at sharp, clean points. Tip: Don't worry about erasing overlapping lines; it helps you find the perfect shape for the bangs.
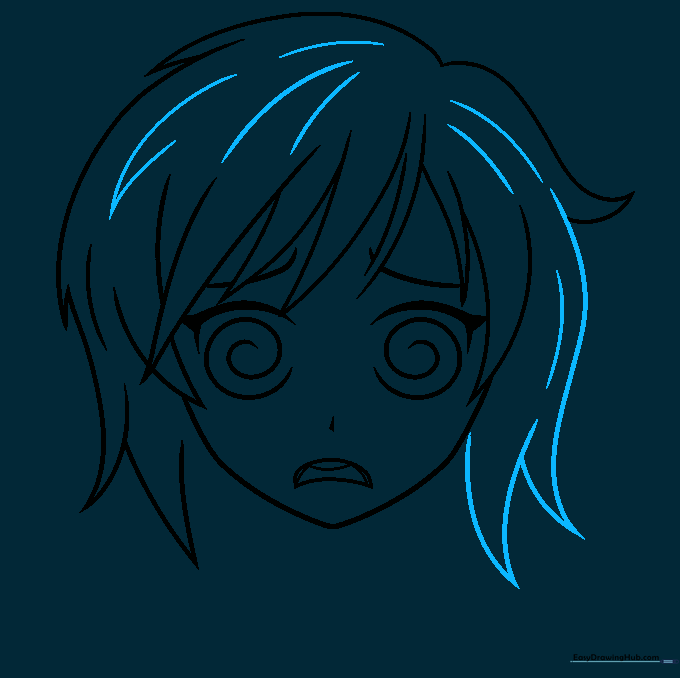
Step 5: Building the Hairline
Continue adding hair locks, making sure some strands tuck behind others to create depth. Start sketching the top of the head. Tip: Think of hair as 'clumps' rather than individual strands to make it look more professional.
Step 6: Developing Side Hair
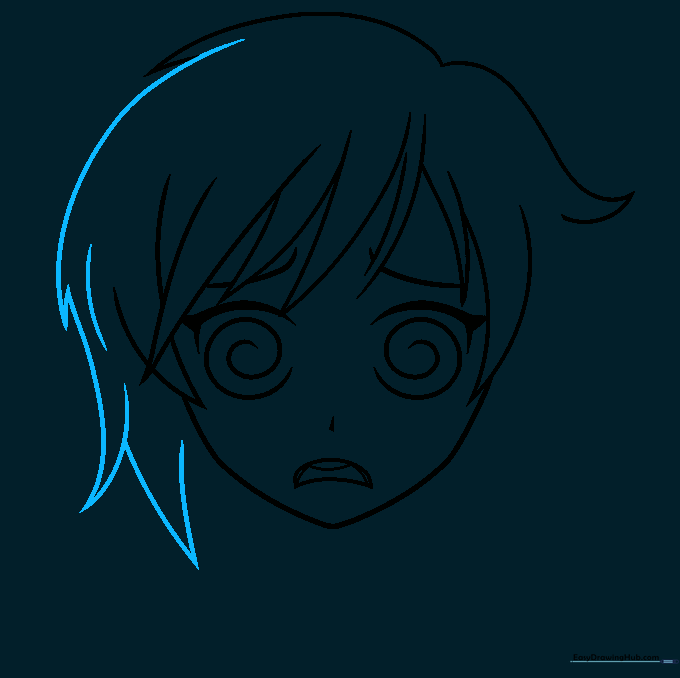
Use overlapping curved lines to build out the hair on one side of the head. Keep the points sharp. Tip: Vary the length of your lines to make the hair look dynamic and realistic.
Step 7: Balancing the Hair
Complete the hair on the opposite side, mirroring the style of the first side. Add a few internal lines to show texture. Tip: Use a lighter touch for the texture lines so they don't overpower the main outline.
Step 8: Adding the Neck and Collar
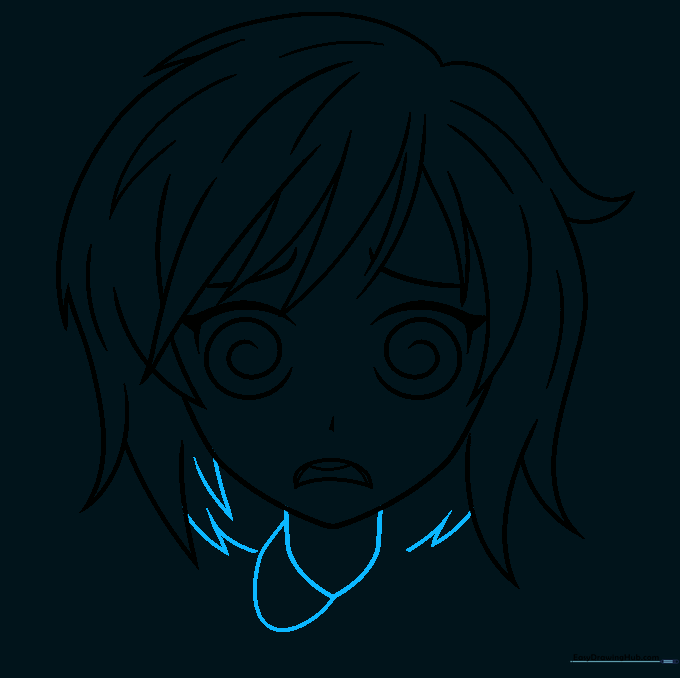
Draw the neck and the collar of the garment using a 'U' shaped line. Finish the hair at the back of the neck with jagged points. Tip: Ensure the neck isn't too thin, or the head will look unbalanced.
Step 9: Finalizing the Outfit
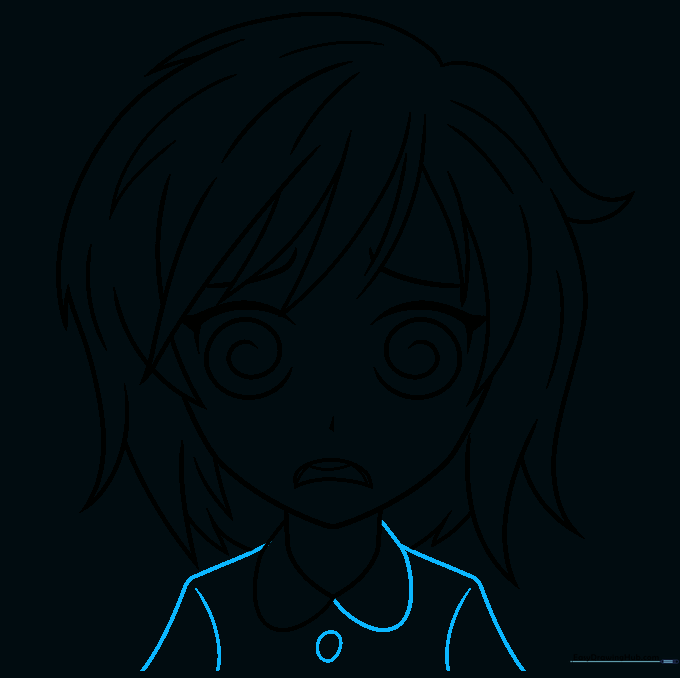
Complete the collar, shoulders, and sleeve. Add a small circle for a button. Tip: A clean, bold outline around these final details will make your character pop off the page.
Step 10: Bringing it to Life with Color
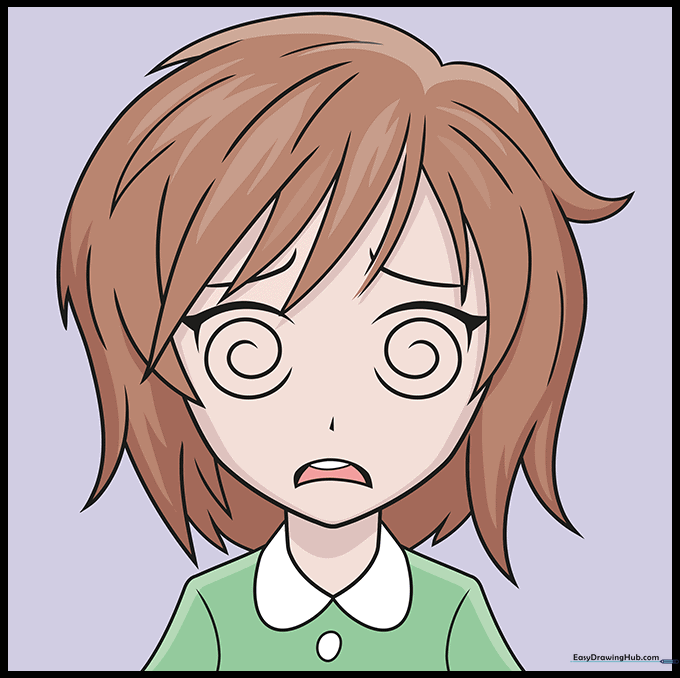
Add your favorite colors to your anime character. Tip: Use soft shading under the chin and hair to add dimension to the face.
More Tutorials


