How to Draw a Comet: Easy 10-Step Guide for Kids
Ready to blast off into space art? This tutorial is perfect for young artists ages 5 and up. All you need is a pencil, an eraser, and some paper to create your own icy traveler. Follow these steps to build confidence and improve your hand-eye coordination while drawing a cosmic wonder.
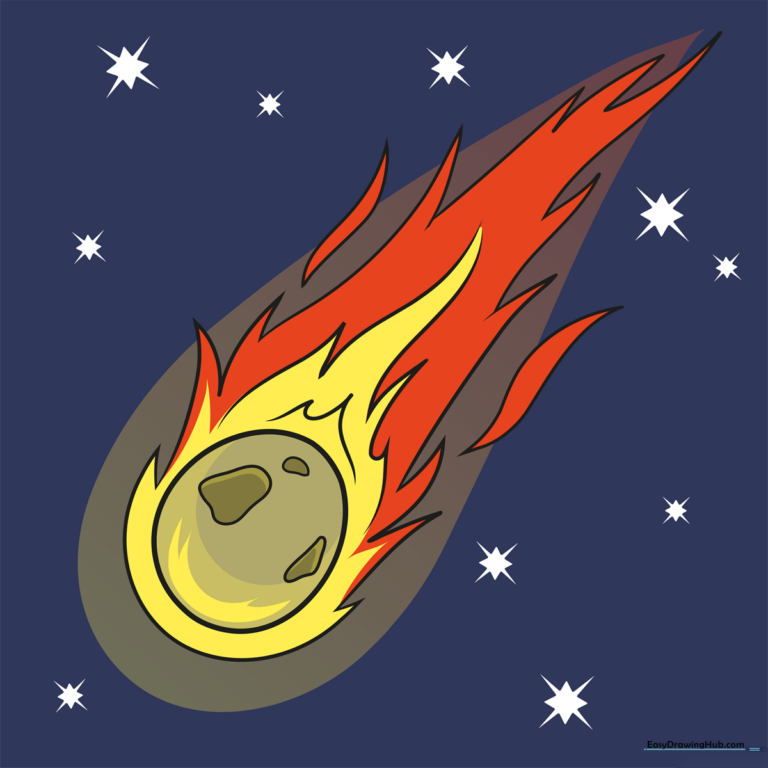
🎯 Final Result
Step-by-Step Instructions
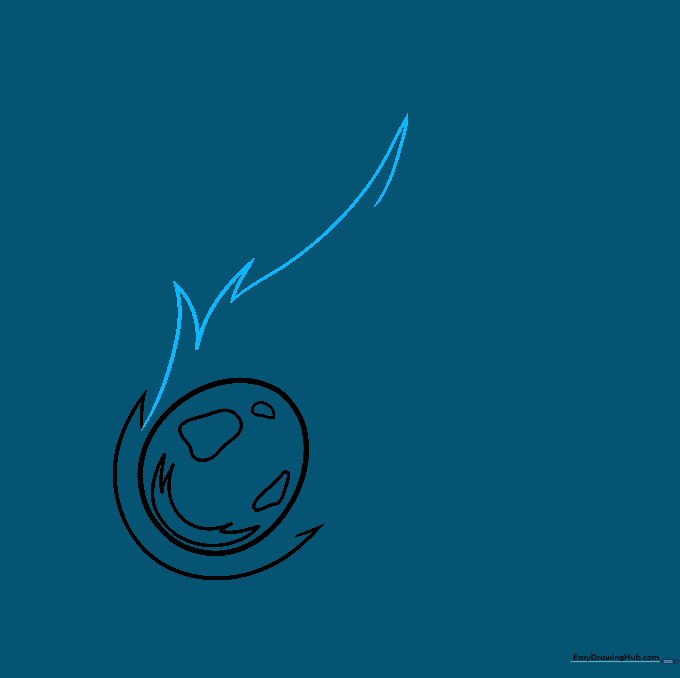
Step 1: Sketching the Icy Nucleus

Draw a slightly elongated circle to represent the comet's icy core. Tip: It doesn't need to be perfect; comets are irregular rocks, so a slightly lumpy shape looks more natural.
Step 2: Adding Surface Texture

Add a few small, irregular shapes inside the nucleus. Tip: Keep these shapes varied in size to give your comet a rugged, rocky appearance.
Step 3: Creating the Coma

Draw a curved line around the front of the nucleus to form the coma—the glowing halo of gas and dust. Tip: Use short, jagged strokes on the leading edge to show the comet's movement through space.
Step 4: Starting the Tail
Extend a series of curved lines from the coma to begin the tail. Tip: Make these lines meet at sharp, jagged points to mimic the look of streaming dust.
Step 5: Extending the Tail
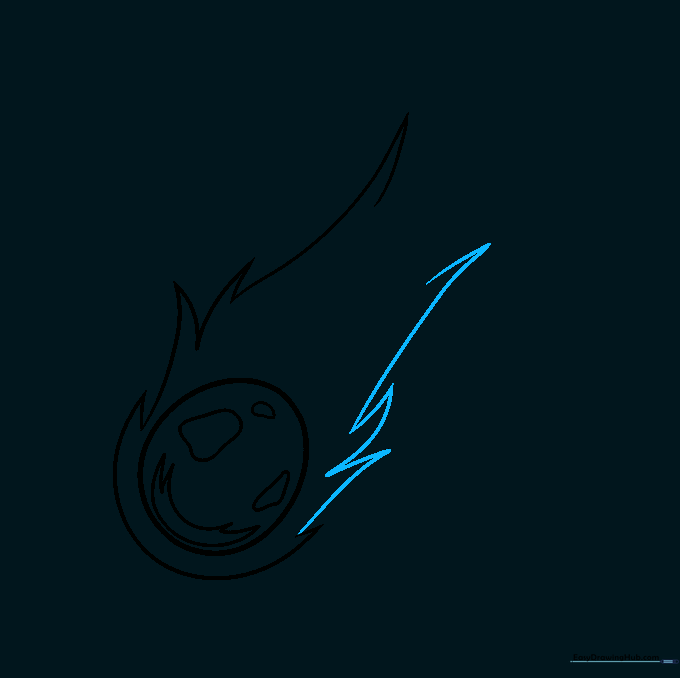
Continue adding curved lines from the other side of the coma, ensuring they also end in sharp, pointed tips. Tip: Vary the length of your lines to make the tail look dynamic.
Step 6: Closing the Tail
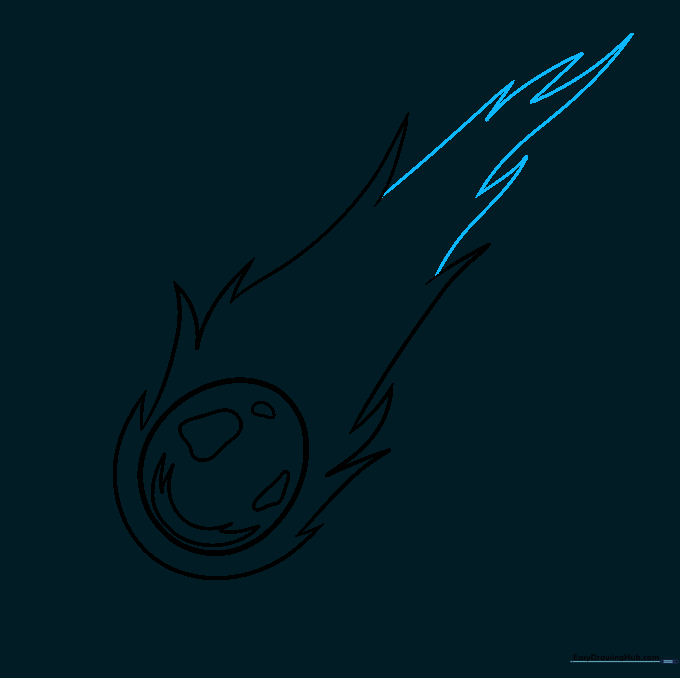
Connect the lines on both sides of the tail to fully enclose the shape. Tip: Ensure the tail tapers off as it gets further away from the nucleus.
Step 7: Refining the Shape
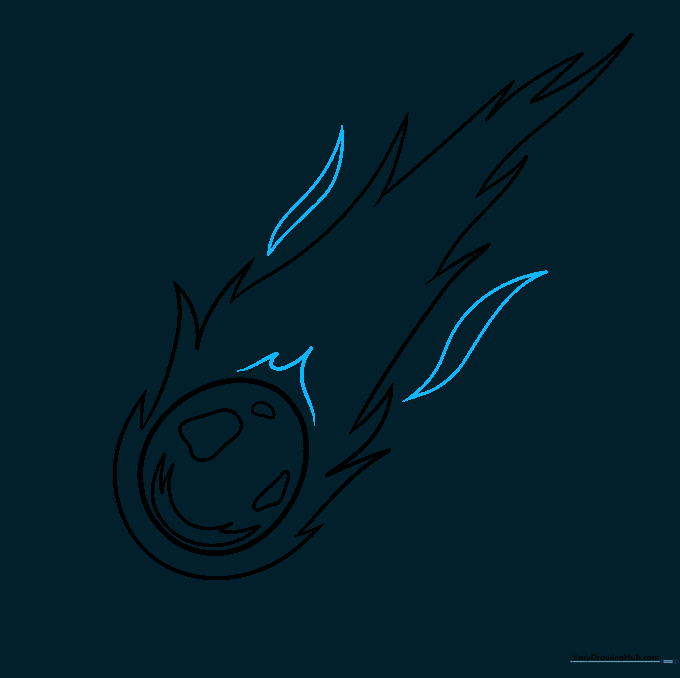
Add detail to the trailing edge of the nucleus and refine the tail with long, double-pointed curved shapes. Tip: This adds depth and makes the comet look like it's moving fast.
Step 8: Adding Internal Detail
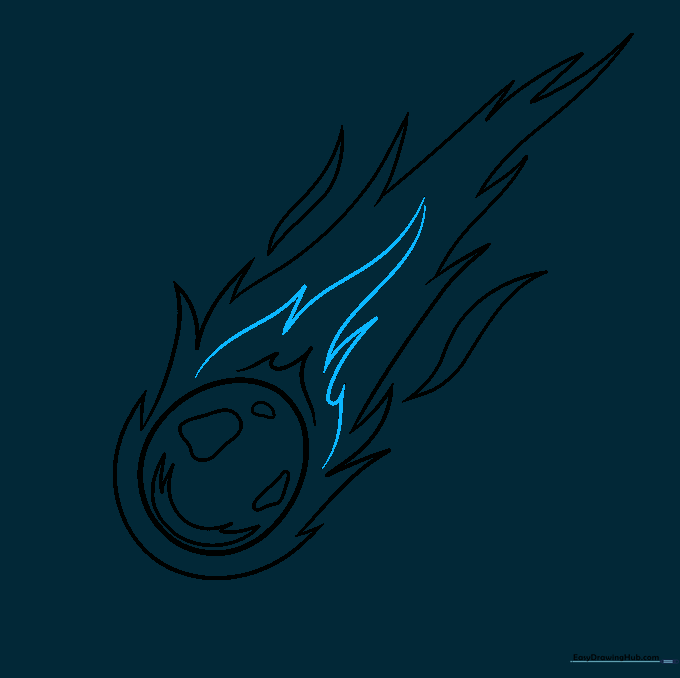
Draw additional curved lines inside the tail that meet at jagged points, similar to flickering flames. Tip: Don't worry about symmetry; comets are chaotic, natural objects!
Step 9: Setting the Scene
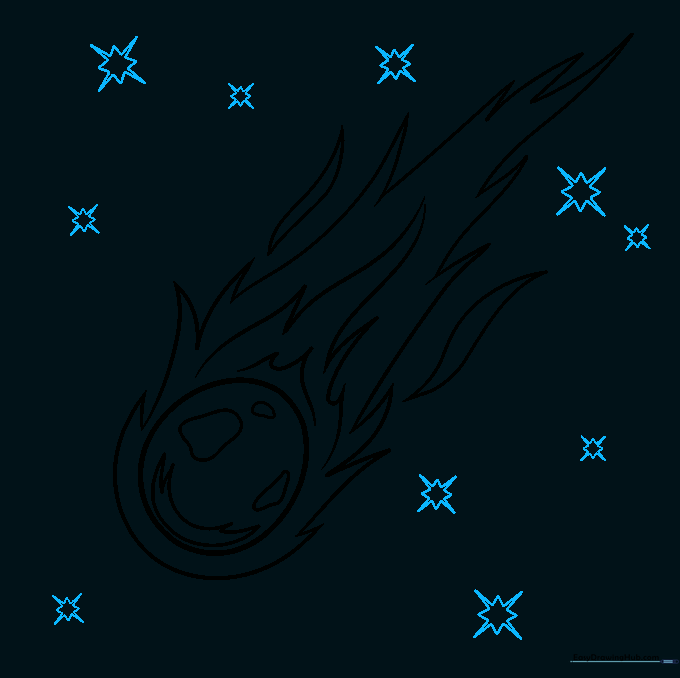
Draw eight-pointed stars of various sizes around your comet to create a night sky effect. Tip: Use a ruler if you want your stars to look perfectly crisp.
Step 10: Adding Color

Bring your comet to life with color! Use blues and whites for a realistic look, or fiery yellows, oranges, and reds for a dramatic, cartoon-style meteor effect.
More Tutorials


