How to Draw a Coin: Easy 10-Step Guide for Kids
Ready to add some treasure to your sketchbook? This tutorial is perfect for young artists ages 5 and up who want to practice drawing perfect circles and adding 3D details. Grab a pencil, an eraser, and a black marker to get started on your own shiny coin masterpiece.
🎯 Final Result

Step-by-Step Instructions
Step 1: Sketching the Base Shape
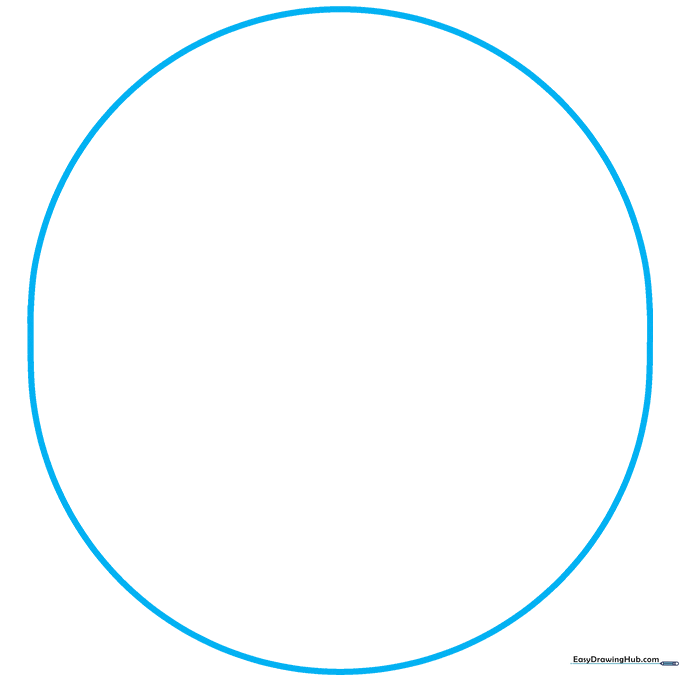
Draw a large oval in the center of your paper. Teacher's Tip: Keep your pencil pressure light so you can easily erase any extra lines later. Remember, a coin is a flat circle, but drawing it as an oval helps us prepare for the 3D effect!
Step 2: Creating Depth
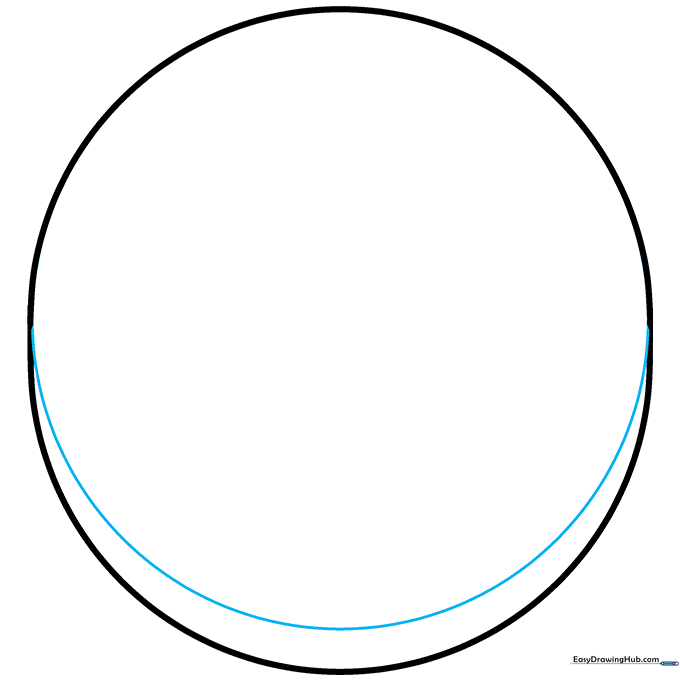
Sketch a curved line along the bottom inside of your oval to create a crescent shape. Teacher's Tip: This small curve is the secret to making your drawing look like a solid object rather than a flat sticker.
Step 3: Adding Texture
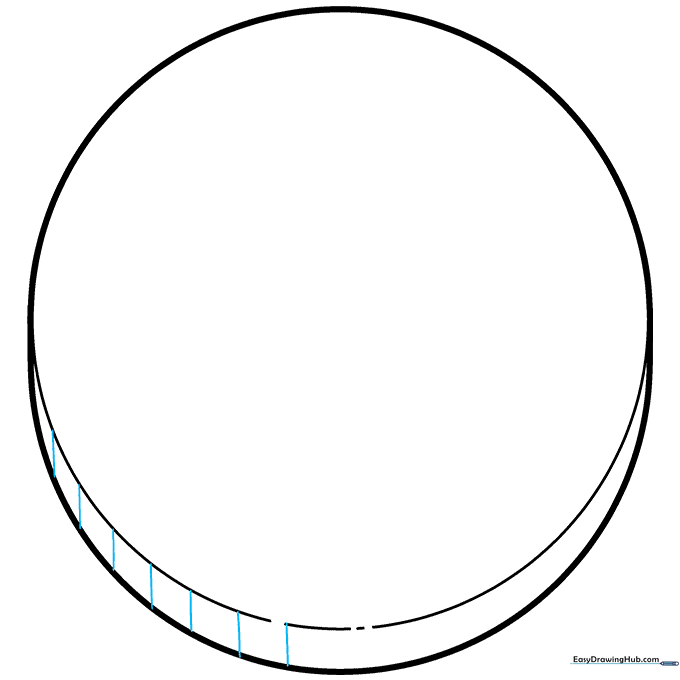
Erase the bottom edge of the oval and draw seven short vertical dashes on the left side. Teacher's Tip: These dashes represent the 'reeded' edge of a real coin. Keep them evenly spaced for a professional look.
Step 4: Completing the Edge
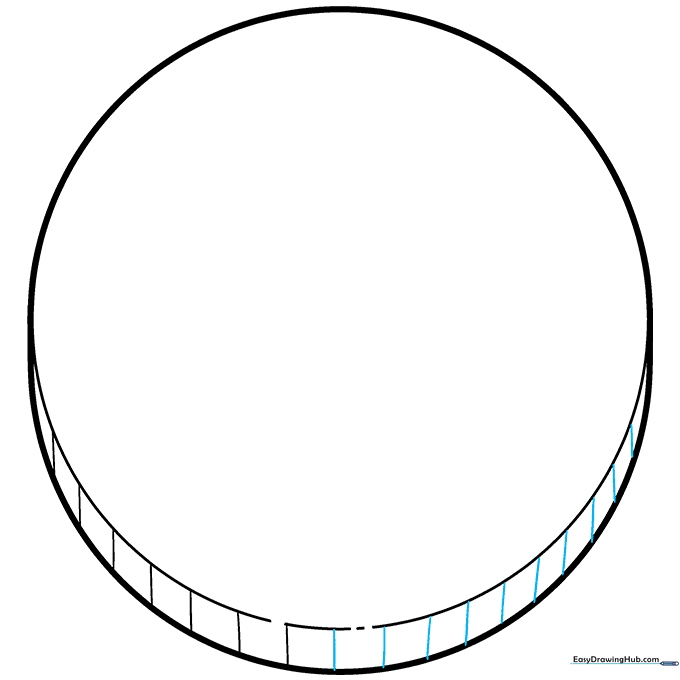
Continue adding dashes around the entire shape until you reach the other side. Teacher's Tip: Make the dashes slightly smaller as they curve toward the corners to create a natural perspective.
Step 5: Drawing the Center
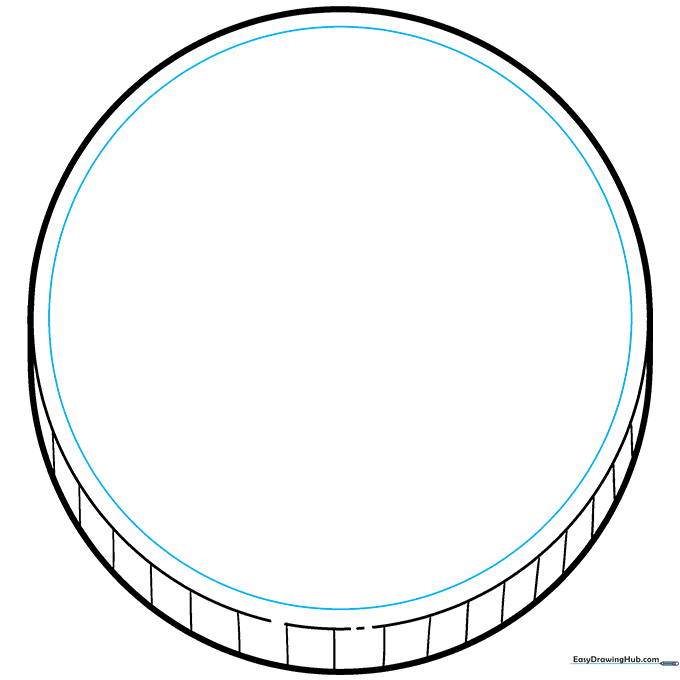
Draw a smaller circle inside the top portion of your coin. Teacher's Tip: Use a circular object like a bottle cap as a stencil if you find it tricky to draw a perfect circle freehand!
Step 6: Refining the Center
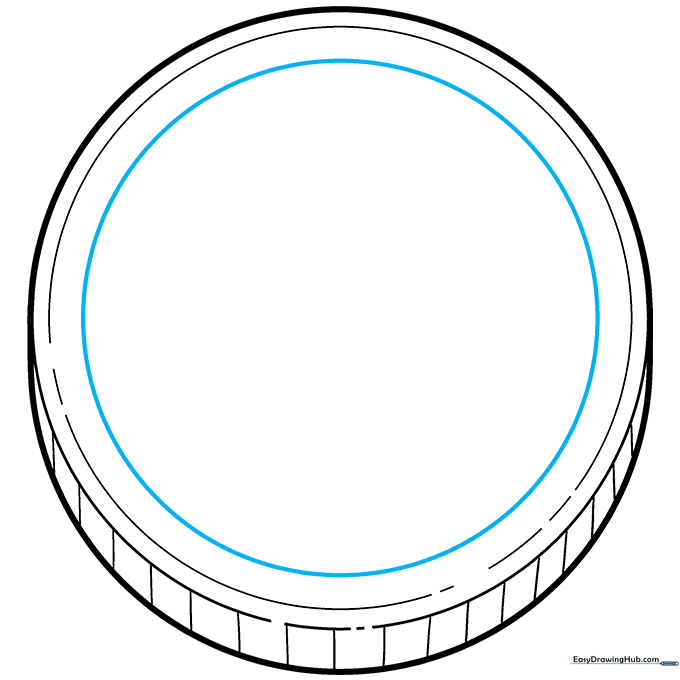
Erase small sections of the inner circle and draw a smaller circle inside it. Teacher's Tip: This creates a 'double ring' effect, which is common on many real-world coins.
Step 7: Adding Highlight Depth
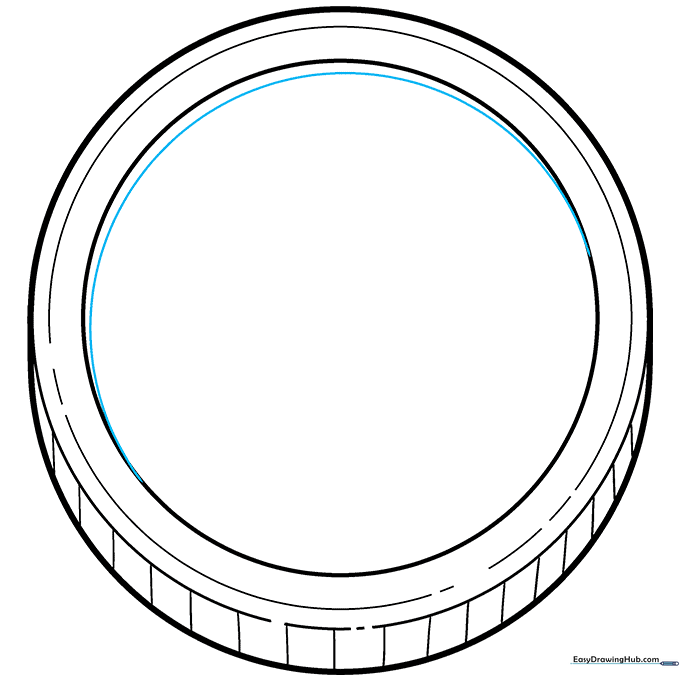
Sketch a thin crescent in the top-left corner of your inner circle. Teacher's Tip: This represents a highlight, making the coin look metallic and shiny.
Step 8: Designing the Symbol
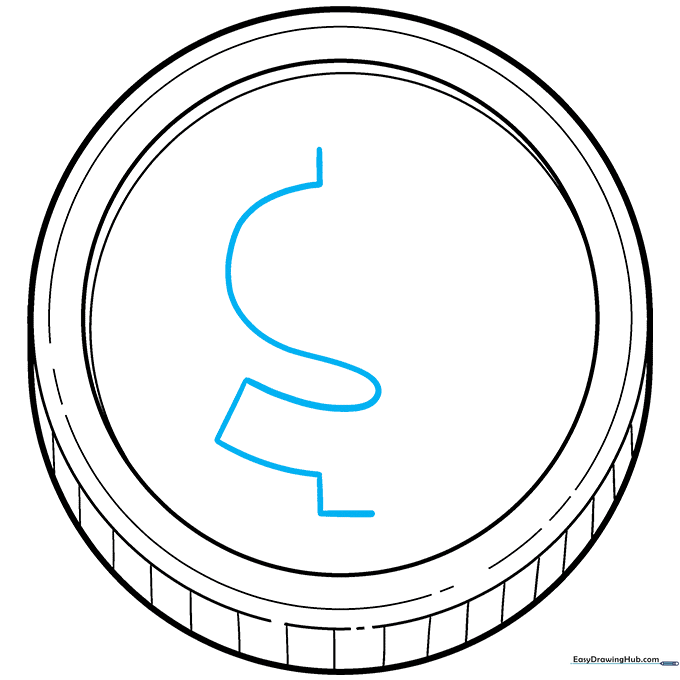
Draw a vertical dash, then an S-shape, a diagonal line, and an L-shape to form a dollar sign. Teacher's Tip: Take your time with the S-shape; it's the trickiest part, so draw it slowly.
Step 9: Finalizing the Outline

Complete the dollar sign and go over your pencil lines with a black marker. Teacher's Tip: Use a thicker line for the outer edge of the coin to make it 'pop' off the page.
Step 10: Adding Color

Color the coin yellow, using orange for the shadows to add depth. Teacher's Tip: Leave small white spaces on the right side to act as 'shine'—this makes your coin look like real gold!
More Tutorials


