How to Draw a Coconut: Easy 10-Step Guide for Kids
Bring a tropical vibe to your sketchbook with this simple coconut drawing tutorial, perfect for artists ages 5 and up. All you need is a pencil, an eraser, and some paper to get started. By following these steps, you will master drawing both the fibrous outer husk and the smooth, creamy interior of the fruit.
🎯 Final Result

Step-by-Step Instructions
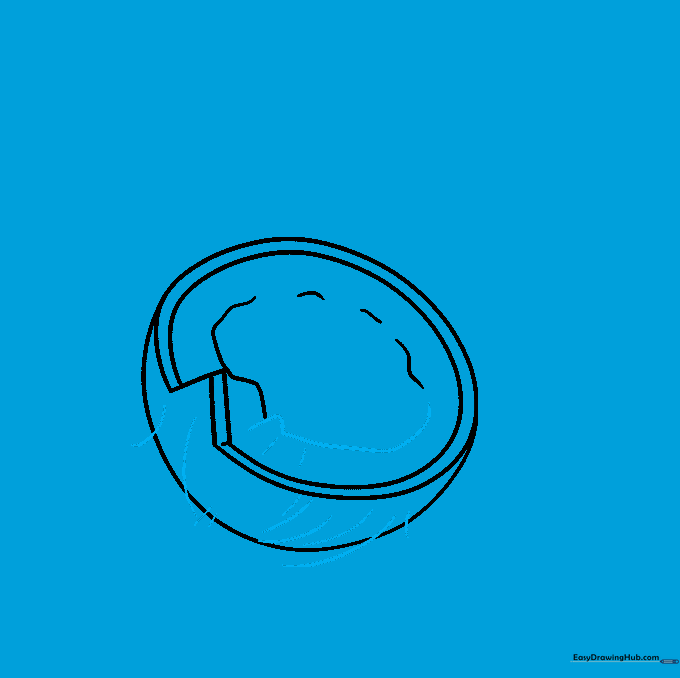
Step 1: Sketching the Open Coconut Base

Start by drawing two parallel 'C' shaped lines to form the side of the open coconut. Connect the outer edges with a 'V' shape. Teacher's Tip: Keep your pencil strokes light so you can easily erase any overlapping lines later.
Step 2: Defining the Fruit's Flesh

Use a long, smooth curved line to trace the round exterior of the fruit. Add short, soft curves inside to represent the thickness of the coconut meat. Tip: Think of this as drawing the 'rim' of a bowl.
Step 3: Adding Texture to the Husk
Refine the interior details with small, delicate lines. Then, add curved, jagged lines to the outer shell to suggest the fibrous, hairy texture. Tip: Don't worry about making these lines perfect; coconuts are naturally irregular!
Step 4: Sketching a Second Coconut

Draw a large, rounded shape behind the first coconut to create depth. This makes your drawing look like a little pile of tropical fruit. Tip: Imagine the second coconut is hiding slightly behind the first one.
Step 5: Adding the 'Eyes' of the Coconut
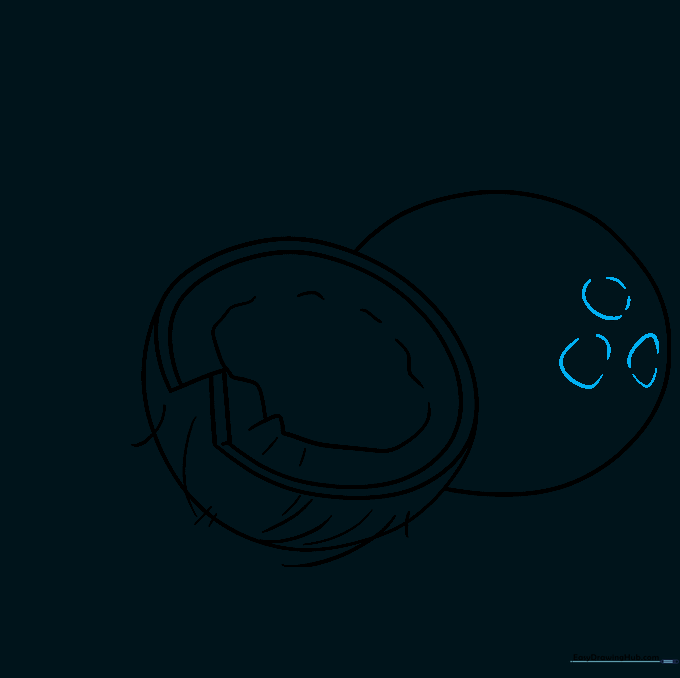
Draw three small, incomplete circles on the surface of the second coconut. These are the 'eyes' or germination pores. Tip: These look like little dimples, so keep them small and clustered together.
Step 6: Adding Fibrous Detail
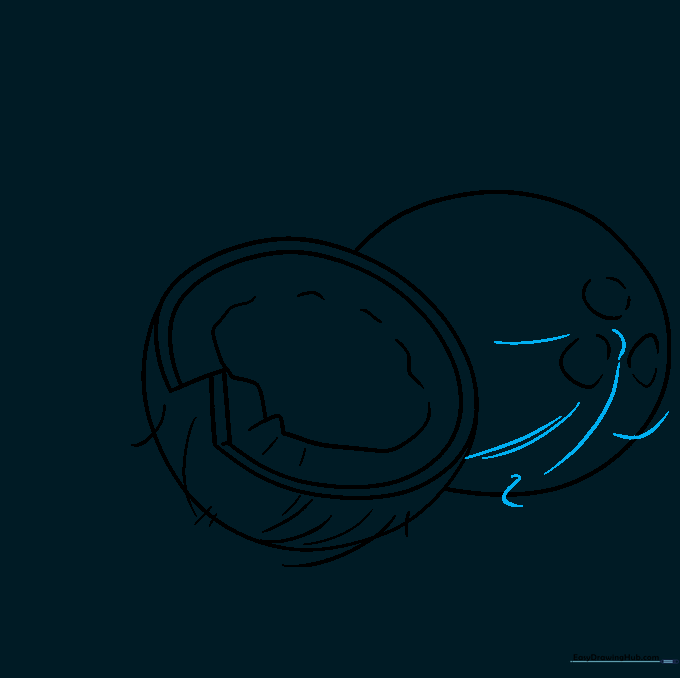
Add long, sweeping curved lines across the exterior of the second coconut to represent the coir (the fibrous husk). Tip: Vary the length of your lines to make the texture look more realistic.
Step 7: Enhancing the Texture
Continue adding more curved lines to build up the hairy look of the husk. The more lines you add, the more 'real' the coconut will appear. Tip: Focus on the edges of the fruit to give it a rounded 3D shape.
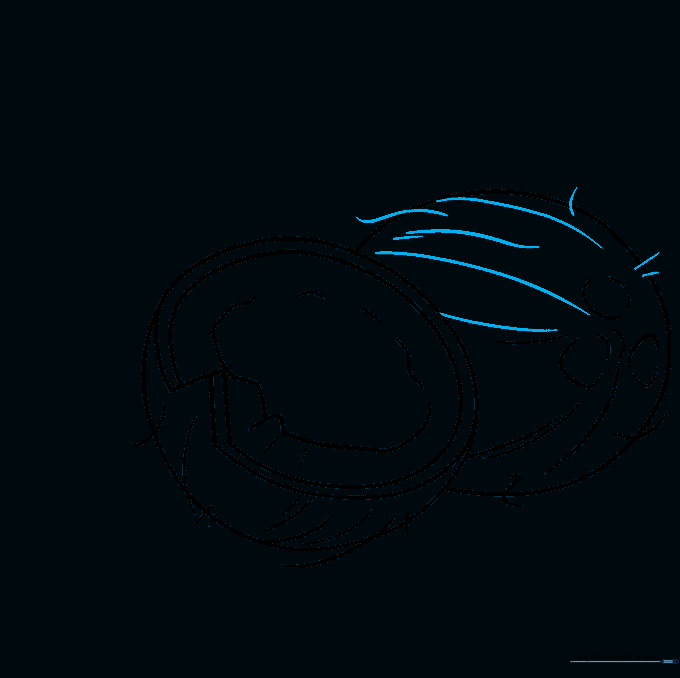
Step 8: Adding a Third Coconut
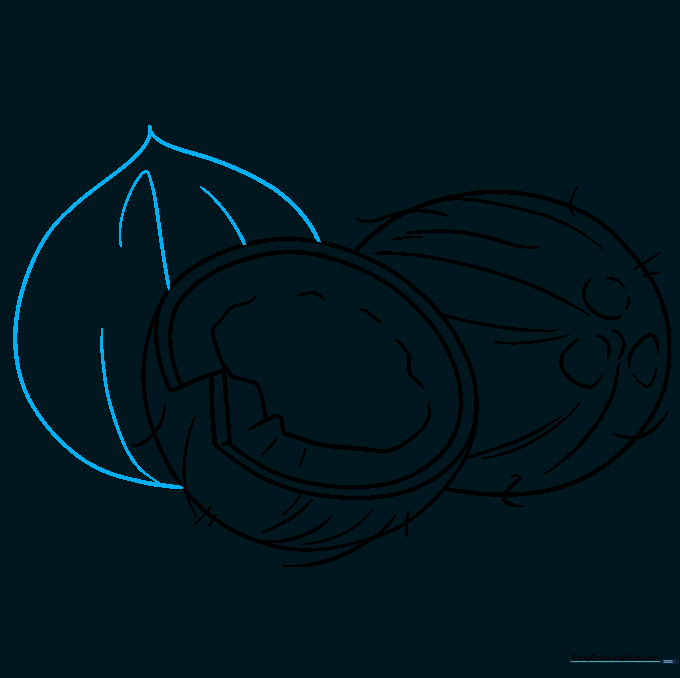
Sketch a third coconut shape to complete your tropical arrangement. Let the lines meet at a point at the top to show its natural shape. Tip: Use your eraser to clean up any lines that overlap too much.
Step 9: Final Texturing
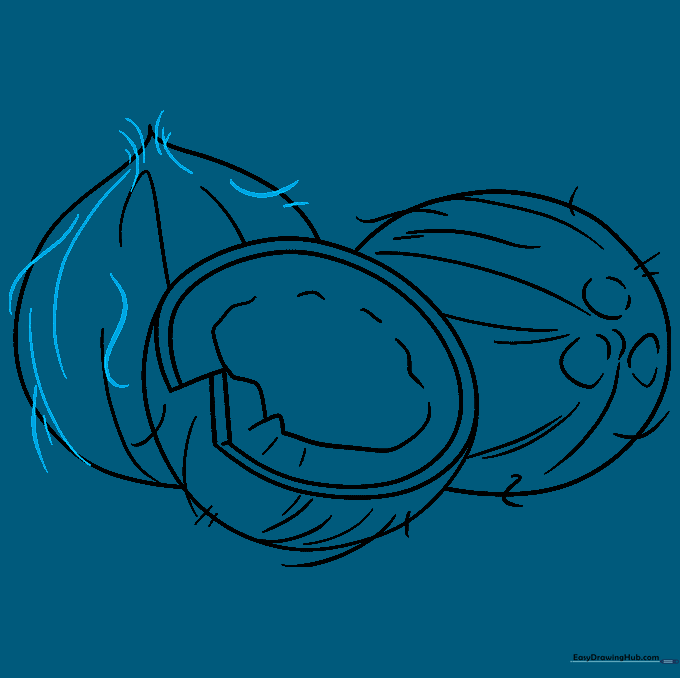
Finish the outline by adding final touches of texture to the third coconut. Ensure all your lines are consistent with the style of the first two. Tip: Step back and look at your drawing to see if you need more 'fuzz' in any areas.
Step 10: Bringing It to Life with Color

Time to color! Use shades of brown for the hairy husk, and keep the inside flesh a crisp, clean white. If you want to draw an unripe coconut, use vibrant greens. Tip: Use a light brown for the base and a darker brown for the texture lines to add depth.
More Tutorials


