How to Draw a Cobra: Easy 10-Step Guide for Kids
Ready to bring a slithering friend to life? This tutorial is perfect for young artists ages 5 and up. All you need is a pencil, an eraser, and some paper to master this iconic snake. Follow these simple steps to build your confidence and create a cool, cartoon-style cobra.
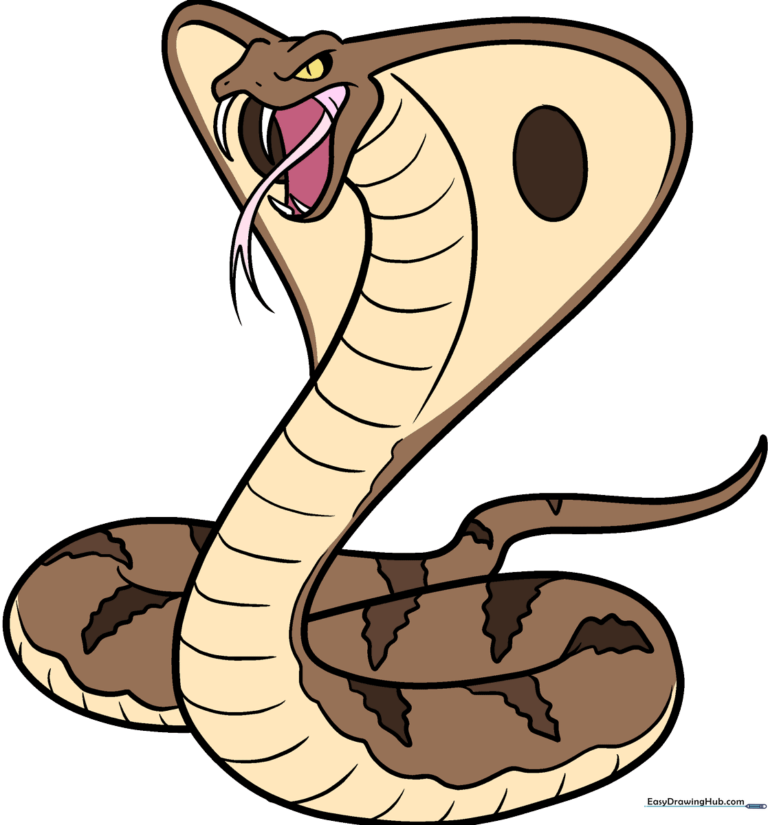
🎯 Final Result
Step-by-Step Instructions
Step 1: Sketching the Face
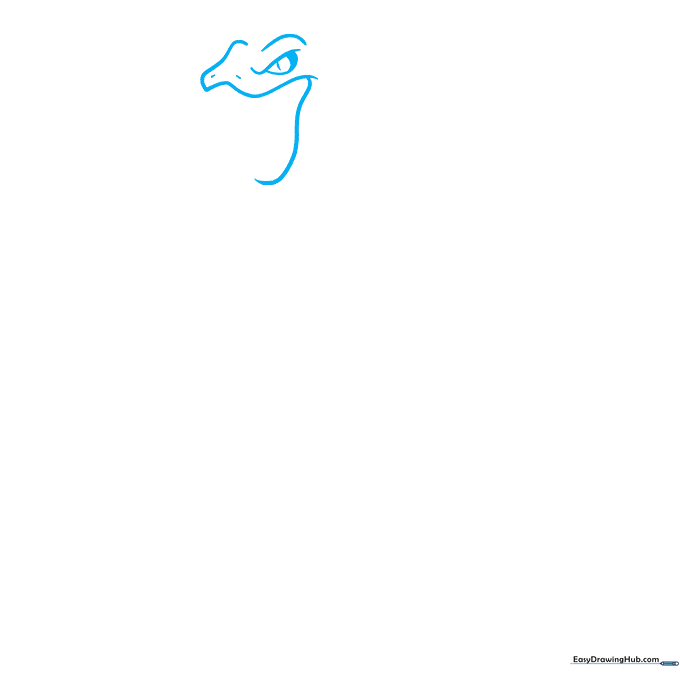
Start by drawing the serpent's face using curved lines for the open mouth and the eye ridge. Add a teardrop shape for the eye. Teacher's Tip: Keep your pencil pressure light here; you'll want to refine these shapes later!
Step 2: Adding the Fangs
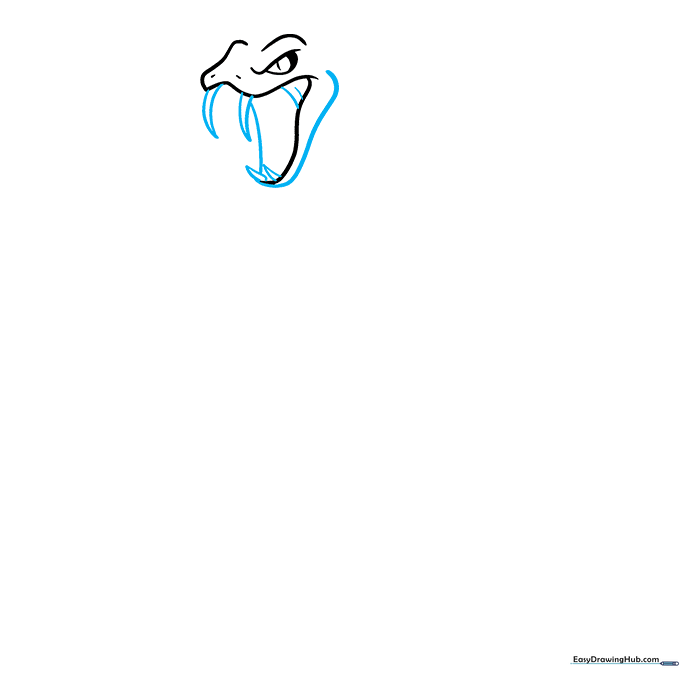
Outline the lower jaw with a long, smooth curve. Connect it to the top jaw, then add sharp, triangular fangs. Teacher's Tip: Make the fangs look extra pointy by pressing slightly harder at the tips.
Step 3: Forming the Hood and Tongue
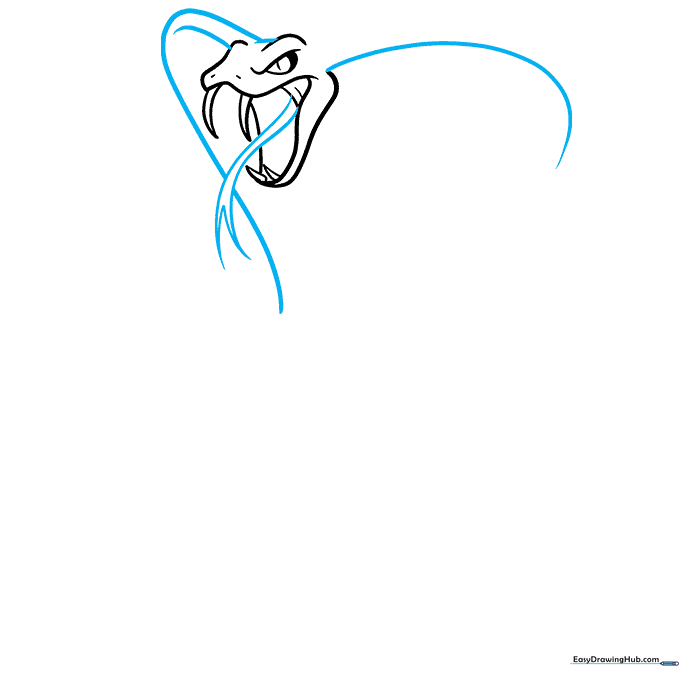
Extend long curved lines from the head to create the iconic cobra hood. Add a forked tongue inside the mouth using a 'V' shape. Teacher's Tip: A forked tongue adds character—make sure the two points are symmetrical!
Step 4: Defining the Hood Shape
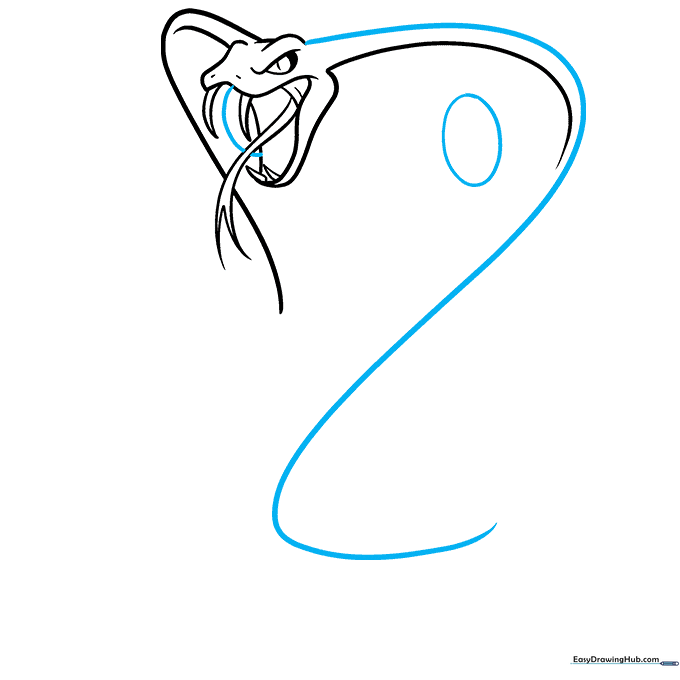
Draw a long, sweeping curve to define the top of the hood and the start of the body. Add oval markings on the hood. Teacher's Tip: These ovals are the cobra's 'spectacles'—try to keep them centered.
Step 5: Outlining the Body
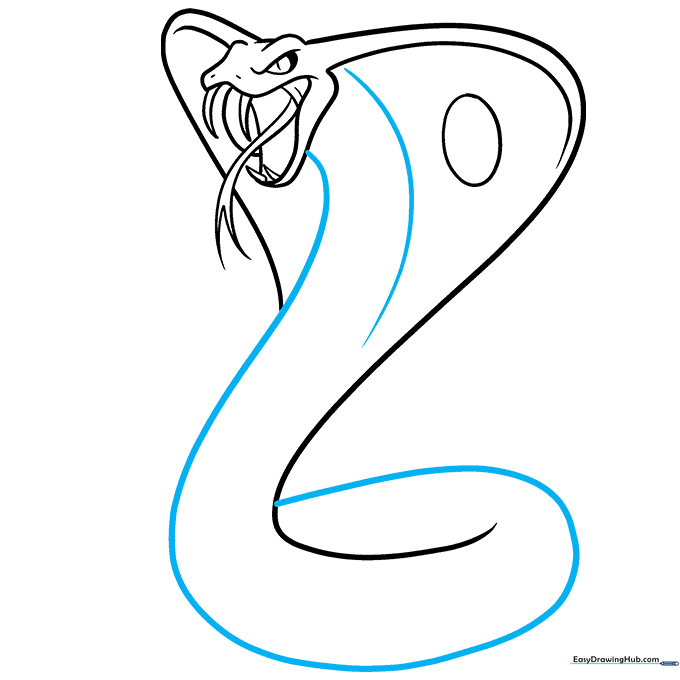
Draw two long, graceful curves below the head to form the bulk of the snake's body. Teacher's Tip: Think of this as drawing a long, winding ribbon.
Step 6: Adding the Tail
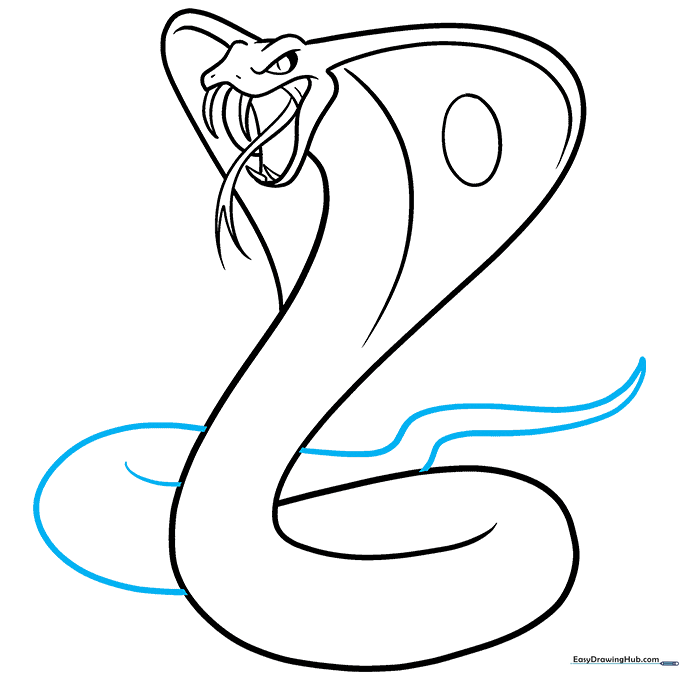
Draw a 'C' shaped line on the neck to show the coil, then taper the body lines to a point for the tail. Teacher's Tip: Tapering the tail makes the snake look more natural and less like a tube.
Step 7: Adding Texture
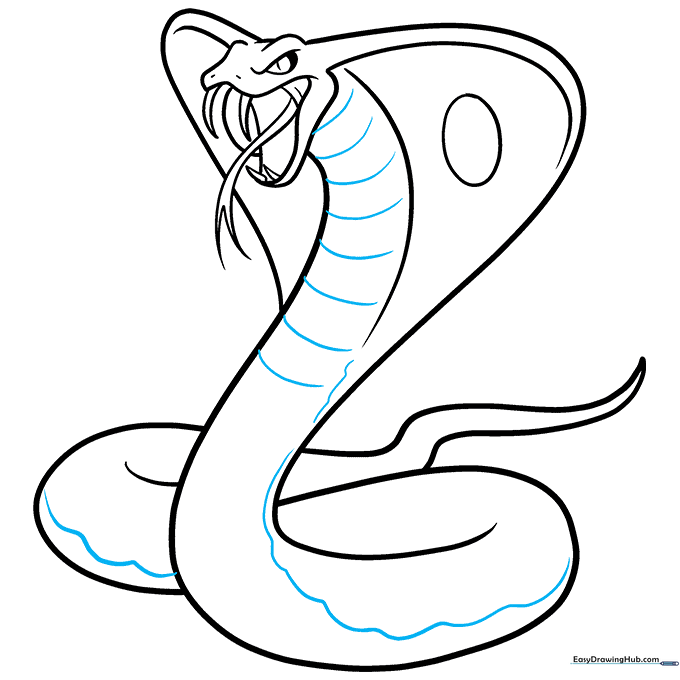
Add curved bands across the neck and wavy lines to separate the belly from the back. Teacher's Tip: Wavy lines create the illusion of movement.
Step 8: Detailing the Scales
Continue adding curved lines along the belly to represent scales. Teacher's Tip: Keep these lines evenly spaced for a professional look.
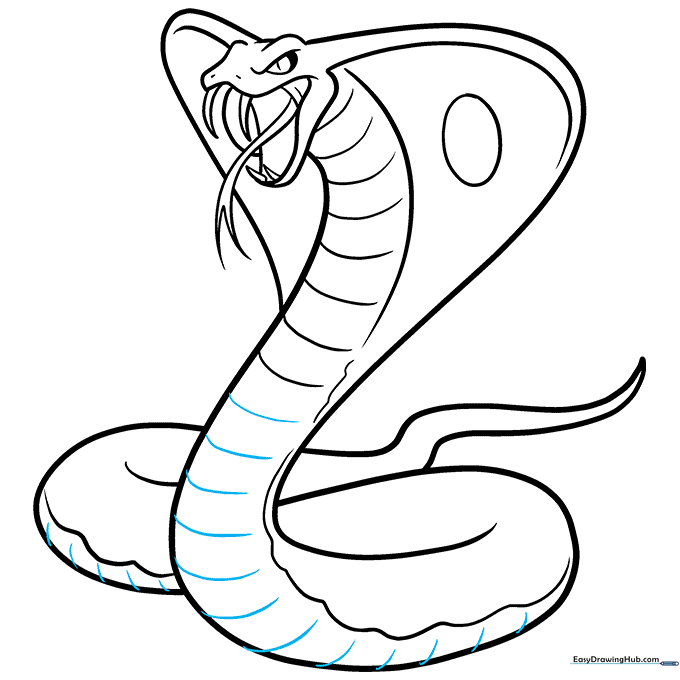
Step 9: Final Touches
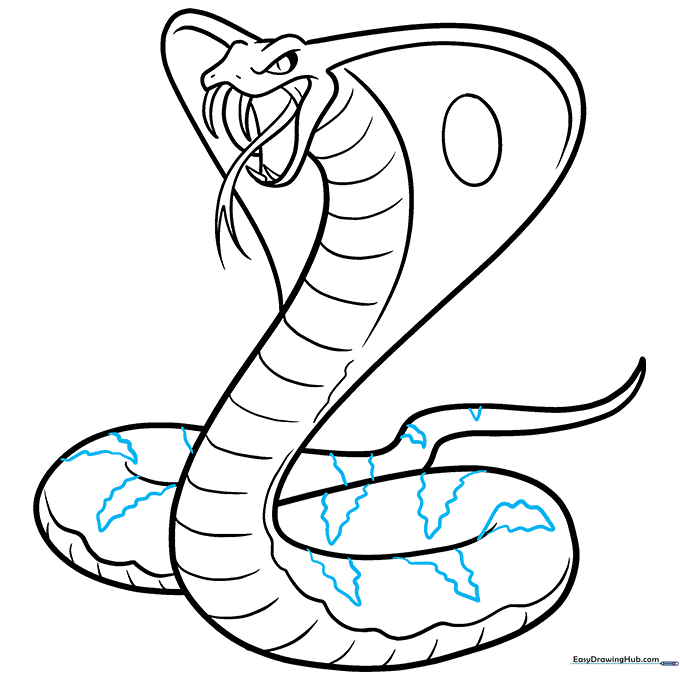
Use wavy lines to add triangular patterns down the back and tail. Teacher's Tip: This adds a great sense of pattern and depth to your drawing.
Step 10: Bring It to Life with Color
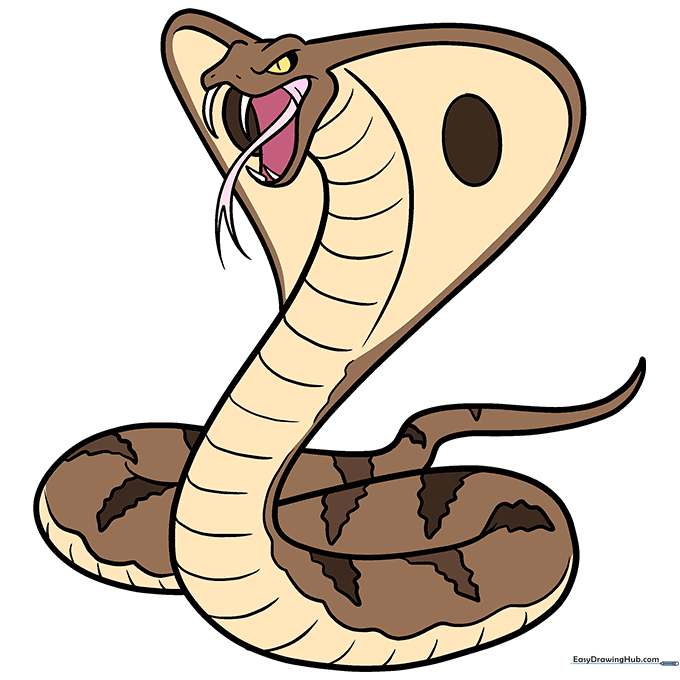
Your outline is done! Fill in your cobra with shades of brown, tan, or gray. Teacher's Tip: Try using a lighter color for the belly and a darker color for the back to make it pop!
More Tutorials


