How to Draw a Cliff: Easy 10-Step Landscape Guide
Bring your landscape drawings to life with this step-by-step guide to sketching rugged cliffs. Designed for young artists ages 6+, this activity requires only a pencil, paper, and an eraser. You will learn how to use line weight and texture to create depth in your nature scenes.
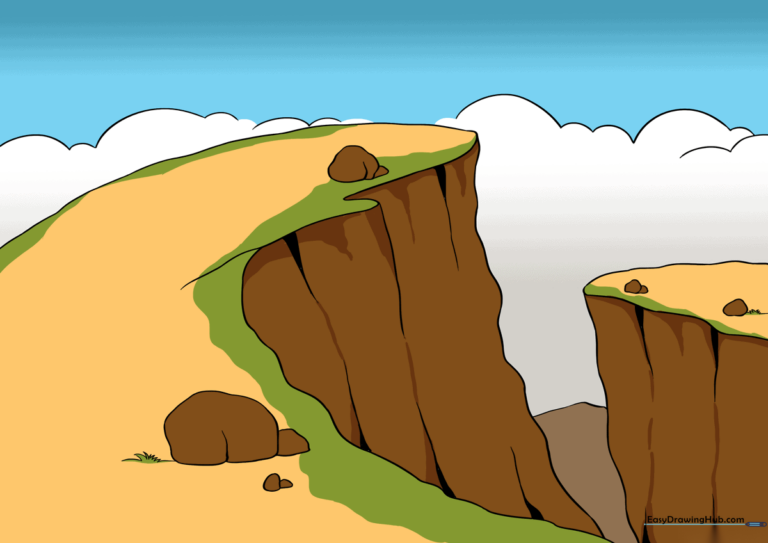
🎯 Final Result
Step-by-Step Instructions
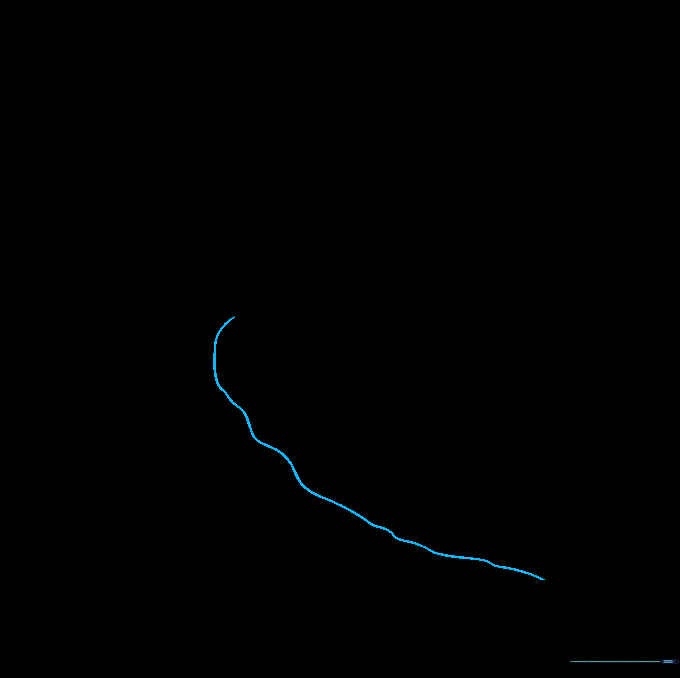
Step 1: Sketching the Top Edge

Draw a gentle, curved line to represent the top ridge of your cliff. Teacher's Tip: Keep your pencil grip loose; light, flowing lines look more natural for rock formations than stiff, straight ones.
Step 2: Defining the Ridge

Continue adding a series of connected, wavy lines to complete the top edge. Tip: Vary the size of your curves to make the rock look jagged and weathered.
Step 3: Creating the Cliff Face
Draw a curved line that overlaps the top edge to start the side of the cliff. Tip: Overlapping lines are a secret trick artists use to show depth and make objects look 3D.
Step 4: Closing the Shape
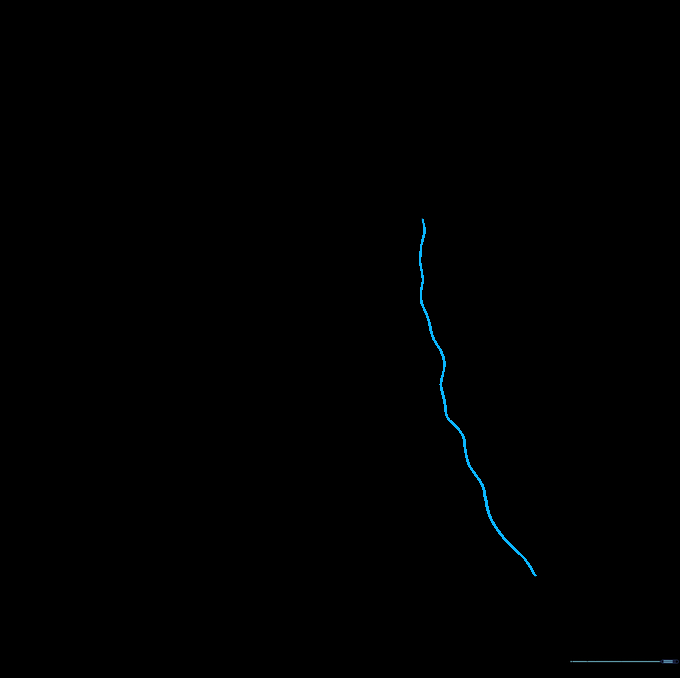
Connect the edge of the cliff to the bottom using a wavy line, forming a rough triangle. Tip: Don't worry about making it perfect; nature is rarely perfectly symmetrical!
Step 5: Adding Texture
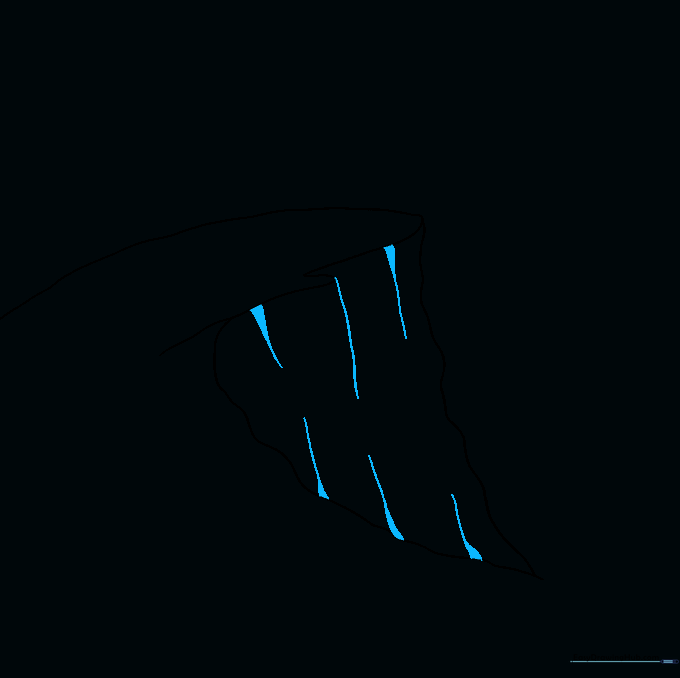
Add vertical lines down the face and shade small triangles at their base. Tip: These small shadows create the illusion of cracks and rocky texture.
Step 6: Drawing the Second Cliff

Outline a second, slightly smaller cliff shape nearby using wavy lines. Tip: Placing objects at different heights helps create a sense of distance in your landscape.
Step 7: Defining the Second Face
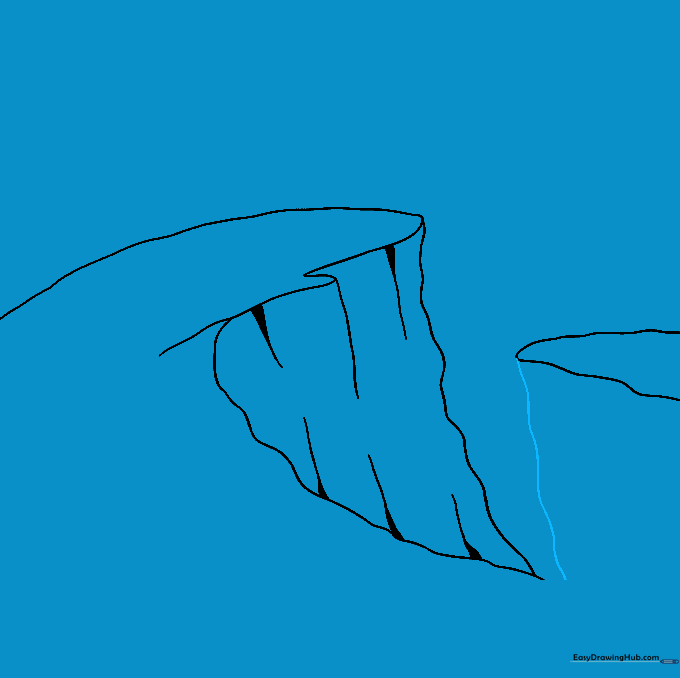
Draw a downward wavy line to form the face of the second cliff. Tip: Keep this line slightly lighter than the first one to suggest it is further away.
Step 8: Finalizing Details
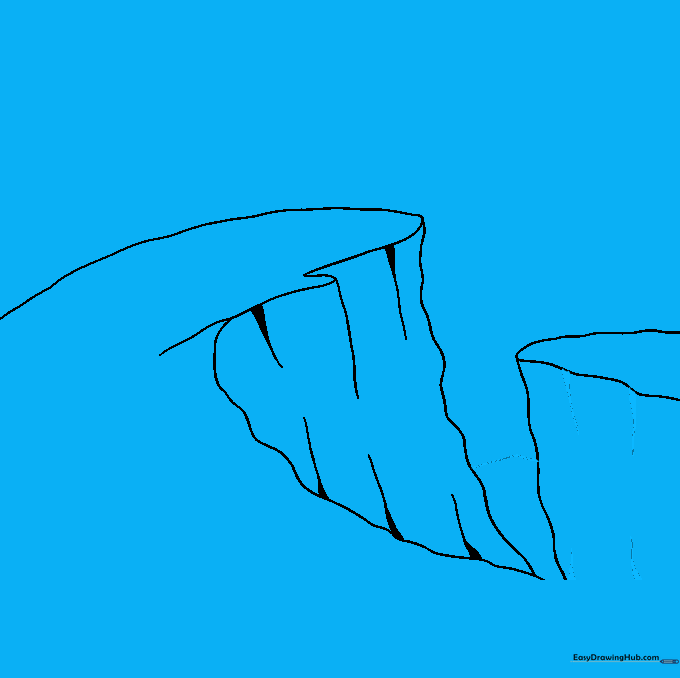
Add texture to the second cliff and draw a horizon line connecting the two. Tip: The horizon line acts as the 'floor' of your drawing, grounding your cliffs in the scene.
Step 9: Adding Scenery
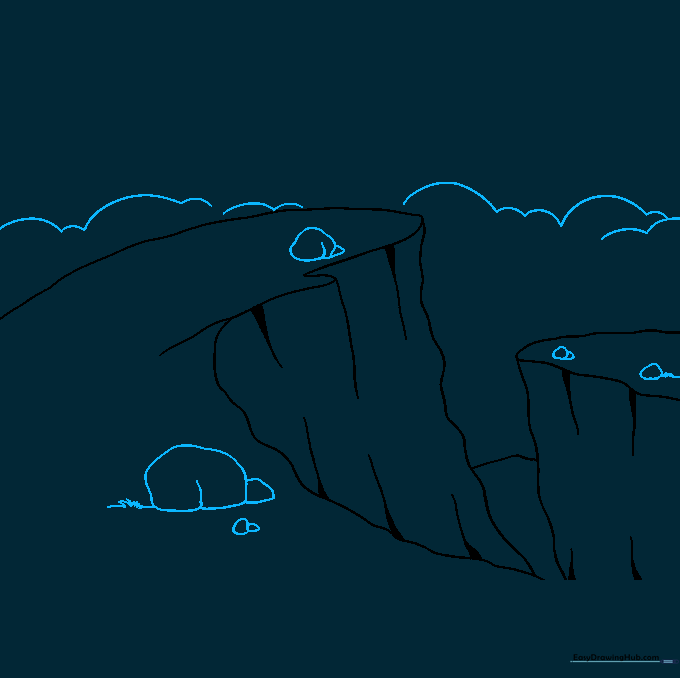
Draw fluffy 'U' shaped clouds and scattered rocks at the base. Tip: Use different sizes for the rocks to make the ground look uneven and realistic.
Step 10: Adding Color
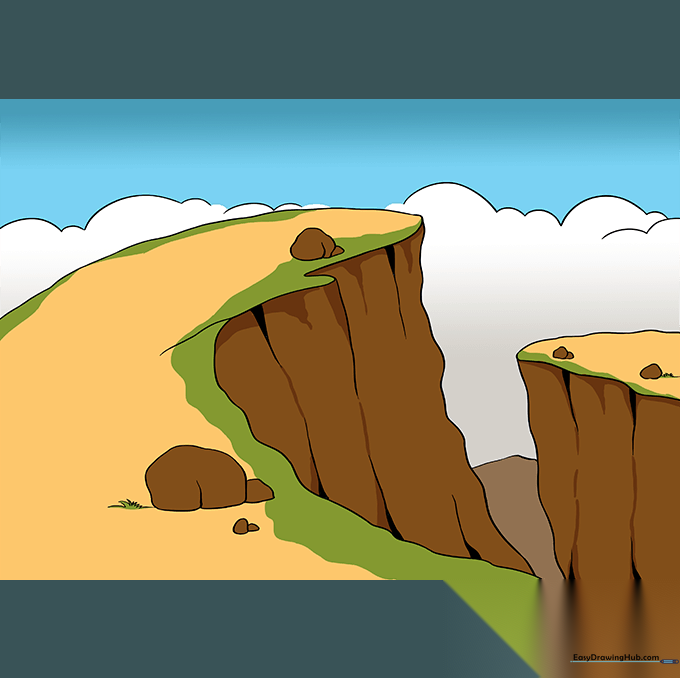
Color your cliffs using earthy browns or reds. Did you know the White Cliffs of Dover are white because they are made of chalk? Try using different colors to tell a story about your landscape!
More Tutorials


