How to Draw a Clarinet: Easy 10-Step Guide for Kids
Bring the world of music to life with this simple clarinet drawing tutorial, designed specifically for young artists ages 6 and up. You will only need a pencil, an eraser, and a sheet of paper to master this woodwind instrument. Follow along to develop your observational skills and learn the basic anatomy of a clarinet.
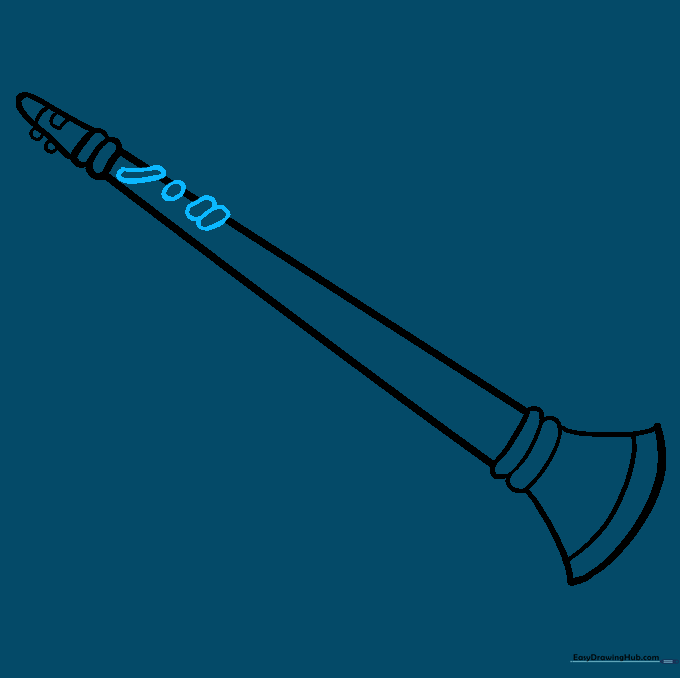
🎯 Final Result

Step-by-Step Instructions
Step 1: Sketching the Main Body

Draw two long, vertical lines that taper slightly toward the bottom. These form the main body of the clarinet. Teacher's Tip: Keep your pencil pressure light so you can easily adjust the width later if needed.
Step 2: Adding the Lower Joint

Draw three short, parallel horizontal lines at the bottom of your vertical shape, connecting them with small curves. This creates the joint where the bell attaches. Teacher's Tip: Think of these as small 'bands' wrapping around the instrument.
Step 3: Drawing the Bell
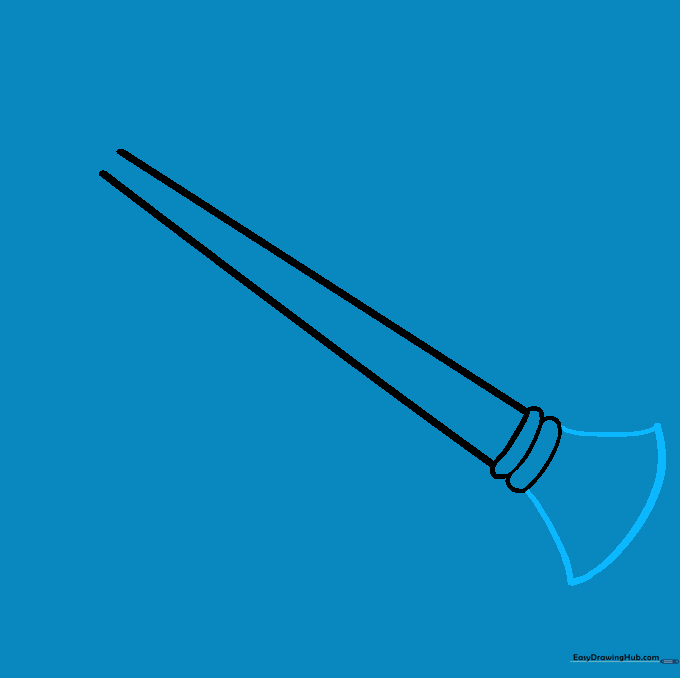
Extend two curved lines outward from the bottom and connect them with a wide, rounded base to form the bell. Teacher's Tip: Make sure the bell looks symmetrical to give your instrument a balanced, professional look.
Step 4: Adding the Bell Rim
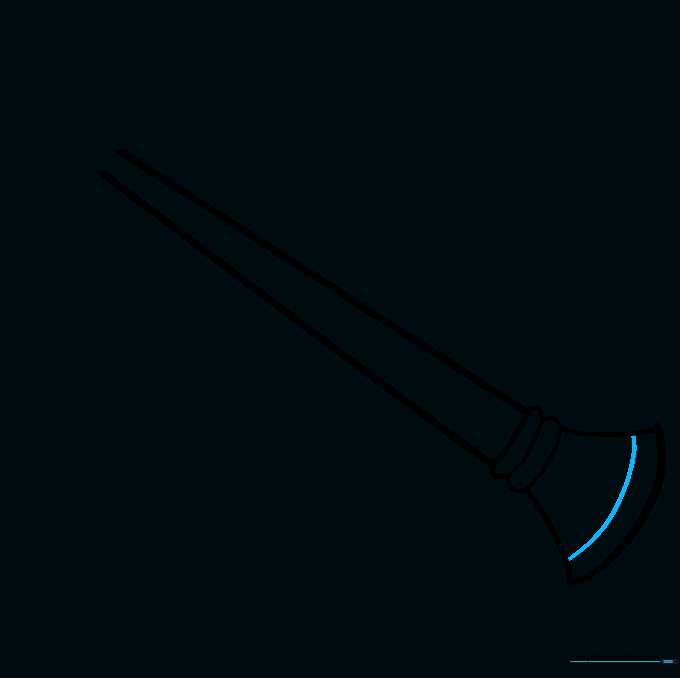
Draw a curved line inside the bottom of the bell to represent the silver rim. Teacher's Tip: Use a slightly darker line here to make the metal rim pop against the black body of the instrument.
Step 5: The Barrel and Mouthpiece
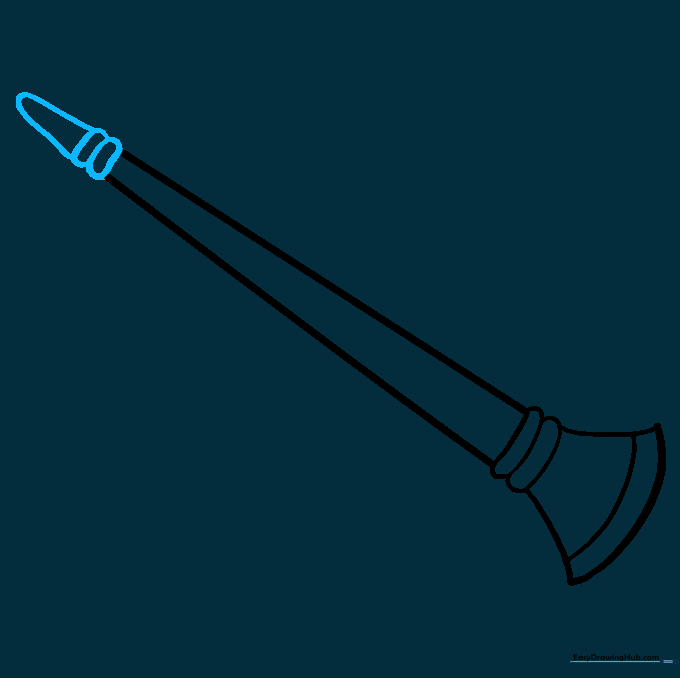
Add three parallel lines at the top for the barrel joint, then draw a rounded 'V' shape for the mouthpiece. Teacher's Tip: The mouthpiece is where the sound starts, so keep it neat and pointed!
Step 6: Detailing the Ligature
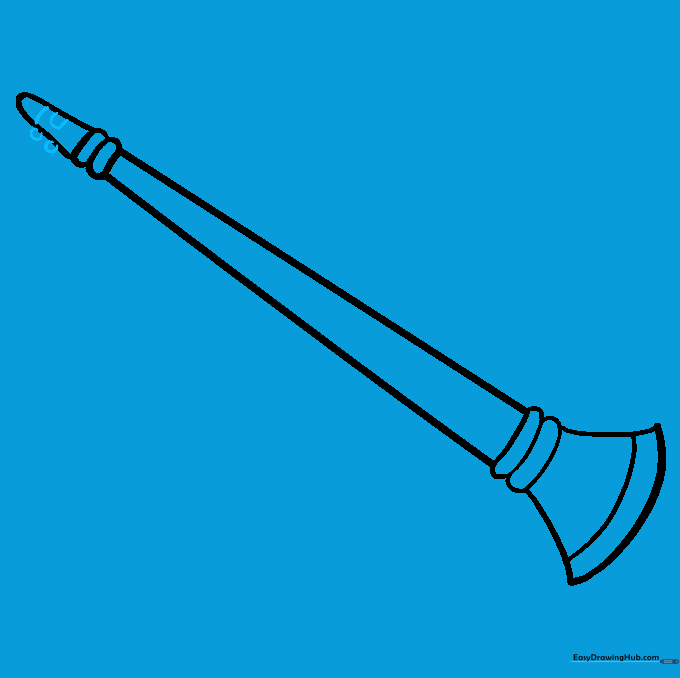
Draw a short line across the mouthpiece and add small 'U' shapes to represent the ligature that holds the reed. Teacher's Tip: Focus on small, controlled strokes to keep these details clean.
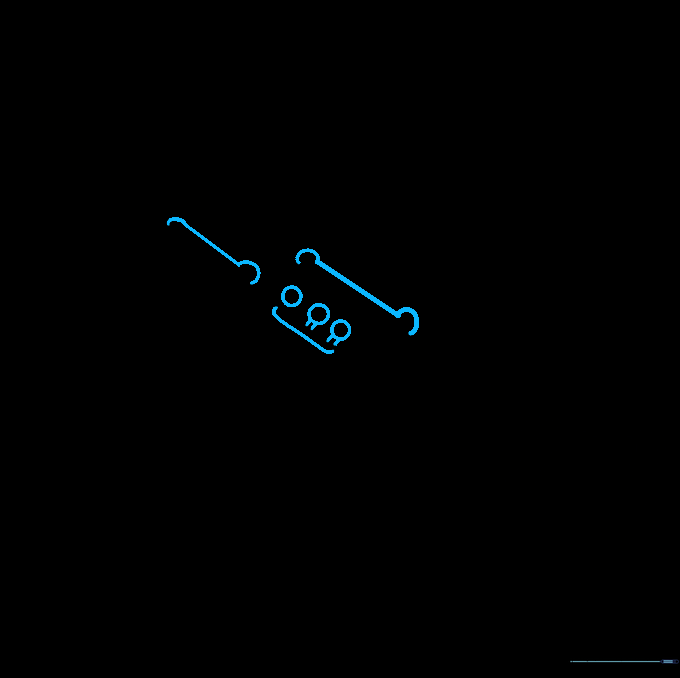
Step 7: Drawing the Upper Keys
Sketch several curved shapes along the upper joint. These are the keys the musician presses to change notes. Teacher's Tip: If you make a mistake, gently erase and try again—keys can be tricky!
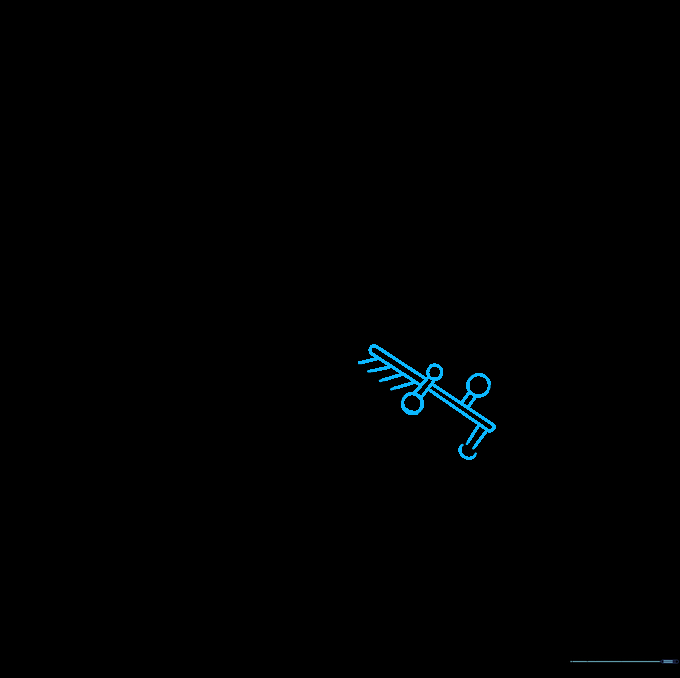
Step 8: Adding Lower Keys
Draw parallel lines and small circles down the length of the body to represent the rest of the key mechanism. Teacher's Tip: Keep these circles aligned to make the instrument look realistic.
Step 9: Refining the Details
Clean up your drawing by erasing unnecessary guidelines and adding final touches to the key circles. Teacher's Tip: A clean outline makes coloring much easier later on.
Step 10: Bringing it to Life with Color
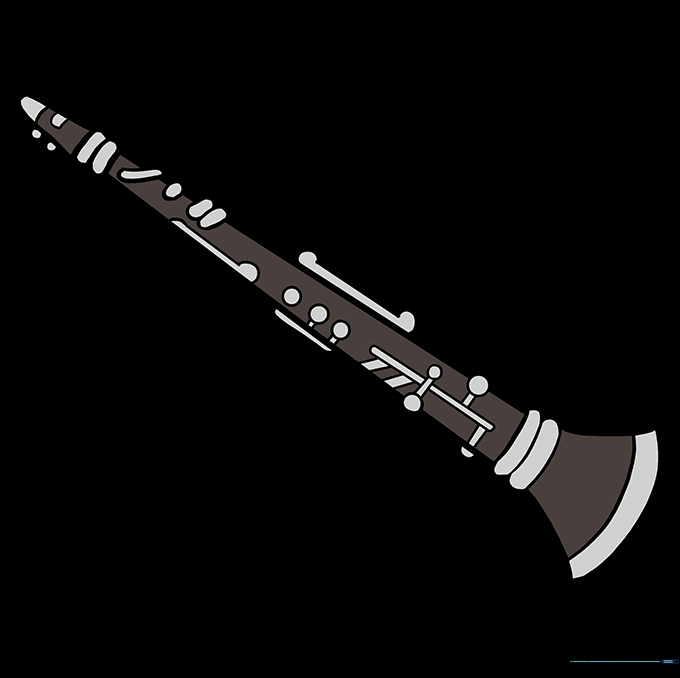
Color your clarinet black, leaving the keys and rings silver or light grey. Teacher's Tip: Use a light touch with your grey pencil to create a metallic shine on the keys.
More Tutorials


