How to Draw a Circus Tent: Easy 9-Step Guide for Kids
Bring the magic of the big top to your sketchbook! This tutorial is designed for young artists ages 5 and up. You will only need a pencil, an eraser, and some markers or crayons to create your own colorful carnival scene.
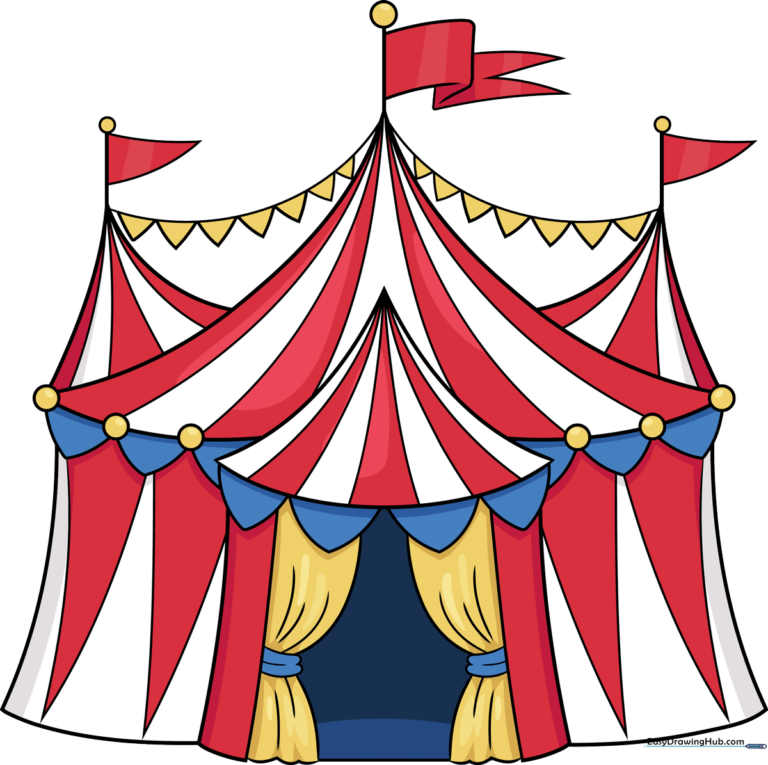
🎯 Final Result
Step-by-Step Instructions
Step 1: Sketching the Base Walls

Draw two sets of three vertical lines to create the main rectangular walls of the tent. Teacher's Tip: Keep these lines parallel to give your tent a sturdy, upright look.
Step 2: Drawing the Entrance Canopy
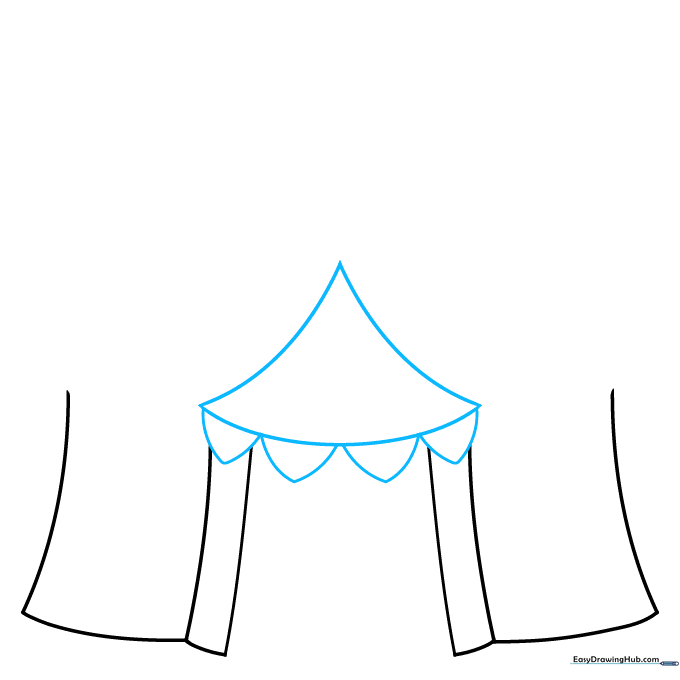
Sketch a curved triangle across the top of your rectangles, then add four small rounded triangles underneath. This creates the decorative canopy over the entrance. Tip: Use a light touch to keep the curves smooth.
Step 3: Defining the Main Roof
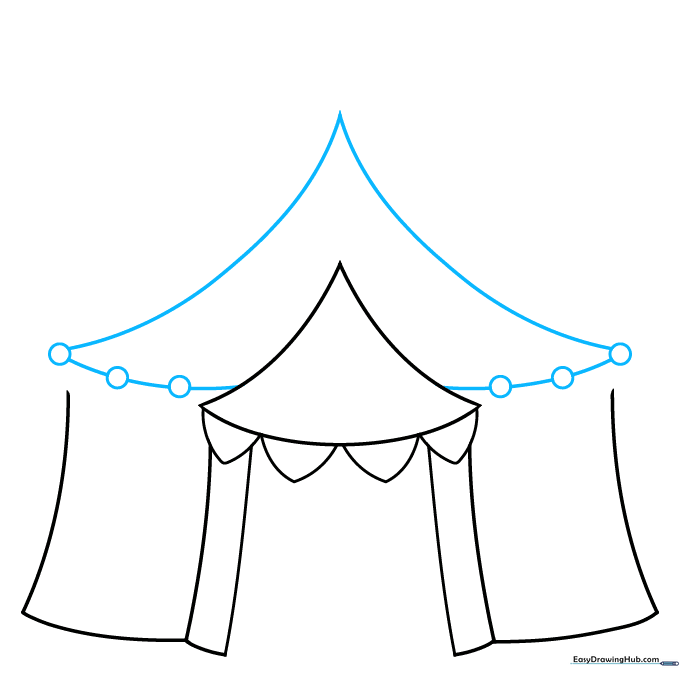
Draw a large curved rectangle behind the front section to represent the main tent roof. Add small circles along the bottom edge for detail. Tip: These circles act as anchors for the fabric panels.
Step 4: Adding Curtains and Details
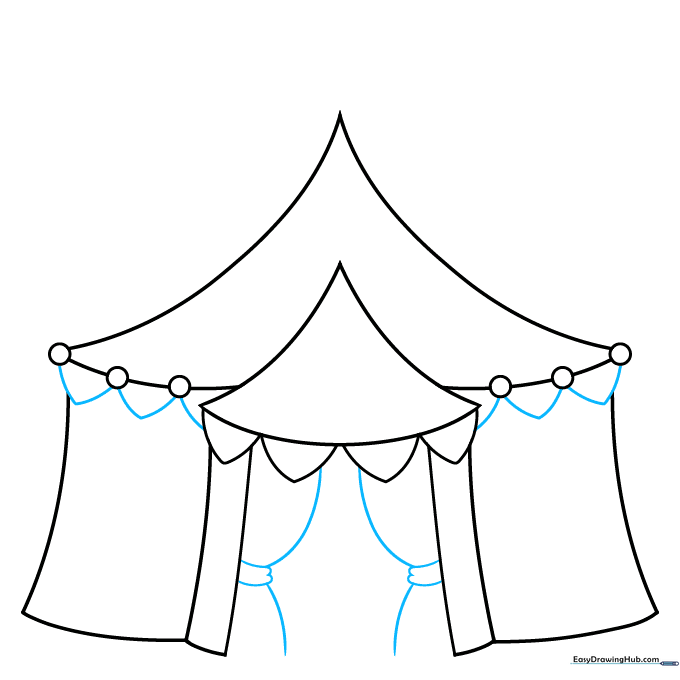
Add small triangles below the roof, connecting them to the circles. Sketch the entrance curtains using soft, wavy lines. Tip: Use 'C' shaped curves to make the fabric look like it is bunched up.
Step 5: Raising the Flag
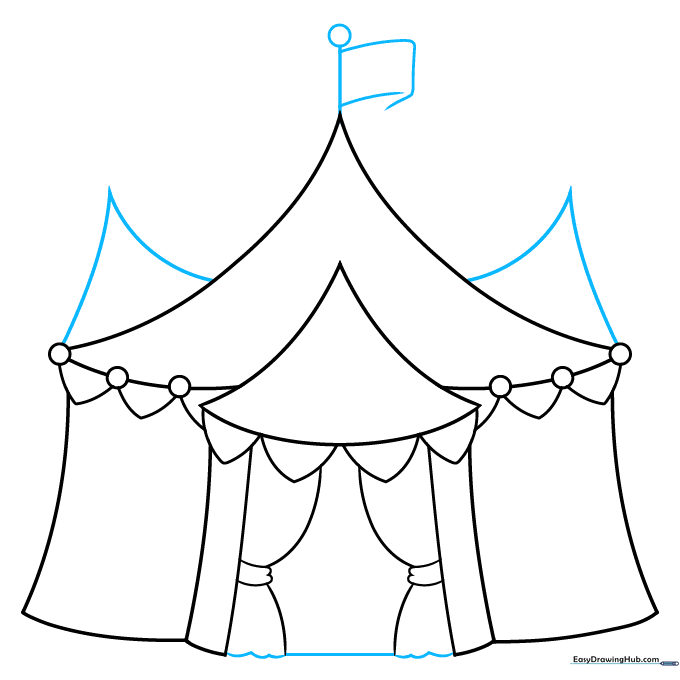
Draw two more triangles on the roof and a vertical line for the flagpole. Top it with a circle and a rectangular flag. Tip: Make the flag look like it's waving by using a slight 'S' curve.
Step 6: Adding More Flags
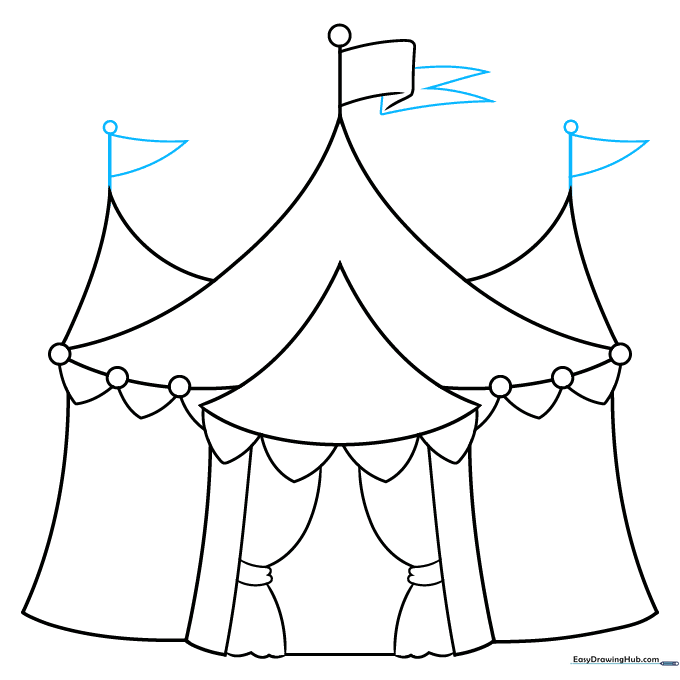
Complete the flag with a 'V' notch. Add more vertical lines and flags to the other roof peaks. Tip: Keep the flags consistent in size to maintain balance.
Step 7: Creating the Garland
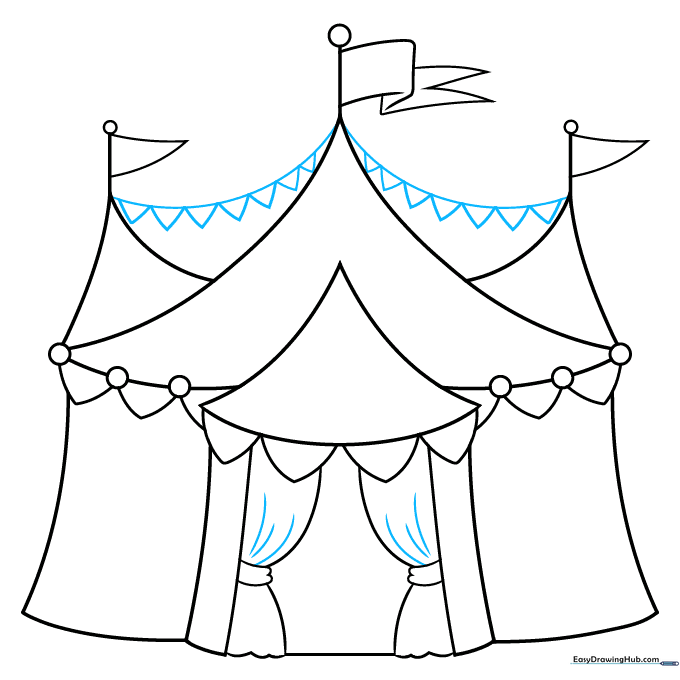
Connect the flagpoles with draped lines and add small triangles underneath to create a festive garland. Tip: Vary the size of the triangles slightly for a more natural look.
Step 8: Adding Texture
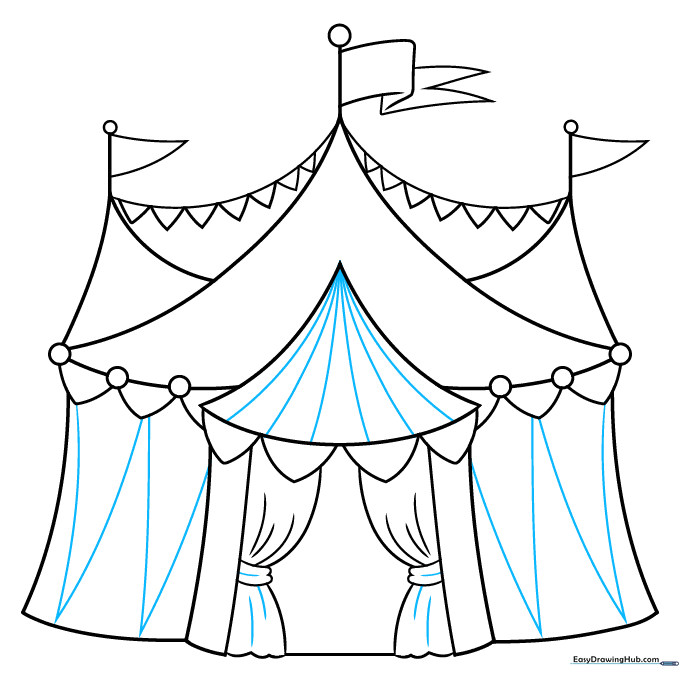
Draw lines radiating from the top of the canopy to the base to show the tent panels. Add 'V' shapes on the sides for texture. Tip: Use a ruler if you want perfectly straight lines, or freehand for a softer look.
Step 9: Final Touches
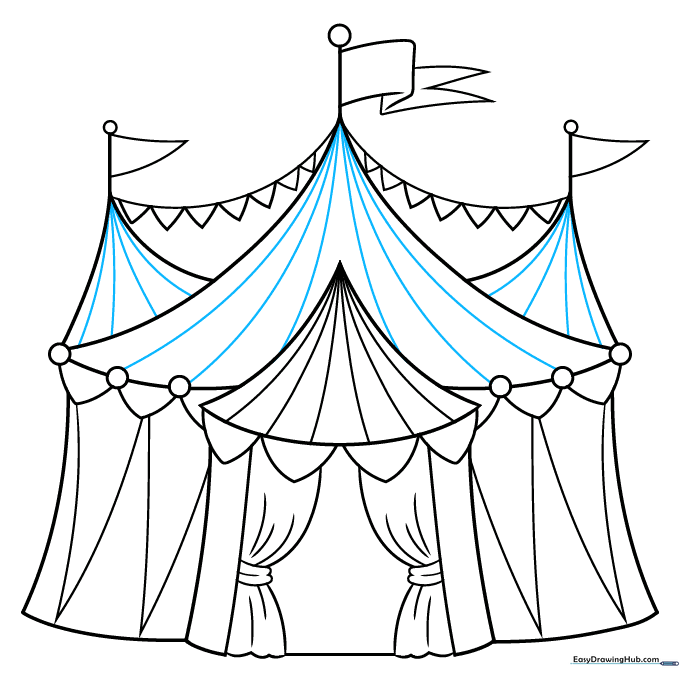
Add final curved lines across the roof to define the structure. Erase any stray pencil marks. Tip: Now you are ready to add your favorite bright colors!
Step 10: Color Your Masterpiece
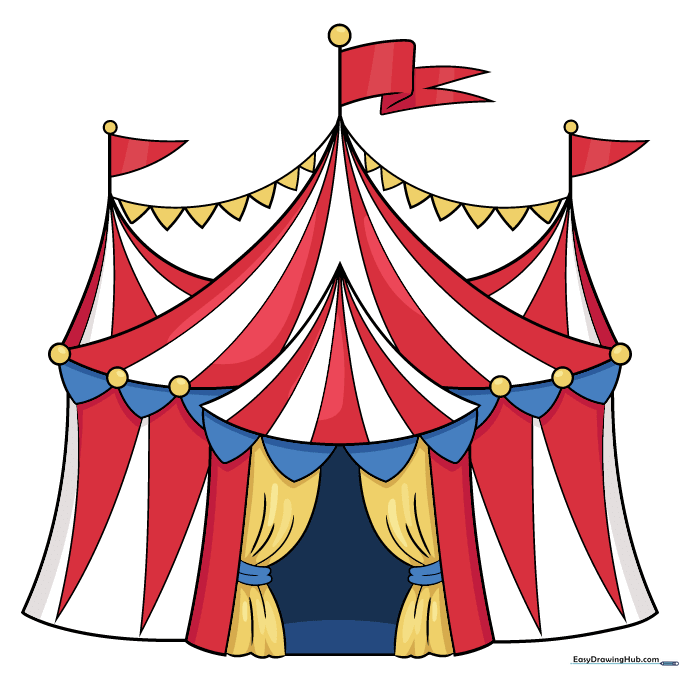
Bring your tent to life! Use bold reds, yellows, and blues. Circus tents are meant to be vibrant, so don't be afraid to use bright, happy colors.
More Tutorials


