How to Draw a Christmas Pudding: Easy 10-Step Guide
Bring some holiday cheer to your sketchbook with this festive Christmas pudding tutorial. Designed for artists ages 5 and up, this project requires only a pencil, eraser, and paper to create a classic seasonal treat. Follow along to practice your curved line work and shading techniques.
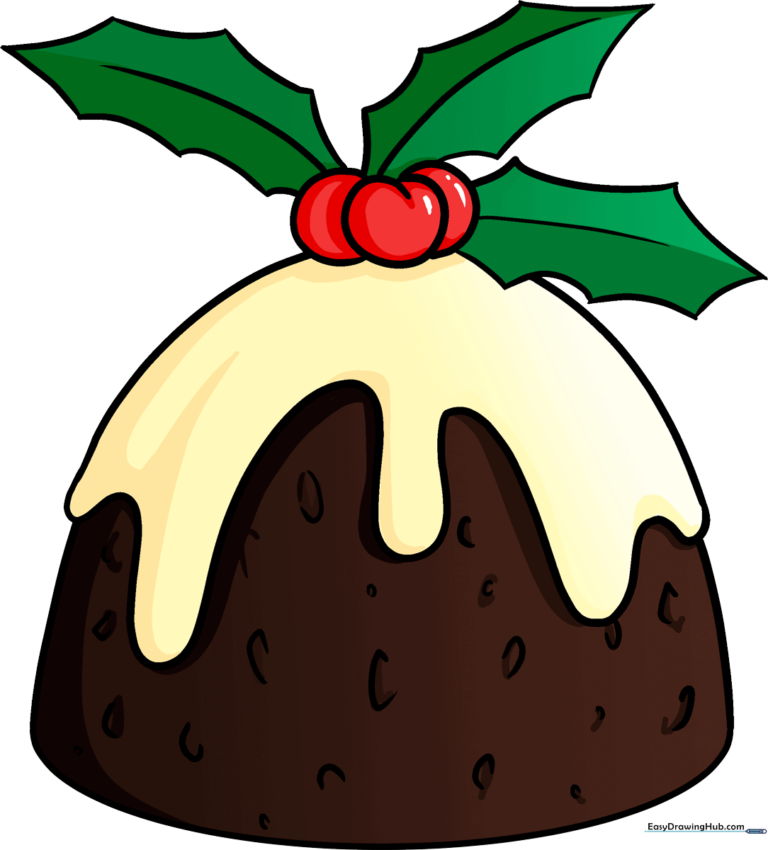
🎯 Final Result
Step-by-Step Instructions
Step 1: Sketching the Base

Draw a long, curved line shaped like a toppled 'C' to form the bottom of your pudding. Teacher's Tip: Keep this line light and loose; it acts as the foundation for the entire shape.
Step 2: Closing the Shape
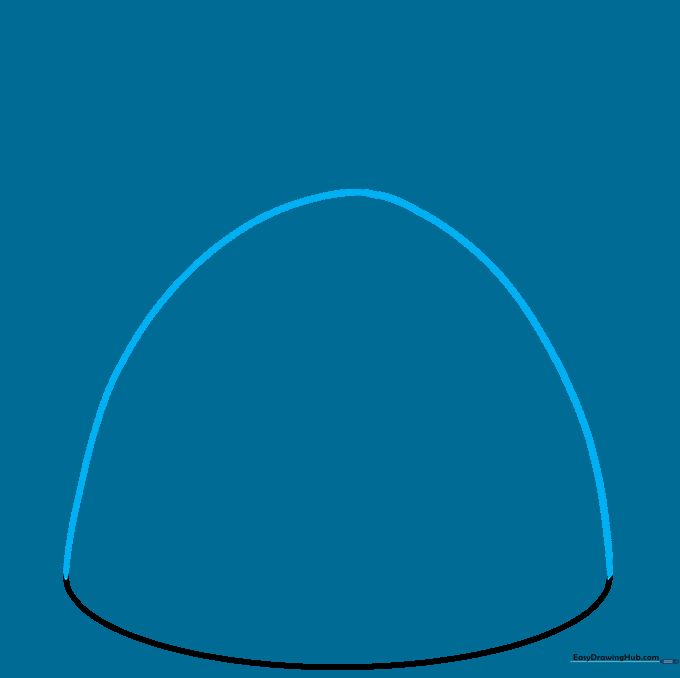
Draw a second curved line over the top of the first, connecting the ends to create a rounded, dome-like shape. Tip: Imagine you are drawing a slightly squashed circle.
Step 3: Adding the Icing
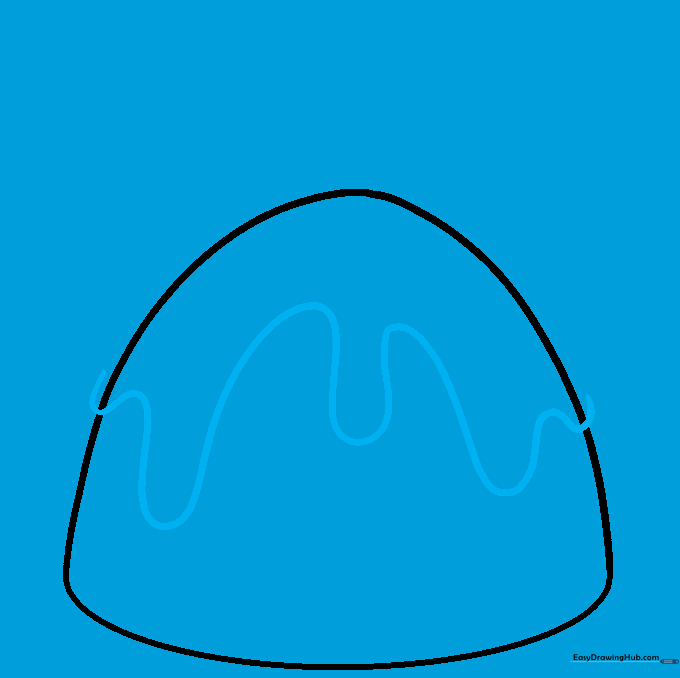
Draw a wavy line across the top portion of the pudding. This represents the thick, sweet icing dripping down the sides. Tip: Vary the height of the waves to make the icing look natural.
Step 4: Refining the Icing

Erase the original top line above your wavy line. Replace it with a smooth, rounded curve to finish the top mound of icing. Tip: Use a soft eraser to avoid smudging your paper.
Step 5: Drawing Holly Berries

Draw three small circles clustered together on top of the icing. These are your holly berries. Tip: Draw them slightly overlapping to make them look like a real bunch.
Step 6: First Holly Leaf
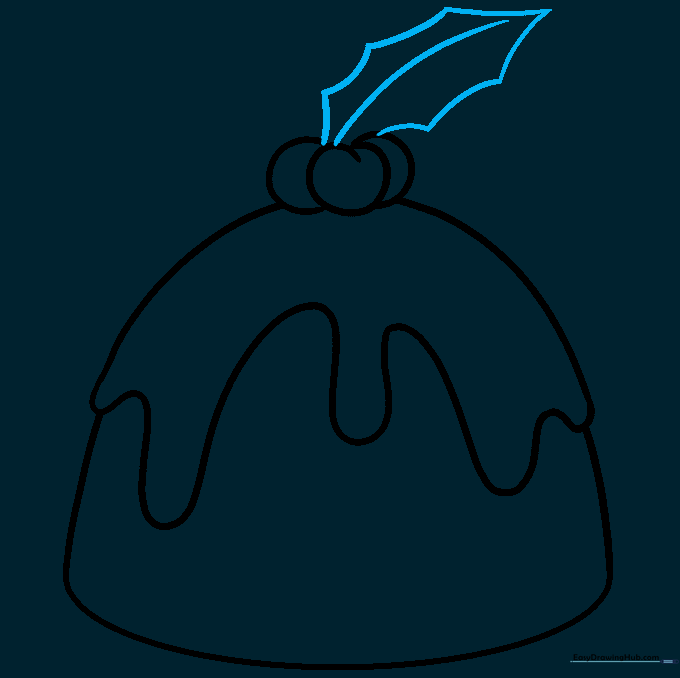
Draw a prickly leaf shape using a series of connected curved lines. Add a line down the center for the leaf vein. Tip: Keep the points of the leaf sharp to contrast with the round berries.
Step 7: Second Holly Leaf
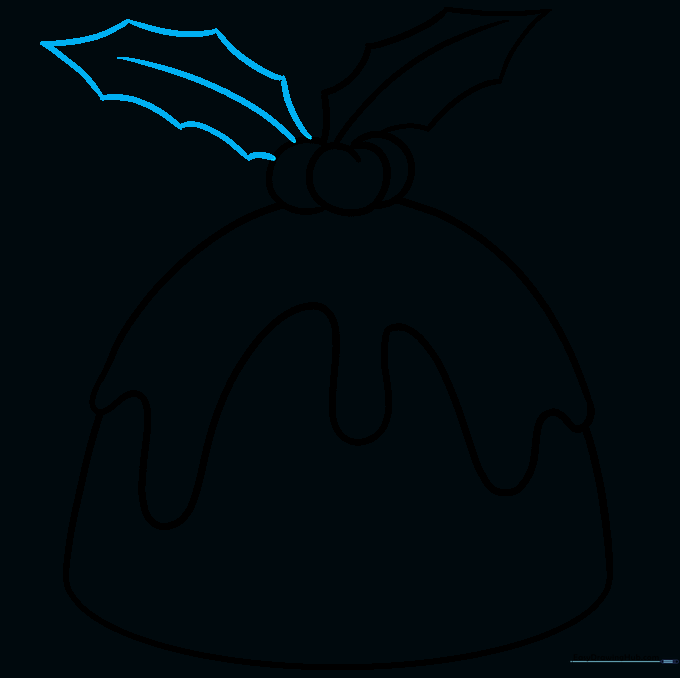
Add a second leaf extending from the berries. Use the same prickly technique as before. Tip: Try angling this leaf in a different direction to add movement to your drawing.
Step 8: Final Holly Leaf
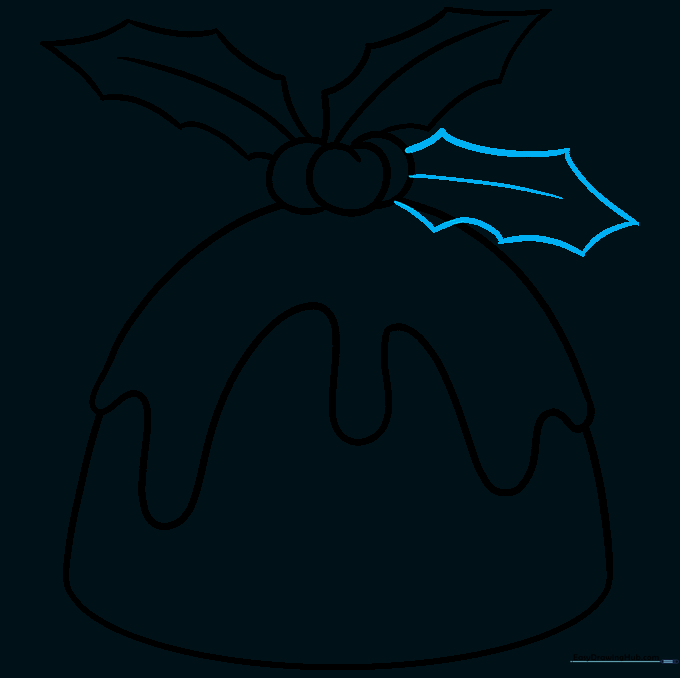
Draw your third and final holly leaf. Erase any lines from the pudding or berries that are hidden behind the leaves. Tip: Clean lines make the final drawing look professional.
Step 9: Adding Texture
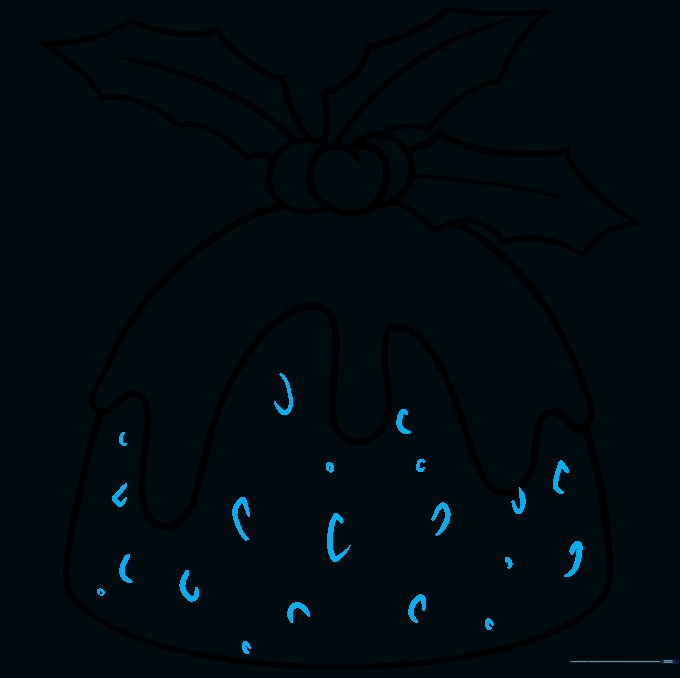
Add small 'C' shapes and ovals on the body of the pudding to represent raisins and fruit. Tip: Don't overdo it; a few scattered shapes look more realistic than a crowded surface.
Step 10: Coloring Time
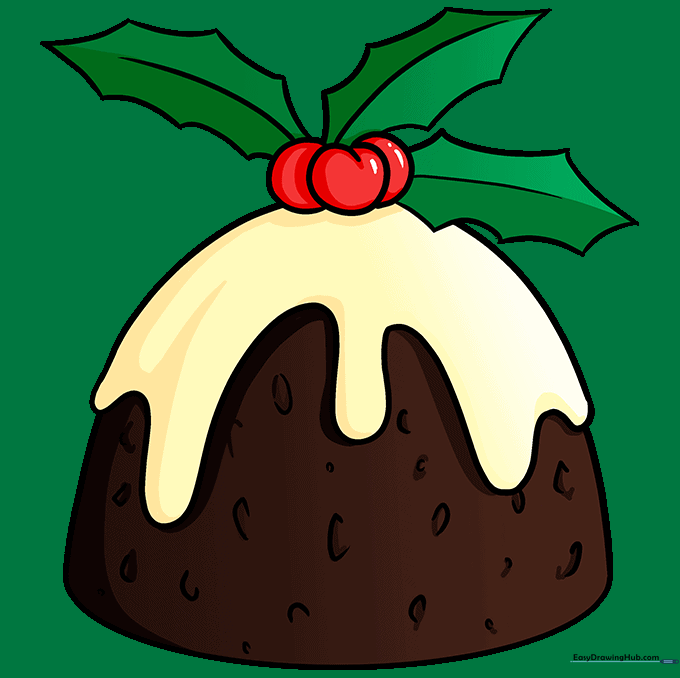
Bring your drawing to life with color! Use dark brown for the pudding, white for the icing, and bright red and green for the holly. Tip: Use a darker shade of brown on the bottom edge to create a simple shadow effect.
More Tutorials


