How to Draw a Christmas House: Easy 9-Step Holiday Guide
Bring the holiday spirit to life with this festive Christmas house drawing. Designed for artists ages 5 and up, this screen-free activity helps children practice geometric shapes and spatial awareness. Grab your pencil, eraser, and paper to create your own winter wonderland scene.
🎯 Final Result

Step-by-Step Instructions
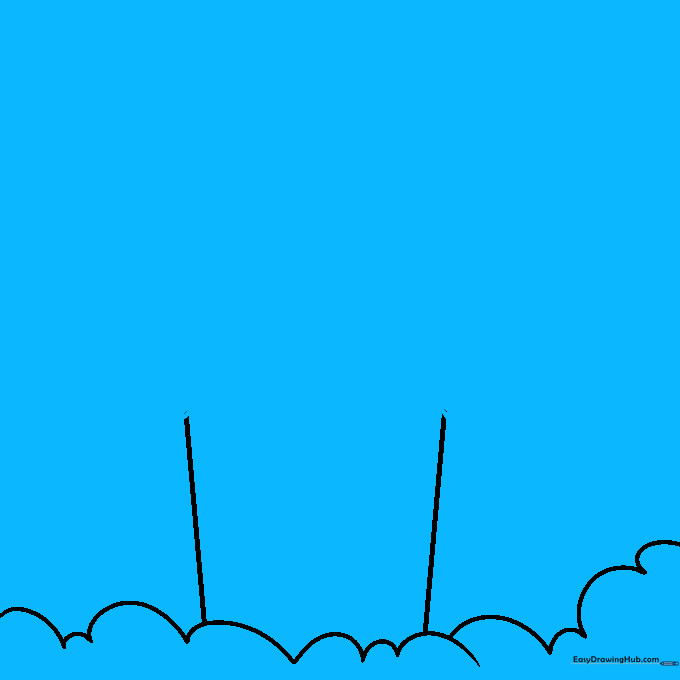
Step 1: Sketching the Snowy Base

Start by drawing a series of soft, connected curves at the bottom of your page to represent a snowdrift. Then, extend two vertical lines upward to form the front walls of your house. Teacher's Tip: Keep your pencil pressure light so you can easily adjust the lines later.
Step 2: Adding the Snowy Roof
Draw the roof using wavy, layered lines. These layers represent thick snow or icing on your house. Teacher's Tip: Use a 'bumpy' motion with your wrist to make the snow look soft and natural rather than perfectly straight.
Step 3: Framing the Door

Use straight lines to create rectangular steps leading to the door. Add an arch at the top of the doorway and a small circle for the knob. Teacher's Tip: Use a ruler if you struggle with straight lines, but encourage freehand drawing to build confidence.
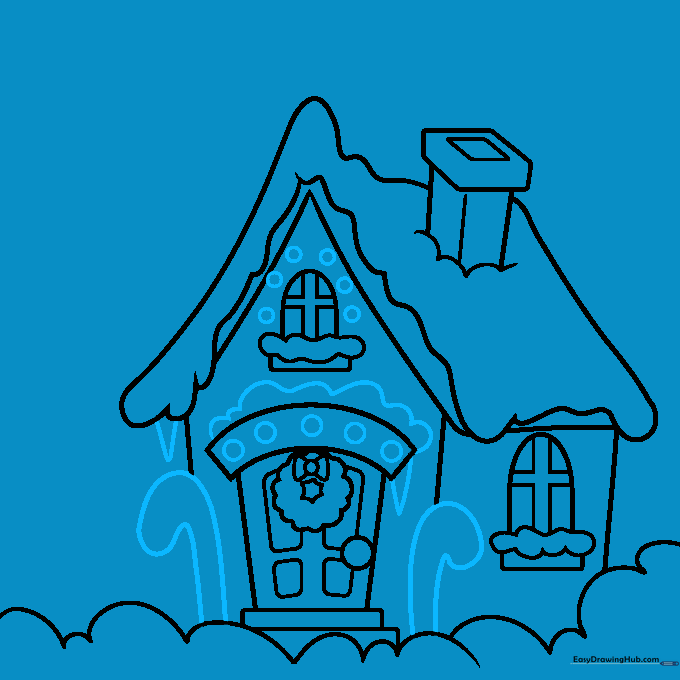
Step 4: Chimney and Wreath

Sketch a rectangular chimney on the roof with a wavy line for snow on top. Add a double-circle shape on the door to create a wreath. Teacher's Tip: Draw the wreath circles lightly first, then go over them with darker, short strokes to mimic pine needles.
Step 5: Windows and Flower Boxes
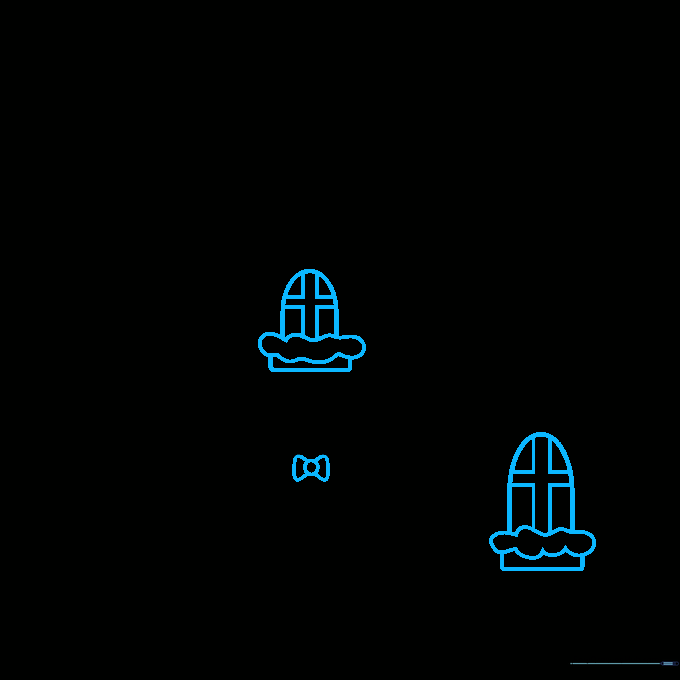
Add a bow to your wreath. Draw rectangular flower boxes under the windows using wavy lines for snow. Use 'U' shapes for arched windows and cross-lines for the panes. Teacher's Tip: Make sure the windows are aligned horizontally to keep the house looking balanced.
Step 6: Adding Festive Details
Add triangular icicles hanging from the roof and draw large 'J' shaped candy canes on either side of the house. Teacher's Tip: For the icicles, vary the sizes slightly to make them look more realistic.
Step 7: Candy Canes and Pine Trees
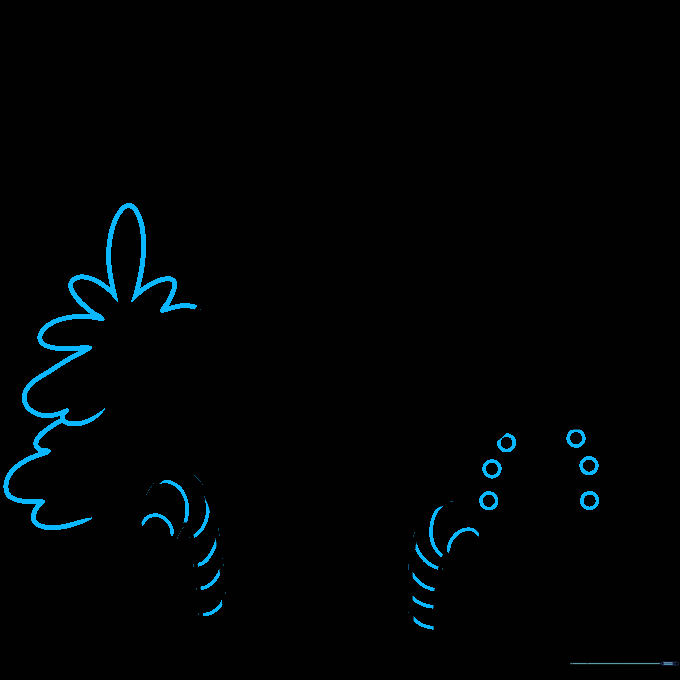
Add diagonal stripes to your candy canes. Sketch a pine tree next to the house using overlapping curved lines. Teacher's Tip: Start the pine tree from the top and make the branches wider as you move toward the bottom.
Step 8: Decorating the Trees

Add more trees in the background to create depth. Draw small circles on the trees to represent ornaments. Teacher's Tip: Vary the height of the background trees to make your scene look like a forest.
Step 9: Final Touches
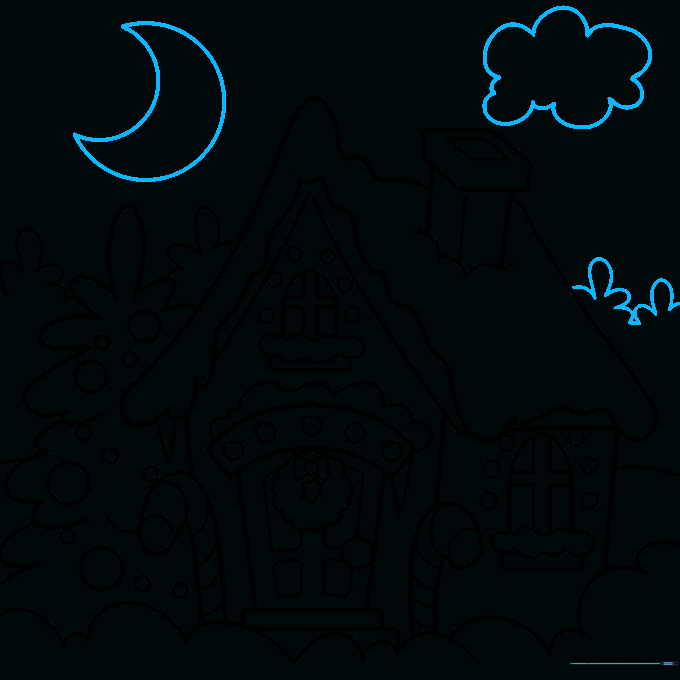
Complete your drawing by adding a crescent moon and a soft cloud in the sky. Erase any extra guide lines. Teacher's Tip: Use a soft eraser to clean up your sketch before you start coloring.
Step 10: Bring It to Life with Color
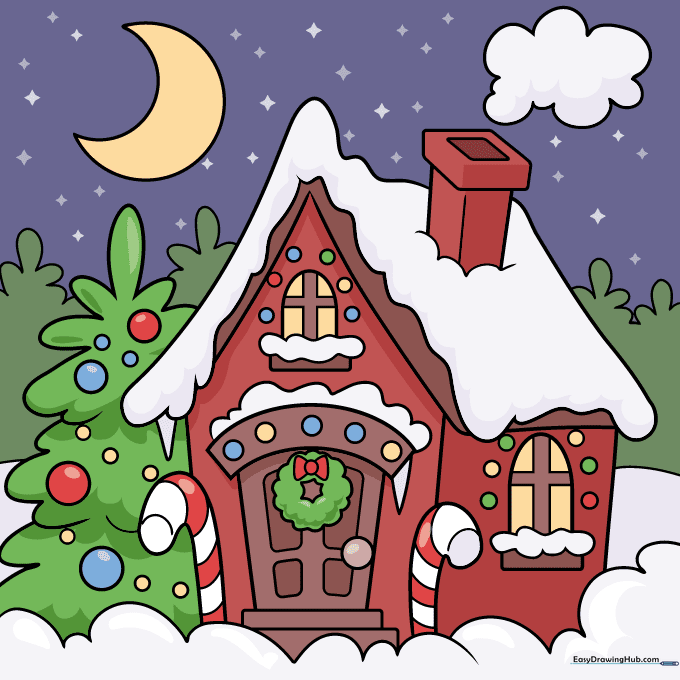
Use your favorite markers or colored pencils to bring your Christmas house to life. Try using bright reds for the candy canes and cool blues for the snowy shadows. Teacher's Tip: Color in one direction to keep your drawing looking neat and professional.
More Tutorials


