How to Draw a Chocolate Cake: Easy 10-Step Guide
This guide is perfect for budding artists ages 5 and up. All you need is a pencil, an eraser, and your favorite coloring supplies to bring this sweet treat to life. Follow these steps to master basic shapes and layering techniques while creating a fun, cartoon-style dessert.
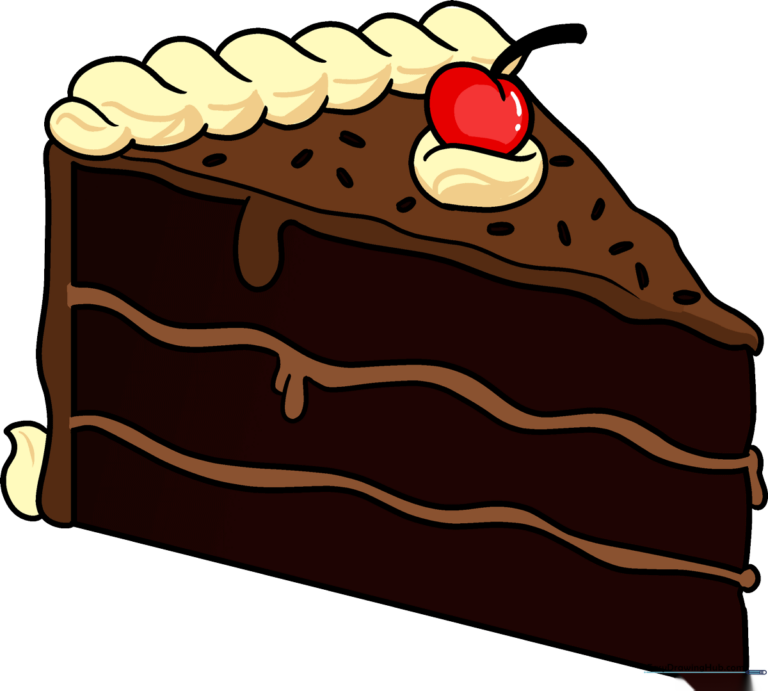
🎯 Final Result
Step-by-Step Instructions
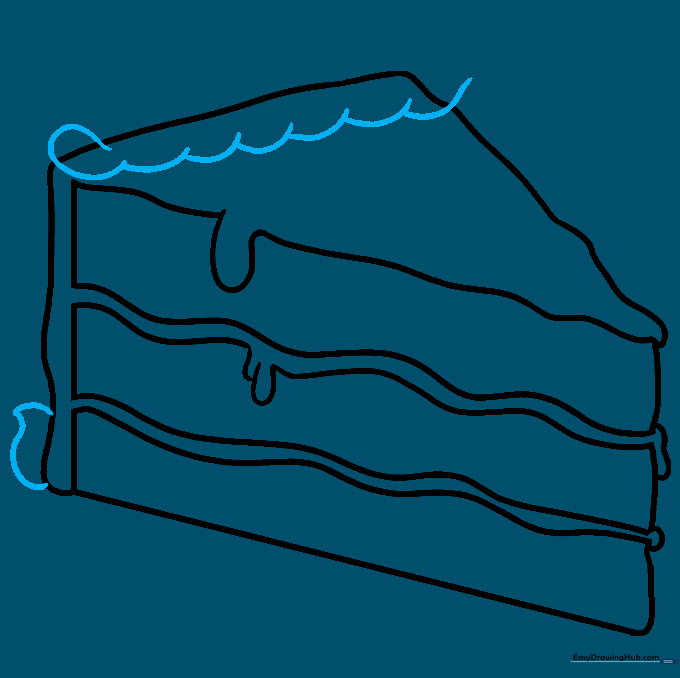
Step 1: Sketching the Icing Top

Draw an irregular triangle using wavy, curved lines to represent the top of the cake slice. Tip: Keep your pencil pressure light so you can easily adjust the 'drips' of icing later.
Step 2: Defining the Back Edge

Draw lines downward from the corners of your triangle to create the back side of the slice. Tip: Use a straight line for the inner edge and a wavy line for the outer edge to give the icing a realistic, thick texture.
Step 3: Forming the Base
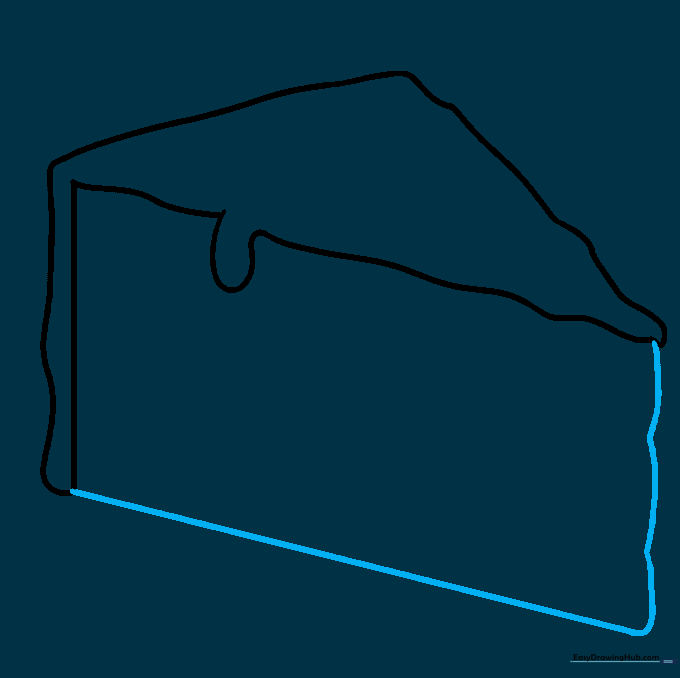
Draw a straight line for the bottom of the cake, connecting it to the point of the slice with a wavy line. Tip: Ensure the bottom line is parallel to the top to keep your cake looking balanced.
Step 4: Adding Middle Icing
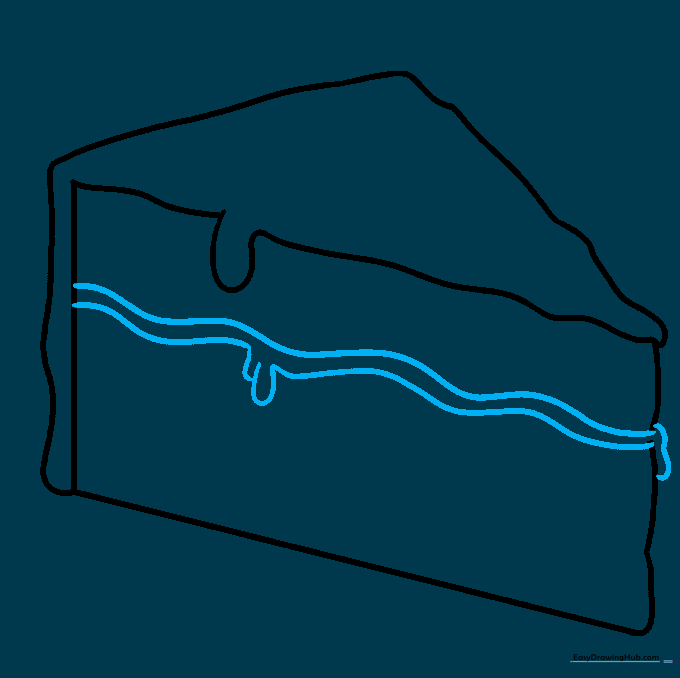
Draw two parallel wavy lines across the side of the cake to represent a layer of filling. Tip: Make the 'U' shapes in the icing look soft and rounded to suggest a creamy texture.
Step 5: Adding More Layers
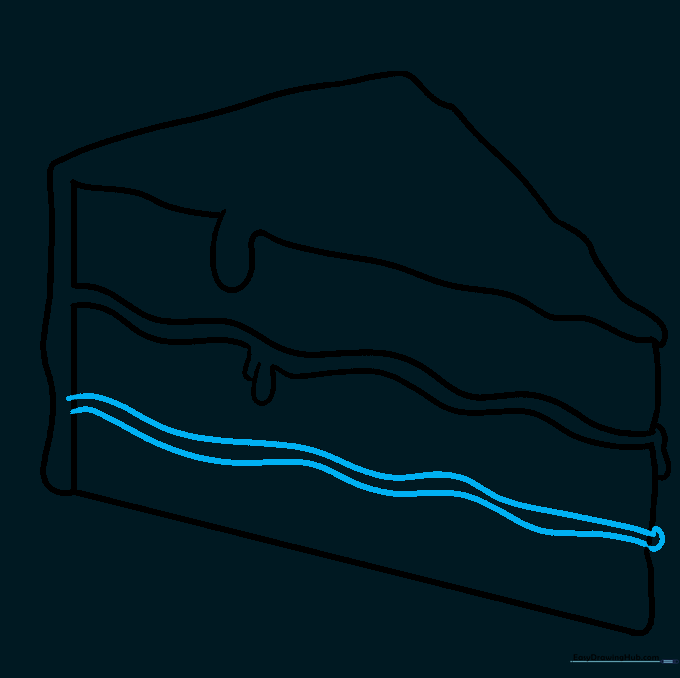
Add another pair of wavy, parallel lines below the first to create a second layer of icing. Tip: Vary the size of your waves slightly to make the cake look more natural and less mechanical.
Step 6: Decorating the Top
Erase any overlapping lines to clean up the shape. Then, draw overlapping curved lines on top of the cake to represent piped frosting. Tip: Think of these as little 'mounds' of whipped cream.
Step 7: Refining the Frosting
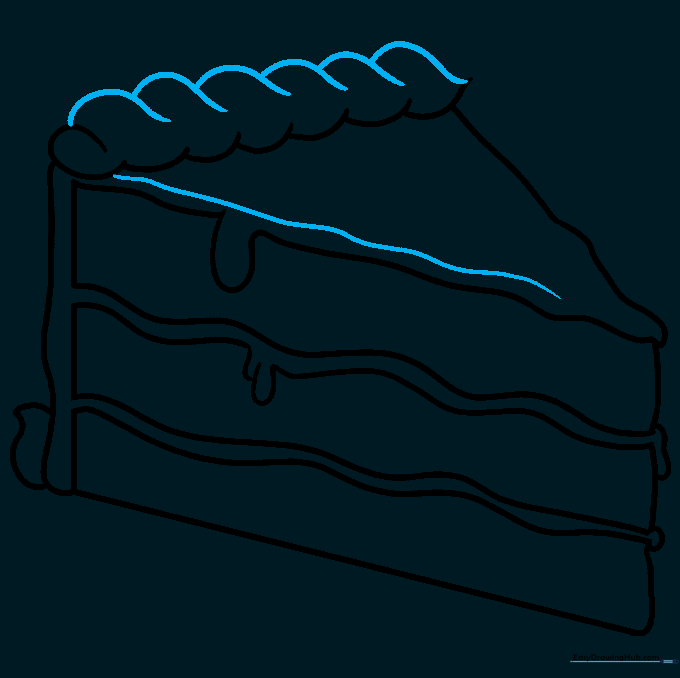
Add a second row of curved lines above the first to give the frosting volume. Contour the side of the slice with a curved line to show the icing's edge. Tip: Use your eraser to remove any lines inside the frosting mounds to make them look solid.
Step 8: Adding the Cherry
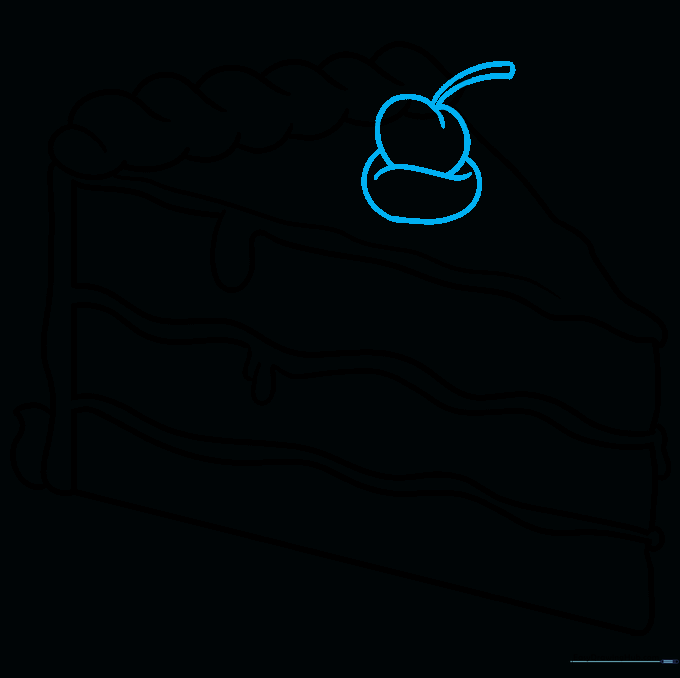
Draw a cherry on top using a rounded heart shape and a small stem. Tip: Draw the stem as two thin, parallel lines that curve slightly to give it movement.
Step 9: Adding Sprinkles
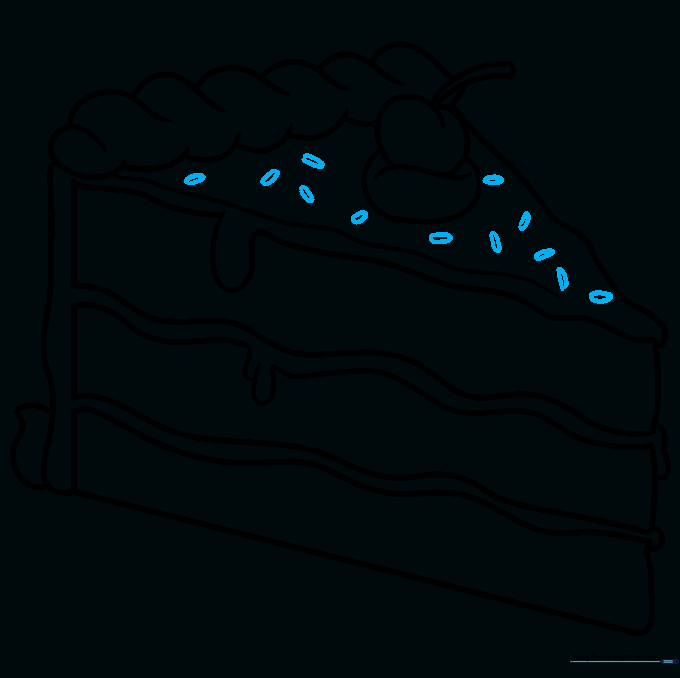
Add small ovals or rounded rectangles across the top of the cake for sprinkles. Tip: Scatter them randomly so they look like they were just shaken on!
Step 10: Bringing It to Life with Color
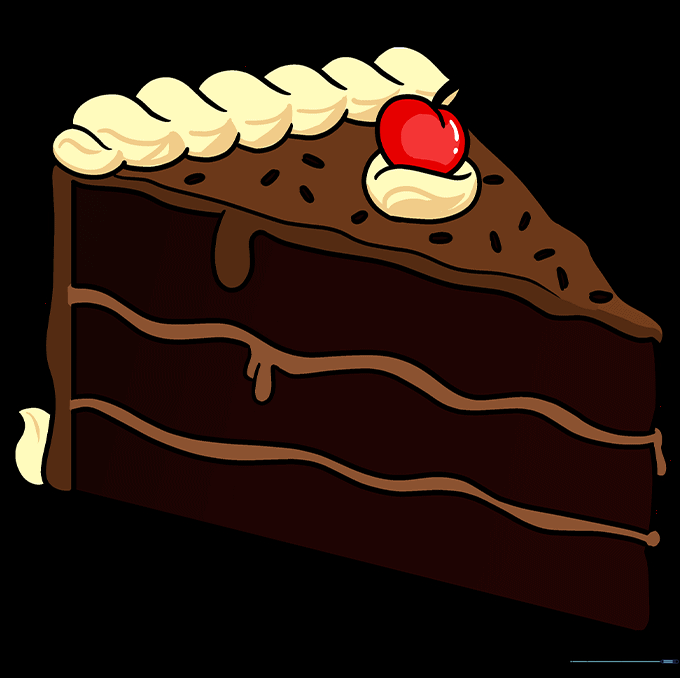
Time to color! Use rich browns for the cake and your favorite bright colors for the icing and sprinkles. Tip: Use a darker brown shade on the bottom of the cake layers to create a simple shadow effect.
More Tutorials


