How to Draw a Chipmunk: Easy 10-Step Guide for Kids
Ready to bring a forest friend to life? This tutorial is perfect for young artists ages 5 and up. All you need is a pencil, an eraser, and a piece of paper to start building your own cartoon chipmunk, complete with a favorite snack!
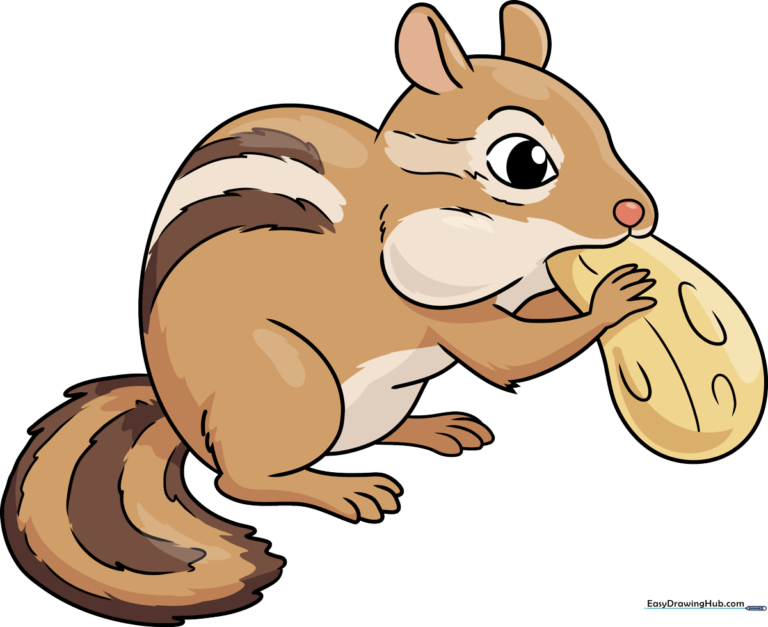
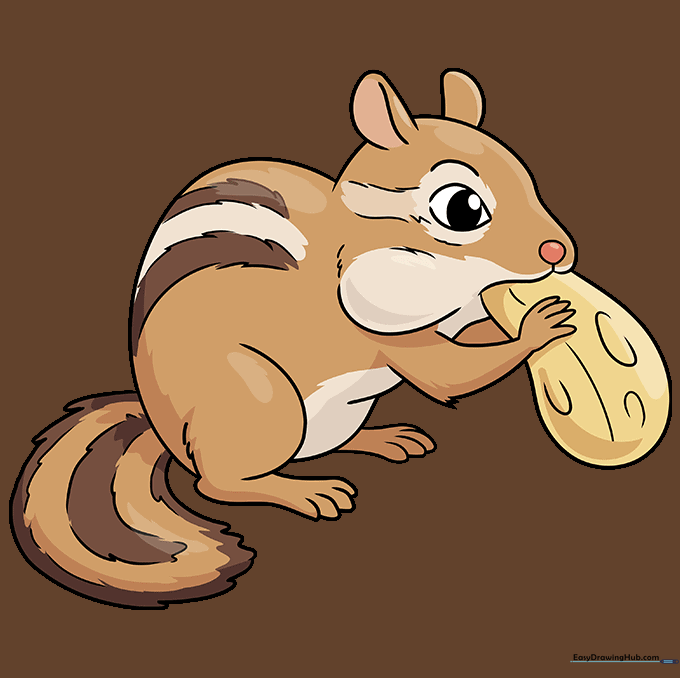
🎯 Final Result
Step-by-Step Instructions
Sketching the Head Base

Draw a teardrop shape with a small filled-in circle inside for the eye. Add a loose circle to the right, then sketch a curved line over the top. Teacher's Tip: Keep your pencil pressure light here so you can easily adjust the shape later.
Adding Ears and Head Shape

Draw a wide U-shape for the snout and a curved line for the cheek. Add two half-oval shapes on top of the head for the ears. Teacher's Tip: Make the ears slightly rounded to give the chipmunk a friendly, alert expression.
Forming the Body and Arm
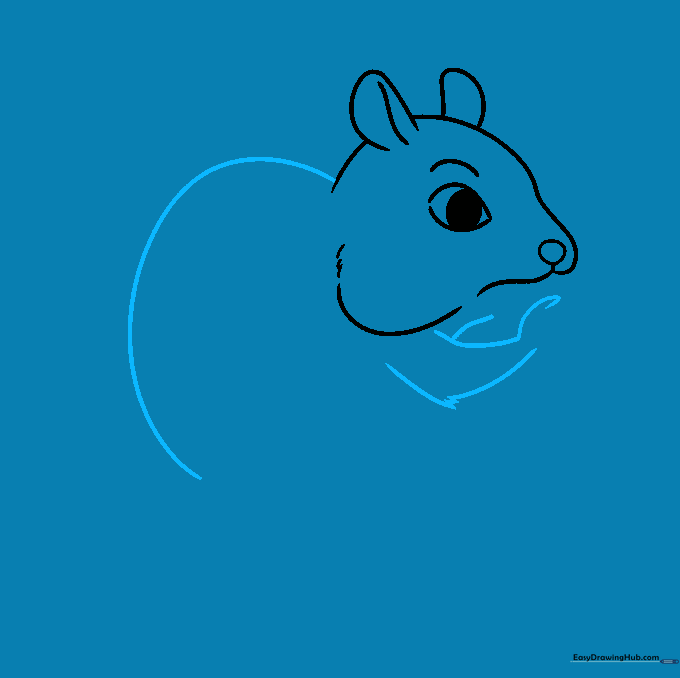
Sketch a large, rounded loop for the body. For the arm, draw two dashed lines with small 'v' shapes between them to suggest fur. Teacher's Tip: Use short, quick strokes to make the fur look fluffy rather than smooth.
Drawing Fingers and the Nut
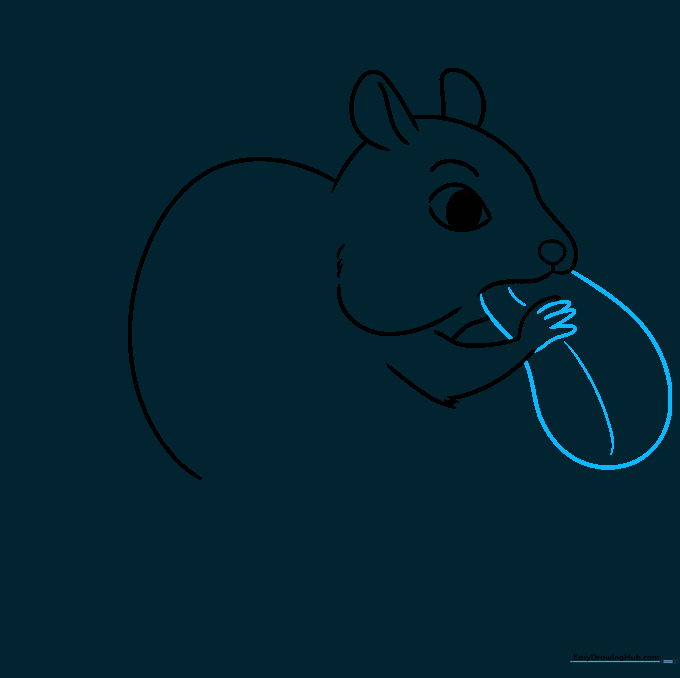
Draw thin ovals for the fingers and a large, elongated oval for the nut. Add two lines inside the nut for texture. Teacher's Tip: Overlapping the fingers slightly makes the hand look like it's actually holding the object.
Adding the Leg
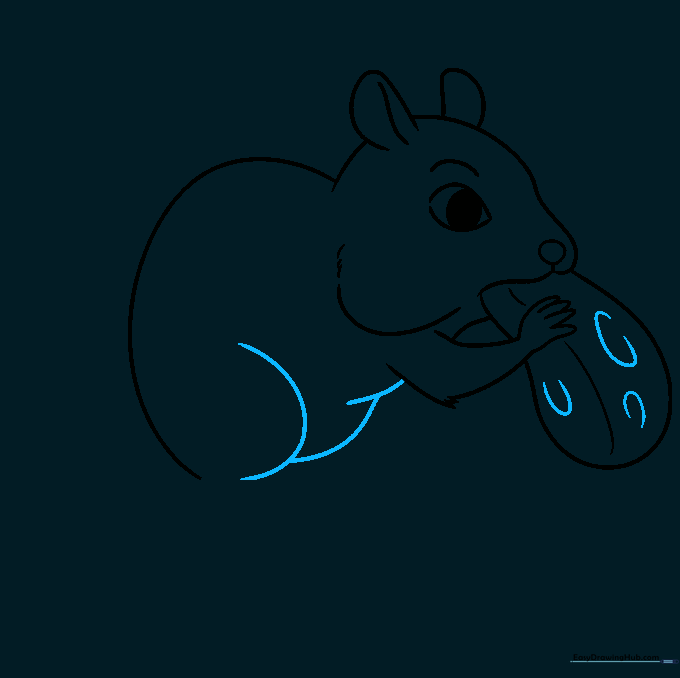
Draw a large loop for the top of the leg and connect it to the body with smooth, curved lines. Teacher's Tip: Think of the leg as a rounded 'C' shape to keep the proportions balanced.
Defining the Foot
Use short, sketchy lines for the leg fur. Create a wide, sweeping line for the bottom of the foot and add small triangles for the toes. Teacher's Tip: Keep the toes small and clustered to make them look cute and realistic.
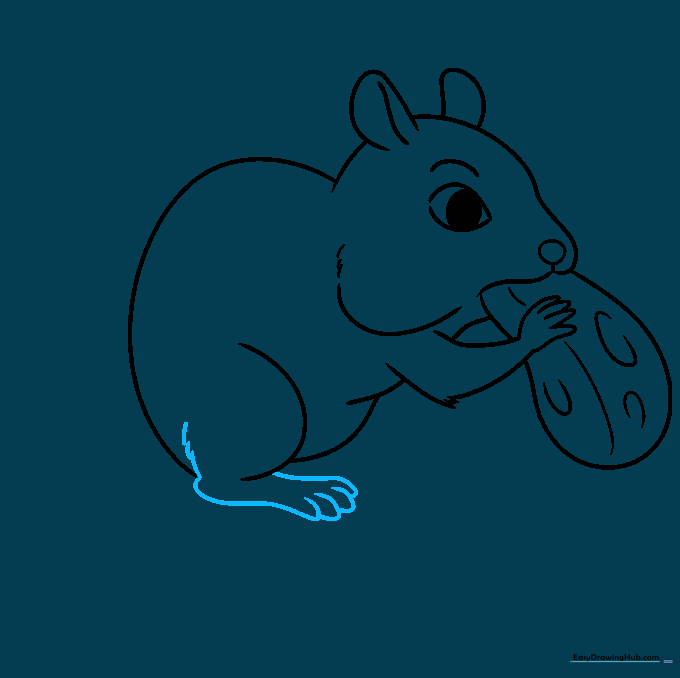
Adding the Second Foot
Near the first leg, draw a curve ending in a squiggly line for the second foot. Add thick ovals for the toes. Teacher's Tip: Ensure the second foot looks slightly smaller to create a sense of depth.
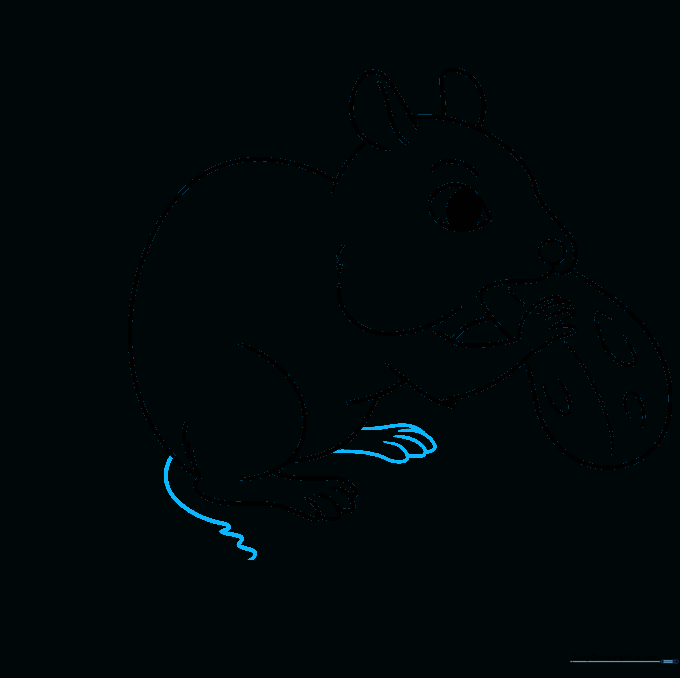
Drawing the Tail
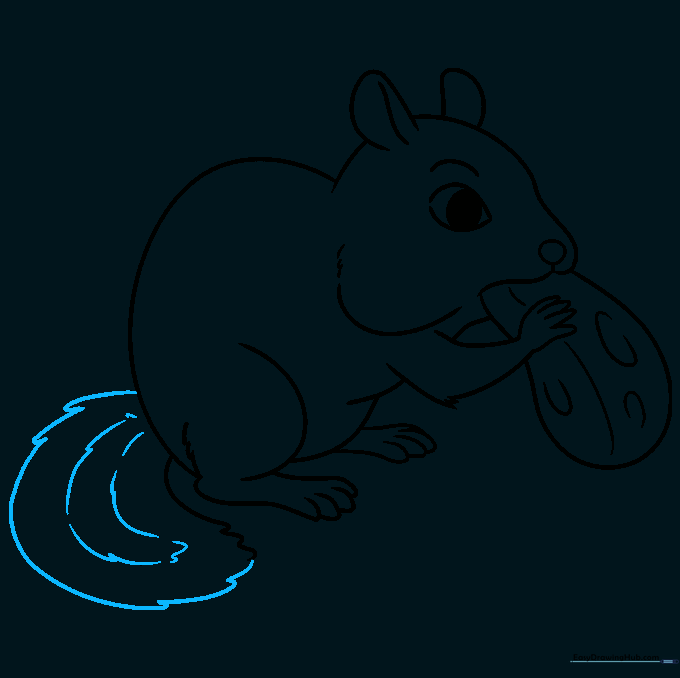
Use long, curved, squiggly lines to create a bushy tail. Teacher's Tip: Imagine the tail is like a soft, wavy ribbon; keep the lines fluid and avoid sharp, jagged corners.
Adding Fur Texture
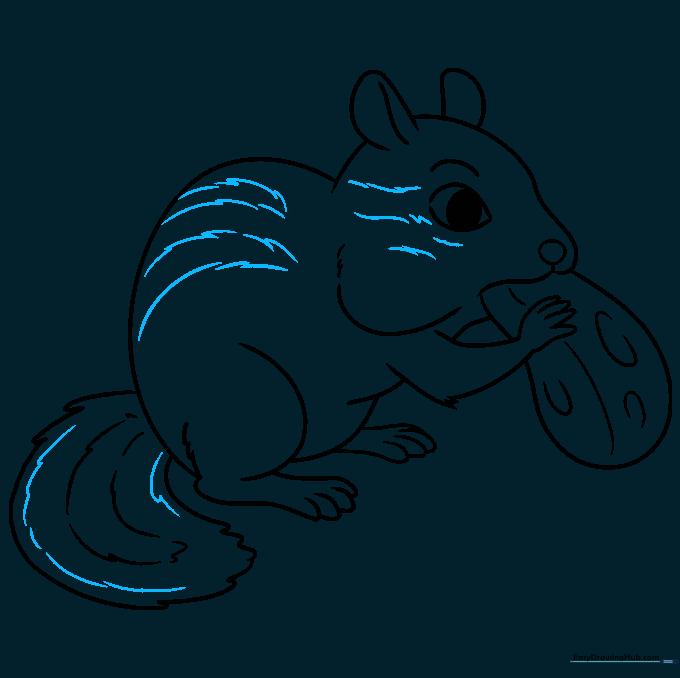
Add short, jagged lines across the body to suggest fur. Teacher's Tip: Focus these lines around the chest and back to make the chipmunk look soft and cuddly.
Final Outline and Coloring
Trace your final lines with a marker and erase the pencil marks. Color the fur in shades of light and dark brown, use pink for the nose, and yellow for the nut. Teacher's Tip: Use light brown for the main body and add darker brown stripes to give it that classic chipmunk look!
More Tutorials


