How to Draw a Chili Pepper: Easy 10-Step Guide
Ready to add some spice to your sketchbook? This tutorial is perfect for young artists ages 6 and up who want to practice organic shapes and textures. You will need a pencil, an eraser, and your favorite markers or colored pencils to bring these peppers to life.
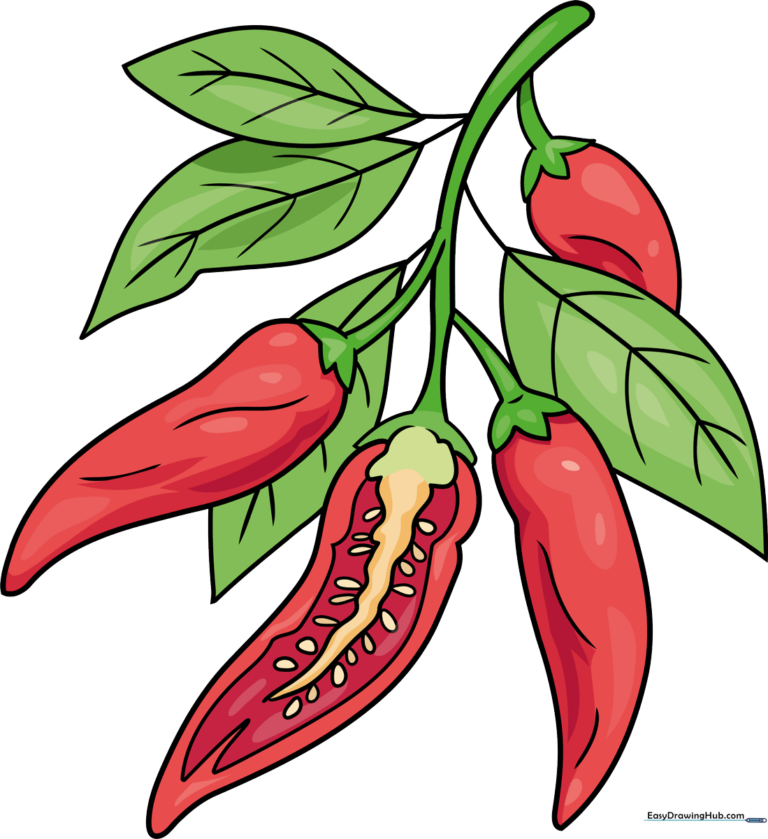
🎯 Final Result
Step-by-Step Instructions
Step 1: Sketching the First Pepper
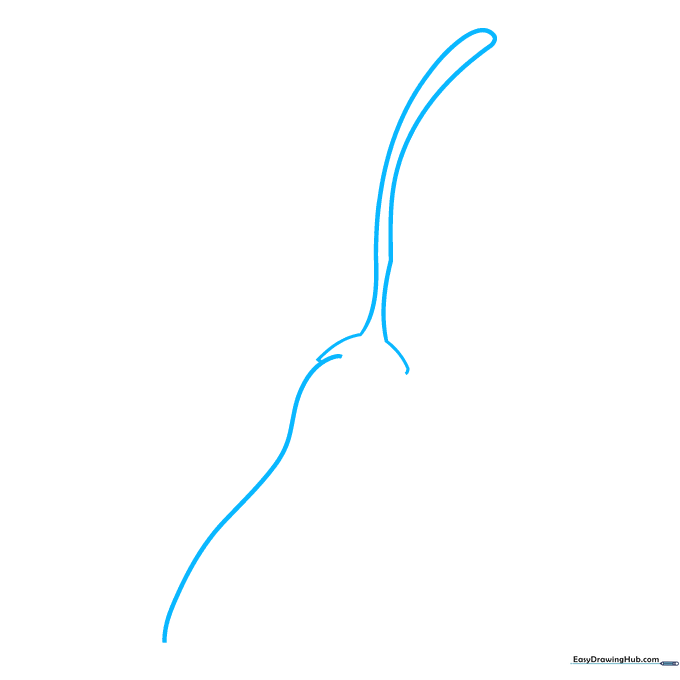
Start by drawing a long, slightly curved line to define the side of your pepper. Then, loop a curved line back on itself to form the cap and the stem. Teacher's Tip: Keep your pencil pressure light here so you can easily adjust the shape if the curve feels too sharp.
Step 2: Defining the Pepper Body
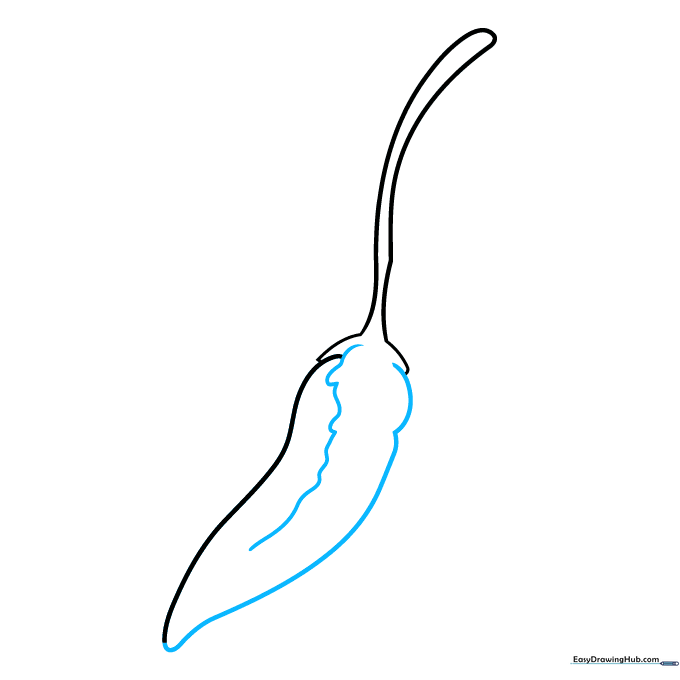
Complete the pepper's outline by connecting the lines back to the cap. Add a gentle, wavy line down the center to suggest the pepper's natural curve. Teacher's Tip: Think of this line as the 'spine' of the pepper; it helps give your drawing a three-dimensional look.
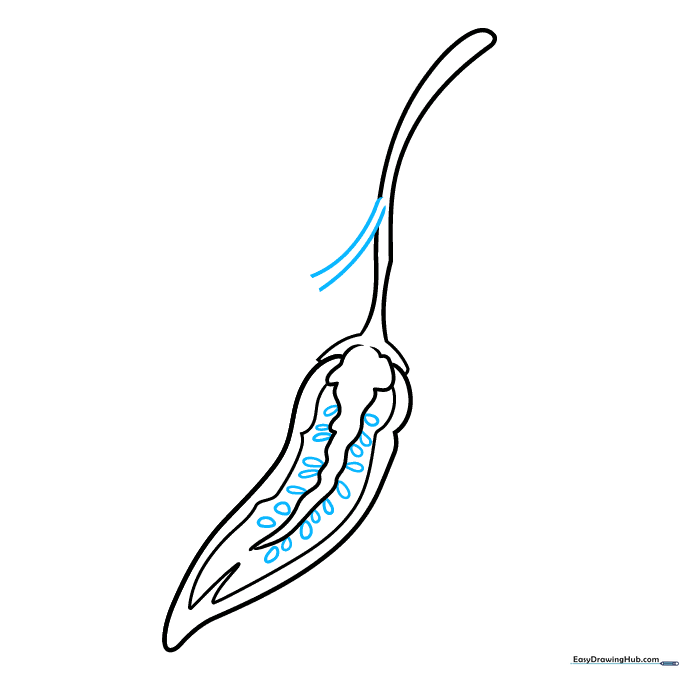
Step 3: Adding Internal Details
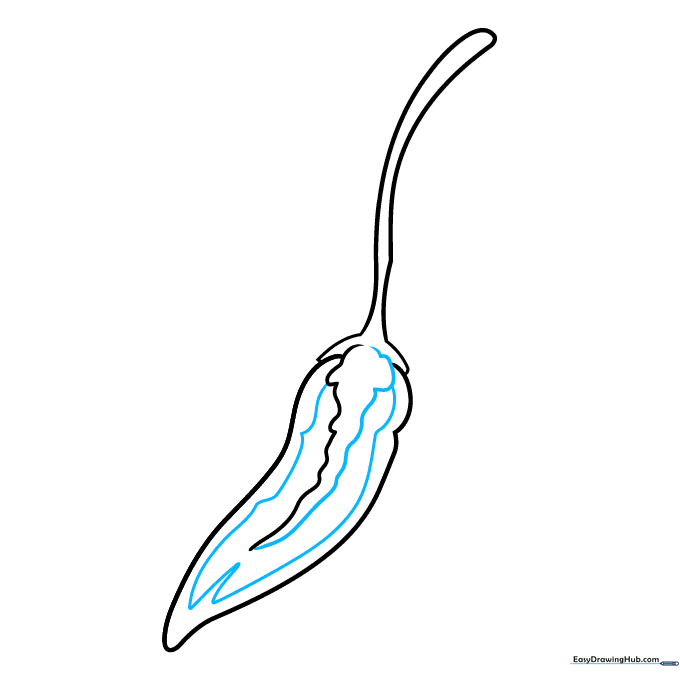
Draw a curved line mirroring the side to represent the seed membrane, then connect the sides with a small 'V' shape at the tip. Teacher's Tip: Don't worry about making it perfectly symmetrical; real peppers have unique, bumpy shapes!
Step 4: Starting the Second Pepper
Extend two new lines from the main stem area to begin your second pepper. Teacher's Tip: Use your eraser to clean up any overlapping lines so the stem looks like it's growing from the same plant.
Step 5: Shaping the Second Pepper
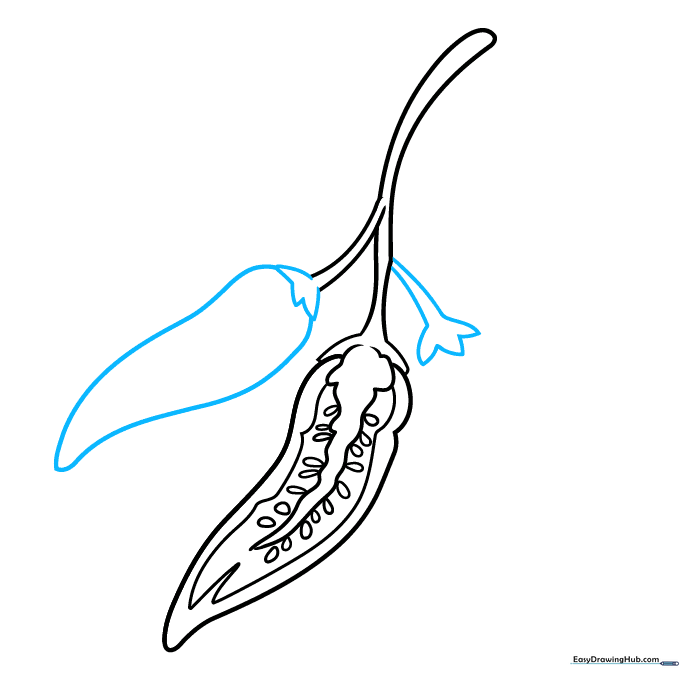
Draw the cap for the second pepper using small, pointed curves. Extend the body lines and loop them back. Teacher's Tip: Vary the length of these lines to make the peppers look like they are hanging at different angles.
Step 6: Adding a Third Pepper and Leaves
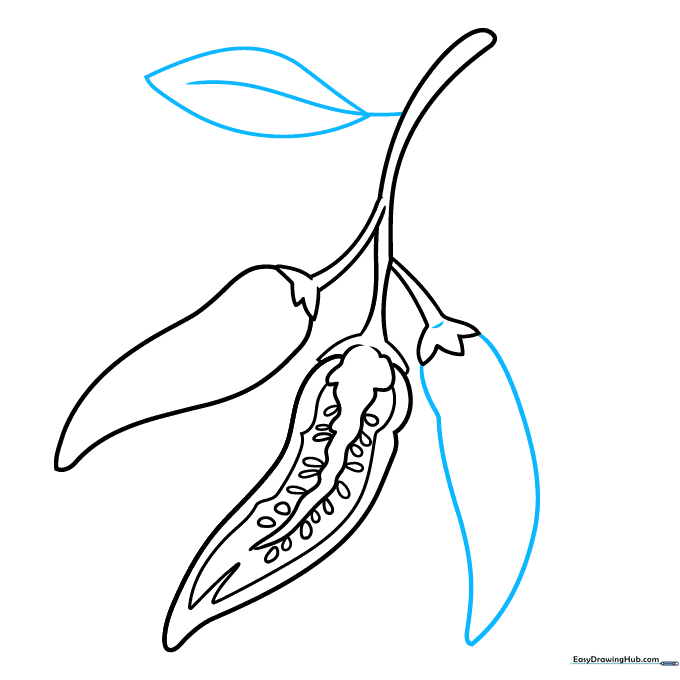
Sketch a third pepper hanging from the stem and add a leaf shape nearby. Teacher's Tip: Leaves are great for filling empty space—don't be afraid to let them overlap your peppers.
Step 7: Growing the Foliage
Add more leaves by drawing curved lines branching out from the main stem. Teacher's Tip: Use a 'flick' motion with your pencil to make the tips of the leaves look sharp and natural.
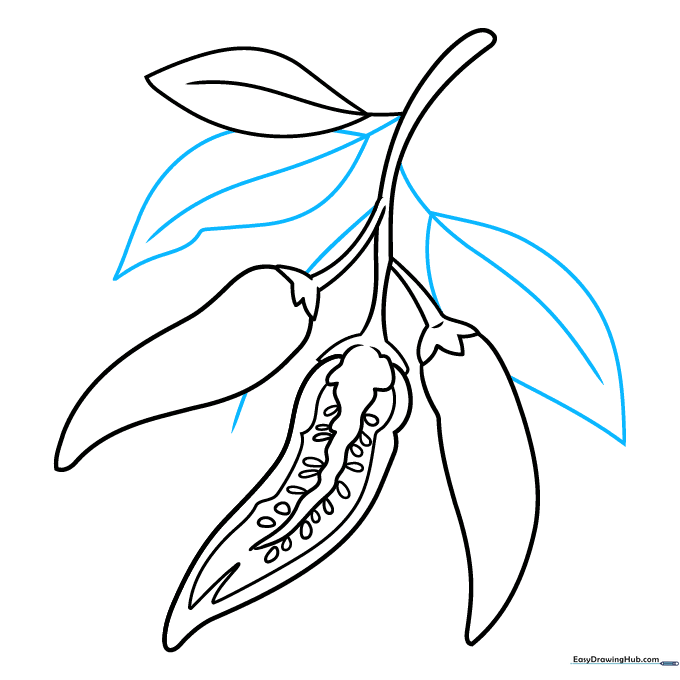
Step 8: Final Pepper Details
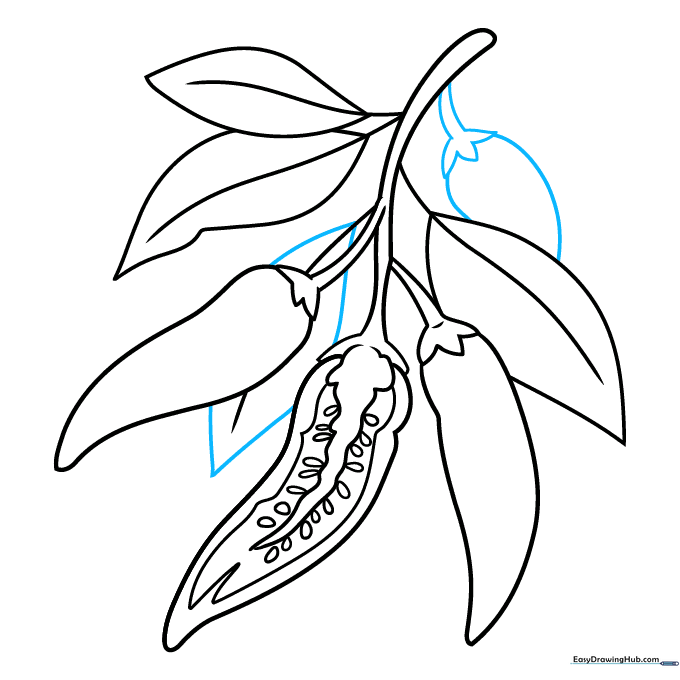
Draw a fourth pepper partially hidden behind a leaf to create depth. Teacher's Tip: Only draw the parts of the pepper that you can see; this 'hidden' effect makes your drawing look more professional.
Step 9: Adding Texture
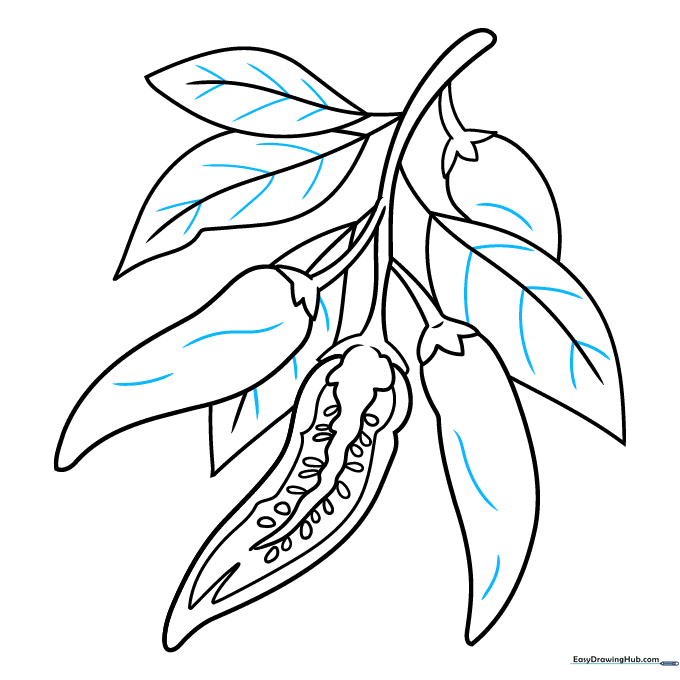
Add small, curved lines to the peppers to show wrinkles and texture. Add veins to the leaves. Teacher's Tip: Keep these lines very thin—they are just small details to make the drawing pop!
Step 10: Bringing it to Life with Color

Now for the fun part! Use vibrant reds for ripe peppers, or experiment with greens and yellows. Teacher's Tip: Use a darker shade of red near the edges of the peppers to create a simple shadow effect.
More Tutorials


