How to Draw a Chihuahua: Easy 10-Step Guide for Kids
Ready to bring a tiny, adorable Chihuahua to life? This tutorial is perfect for young artists ages 5 and up. All you need is a pencil, an eraser, and some paper to start building your drawing skills with this fun, character-focused lesson.
🎯 Final Result

Step-by-Step Instructions
Step 1: Sketching the Expressive Eyes

Start by drawing two curved lines for the eyes with pointed corners. Add a circle inside each for the pupil and shade it in. Teacher's Tip: Keep your pencil pressure light so you can easily adjust the shape if the eyes look uneven.
Step 2: Defining the Muzzle and Smile

Draw a long curved line from the eye corner to create the snout, doubling it back for a happy mouth. Add a rounded nose with two small shaded ovals for nostrils. Teacher's Tip: A Chihuahua's nose is small and button-like, so keep your shapes compact.
Step 3: Shaping the Head

Outline the head using a long, smooth curved line that defines the cheek. Add small curved lines for the eyebrows to give your dog personality. Teacher's Tip: Focus on the 'apple head' shape characteristic of the breed.
Step 4: Adding the Signature Ears
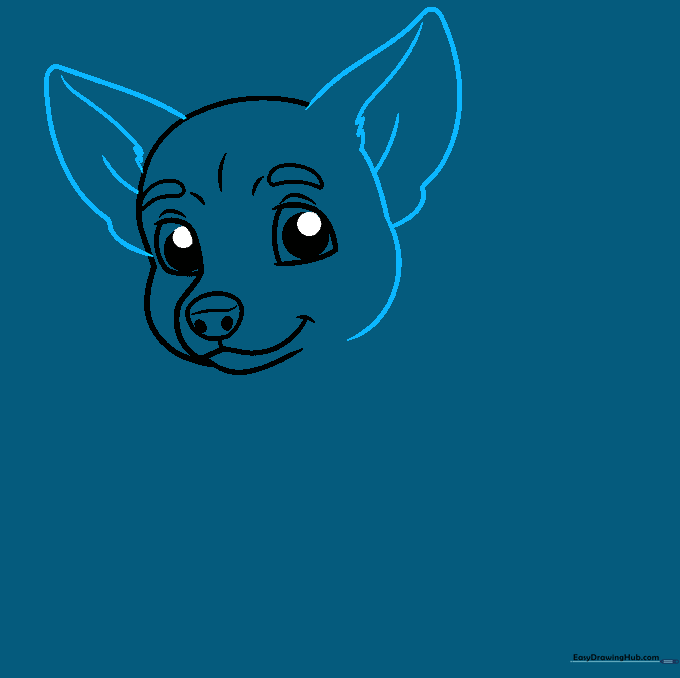
Draw two large, rounded triangles on top of the head for the ears. Add inner lines to show depth. Teacher's Tip: Chihuahua ears are quite large compared to their heads, so don't be afraid to make them tall and upright!
Step 5: Sketching the Back and Neck
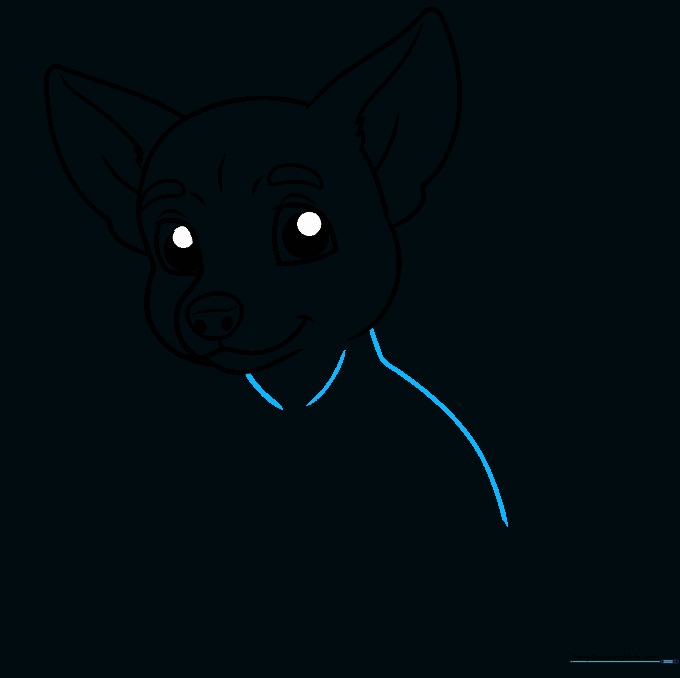
Use a long, flowing curved line to draw the back, connecting it to the head with shorter lines for the neck. Teacher's Tip: Keep the neck lines smooth to show the dog's posture.
Step 6: Drawing the First Front Leg
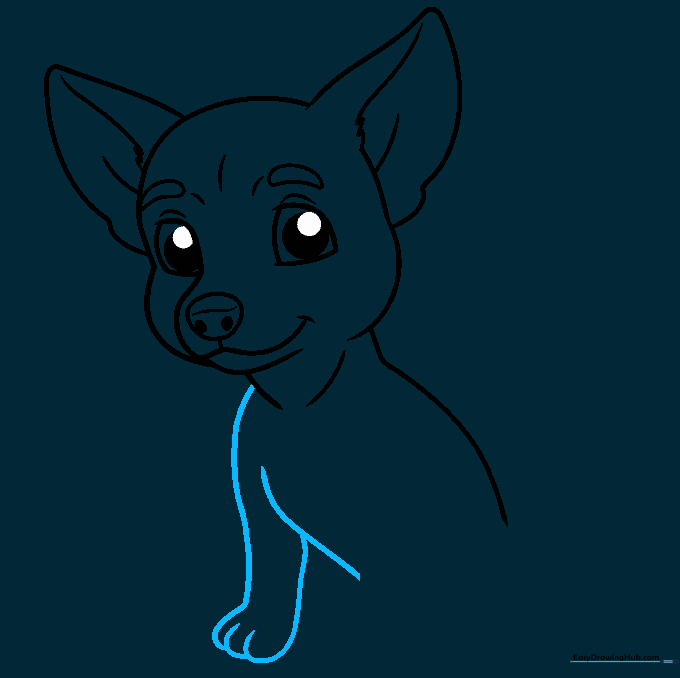
Outline the chest and the first front leg using long, curved lines. Add small overlapping curves at the bottom to represent the toes. Teacher's Tip: Chihuahuas have dainty paws, so keep the toe lines small and tight.
Step 7: Adding the Second Front Leg
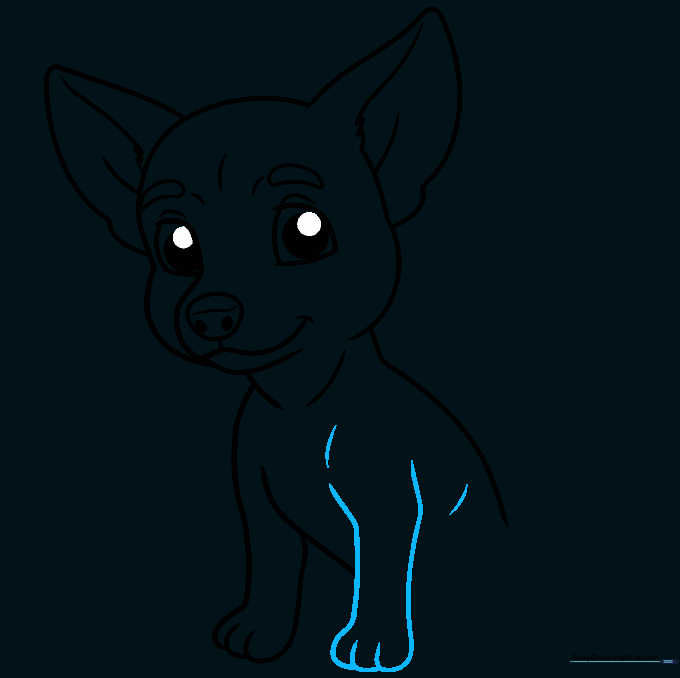
Draw the second front leg behind the first one, using similar curved lines for the paw. Add a few short lines at the shoulder to show movement. Teacher's Tip: This creates a sense of depth in your drawing.
Step 8: Sketching the Back Legs
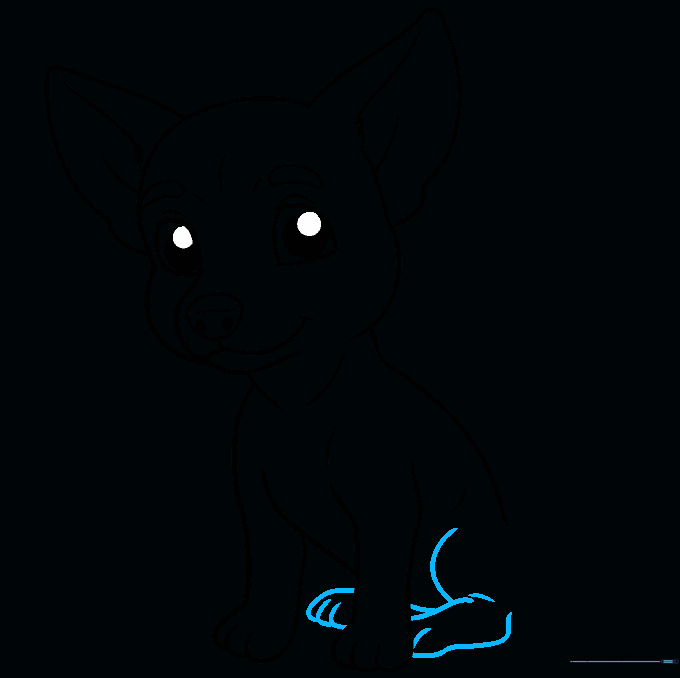
Use overlapping curved lines to sketch the seated rear legs and paws. Teacher's Tip: Since the dog is sitting, the back legs should look slightly bent and tucked under the body.
Step 9: Finalizing the Outline and Tail
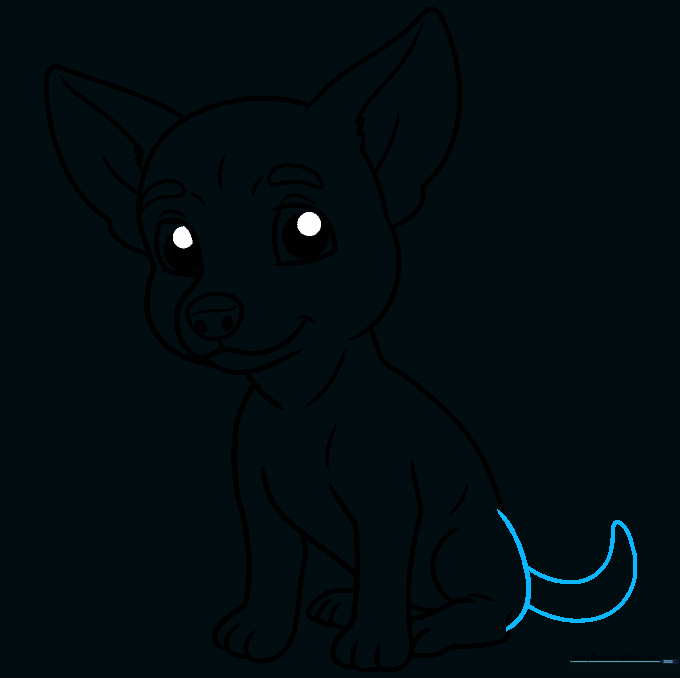
Complete the body with a curved line for the hip and add a tail using two lines that meet at a point. Teacher's Tip: A Chihuahua's tail can be held high or curled, so choose the shape that looks best to you!
Step 10: Bringing Your Chihuahua to Life with Color

Time to color! Chihuahuas come in many shades like tan, brown, black, or white. You can even add spots or a 'mask' around the eyes. Teacher's Tip: Use light pressure with your colored pencils to blend different shades for a realistic fur look.
More Tutorials


