How to Draw a Chicken Dinner: Easy 10-Step Guide
Perfect for budding artists ages 5 and up, this tutorial breaks down a hearty chicken dinner into simple, manageable shapes. All you need is a pencil, an eraser, and a piece of paper to get started. By the end, you will have a complete, steaming meal illustration that is ready for your favorite colors.
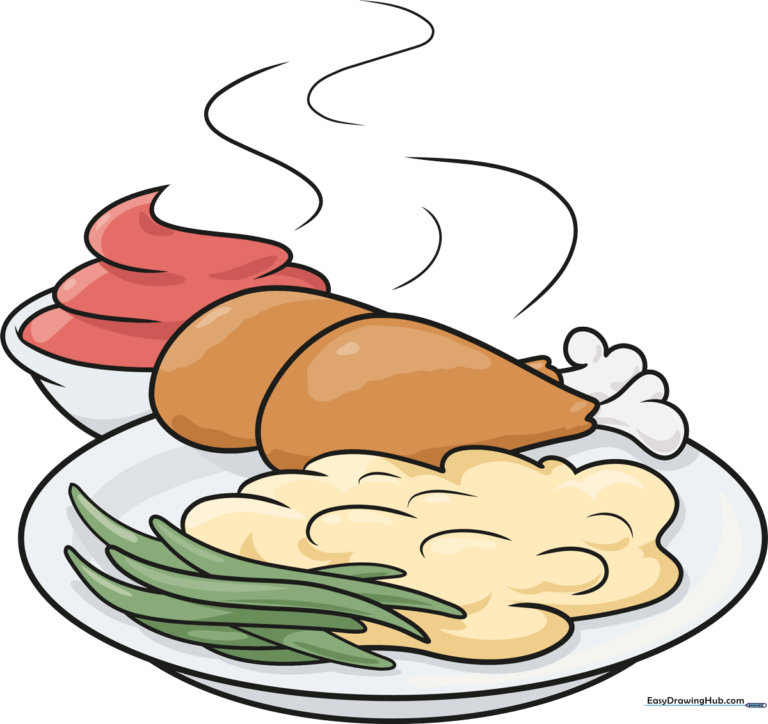
🎯 Final Result
Step-by-Step Instructions
Step 1: Sketching the Plate and First Leg

Draw a wide, sideways 'C' shape for the top rim of the plate. Add a curved line overlapping the edge to start the first drumstick. Teacher's Tip: Keep your pencil pressure light here so you can easily adjust the size of the plate later.
Step 2: Adding the Second Drumstick
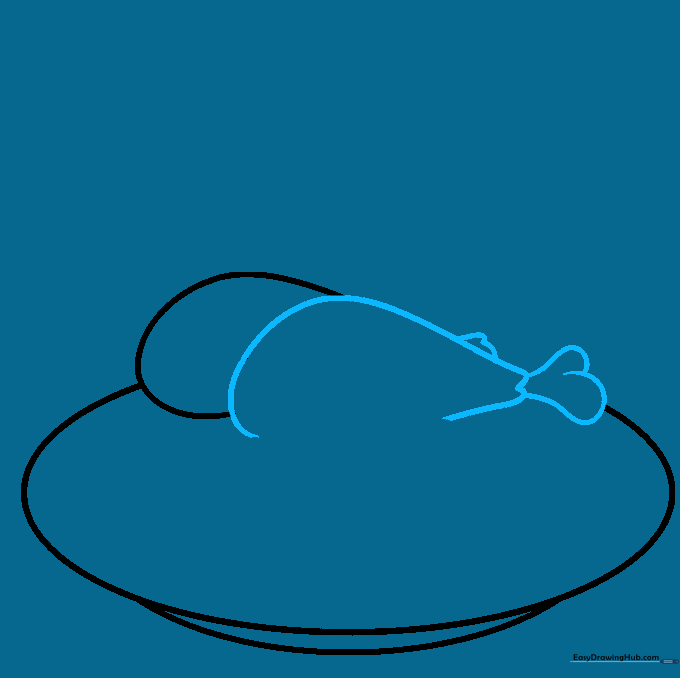
Sketch a second drumstick overlapping the first. Add a small heart shape at the tip to represent the exposed bone. Teacher's Tip: Don't worry if the heart isn't perfect; a slightly wobbly bone looks more natural and organic.
Step 3: Defining the Bone and Potatoes
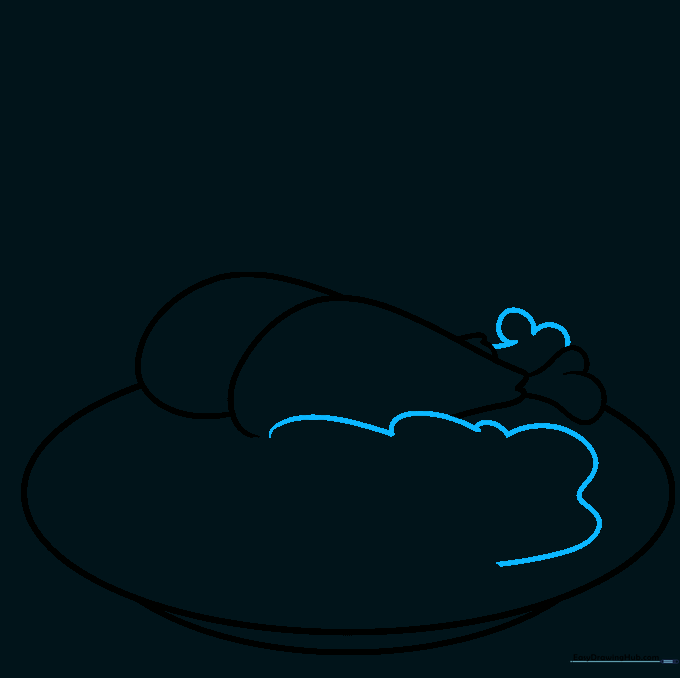
Refine the bone on the first drumstick with small curved lines. Begin the base of your mashed potato mound next to the chicken. Teacher's Tip: Use a 'bumpy' motion with your wrist to make the potatoes look fluffy rather than flat.
Step 4: Texturing the Potatoes
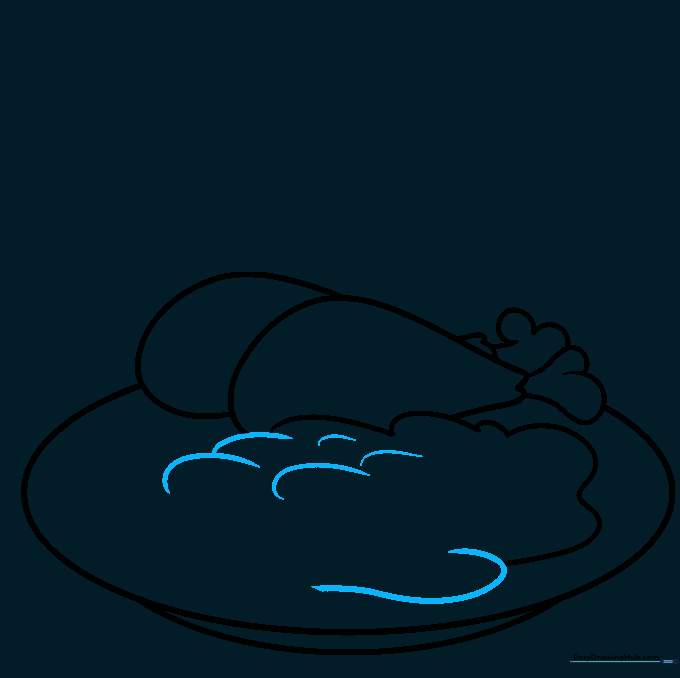
Use overlapping curved lines to build up the height of the mashed potatoes. Teacher's Tip: Imagine you are scooping real potatoes with a spoon; the overlapping lines create that nice, soft texture.
Step 5: Adding Green Beans
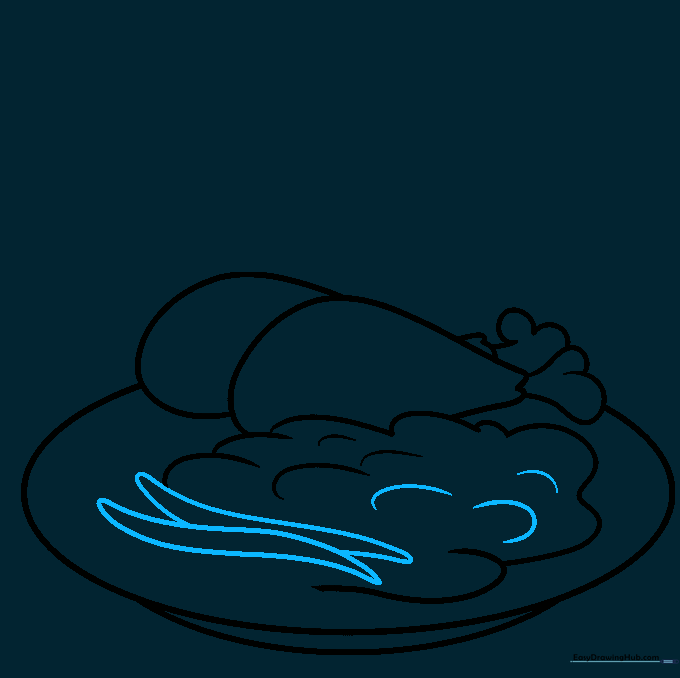
Add more texture lines to the potatoes, then draw your first green beans using long, thin shapes that taper to points. Teacher's Tip: Vary the length of the beans to make your dinner look more natural.
Step 6: Filling the Plate
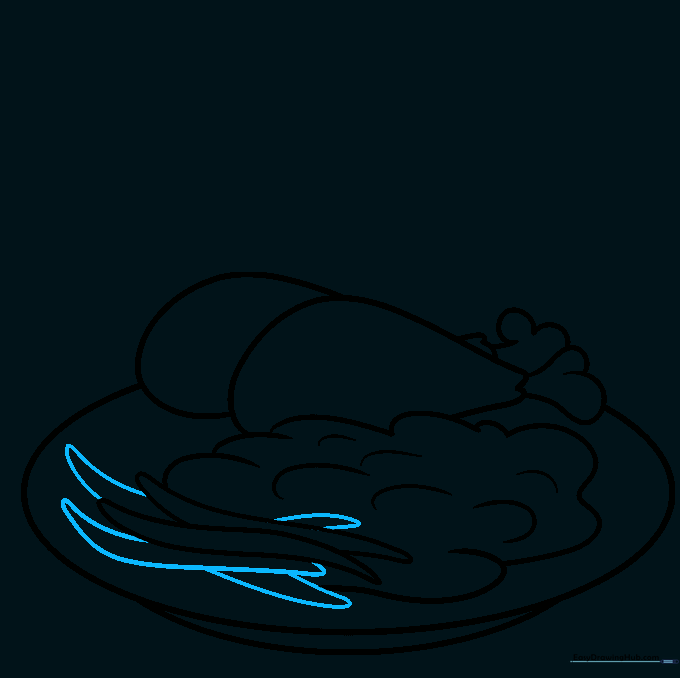
Draw a few more green beans tucked behind the first ones. Teacher's Tip: Overlapping objects is a great way to add depth and make your drawing look 3D!
Step 7: Drawing the Side Bowl
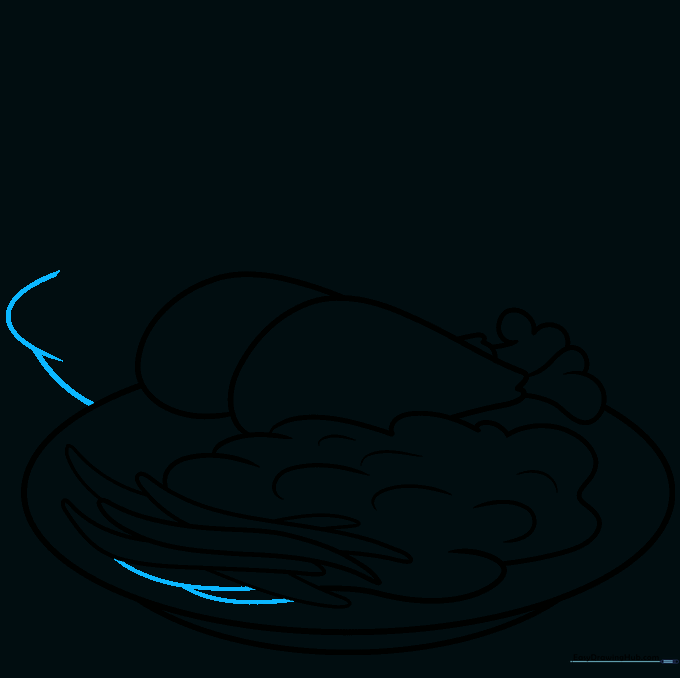
Sketch a bowl next to your plate using overlapping curved lines for the rim. Teacher's Tip: Keep the bowl slightly smaller than the plate so the focus remains on the chicken.
Step 8: Filling the Bowl
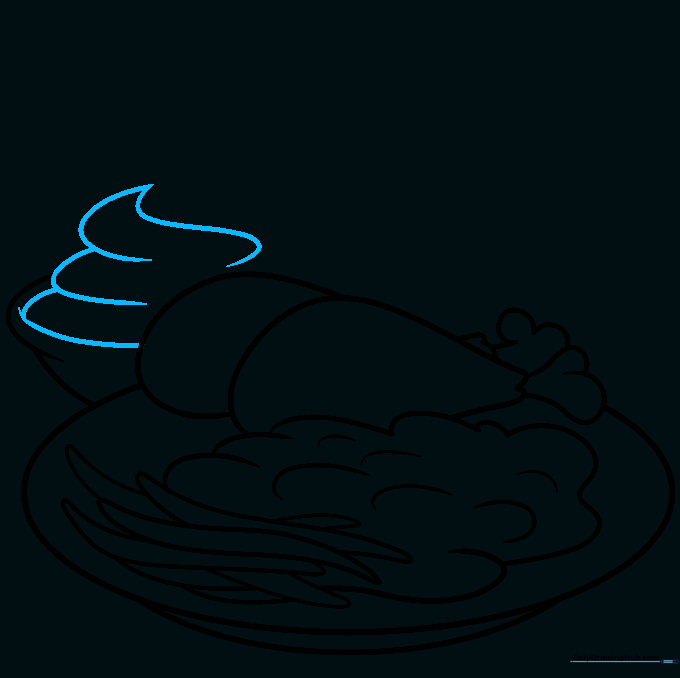
Draw the contents of the bowl using swirling, overlapping lines that meet at a point. Teacher's Tip: Use a continuous motion to make the food look like it's piled high.
Step 9: Adding Steam

Finish the bowl and add wavy, rising lines above the food to represent steam. Teacher's Tip: Draw these lines very lightly to show that the food is hot and fresh!
Step 10: Adding Color
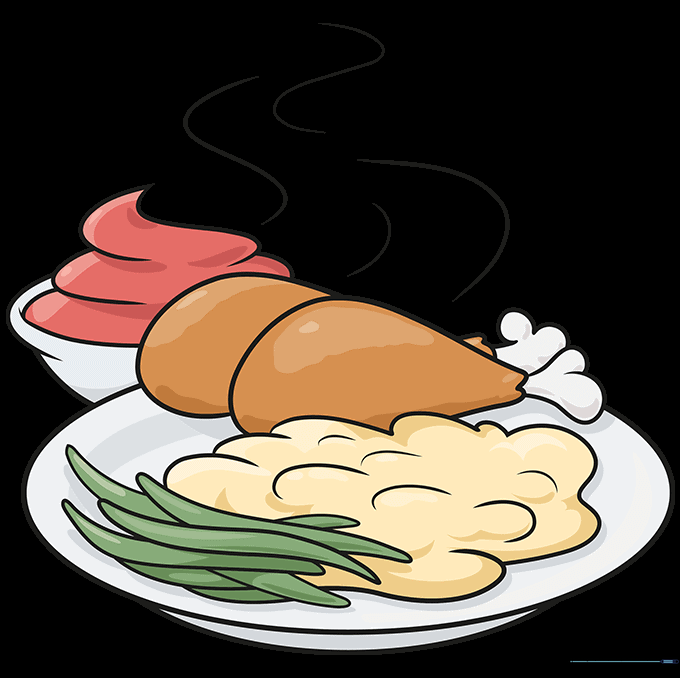
Bring your dinner to life with color! Use warm browns for the chicken and soft colors for your sides. Teacher's Tip: Use a darker brown for the shaded areas of the chicken to give it a crispy, roasted look.
More Tutorials


