How to Draw a Chicken: Easy 10-Step Guide for Kids
Bring a friendly farmyard friend to life with this easy-to-follow drawing tutorial, perfect for ages 5 and up. All you need is a pencil, an eraser, and a piece of paper to get started. By focusing on simple shapes, you will build confidence and develop your artistic skills in no time.
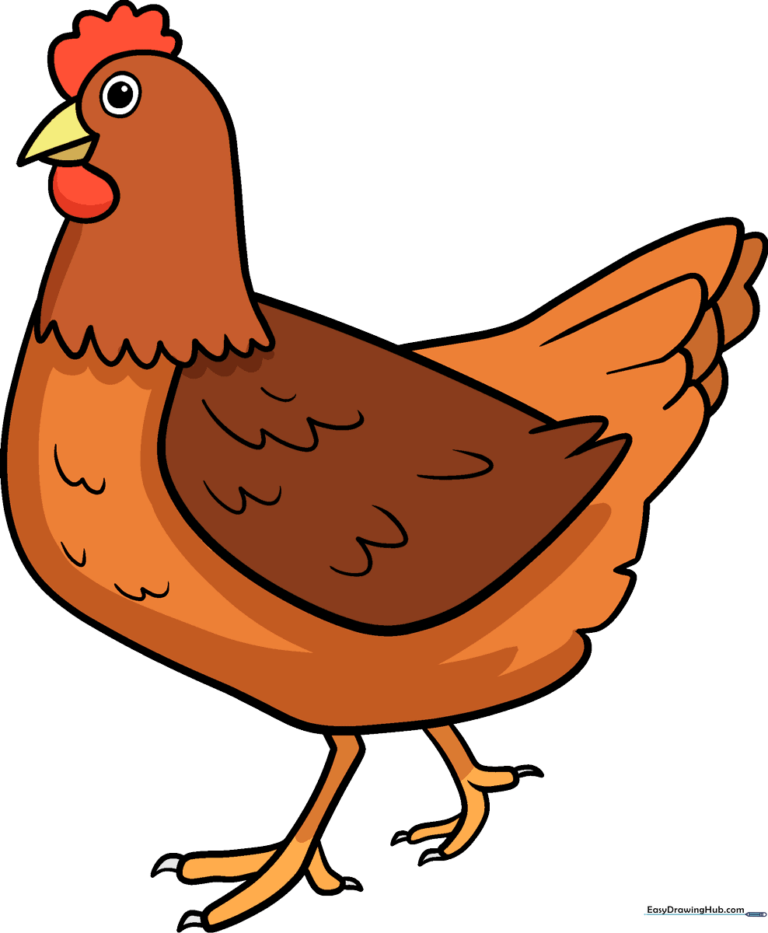
🎯 Final Result
Step-by-Step Instructions
Step 1: Sketching the Head and Eye
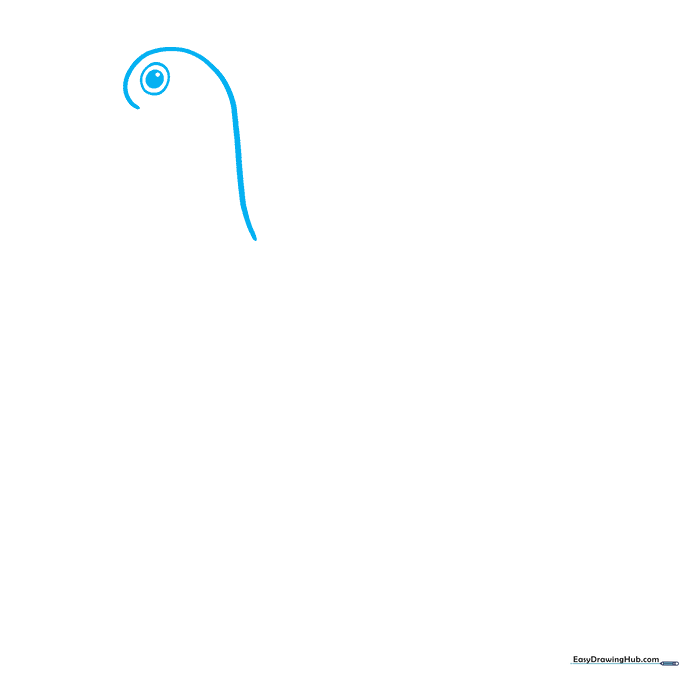
Draw a smooth, curved line for the back of the neck and the top of the head. Add a few small circles for the eye, shading the center one to create a bright, alert pupil. Teacher's Tip: Keep your pencil lines light so you can easily adjust the shape if needed.
Step 2: Adding the Beak and Comb
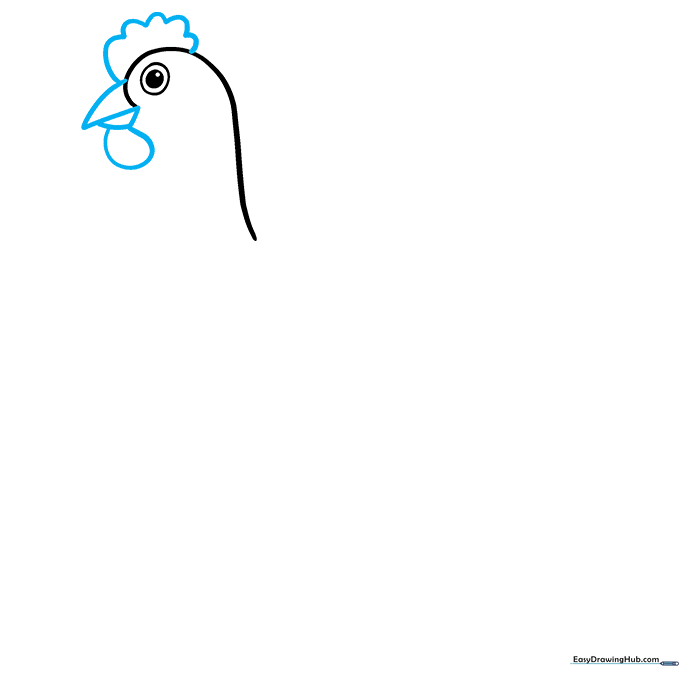
Form the beak using two small triangles, and add a rounded shape below for the wattle. Above the head, draw a scalloped 'U' shape for the comb. Teacher's Tip: Use short, quick strokes to make the comb look soft and feathery.
Step 3: Defining the Neck and Back
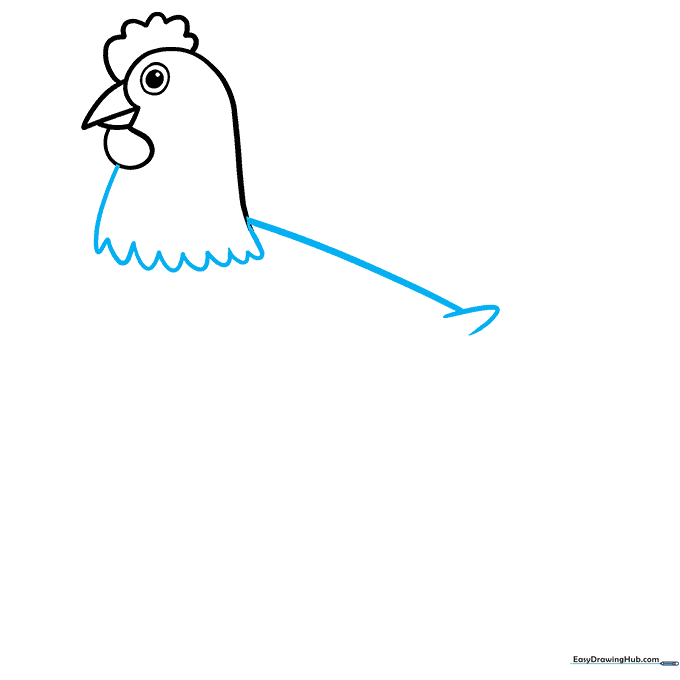
Use a series of 'U' shapes to create a fluffy texture at the base of the neck. Extend a long, graceful curve to form the chicken's back. Teacher's Tip: Imagine the feathers are overlapping like shingles on a roof.
Step 4: Drawing the Wing
Sketch the wing by connecting a 'U' shaped line to the neck. Add more 'U' shapes inside to represent individual feathers. Teacher's Tip: Vary the size of your 'U' shapes to make the wing look more natural and layered.
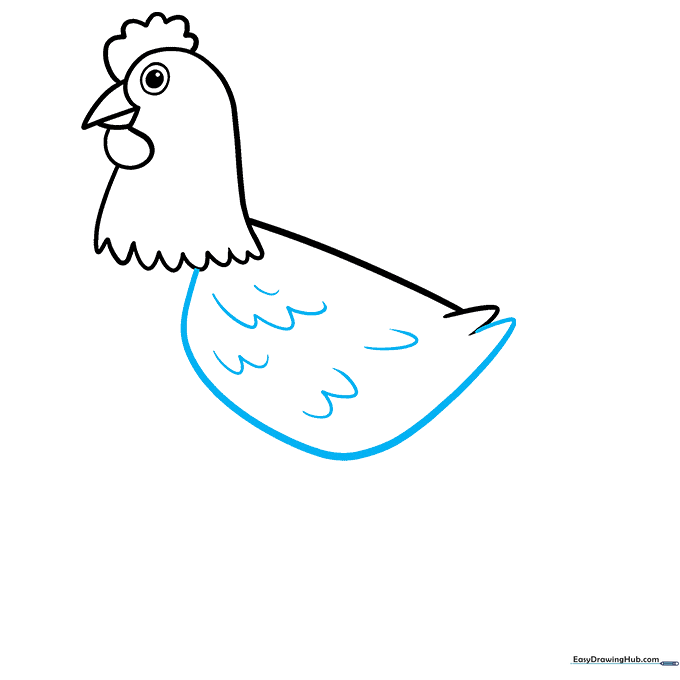
Step 5: Outlining the Belly
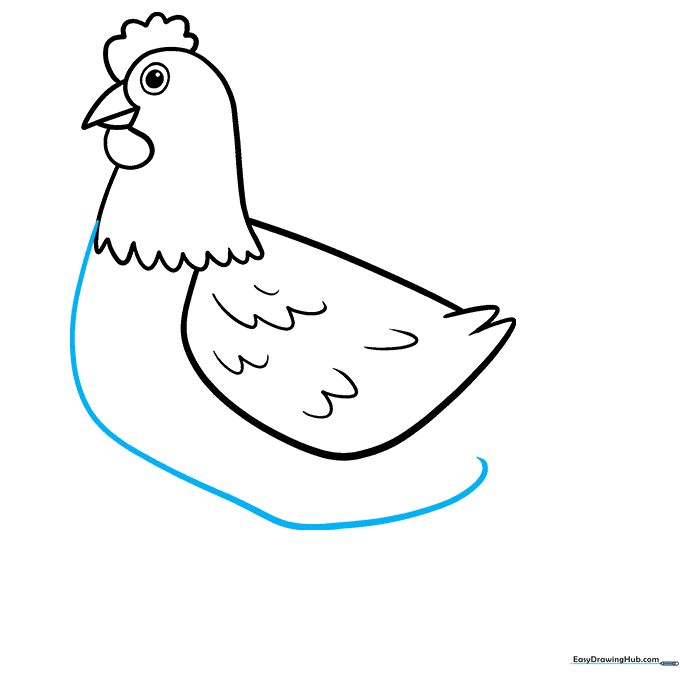
Extend a long, smooth curved line from the front of the neck down to create the belly. Teacher's Tip: Keep this line rounded to give your chicken a plump, happy appearance.
Step 6: Starting the Tail Feathers
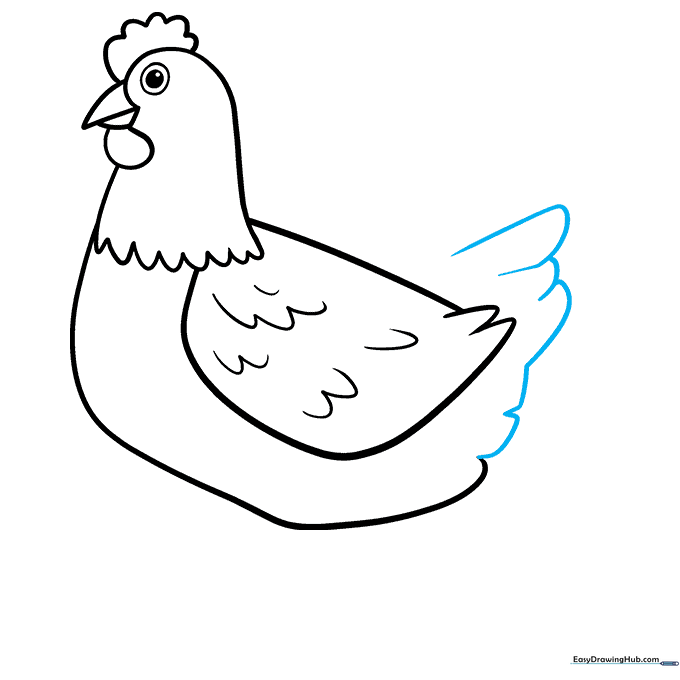
Continue the belly line with a series of overlapping curved lines to form the tail. Teacher's Tip: Make these lines flow outward to show movement.
Step 7: Completing the Body Shape
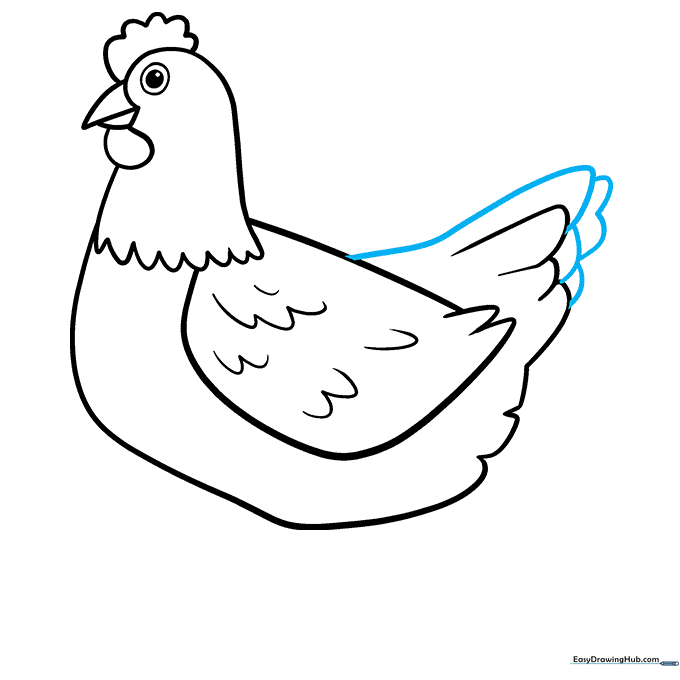
Add more overlapping tail feathers and connect the final line back to the wing. Teacher's Tip: Ensure all your lines connect to create a solid, closed shape for coloring later.
Step 8: Adding Texture and the First Foot
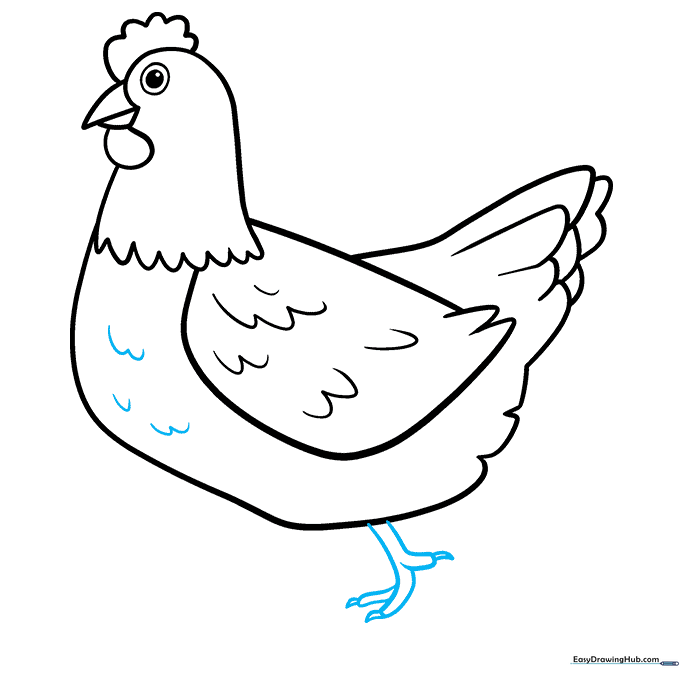
Add small 'U' shapes to the chest for texture. Draw the first foot in a bent position. Teacher's Tip: Add small triangles at the ends of the toes for sharp claws.
Step 9: Drawing the Second Foot
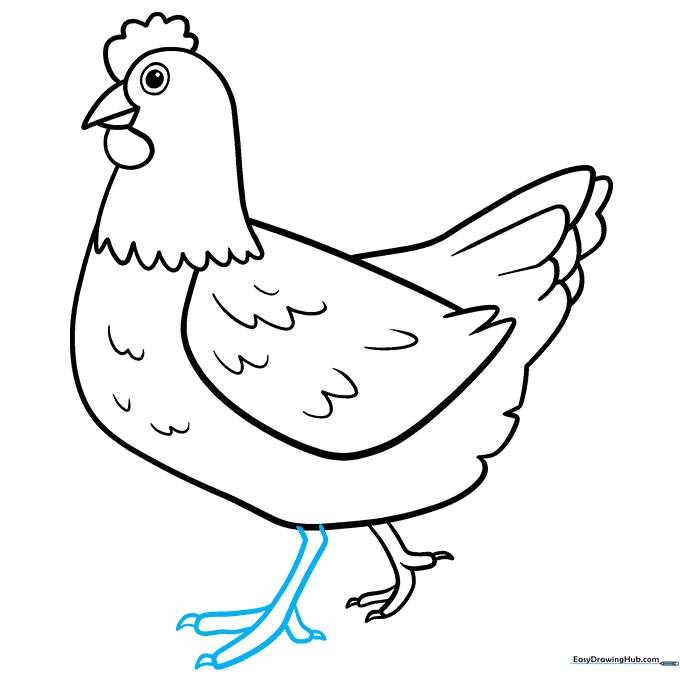
Draw the second foot flat on the ground to give your chicken a stable stance. Teacher's Tip: Use firm, confident lines for the legs to show the chicken is standing tall.
Step 10: Bringing Your Chicken to Life with Color
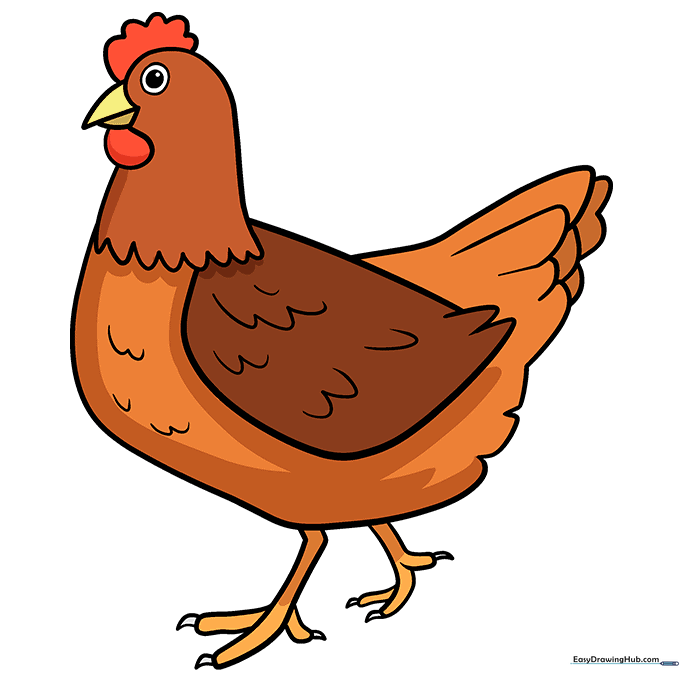
Your outline is finished! Use warm browns for the feathers, bright red for the comb, and sunny yellow for the beak. Teacher's Tip: Try using light and dark shades of brown to give your chicken a realistic, multi-dimensional look.
More Tutorials


