How to Draw a Chibi Wolf: Easy 10-Step Guide
Bring a tiny, adorable wolf to life with this step-by-step chibi drawing tutorial. Designed for young artists and beginners, this activity requires only a pencil, paper, and an eraser. Follow along to master the iconic 'big head, small body' chibi proportions while practicing your line control.
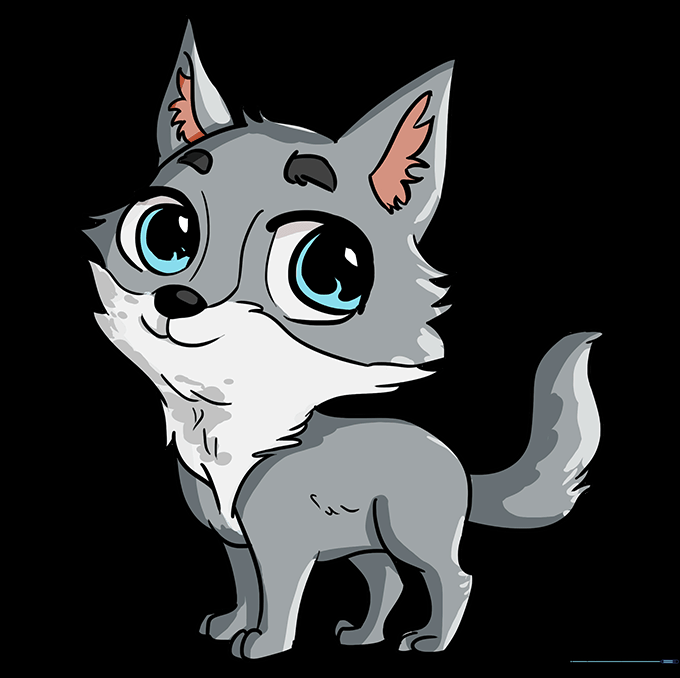
🎯 Final Result

Step-by-Step Instructions
Step 1: Sketching the Cheeks and Neck

Start by sketching the wolf's cheeks and neck using curved lines that meet at jagged points. Tip: Think of this as a soft, fluffy frame for the face; keep your strokes light and feathery to mimic fur texture.
Step 2: Adding the Ears
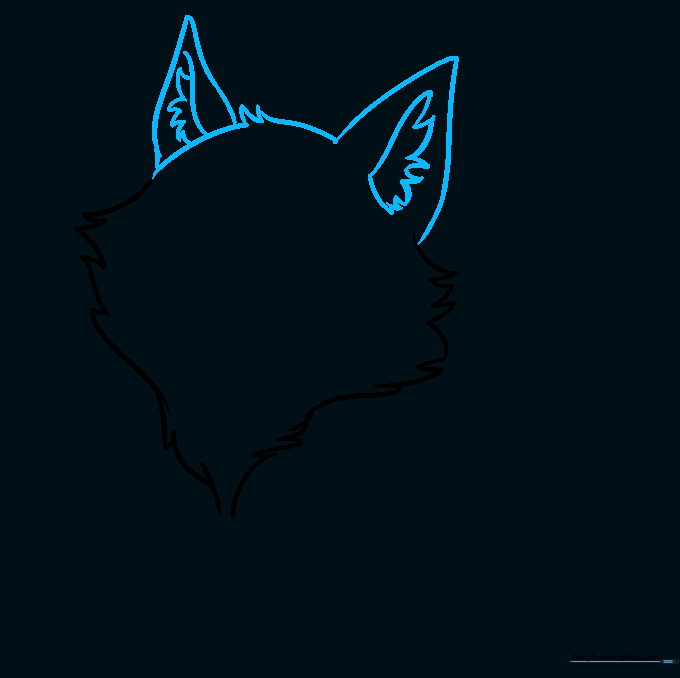
Draw two curved triangles for the ears, connecting them with a tuft of fur at the top of the head. Tip: Add a small curved line inside each ear to give them depth and dimension.
Step 3: Sketching the First Leg
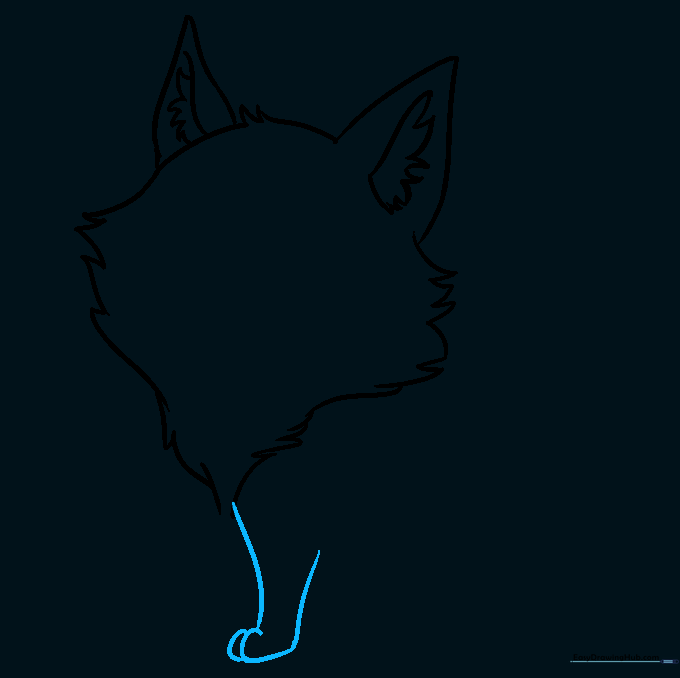
Use two curved lines to sketch the front leg, finishing with overlapping 'U' shapes for the toes. Tip: Keep the leg slightly rounded to maintain that cute, chubby chibi aesthetic.
Step 4: Drawing the Chest and Second Leg
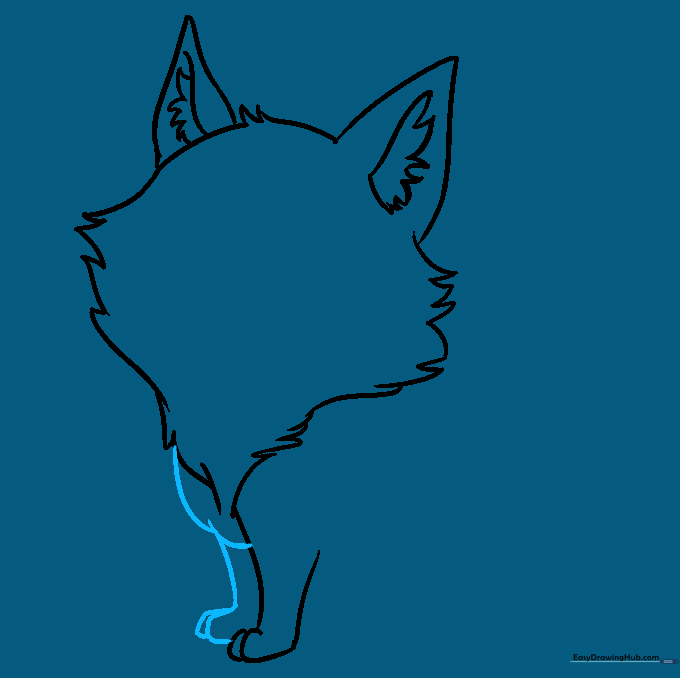
Enclose the chest area and add the second foreleg using the same 'U' shape technique for the paws. Tip: Ensure the two legs look balanced so the wolf looks like it's standing firmly.
Step 5: Defining the Back and Hip
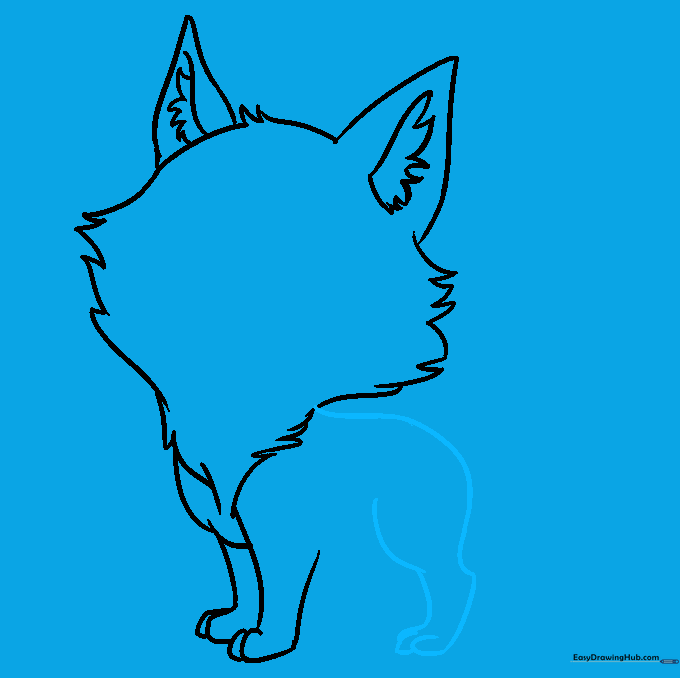
Draw a smooth, curved line for the back, leading into the hip and rear leg. Tip: Use a gentle curve here to make the wolf look soft and cuddly.
Step 6: Completing the Body
Connect the legs with a curved belly line and add the final rear leg. Add short, quick strokes along the body to suggest fur texture. Tip: Don't overdo the fur lines; just a few here and there will do the trick!
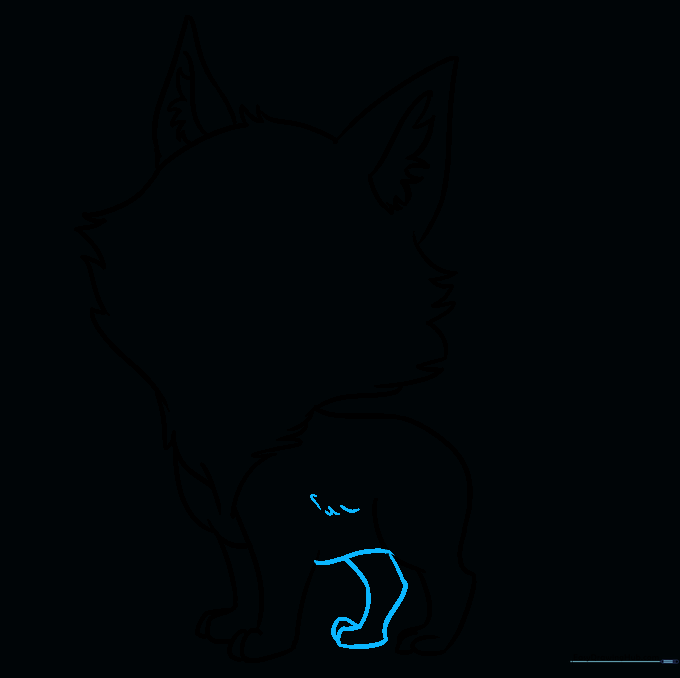
Step 7: Drawing the Bushy Tail
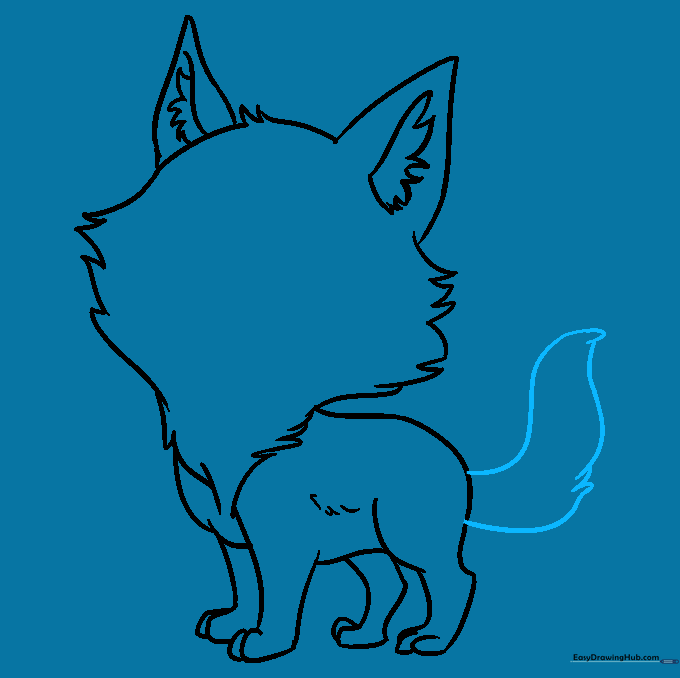
Extend a long, sweeping curve from the hip to create a large, fluffy tail. Tip: Make the tail look thick and voluminous—it's a signature feature of a happy wolf!
Step 8: Sketching the Face
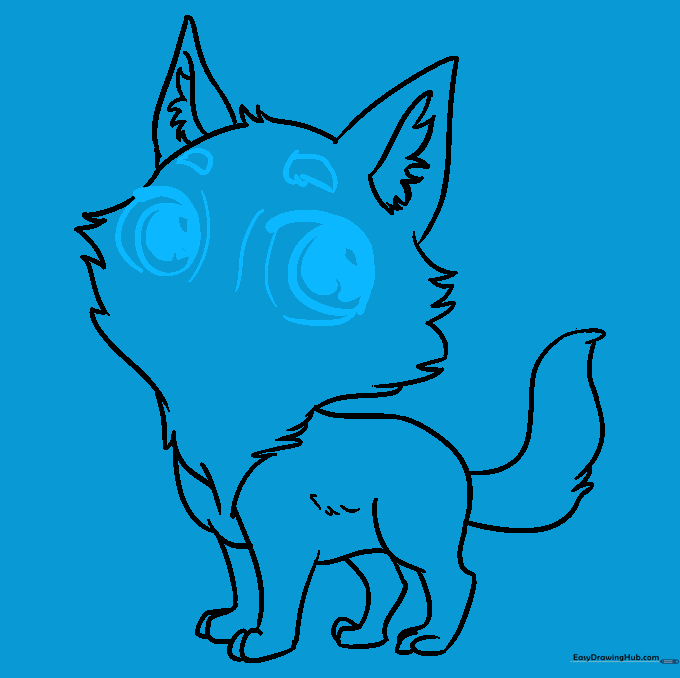
Draw large, expressive eyes with multiple circles for the pupils and highlights. Add eyebrows and a small nose. Tip: Leave a tiny white dot uncolored in the pupil to create a 'sparkle' effect, which is essential for the chibi look.
Step 9: Final Facial Details
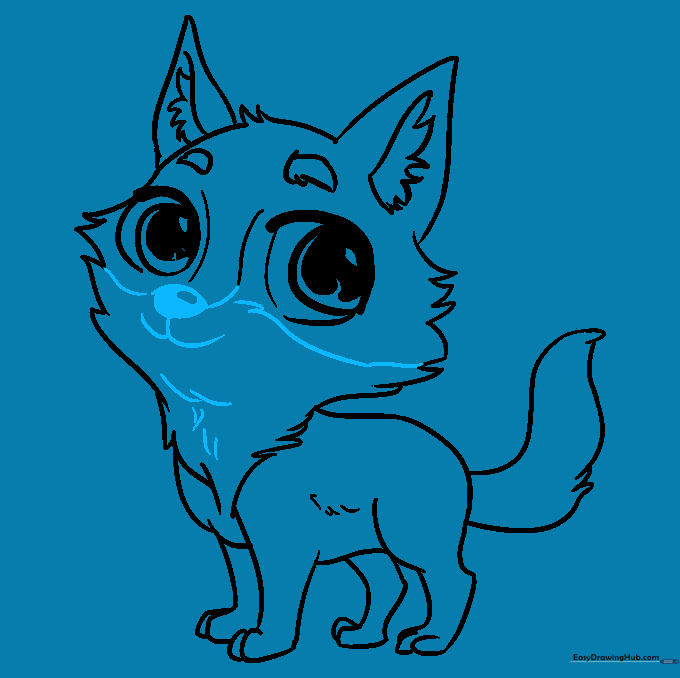
Add a cute 'W' shaped mouth and refine the nose. Use short lines around the neck to finish the fur texture. Tip: A slightly crooked or wide smile adds a lot of personality to your character.
Step 10: Color Your Chibi Wolf
Bring your wolf to life with color! You can stick to natural greys and browns or get creative with vibrant anime-style colors. Tip: Use a darker shade for the shadows under the chin and tail to give your drawing a professional, 3D look.
More Tutorials


