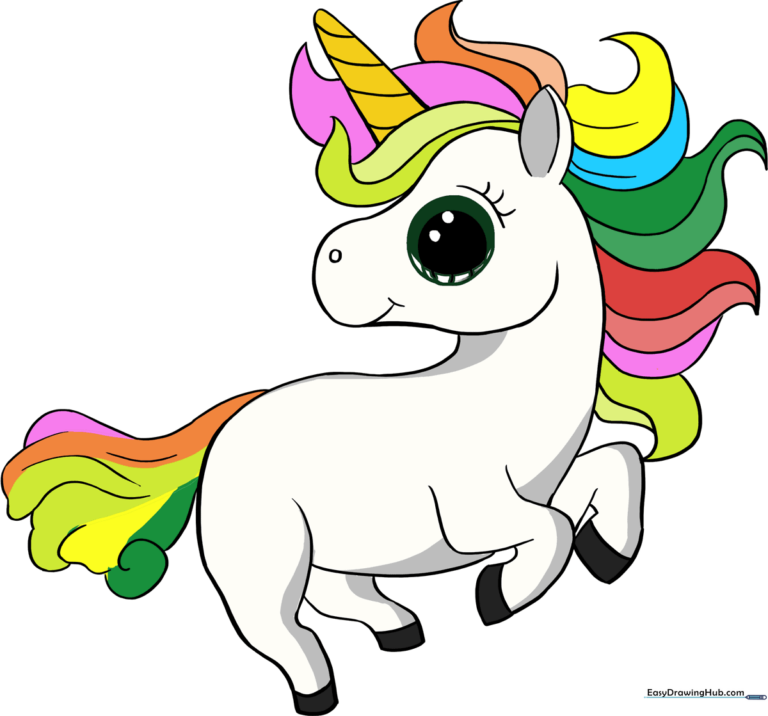
How to Draw a Chibi Unicorn: Easy 10-Step Guide
Bring a magical chibi unicorn to life with this beginner-friendly drawing tutorial. Designed for young artists, this guide uses basic shapes to build confidence and artistic skill. Grab your pencil, eraser, and paper, and let’s start creating your own fantasy character!
🎯 Final Result
Step-by-Step Instructions
Sketching the Head Shape
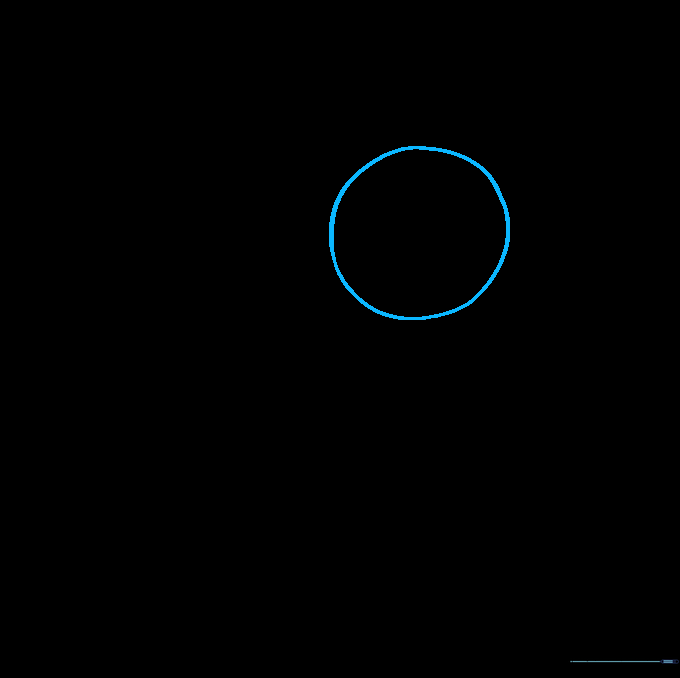
Start by drawing a light circle to serve as the unicorn's head. Teacher's Tip: Keep your pencil pressure very light here so you can easily erase the guidelines later.
Defining the Muzzle

Erase a small section of the circle and add a curved line to create the snout. Add two tiny curves for a happy, smiling mouth. Tip: A smaller muzzle makes the character look extra 'chibi' and cute!
Adding Ears and Neck

Clean up the back of the head and draw a pointed ear at the top. Use a smooth, sweeping line to connect the head to the neck. Tip: Keep the ear shape soft and rounded at the base to maintain the chibi aesthetic.
Drawing the Horn and Mane

Draw the unicorn's horn using a curved, tapered shape, and add diagonal lines for texture. Sketch the first few strands of the mane. Tip: Make the horn slightly tilted to give your unicorn personality.
Styling the Mane
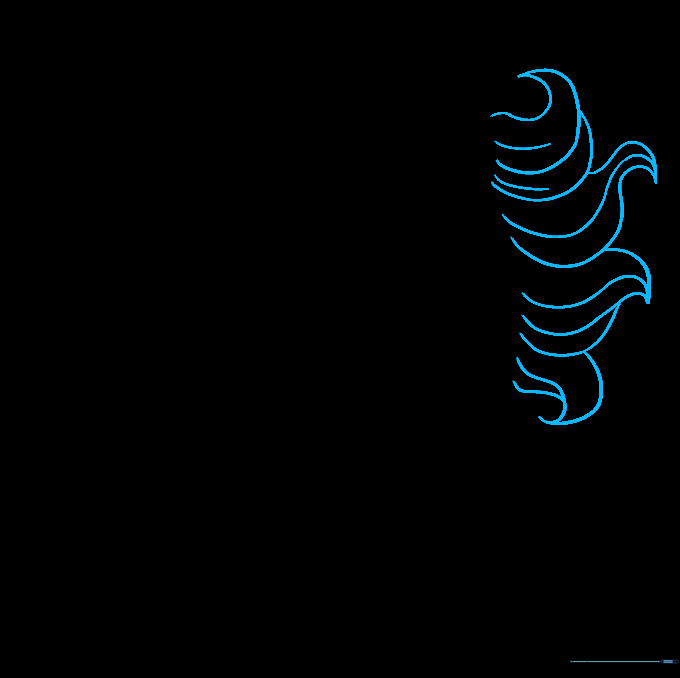
Continue the mane down the neck with flowing, pointed shapes. Use short, flicking strokes to suggest hair texture. Tip: Vary the size of the mane strands to make the hair look natural and bouncy.
Forming the Body and Rear Legs
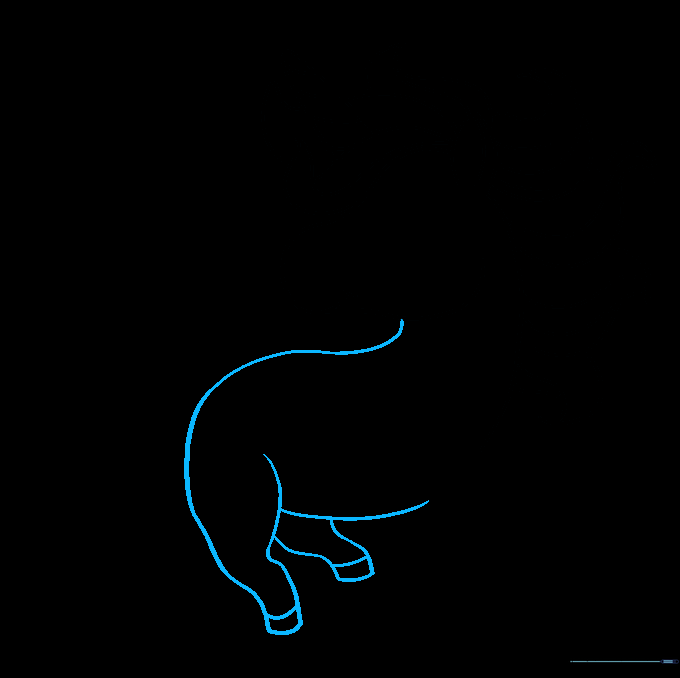
Draw the back and rear legs using smooth, rounded lines. Ensure the hooves are squared off at the bottom. Tip: Chibi characters have shorter, stubbier legs—don't make them too long!
Adding Front Legs
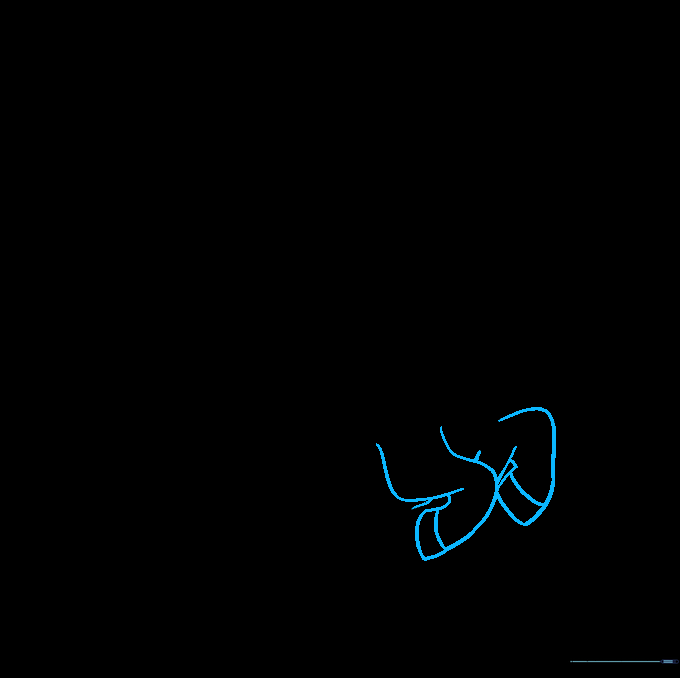
Draw the front legs to complete the body outline. Add a small horizontal line near the bottom of each leg to define the hooves. Tip: Keep the legs parallel to give your unicorn a sturdy, standing pose.
Drawing the Tail
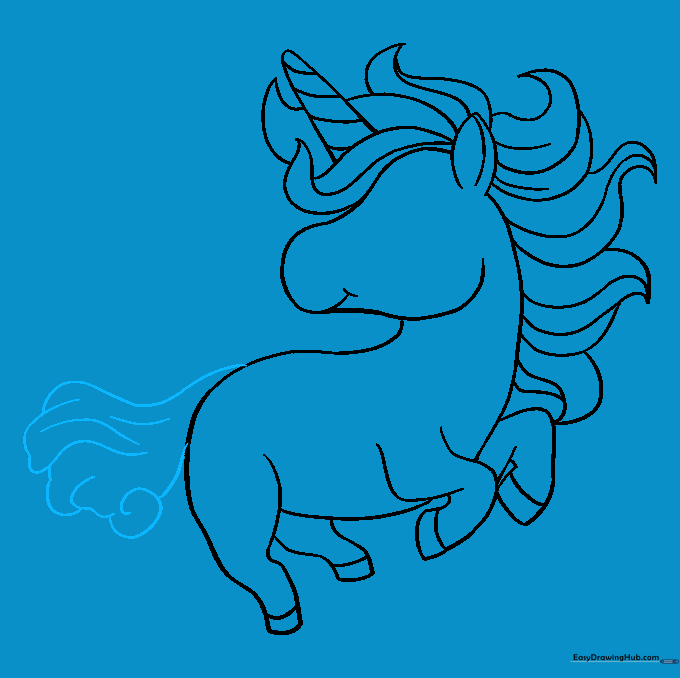
Use swirling, overlapping lines to create a fluffy tail. Add a few extra lines inside to show movement. Tip: A big, bushy tail is a signature feature of chibi creatures!
Adding Facial Features
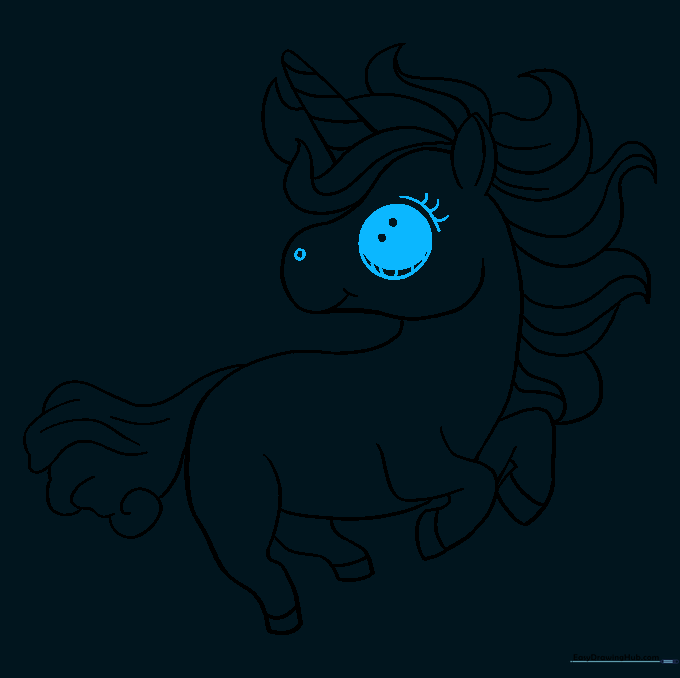
Draw a large, expressive eye with a pupil and highlight, and a small dot for the nostril. Add delicate eyelashes. Tip: Large eyes are key to the 'chibi' look—the bigger the eyes, the cuter the character!
Coloring Your Masterpiece
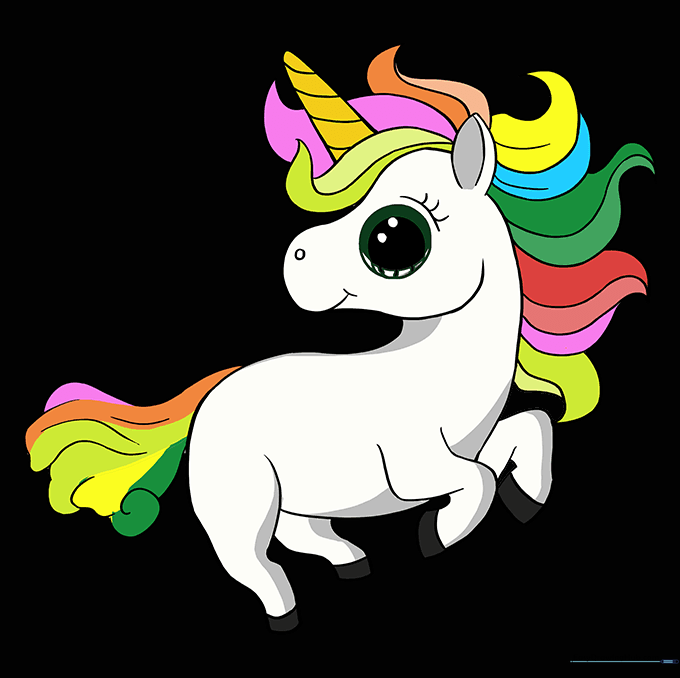
Time to bring your unicorn to life! Use bright, magical colors for the mane and tail. Tip: Try using a gradient or rainbow effect to make your unicorn truly stand out.
More Tutorials


