How to Draw Chibi Han Solo: Easy 10-Step Guide
Bring the galaxy's favorite smuggler to life with this fun, chibi-style drawing tutorial. Designed for young artists and Star Wars fans, this project uses basic shapes to build a professional-looking character. Grab your pencil and paper, and let's get started on your own miniature Han Solo!
🎯 Final Result

Step-by-Step Instructions
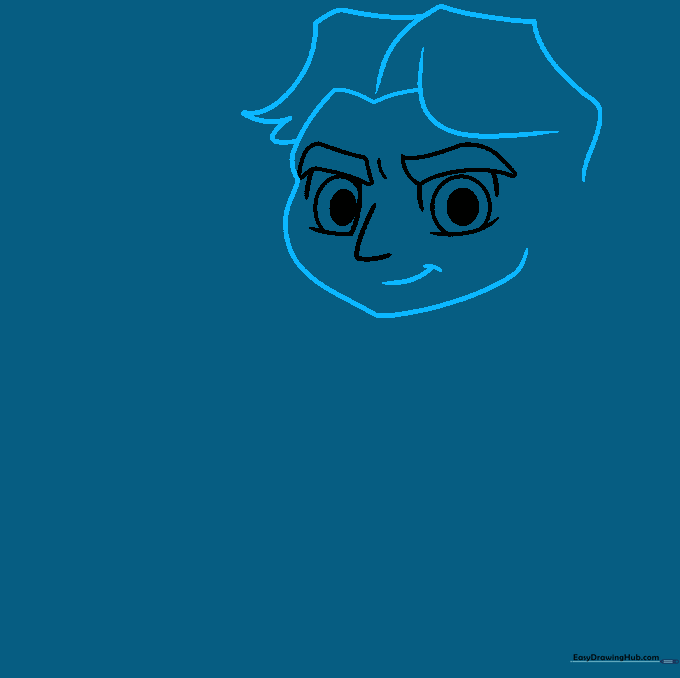
Step 1: Sketching the Expressive Eyes

Start by sketching Han's eyes using two curved lines for the brows. Below them, outline the eyes, leaving the bottom edges open. Add a partial circle for the iris and a smaller shaded circle for the pupil. Tip: Keep your pencil pressure light here so you can easily adjust the symmetry of the eyes before finalizing.
Step 2: Defining the Face and Hairline
Use overlapping curved lines to frame the face and the signature Han Solo hair part. Add a gentle curved line for the mouth. Tip: Think of the hair as large, soft shapes rather than individual strands to keep the chibi aesthetic clean and simple.
Step 3: Adding Ears and Hair Texture
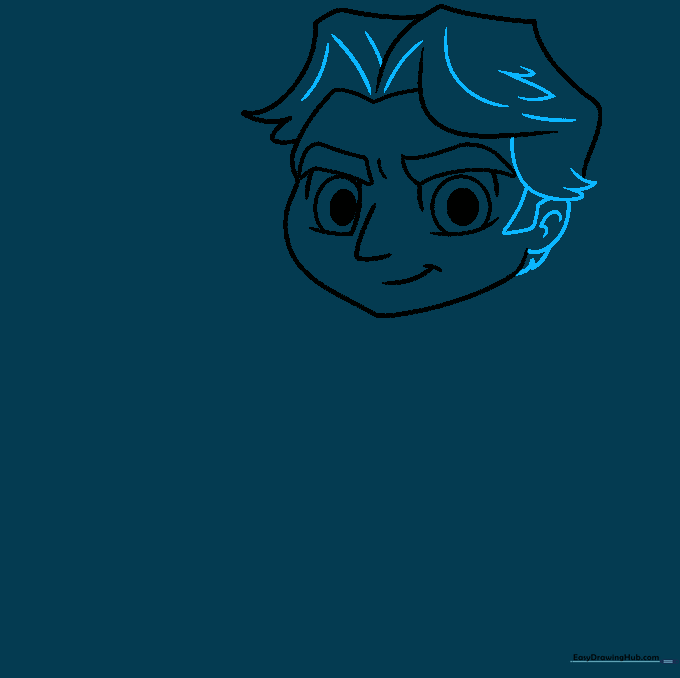
Draw a 'C' shaped line for the ear and detail the sideburns. Use additional curved lines to add volume to the hair. Tip: Varying the length of your curved lines helps create the illusion of depth and movement in his hair.
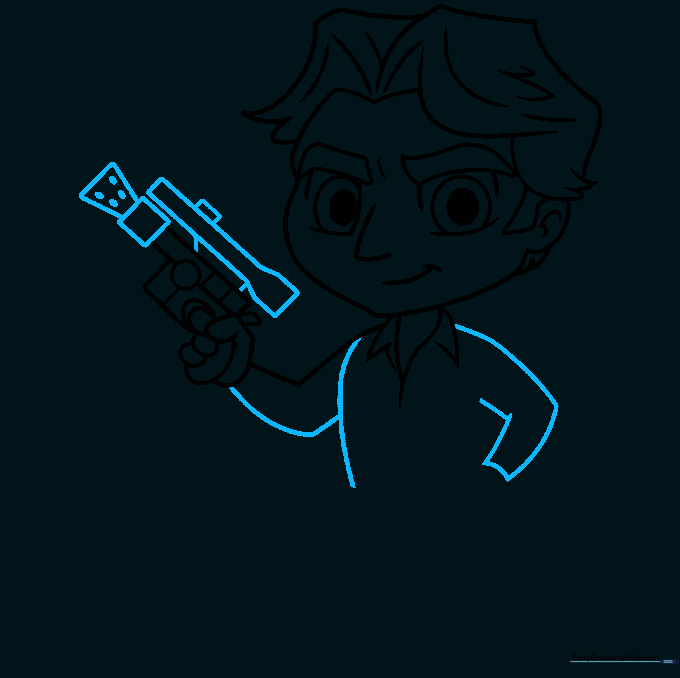
Step 4: Sketching the Torso and Blaster Grip
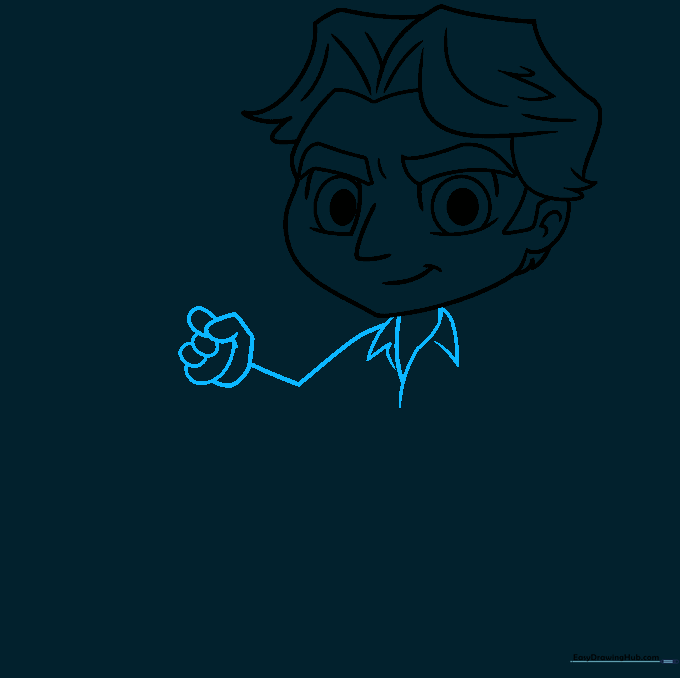
Draw a 'Y' shaped line for the neck and add triangles for the shirt collar. Begin the arm and hand, ensuring you leave space for the blaster grip. Tip: Use a light touch for the hand; it's a small detail, so keep the fingers rounded and simple.
Step 5: Building the Blaster
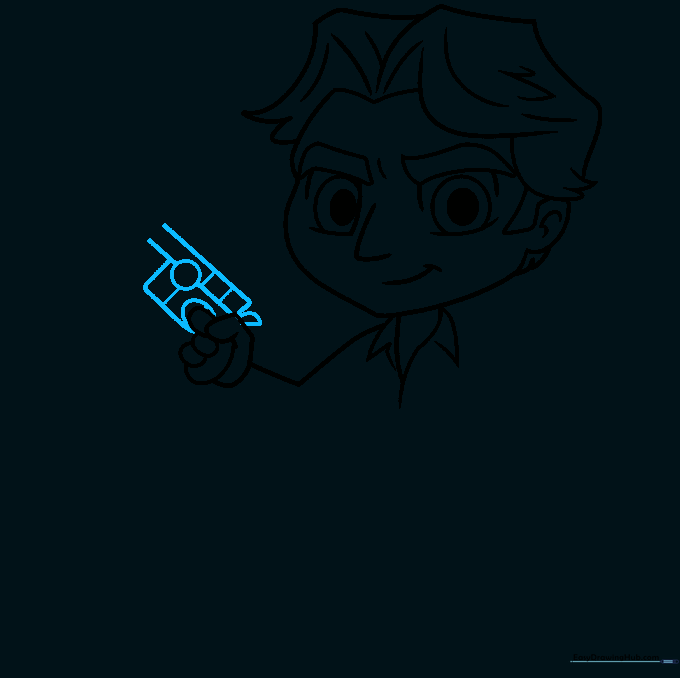
Construct the blaster using a series of squares, rectangles, and ovals. Tip: Don't worry about perfect straight lines; a slightly loose, hand-drawn look adds character to your chibi figure.
Step 6: Finalizing the Blaster and Torso
Complete the blaster tip with a trapezoid and small ovals. Add the flashlight attachment above the weapon, then finish the torso and the second arm. Tip: Use short, connecting lines to ensure the arm looks attached to the body naturally.
Step 7: Adding the Iconic Vest
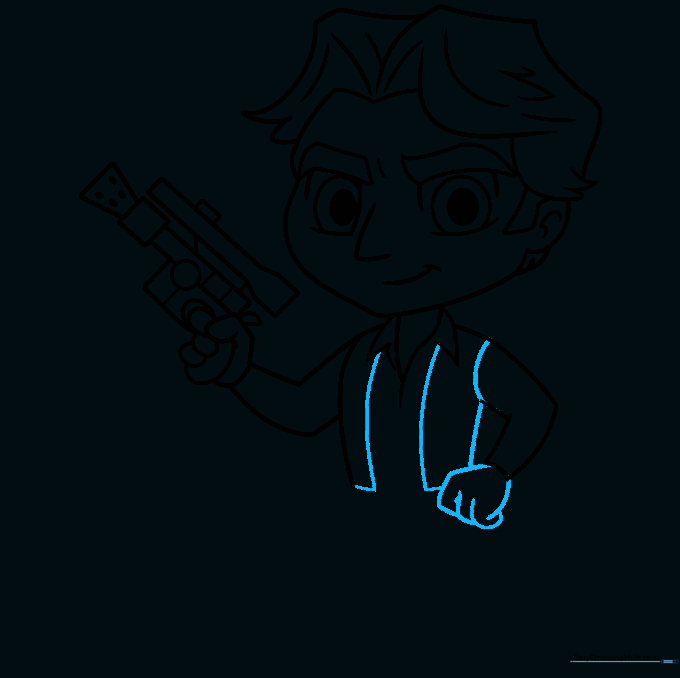
Sketch the remaining fist and add the rectangular shapes of Han's vest. Tip: Keep the vest lines parallel to the torso to maintain the correct perspective.
Step 8: Belt and Legs
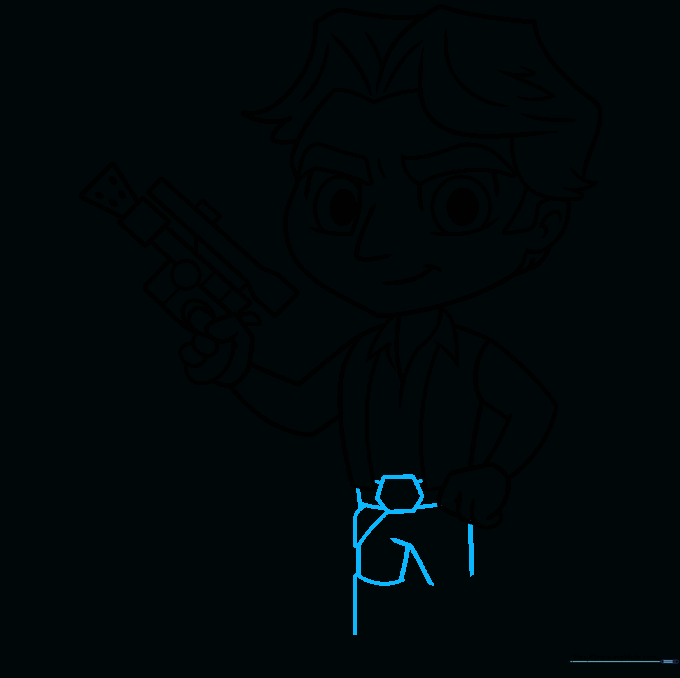
Draw the hexagon belt buckle, the rectangular belt, and the holster. Begin sketching the legs and boots. Tip: Use a ruler if you struggle with the belt, but freehand is better for the 'chibi' style.
Step 9: Finishing the Boots
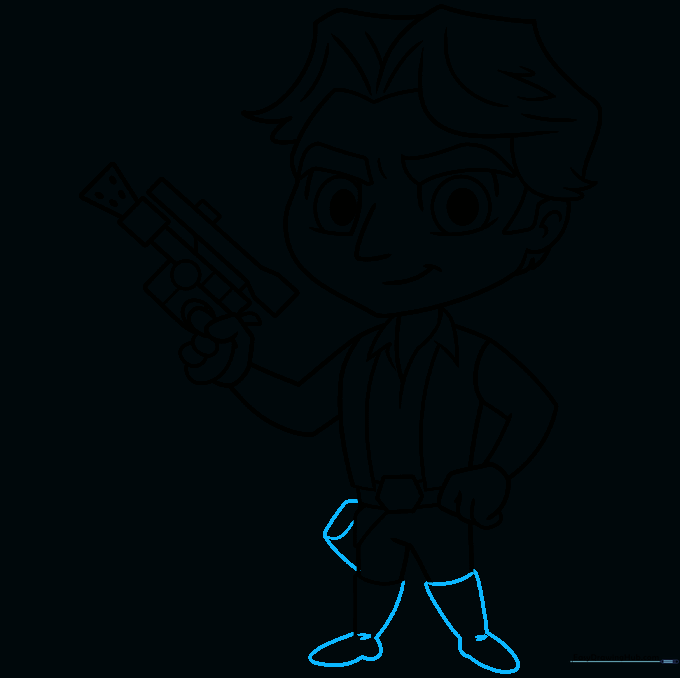
Complete the boots and holster with curved lines. Add small 'V' shapes at the top of the boots for texture. Tip: These small details make the drawing look polished and professional.
Step 10: Bringing Han to Life with Color

Time to color! Use brown for his hair and a dark shade for his vest. Tip: Use colored pencils to layer light and dark browns to give his hair a realistic, textured look.
More Tutorials


