How to Draw a Chibi Boy: Easy Step-by-Step Guide
Ready to create your own adorable anime character? This guide is perfect for artists ages 7+ looking to master the 'chibi' style. Grab a pencil, eraser, and paper, and follow along as we break down these simple shapes to bring your character to life.
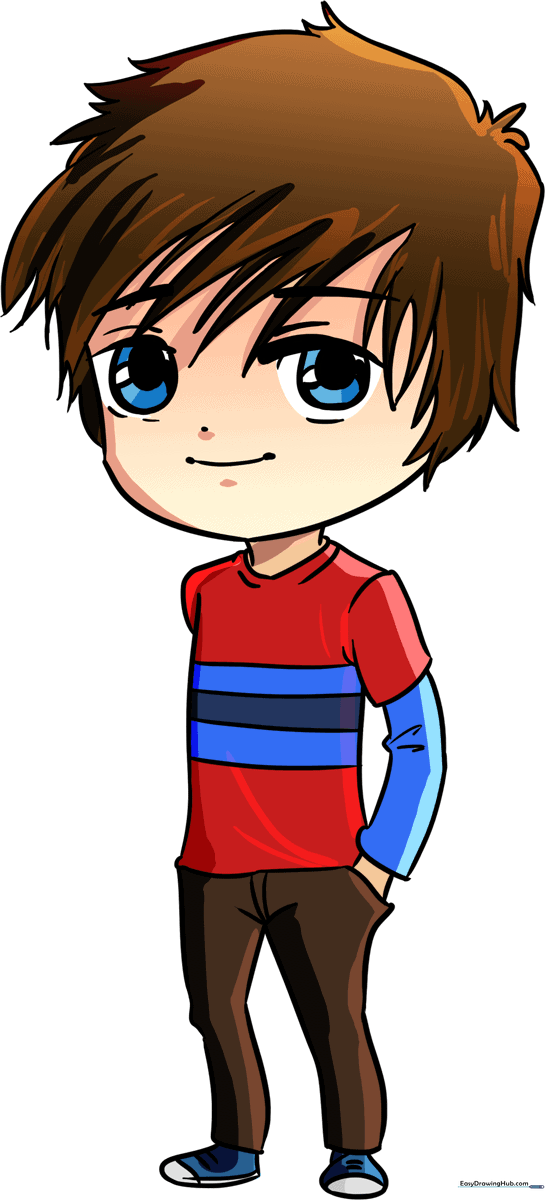
🎯 Final Result
Step-by-Step Instructions
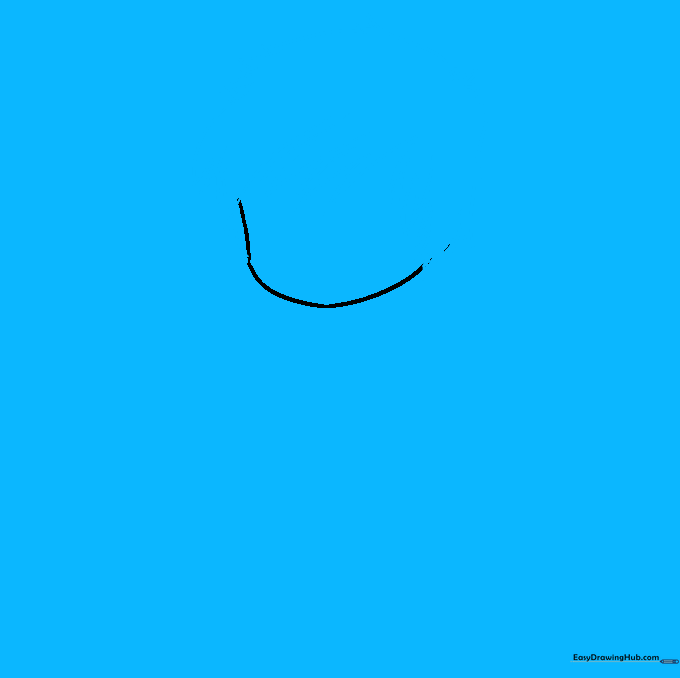
Step 1: Shaping the Face

Start by sketching a soft, curved line to form the cheeks and chin. Teacher's Tip: Keep this shape rounded and small—chibi characters are all about that cute, compact look!
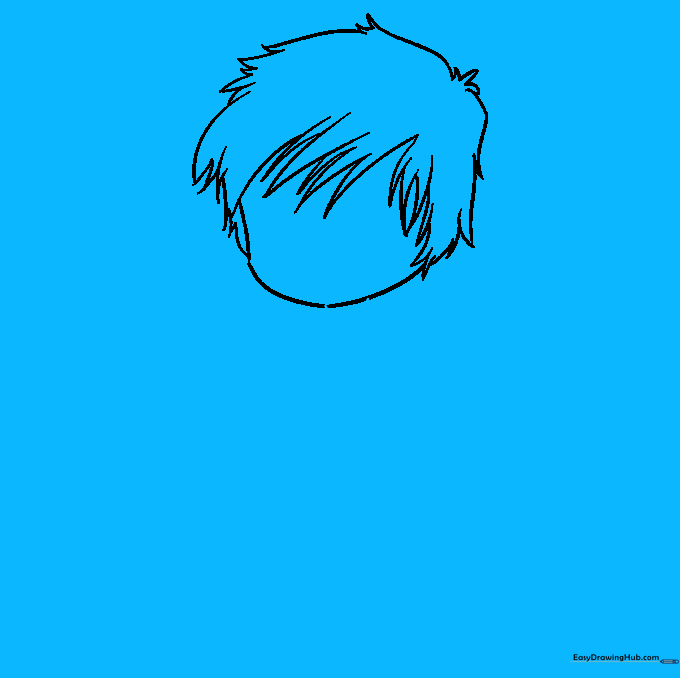
Step 2: Adding the Hair
Draw sharp, jagged locks of hair using pairs of curved lines that meet at points. Enclose the top of the head to complete the hairstyle. Tip: Don't worry about perfection; messy, spiky hair looks great on chibi boys!
Step 3: Sketching the Torso
Draw two short lines for the neck and connect them with a curve. Add the shirt collar and a rounded rectangle for the sleeve. Tip: Keep the torso small to maintain the chibi proportions.
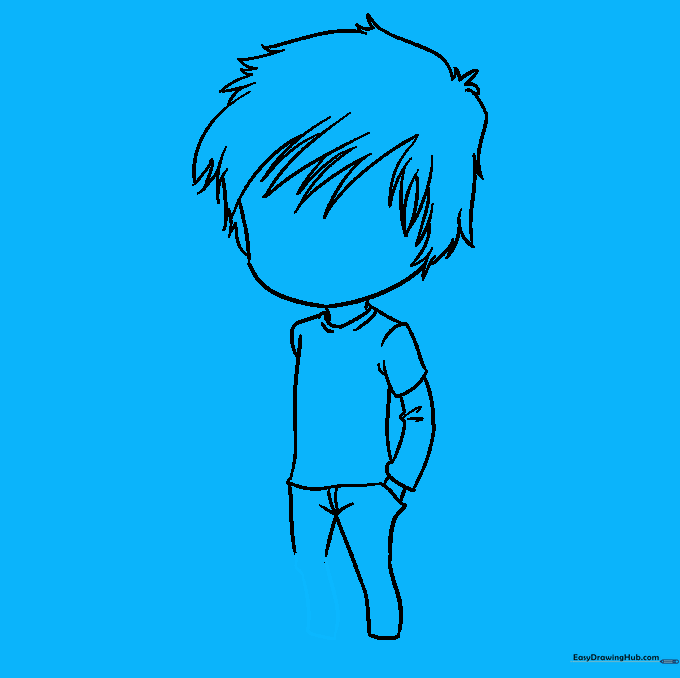
Step 4: Defining the Arm
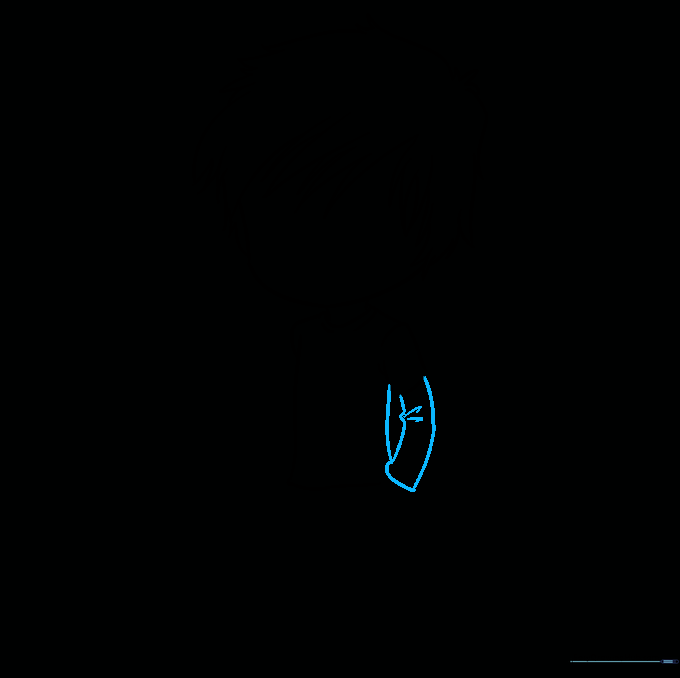
Extend curved lines from the sleeve to form the arm. Add a small curve at the elbow to show movement. Tip: Use a light touch here so you can easily adjust the arm's position if needed.
Step 5: Starting the Pants

Outline the first pant leg using long, curved lines. Add a small detail to show a hand tucked into a pocket. Tip: A hand in a pocket adds personality to your character!
Step 6: Adding the Second Leg

Extend a pair of curved lines to begin the second pant leg. Tip: Ensure the legs are roughly the same width to keep the character balanced.
Step 7: Finishing the Legs
Complete the pant leg lines and add a slight bulge at the knee to make it look natural. Tip: Small details like a knee bend make your drawing look much more professional.
Step 8: Shoes and Shirt Details
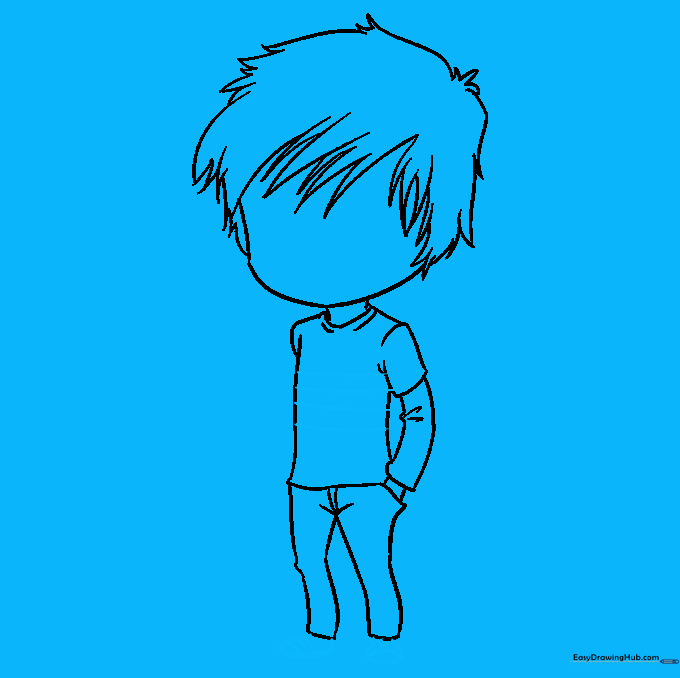
Add stripes to the shirt and draw rounded shapes at the bottom of the pants for the shoes. Add laces and soles to the shoes. Tip: Keep the shoes simple and chunky to match the chibi style.
Step 9: Drawing the Face
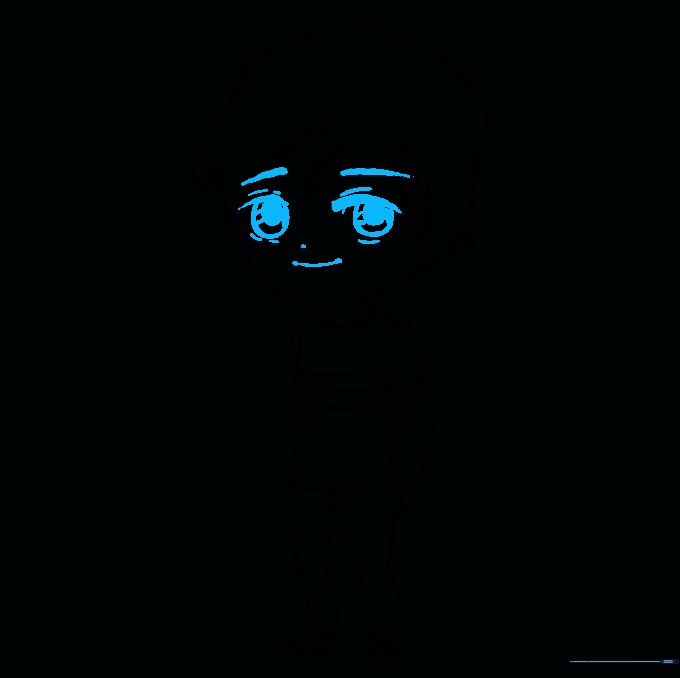
Draw large, expressive eyes with circles inside for pupils. Add eyebrows, a small nose dot, and a simple mouth. Tip: Large eyes are the hallmark of chibi characters—make them big and bright!
Step 10: Adding Color
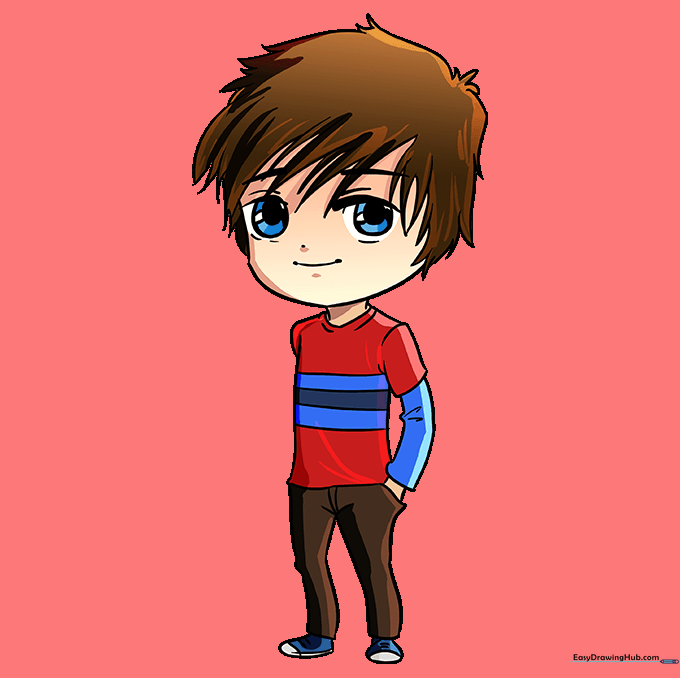
Bring your character to life with color! Use natural tones for hair or get creative with vibrant blues, pinks, or purples. Tip: Use a darker shade for the pupils to make the eyes pop.
More Tutorials


