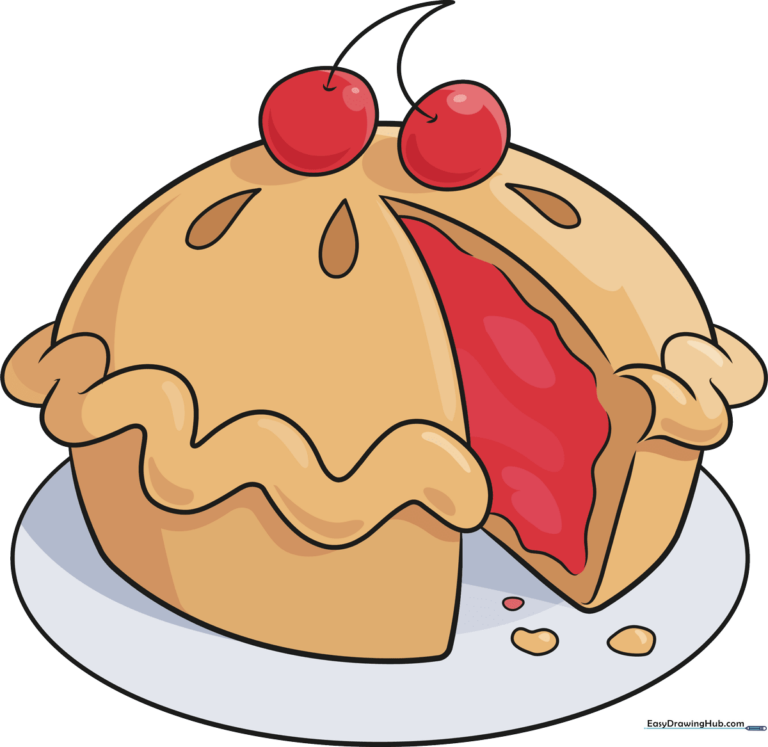
How to Draw a Cherry Pie: Easy 10-Step Guide for Kids
Ready to bake up some art? This tutorial is perfect for young artists ages 5 and up. All you need is a pencil, an eraser, and your favorite markers or crayons to create a sweet, cartoon-style cherry pie that looks good enough to eat.
🎯 Final Result
Step-by-Step Instructions
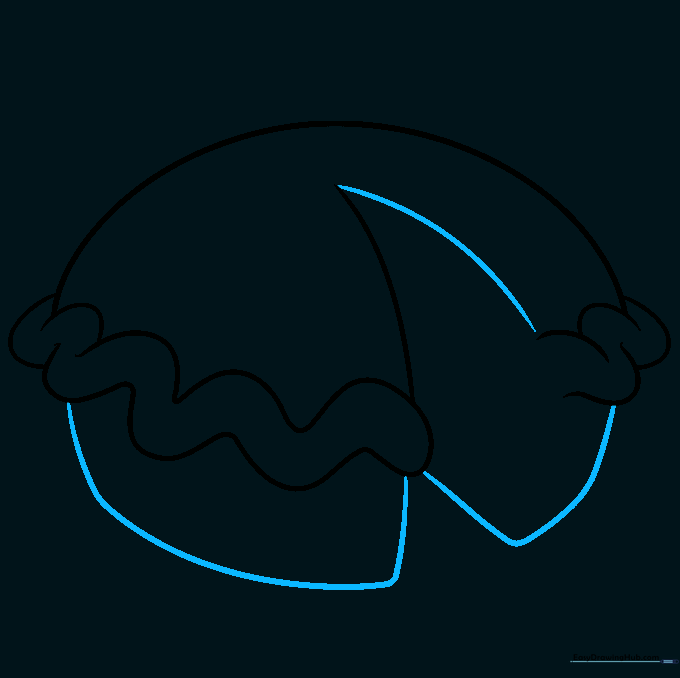
Step 1: Sketching the Top Crust

Draw a long, gentle curve for the top of the pie. Add a series of small, overlapping bumps at one end to start the scalloped crust. Tip: Keep your pencil lines light so you can easily adjust the shape later!
Step 2: Completing the Scalloped Edge

Continue the crust on the opposite side using a series of 'U' shaped lines. These represent the pinched dough edges. Tip: Try to keep your 'U' shapes consistent in size to make the crust look uniform.
Step 3: Defining the Crust Depth

Draw long, wavy lines beneath the top crust to give the pie some thickness. Tip: Imagine you are drawing the side of a real pie tin; keep the lines smooth and flowing.
Step 4: Cutting the Slice

Extend the wavy line and double it back to show where a slice has been removed. Add a curved line inside the top to show the interior of the pie. Tip: This is the 'wow' factor of your drawing, so take your time with the perspective.
Step 5: Sketching the Base
Connect the slice area to the opposite side and sketch the bottom of the pie using curved lines. Tip: Use gentle, rounded strokes to make the pie look like it’s sitting in a round tin.
Step 6: Adding the Filling
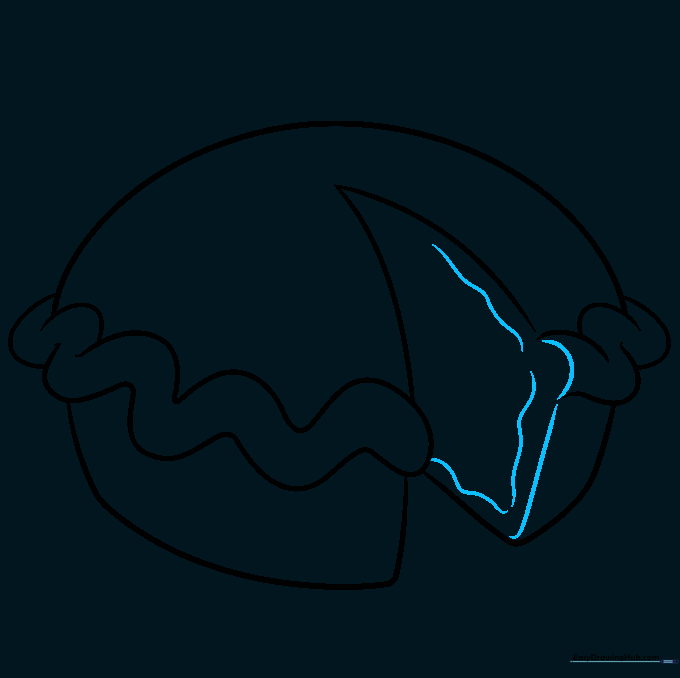
Complete the crust outline and draw the yummy filling inside the pie using soft, curved lines. Tip: Think of the filling as a thick, gooey liquid—don't make the lines too straight!
Step 7: Steam Vents
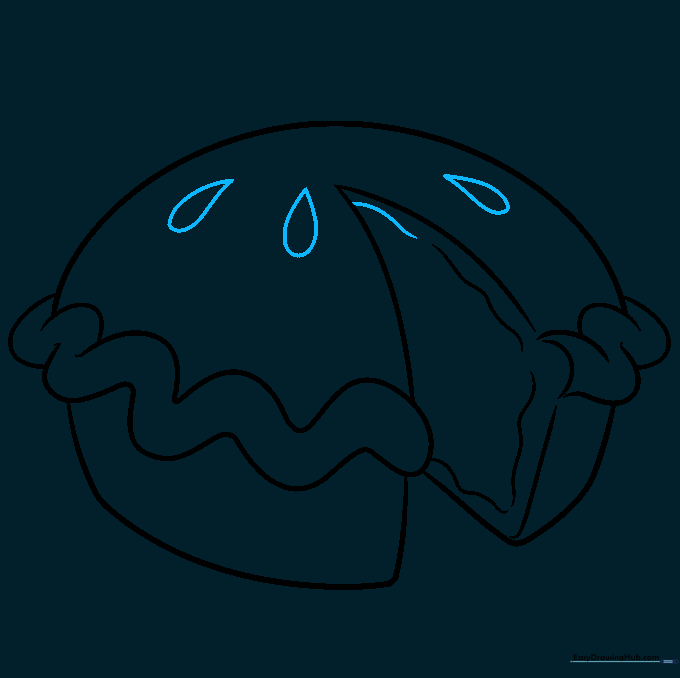
Draw three teardrop shapes on the top crust. These are the steam vents! Tip: Make them different sizes to give your pie a more natural, homemade look.
Step 8: Drawing the Cherries
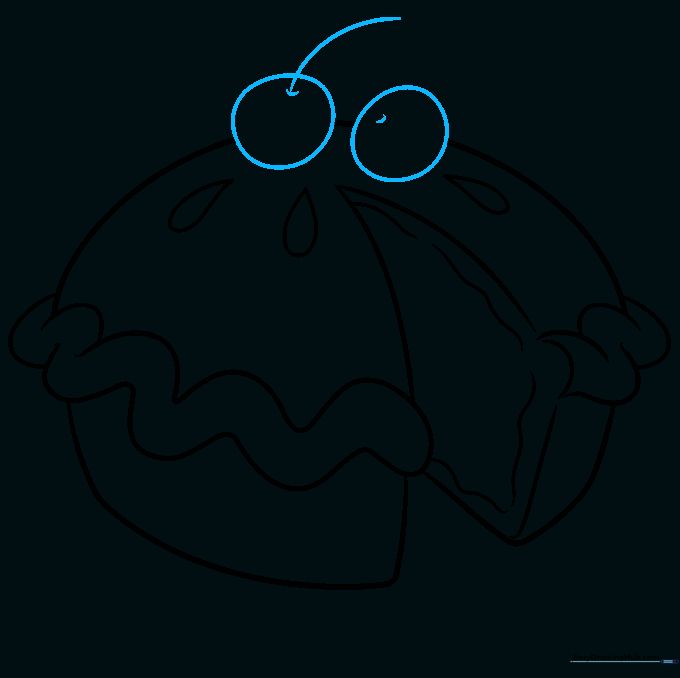
Draw circles on top of the pie for the cherries. Add a small dimple and a stem to each one. Tip: Cherries aren't perfect circles, so feel free to make them slightly lopsided!
Step 9: The Plate and Crumbs
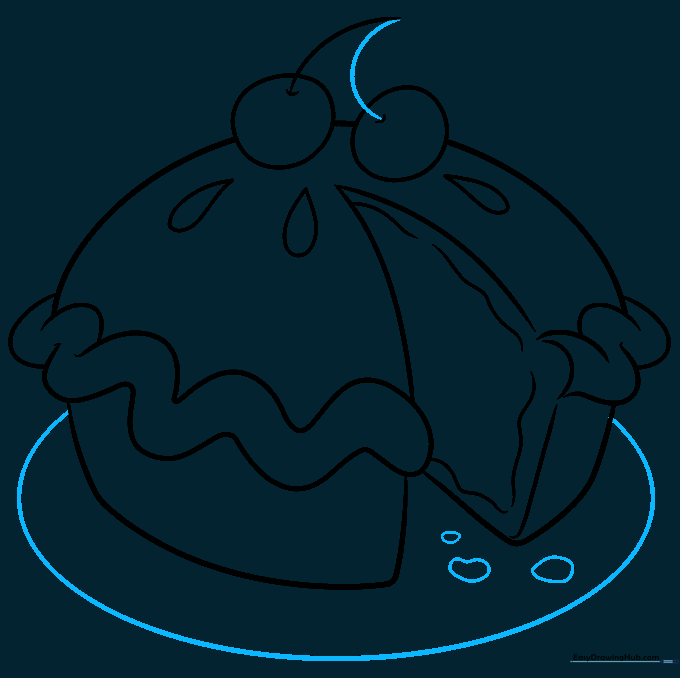
Draw a large circle around the base to create the plate. Don't forget to add a few small circles for crumbs! Tip: Crumbs add a fun, realistic detail that makes your drawing look professional.
Step 10: Adding Color

Bring your pie to life with color! Use deep reds for the cherry filling and golden browns for the crust. Tip: Use a lighter shade of red for the highlights on the cherries to make them look shiny.
More Tutorials


