How to Draw a Chef Hat: Easy 10-Step Guide for Kids
Ready to cook up some art? This tutorial is perfect for budding artists ages 5 and up who want to learn how to draw a classic chef's toque. All you need is a pencil, an eraser, and a piece of paper to bring this puffy, professional-looking hat to life.
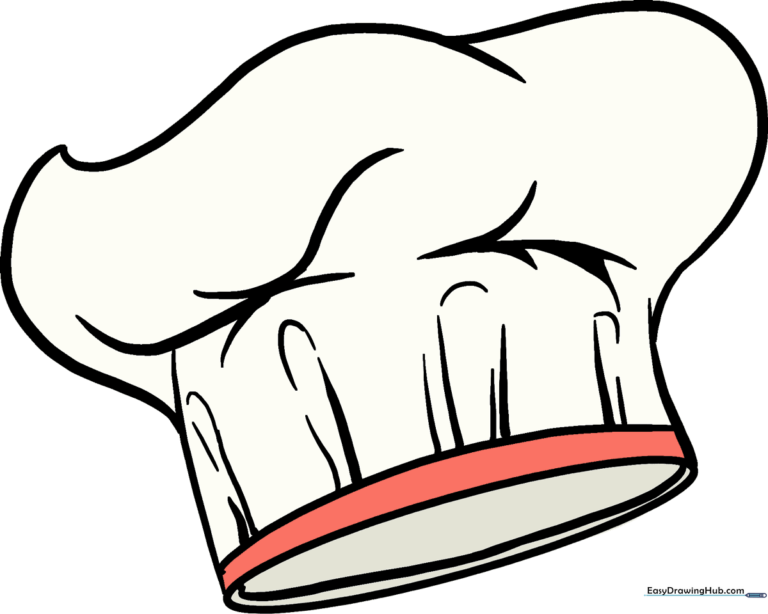
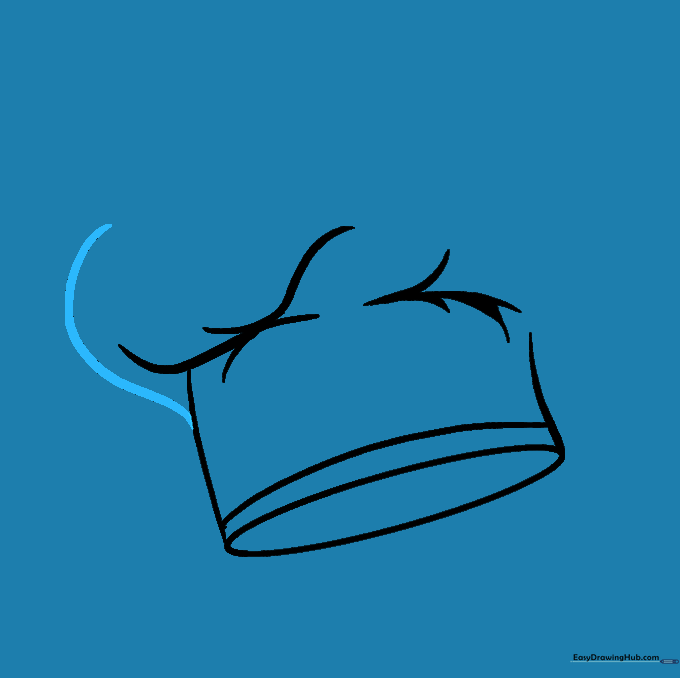
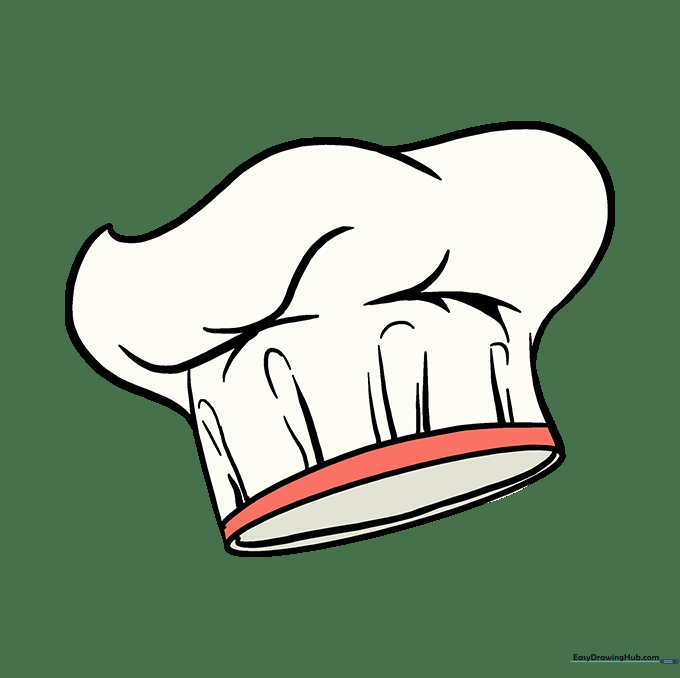
🎯 Final Result
Step-by-Step Instructions
Step 1: Sketching the Base

Draw a narrow, horizontal oval. This represents the opening where the chef's head goes. Teacher's Tip: Keep your pencil strokes light and loose so you can easily adjust the shape if needed.
Step 2: Creating the Sides
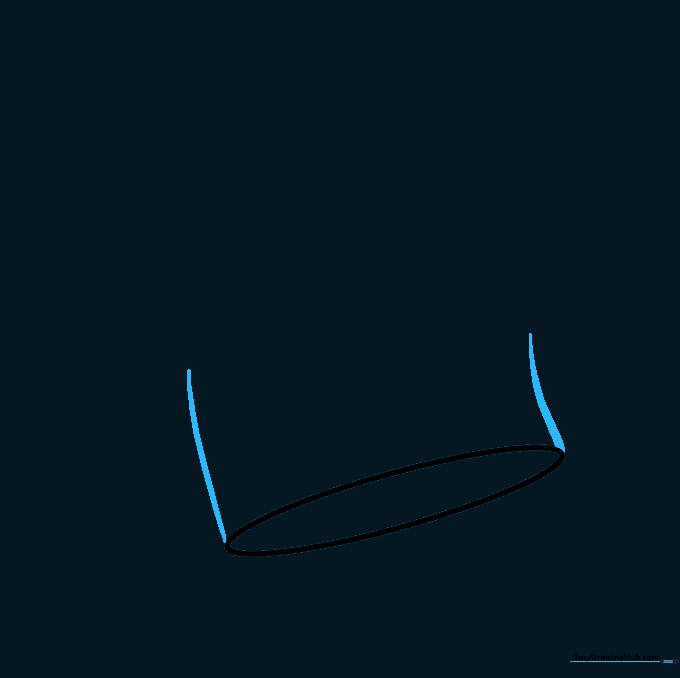
Draw two short, slightly curved lines extending upward from the ends of your oval. These act as the walls of the hat band. Tip: Make sure they curve slightly outward to give the hat a sturdy look.
Step 3: Defining the Band

Connect the top of your two side lines with a horizontal curve that mirrors the top of your original oval. This creates the thick band of the hat. Tip: Imagine you are drawing a thick fabric cuff.
Step 4: Starting the Puffy Top
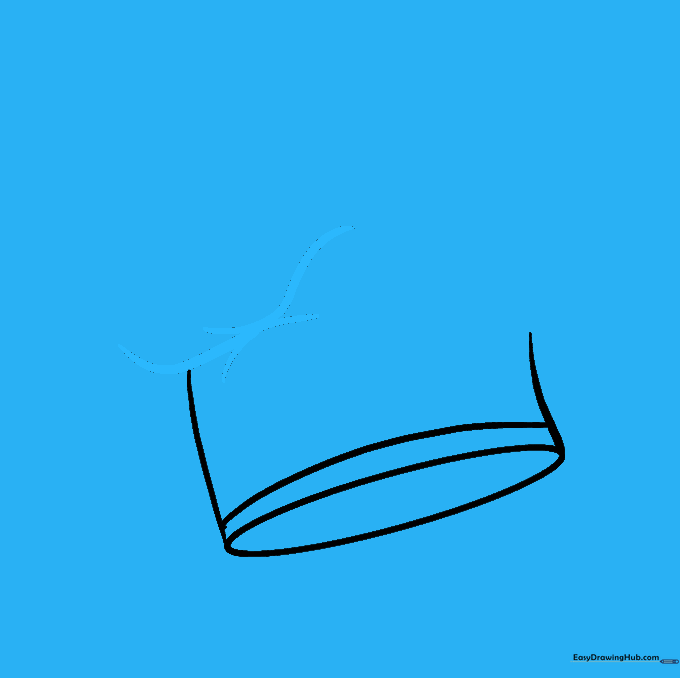
Draw a series of 'S' shaped curves above the band. These represent the folds of the fabric. Tip: Don't worry about making them perfect; fabric folds are naturally irregular and soft.
Step 5: Adding Volume
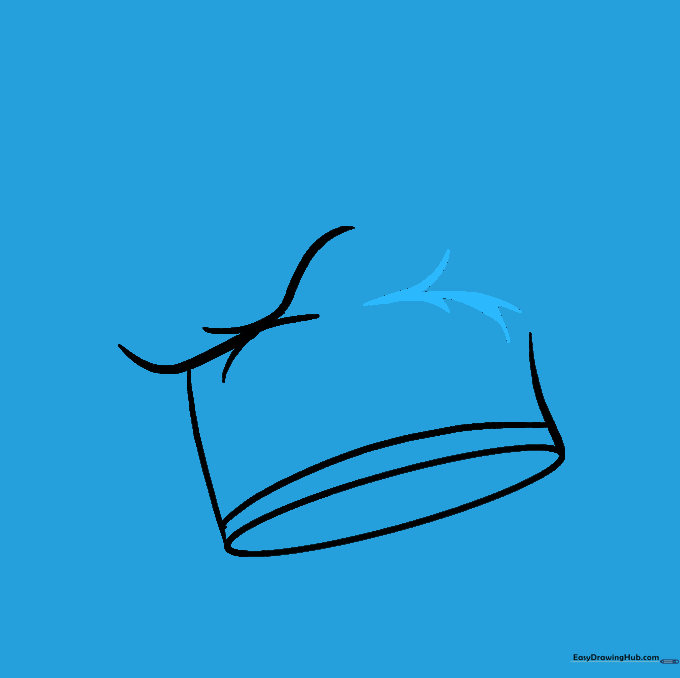
Add more branching curved lines that extend from the band toward the top. These lines add volume to the hat. Tip: Keep these lines light—they are the 'skeleton' of your puffy hat.
Step 6: Shaping the Crown
Draw a large, sweeping curved line that loops around the 'S' shapes you drew earlier. This starts to define the outer edge of the hat. Tip: Use a smooth, continuous motion for this line.
Step 7: Completing the Loop
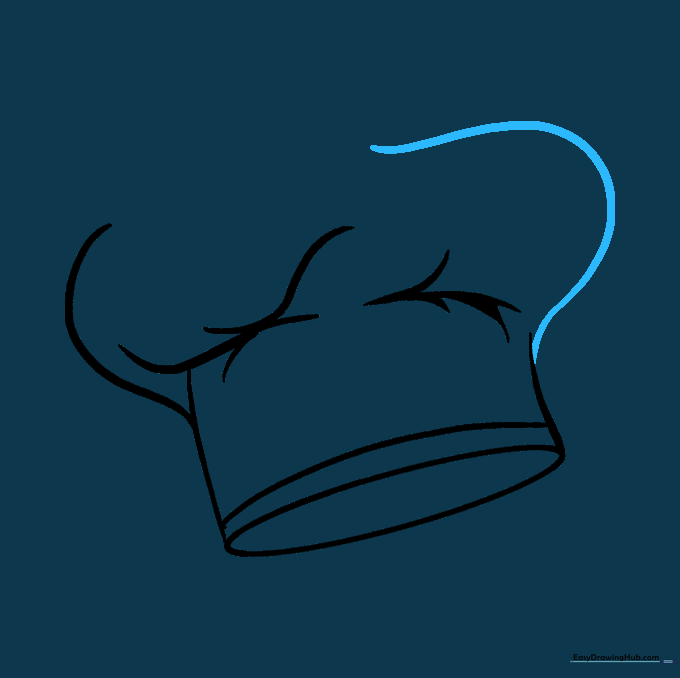
Extend a curved line from the opposite side of the hat, looping it over to meet the top. This closes the shape of the crown. Tip: Ensure the top looks rounded, not pointy.
Step 8: Refining the Top
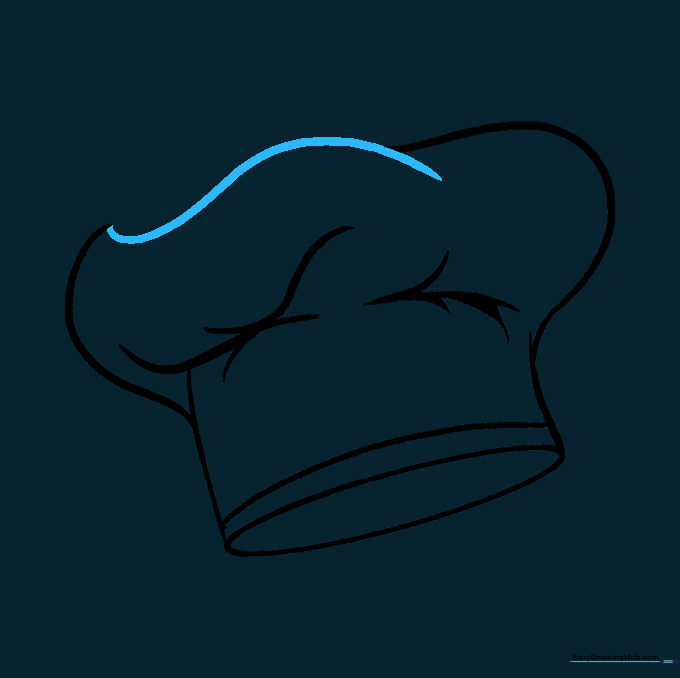
Add a final 'S' shaped line at the very top to enclose the hat. It’s okay if this line overlaps slightly with your previous work—it adds to the texture of the fabric.
Step 9: Adding Final Details
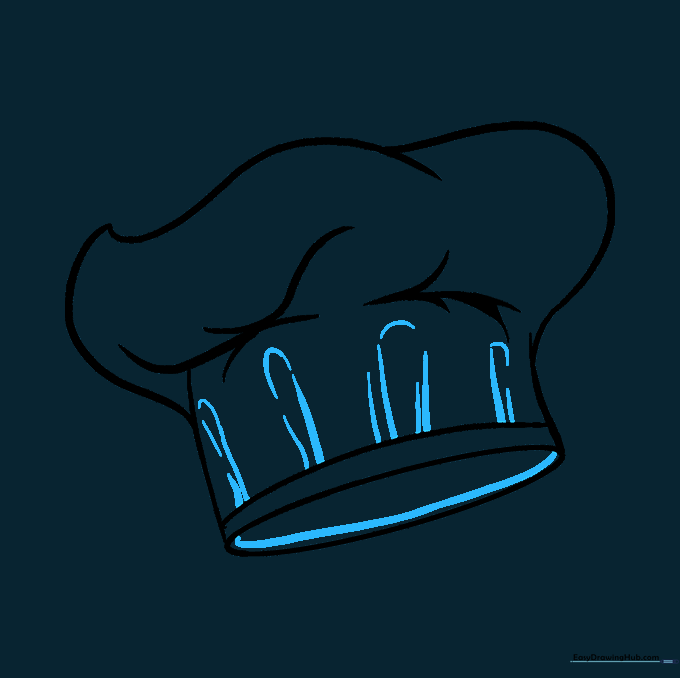
Add small, curved lines inside the band and near the folds to suggest depth. These little details make the hat look realistic. Tip: Use short, quick strokes for the folds.
Step 10: Color Your Masterpiece
Time to color! While traditional chef hats are white, feel free to use any color you like. Tip: If you choose white, use a very light gray pencil to add shadows in the folds to make it pop!
More Tutorials


