How to Draw a Cheetah Face: Easy 9-Step Guide
Bring the fastest cat in the savanna to life with this simple drawing guide, perfect for young artists ages 5 and up. You only need a pencil, an eraser, and some paper to get started. Follow these steps to build your confidence and learn how to capture the cheetah's unique facial features.
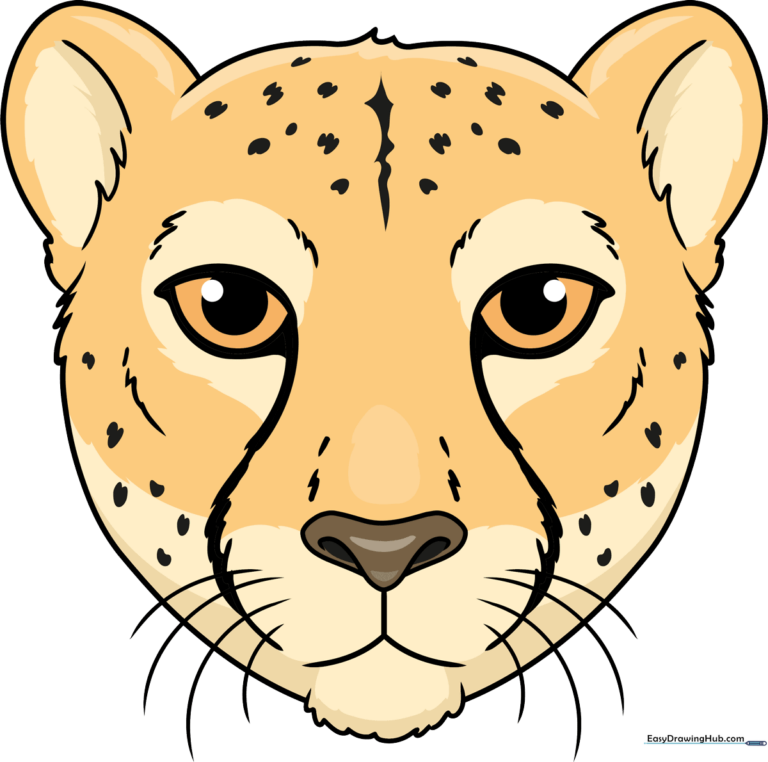
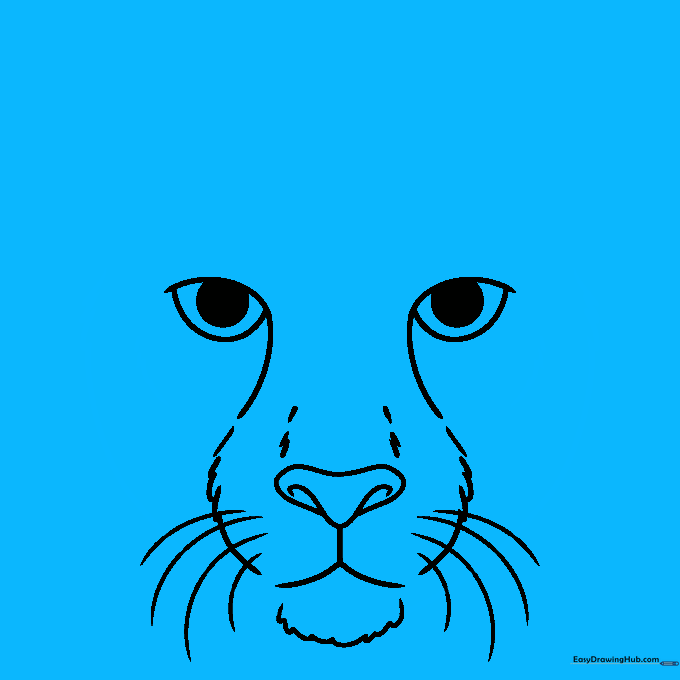
🎯 Final Result
Step-by-Step Instructions
Step 1: Sketching the Expressive Eyes

Draw two almond-shaped eyes using curved lines that meet at sharp points. Teacher's Tip: Keep the eyes level with each other to give your cheetah a balanced, friendly look. Shade in a dark circle for the pupil, leaving a tiny white dot for a 'sparkle' effect.
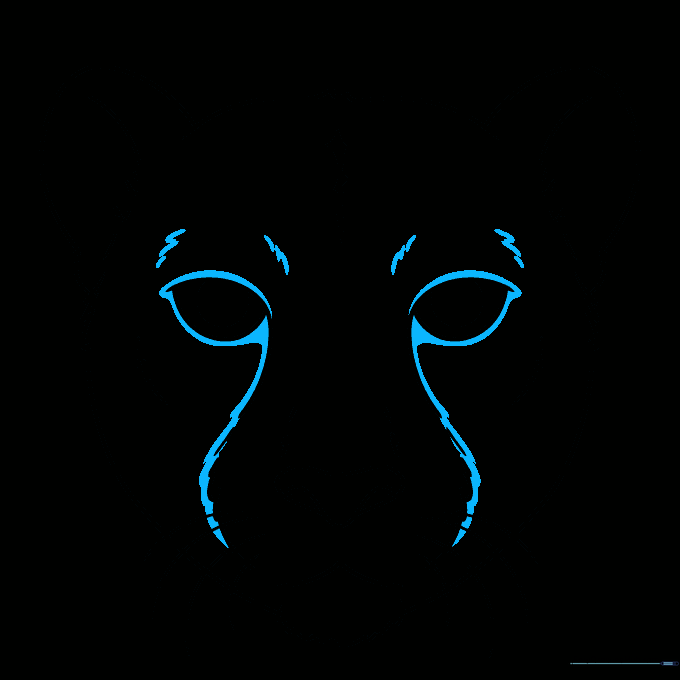
Step 2: Defining the Nose
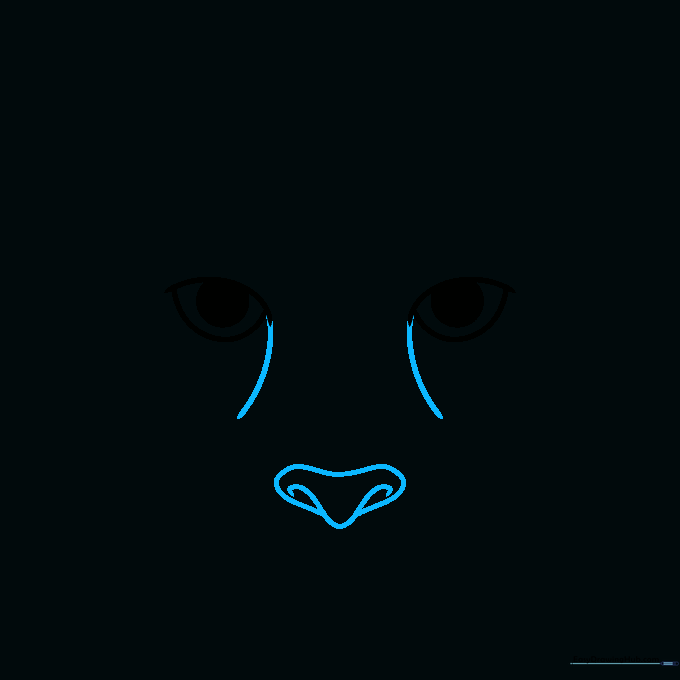
Draw a small, rounded 'V' shape between the eyes to form the nose bridge. Teacher's Tip: Think of the nose as a small triangle with soft, rounded corners. Add two small curves at the bottom for the nostrils.
Step 3: Creating the Muzzle
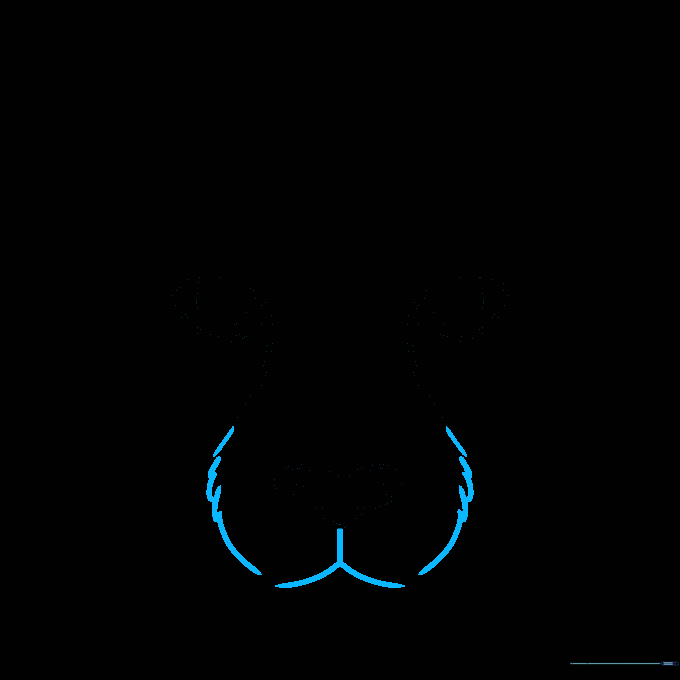
Add an inverted 'Y' shape below the nose to create the mouth line. Use short, overlapping 'bumpy' lines around the snout to suggest soft fur. Teacher's Tip: Use a light touch here—the fur should look fluffy, not prickly.
Step 4: Adding Whiskers and Jaw
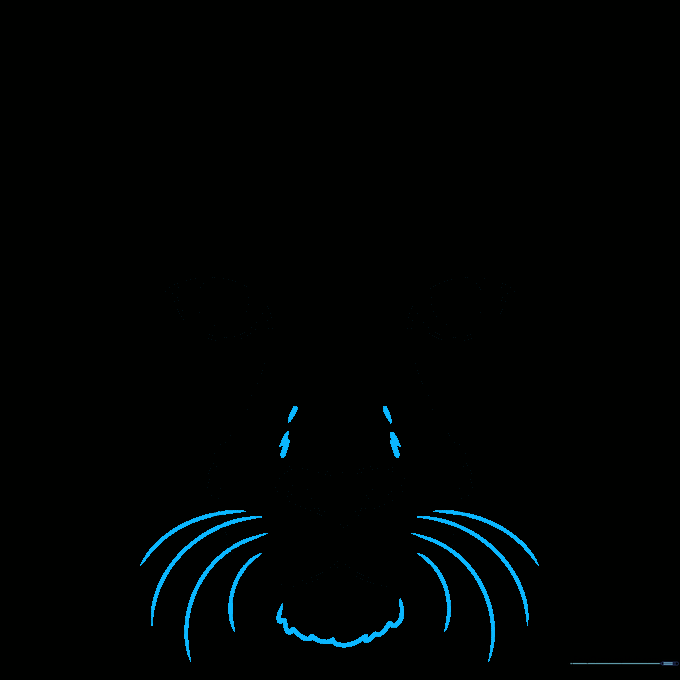
Draw long, sweeping lines from the muzzle for whiskers. Add a series of connected curves below the mouth to define the lower jaw. Teacher's Tip: Whiskers are very thin, so try to use a sharp pencil for this step.
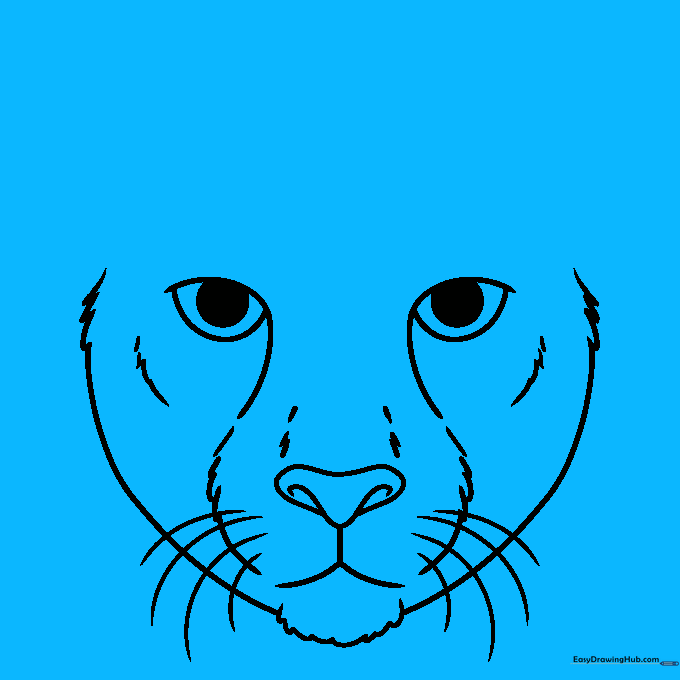
Step 5: Shaping the Cheeks
Outline the sides of the face using long, curved strokes. Add jagged, 'furry' lines near the cheeks to give the face volume. Teacher's Tip: Imagine the cheetah's face is shaped like a heart to help guide your hand.
Step 6: Drawing the Ears
Draw two large 'C' shapes on top of the head. Connect them with jagged lines to show where the fur meets the ear. Teacher's Tip: Cheetah ears are smaller and more rounded than a cat's—keep them compact.
Step 7: The Top of the Head
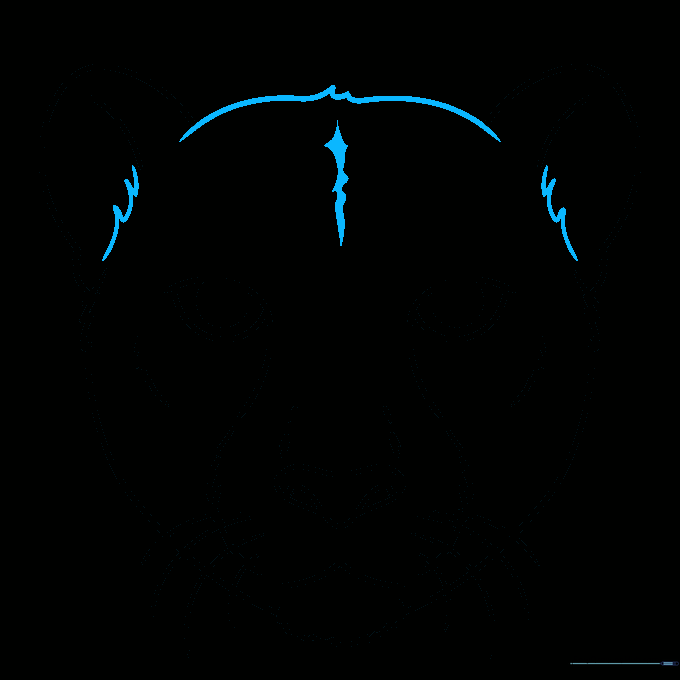
Connect the ears with a series of curved lines that meet in the middle to form a tuft of fur. Add a few more jagged lines on the forehead for texture. Teacher's Tip: Don't make the top of the head too flat; a slight curve makes it look more natural.
Step 8: Adding Characteristic Markings
Draw the iconic 'tear marks'—the dark lines running from the inner corners of the eyes down to the mouth. Fun Fact: These lines act like natural sunglasses, helping cheetahs see clearly in the bright sun!
Step 9: Final Spots and Details
Add irregular, small spots across the cheeks and forehead. Teacher's Tip: Avoid making them perfect circles; cheetah spots are naturally messy and varied in size.
Step 10: Bringing it to Life with Color

Use sandy beige or tan for the main fur and black for the spots and tear marks. Teacher's Tip: Use light pressure with your colored pencils to create a soft, blended look.
More Tutorials


