How to Draw a Cheetah: Easy 9-Step Guide for Kids
Ready to bring the world's fastest land animal to life? This tutorial is perfect for young artists ages 7+ looking to master animal anatomy. You will only need a pencil, an eraser, and your favorite coloring markers to complete this safari-inspired masterpiece.
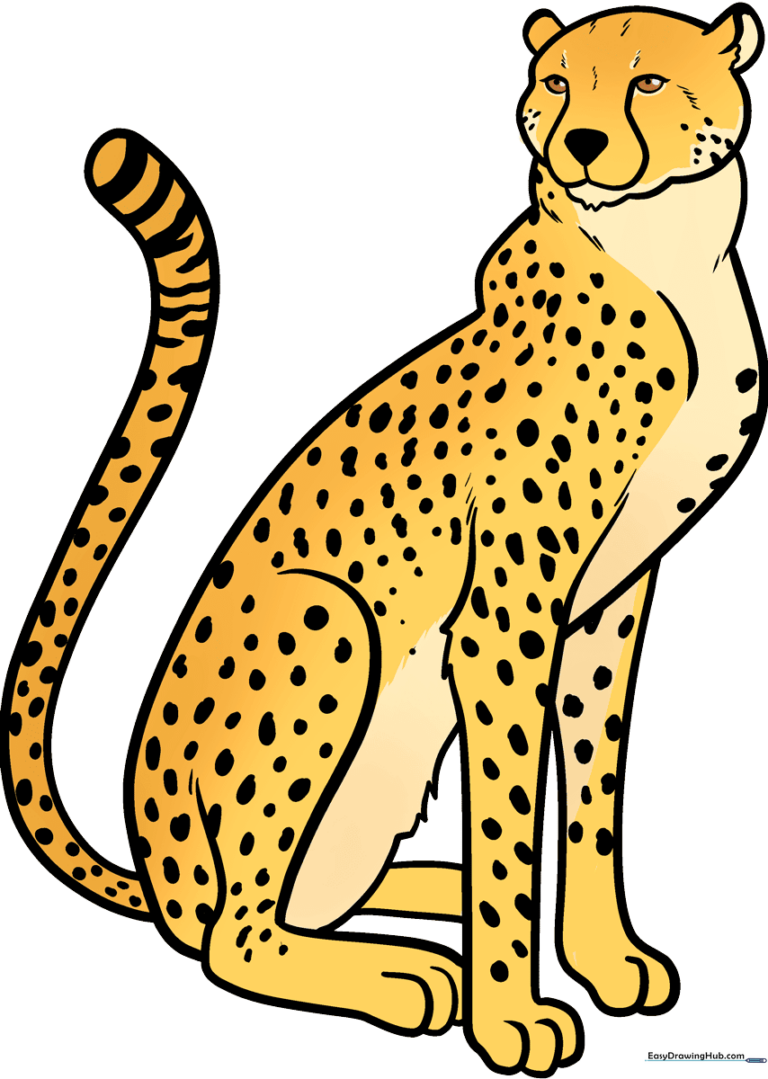
🎯 Final Result
Step-by-Step Instructions
Step 1: Sketching the Cheetah's Head

Start by sketching the head, ears, and chin using soft, overlapping curved lines. Draw a 'W' shape inside the face to define the muzzle. Tip: Keep the 'W' small to ensure the face looks proportional and friendly.
Step 2: Defining the Neck and Shoulders

Use smooth, sweeping curved lines to build the neck and shoulder structure. Tip: Imagine the cheetah is looking forward; keep the shoulder line slightly rounded to show the animal is resting.
Step 3: Drawing the Front Leg
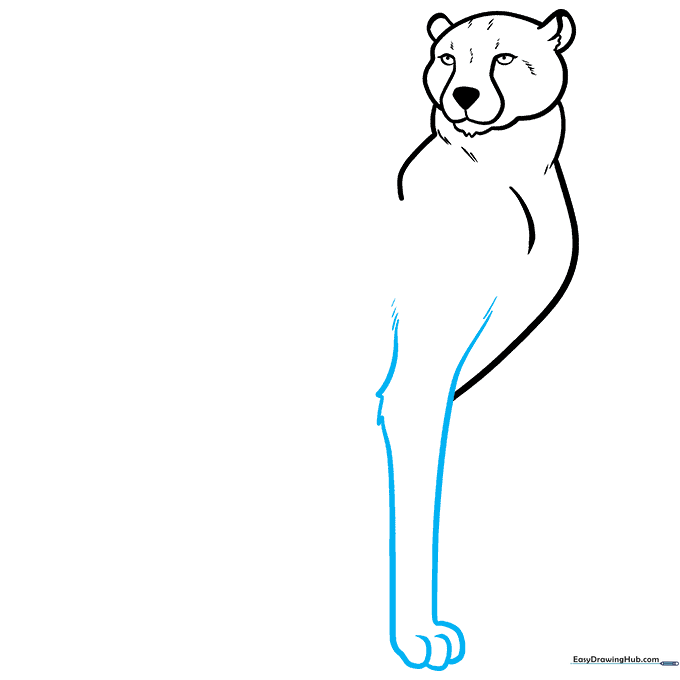
Sketch the front leg using long, confident lines. Add small, jagged 'zig-zag' marks at the elbow to represent fur texture. Tip: Use overlapping curves at the bottom to create the toes.
Step 4: Adding the Belly and Rear Foot
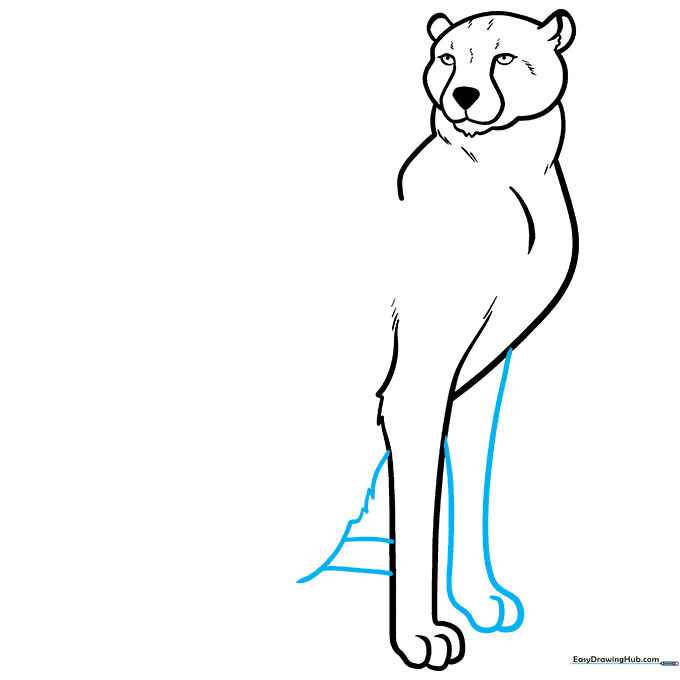
Draw the second foreleg and connect it to a furry, jagged belly line. Connect the belly to the rear foot area. Tip: Keep your pencil pressure light here so you can easily erase the overlapping lines later.
Step 5: Sketching the Sitting Rear Leg
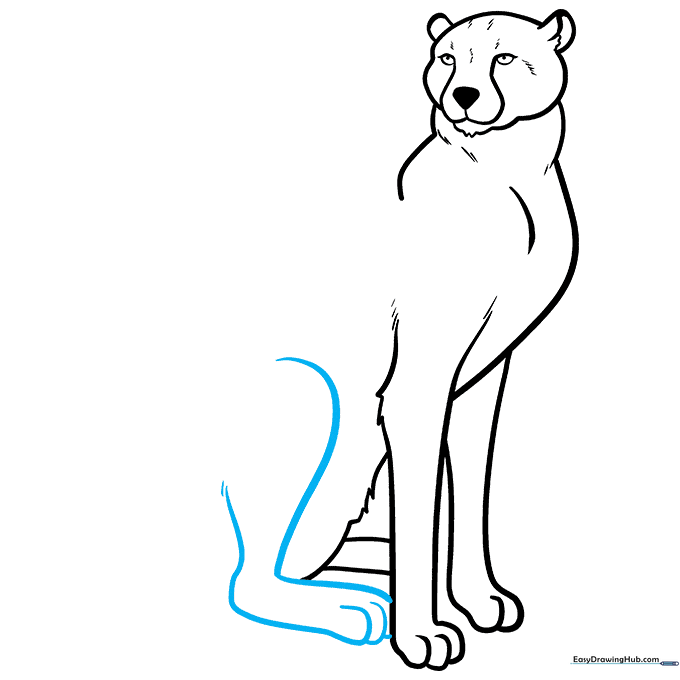
Add the large, powerful rear leg in a sitting position using long, fluid curves. Tip: Ensure the curve of the haunch looks rounded to give the cheetah a natural, resting posture.
Step 6: Completing the Back Outline
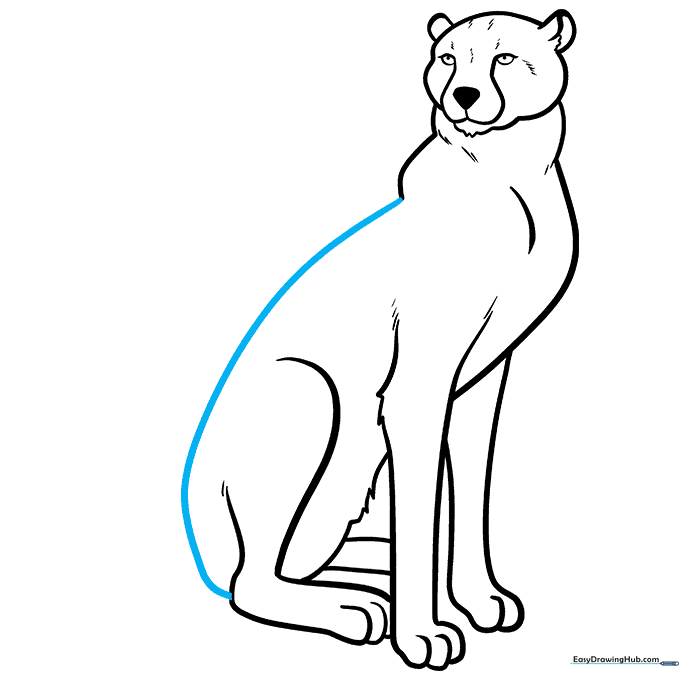
Draw a long, graceful line connecting the shoulder to the rear foot to complete the cheetah's back. Tip: A single, continuous stroke here will make the drawing look more professional.
Step 7: Adding the Tail
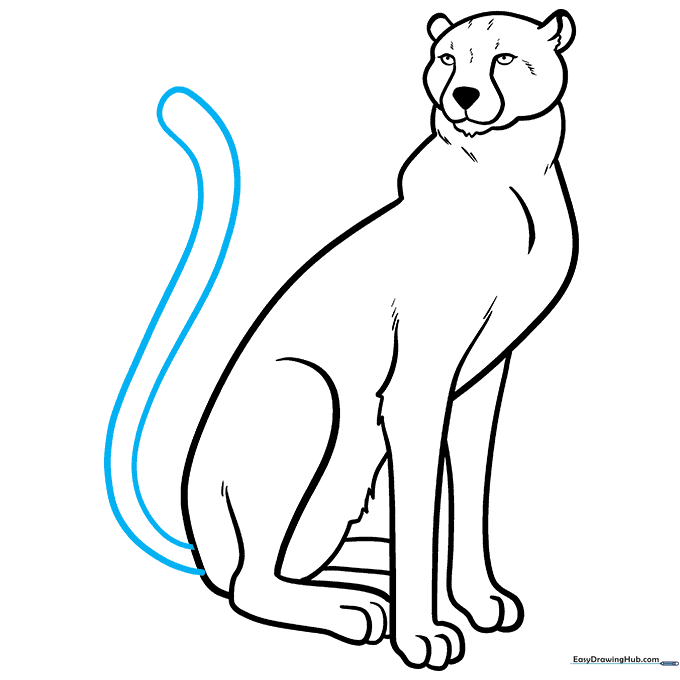
Extend a long, curved tail from the haunches, doubling the line back to give it thickness. Tip: A slightly curved tail adds a sense of movement to your drawing.
Step 8: Adding Iconic Cheetah Spots
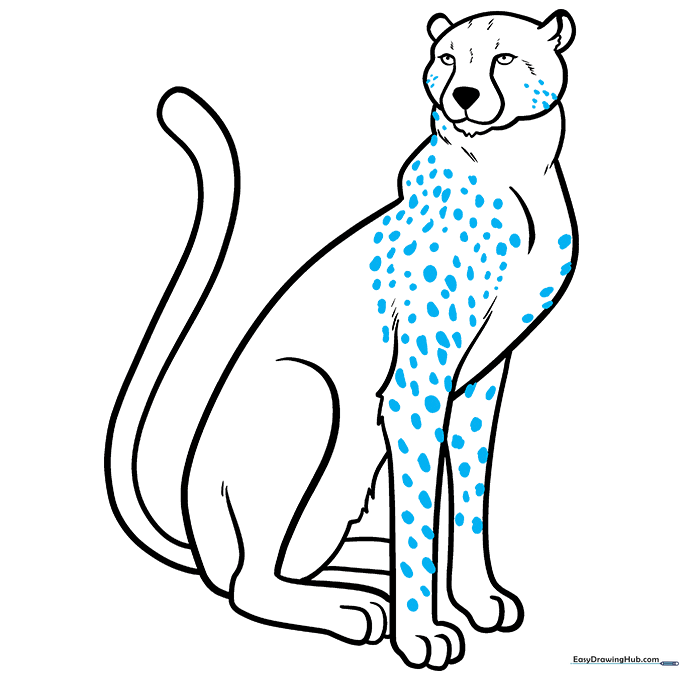
Now for the fun part! Add spots by drawing small, irregular ovals across the cheeks, chest, and legs. Tip: Don't make them perfect circles—nature is messy, so vary the sizes!
Step 9: Final Details and Tail Stripes
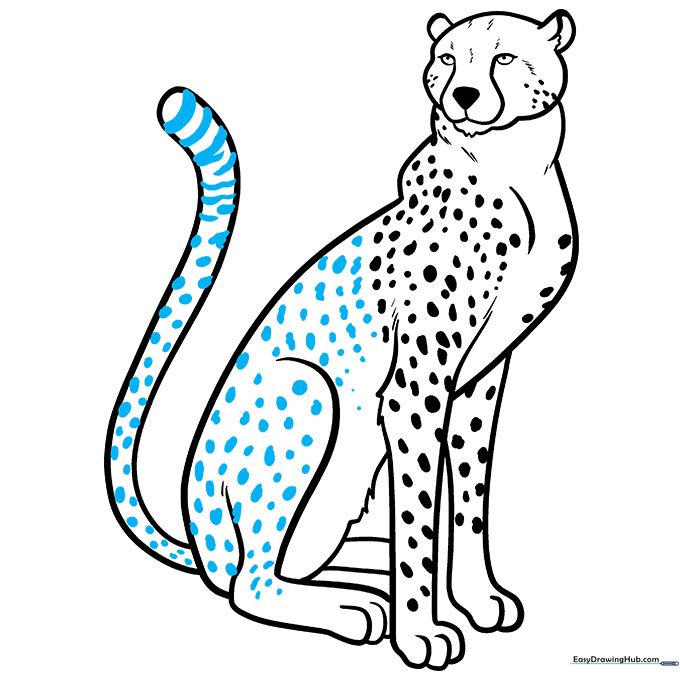
Finish your spots on the back and legs. Add thick, bold stripes to the tip of the tail. Tip: Use a darker pencil or marker for these final details to make them pop.
Step 10: Bringing Your Cheetah to Life with Color
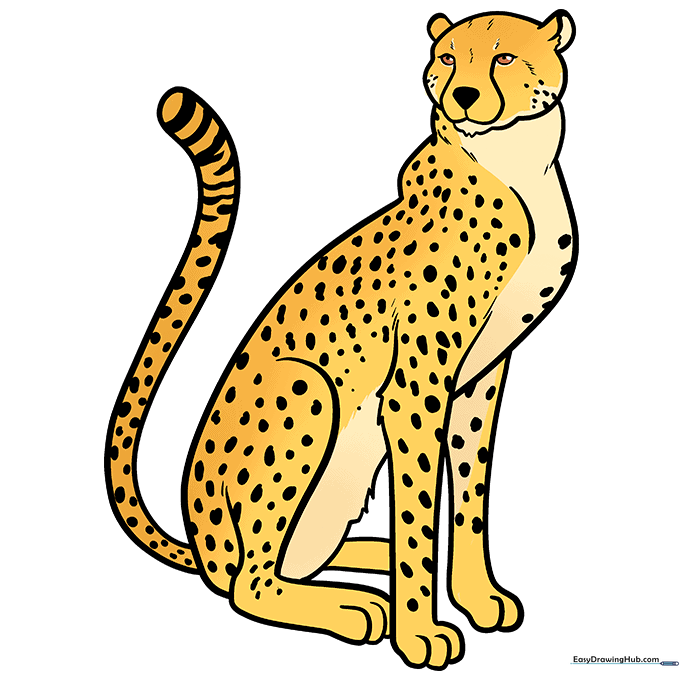
Time to color! Use a warm, sandy tan for the body and black for the spots. Tip: Leave a tiny white highlight in the eyes to make your cheetah look alert and alive.
More Tutorials


