How to Draw a Chair: Easy 10-Step Guide for Kids
Ready to bring your room drawings to life? This tutorial is perfect for young artists ages 5+ looking to master 3D shapes. All you need is a pencil, an eraser, and a piece of paper to build your very own cartoon chair from scratch.
🎯 Final Result

Step-by-Step Instructions
Step 1: Sketching the Seat
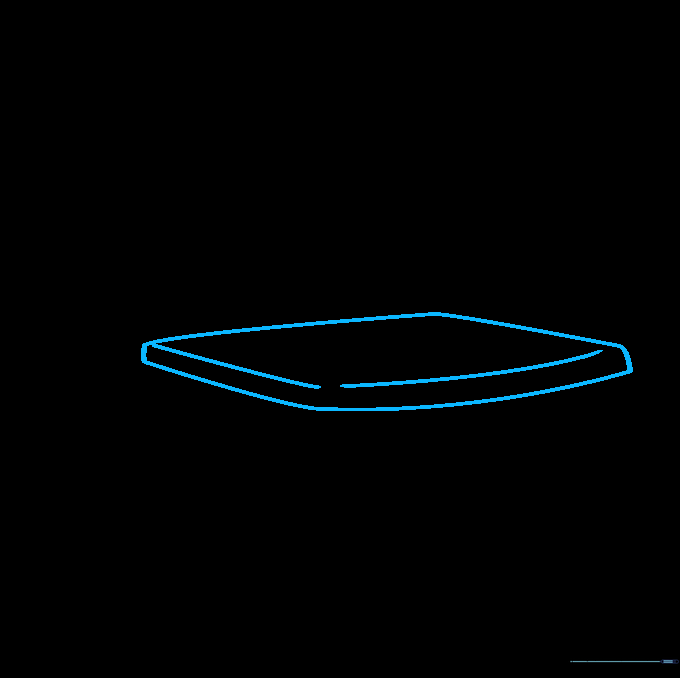
Draw a slightly tilted parallelogram with rounded corners to form the seat. Teacher's Tip: Keep your pencil lines light so you can easily adjust the shape if it looks a bit lopsided!
Step 2: Defining the Sides
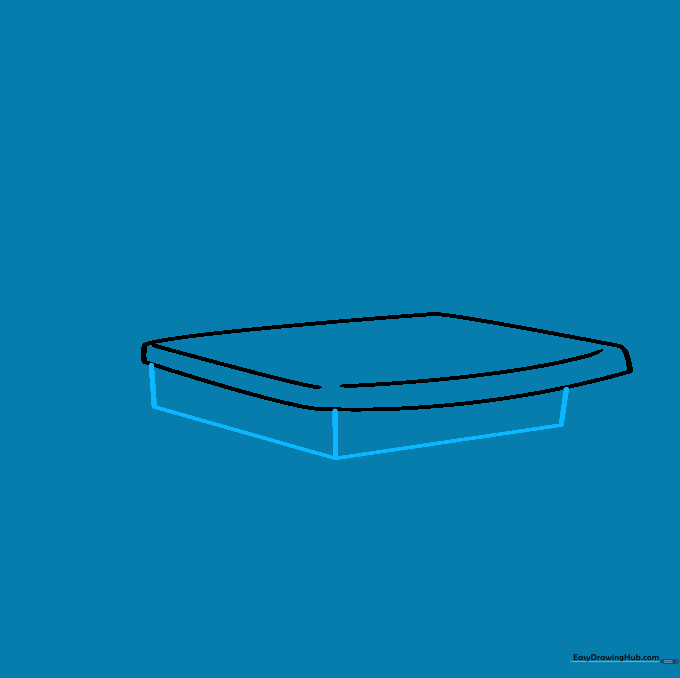
Extend three short lines downward from the seat to create the thickness of the chair frame. Connect them with long, straight lines. Teacher's Tip: Use a ruler if you struggle with straight lines, but freehand is great for practice!
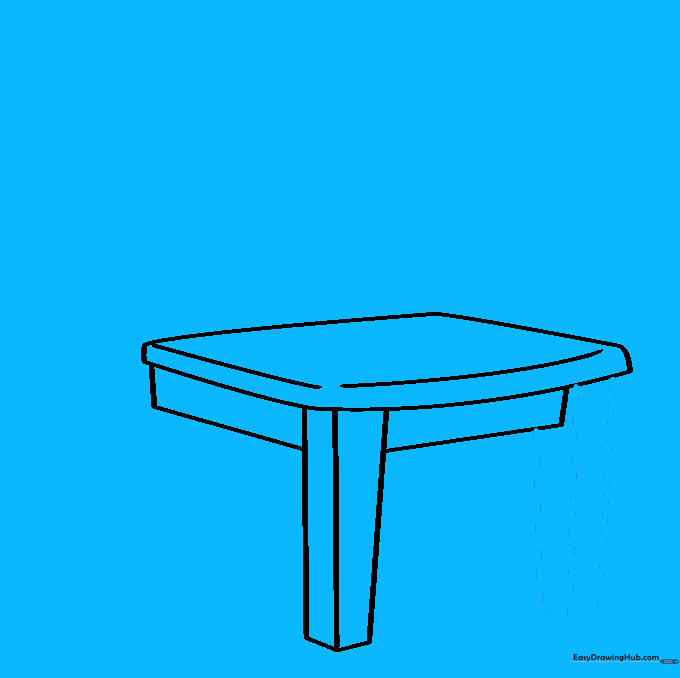
Step 3: Drawing the First Leg

Extend three long lines downward from the corner to form the front leg. Connect the bottom with a short horizontal line. Teacher's Tip: Make sure your leg is vertical so the chair doesn't look like it's falling over!
Step 4: Adding the Second Leg
Repeat the process to draw the second front leg next to the first. Teacher's Tip: Keep the spacing consistent so the chair looks balanced.
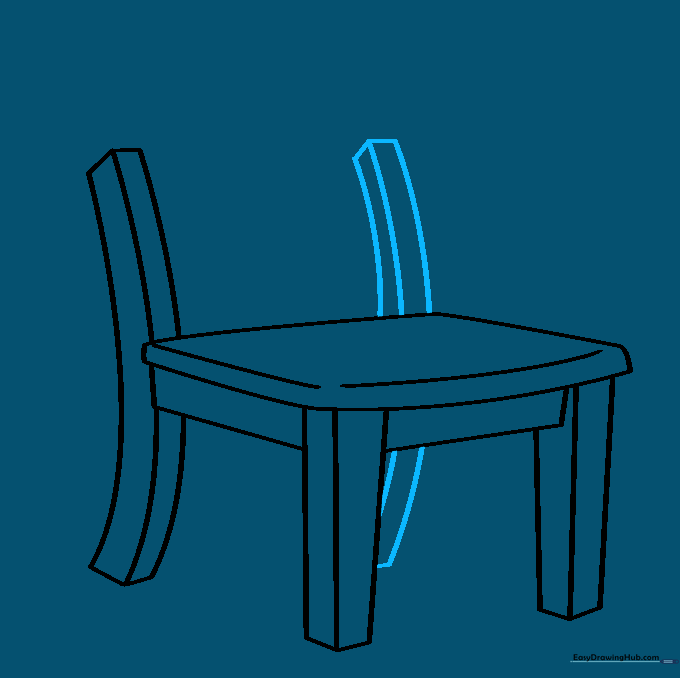
Step 5: The Tall Back Leg
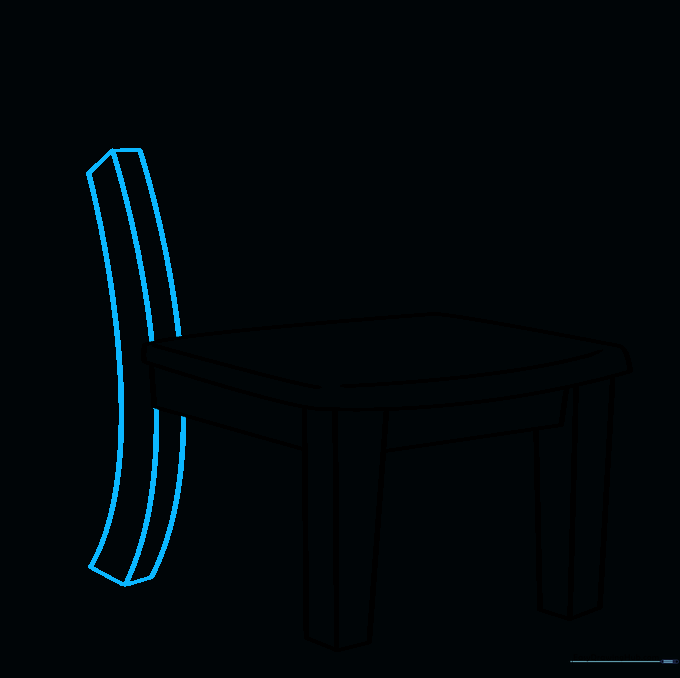
Draw the rear leg, extending it upward to form the backrest support. Teacher's Tip: This line should be longer than the front legs to give the chair height.
Step 6: Completing the Frame
Draw the final leg on the opposite side. Connect the lines carefully so the chair looks sturdy. Teacher's Tip: Erase any overlapping lines inside the legs to make the drawing look clean.
Step 7: Adding Support Rungs

Draw horizontal rungs between the legs for extra stability. Teacher's Tip: These small details make your drawing look much more realistic!
Step 8: Designing the Backrest
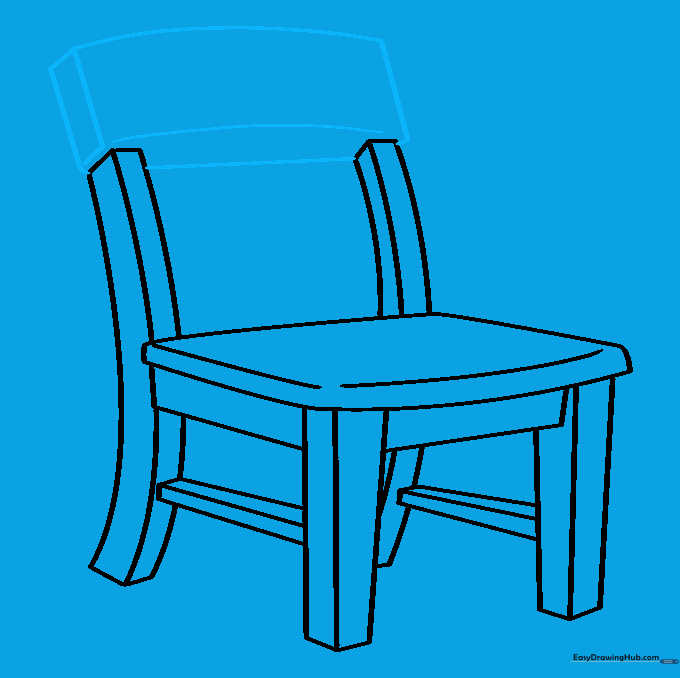
Connect the top of the rear legs with a curved line to form the backrest. Add a small rectangle to give it a 3D look. Teacher's Tip: Imagine where the light is hitting the chair to help you decide where to add these extra lines.
Step 9: Final Touches

Add a final rung to the backrest for detail. Erase any stray marks. Teacher's Tip: Take a moment to look at your drawing from a distance to see if you missed any spots.
Step 10: Bring It to Life with Color
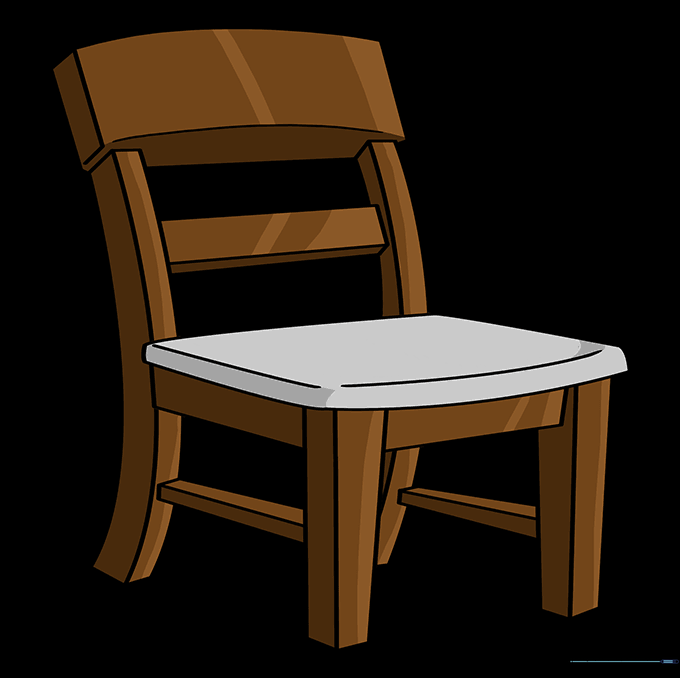
Time to color! Use warm browns for a classic wooden look, or pick your favorite bright colors for a modern cushion. Teacher's Tip: Use light pressure with your crayons to create a smooth, even texture.
More Tutorials


