How to Draw a Chainsaw: Easy 10-Step Guide for Beginners
Ready to master a cool, mechanical drawing? This tutorial is perfect for young artists and beginners looking to practice geometric shapes and structural detail. All you need is a pencil, an eraser, and a piece of paper to bring this powerful tool to life.
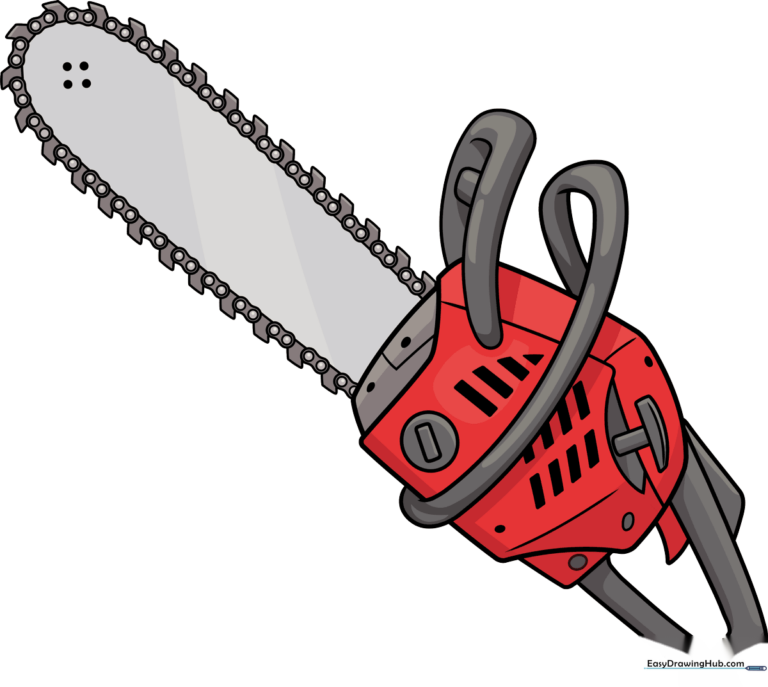
🎯 Final Result
Step-by-Step Instructions
Step 1: Sketching the Engine Housing

Start by drawing an irregular heptagon to form the main engine body. Tip: Keep your pencil strokes light and loose; this is just the foundation, and you'll want to erase these lines later.
Step 2: Adding the Handle
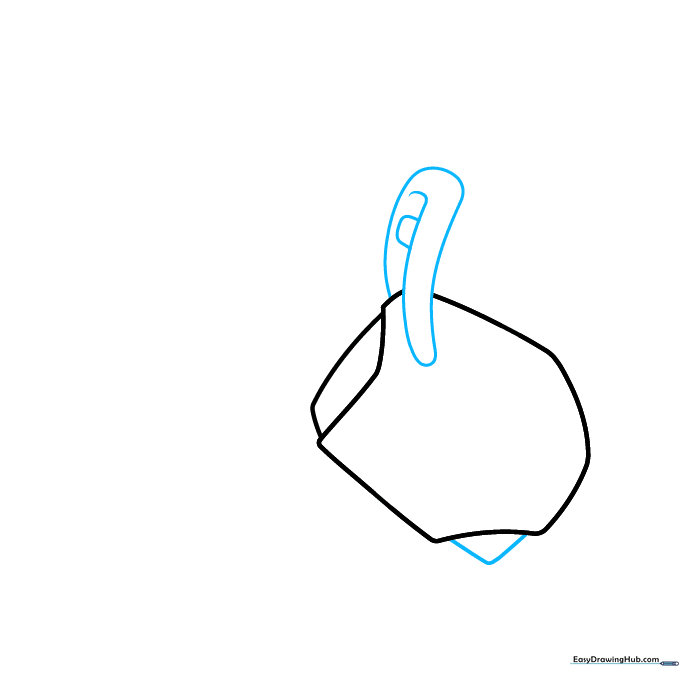
Draw a small triangle at the base and a curved loop at the top for the handle. Tip: Use a 'C' shape for the handle to make it look ergonomic and comfortable for a hand to grip.
Step 3: Defining the Blade Mount
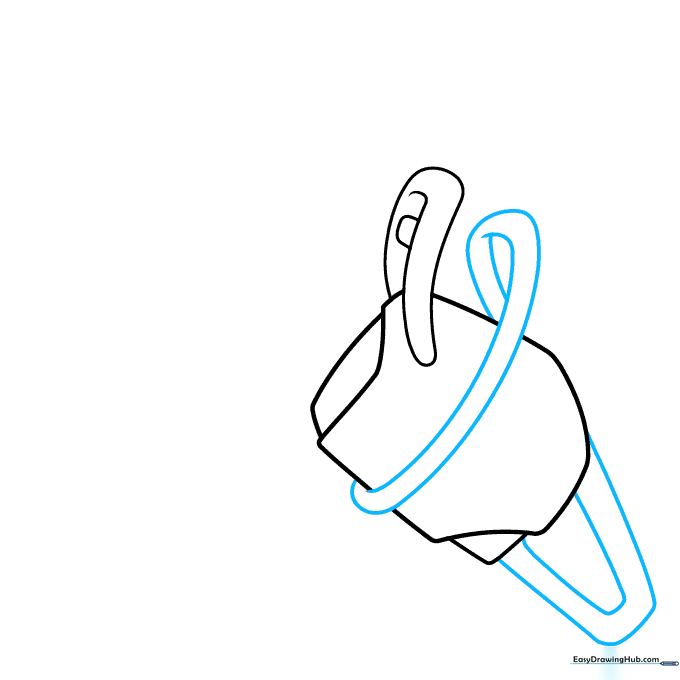
Draw two parallel lines extending from the body to create the blade mount. Tip: Ensure these lines are straight to give the saw a sturdy, professional look.
Step 4: Drawing the Trigger
Add small triangles near the handle to represent the trigger mechanism. Tip: Focus on keeping these shapes sharp and angular to contrast with the rounded body.
Step 5: Outlining the Saw Blade
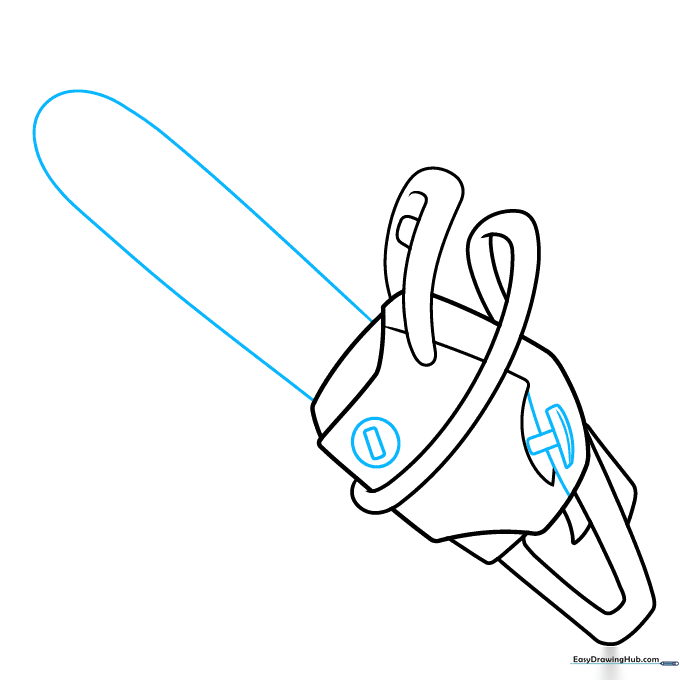
Extend a long, thin shape for the blade and add the pull-cord starter near the back. Tip: Make the blade long and narrow to emphasize the power of the tool.
Step 6: Adding the Chain Links
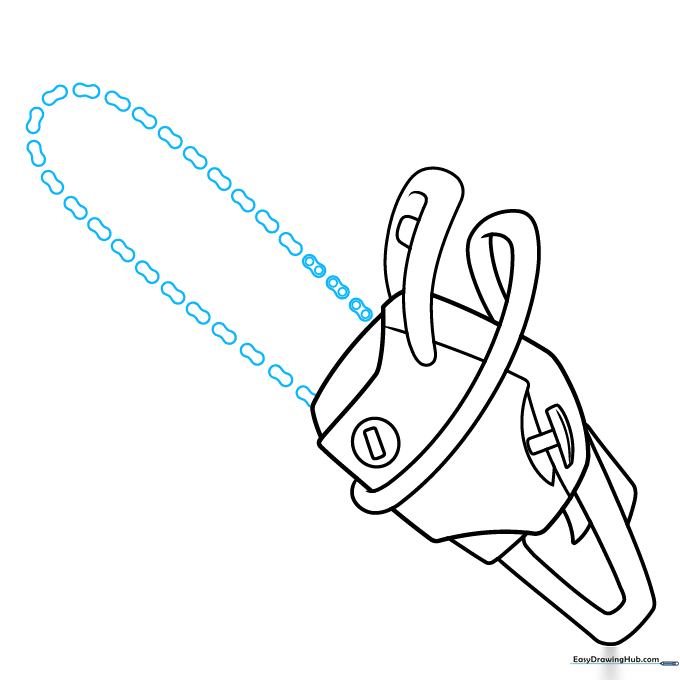
Draw small, rounded 'peanut' shapes along the blade edge. Tip: Take your time here; consistent spacing makes the chain look realistic and mechanical.
Step 7: Detailing the Chain Teeth
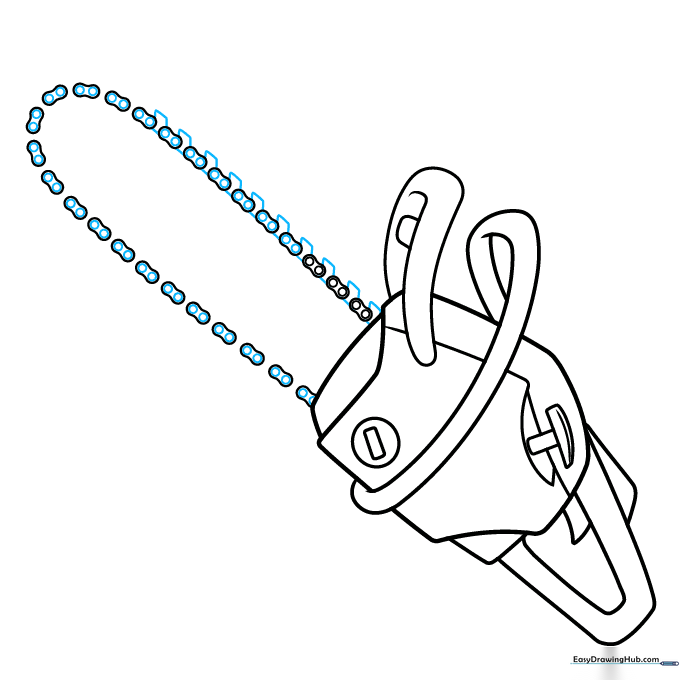
Add small rectangular teeth to each link. Tip: Imagine these teeth are sharp—keep them uniform in size so the chain looks like it can really cut!
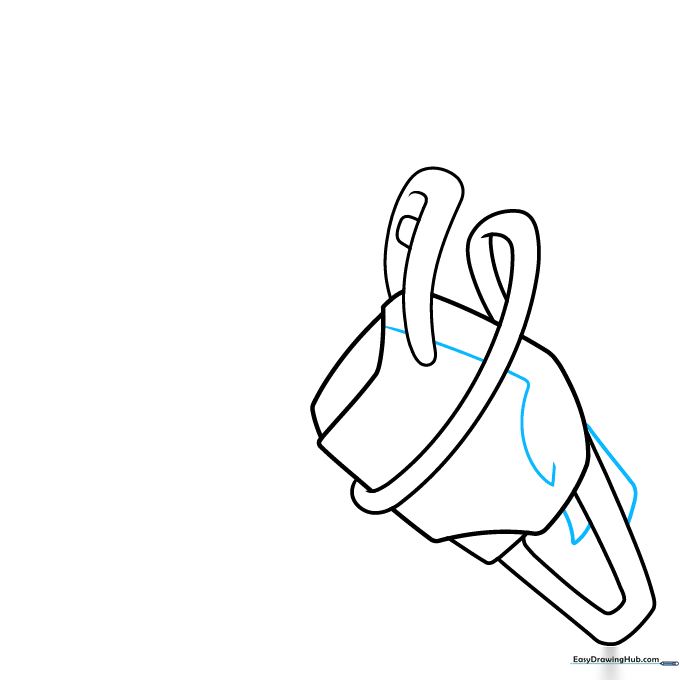
Step 8: Adding Engine Vents
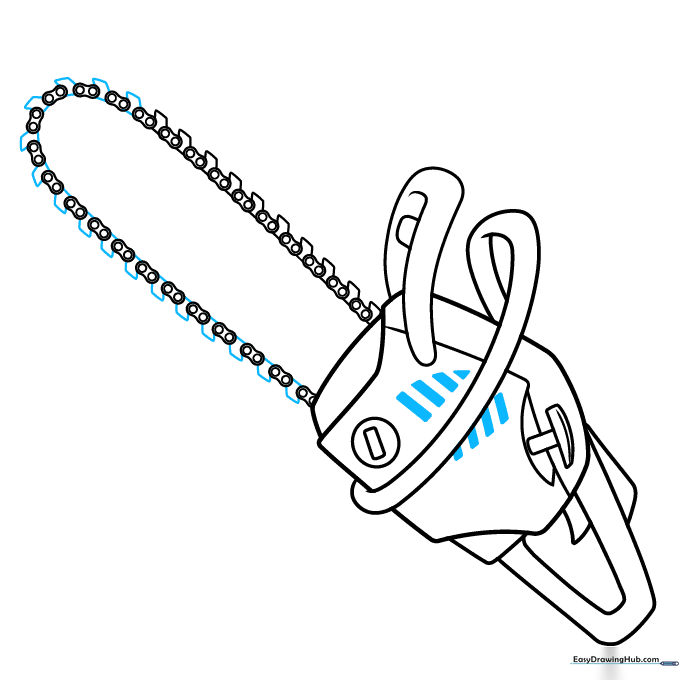
Draw small rectangles and triangles on the body to represent cooling vents. Tip: Vents add depth and make your drawing look like a real, functioning machine.
Step 9: Final Touches
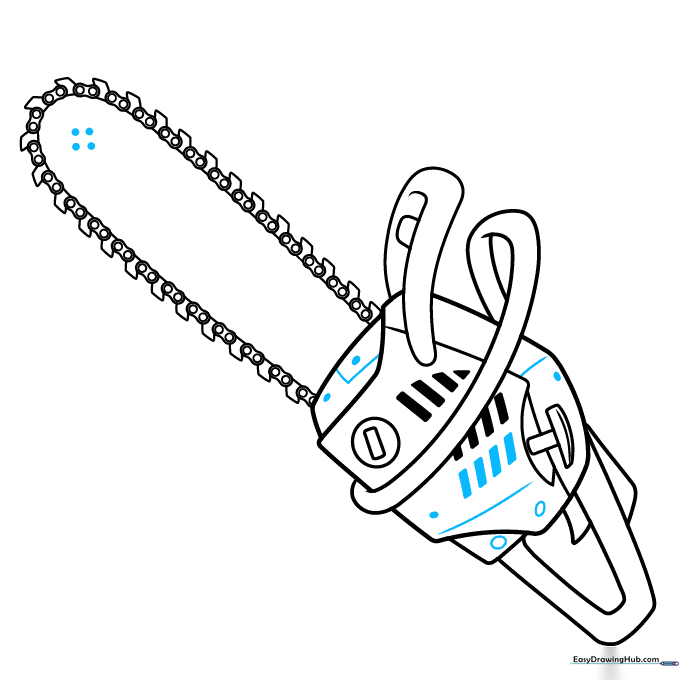
Add final details like small bolts, ovals, and shading lines to give the chainsaw texture. Tip: Use a darker pencil pressure for these final details to make them pop.
Step 10: Color Your Creation
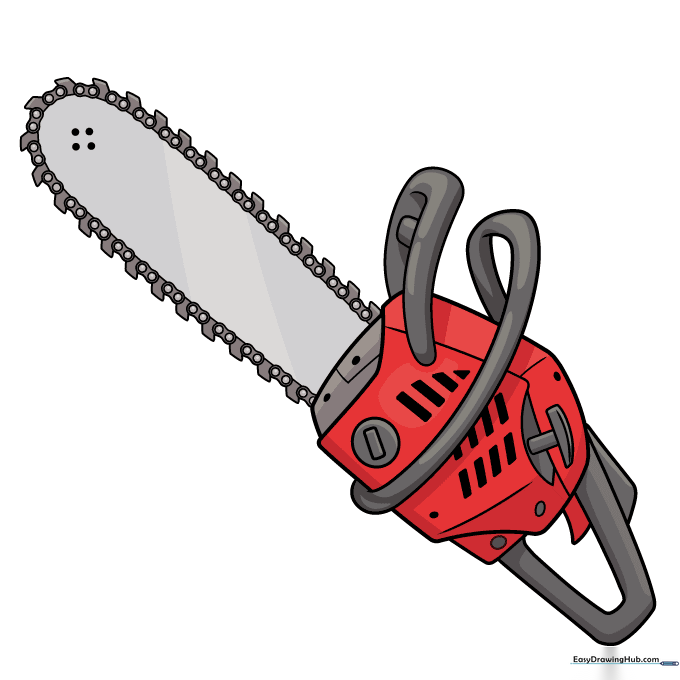
Bring your chainsaw to life with color! Use bright orange for the body to mimic professional tools, or choose your favorite color. Tip: Use silver or grey for the blade to create a metallic, realistic effect.
More Tutorials


