How to Draw a Chain: Easy 10-Step Guide for Beginners
Looking to add depth to your drawings? This tutorial is perfect for artists ages 6+ to practice overlapping shapes and perspective. All you need is a pencil, an eraser, and a piece of paper to create a professional-looking chain link by link.
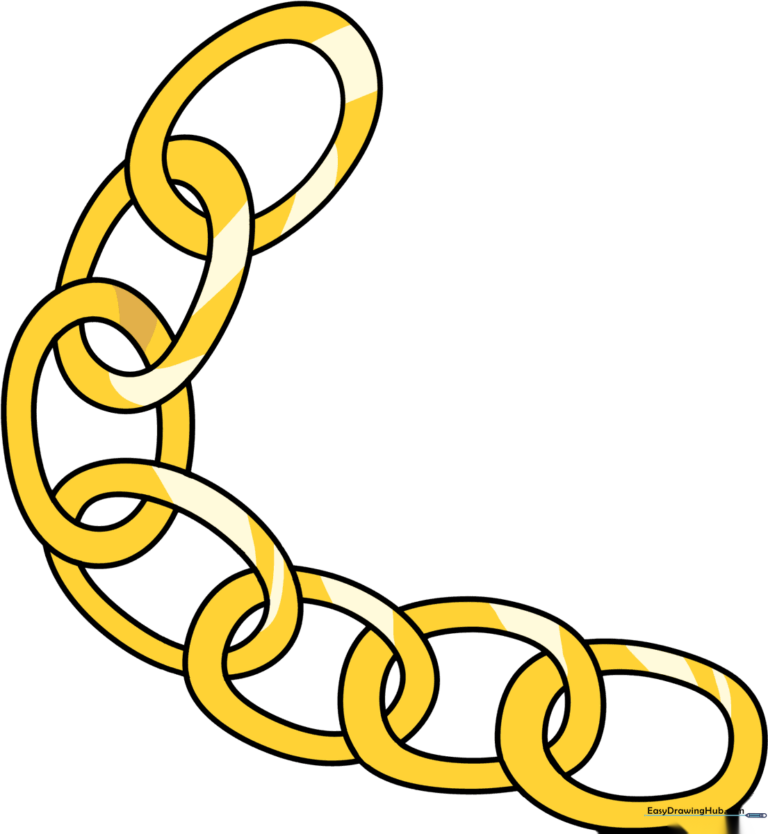
🎯 Final Result
Step-by-Step Instructions
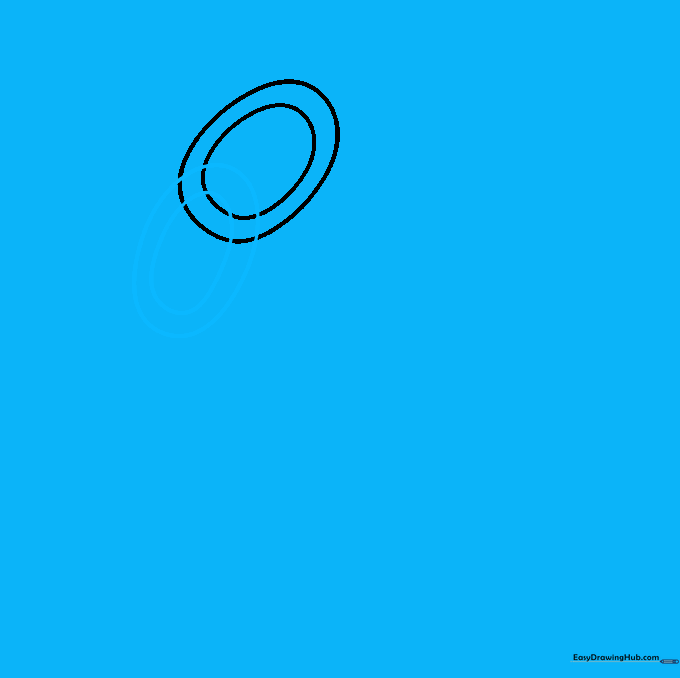
Step 1: Sketching the First Link

Draw a large oval, then place a smaller oval inside it to create the thickness of the metal. Teacher's Tip: Keep your pencil grip loose to ensure the ovals remain rounded and smooth.
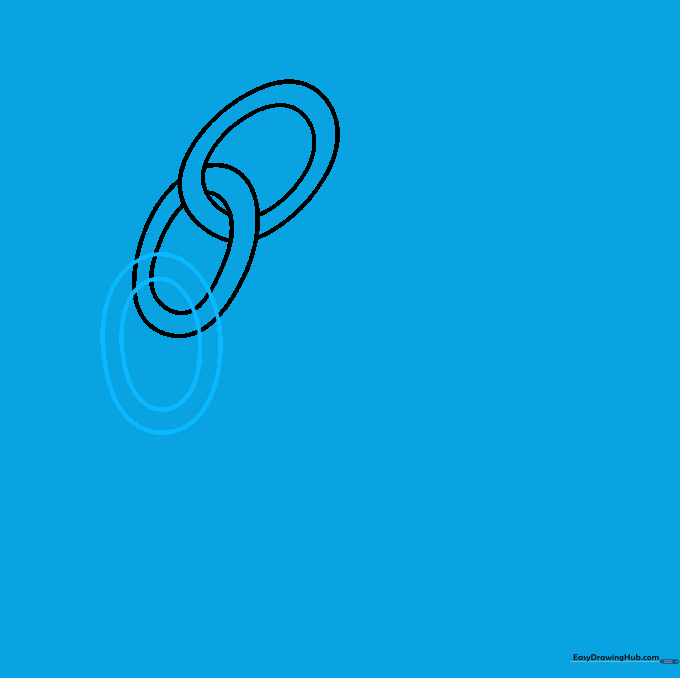
Step 2: Adding the Second Link
Draw a second set of ovals that overlaps the first. Teacher's Tip: Imagine the links are like a real-life puzzle; the second link should look like it is hooked through the center of the first.
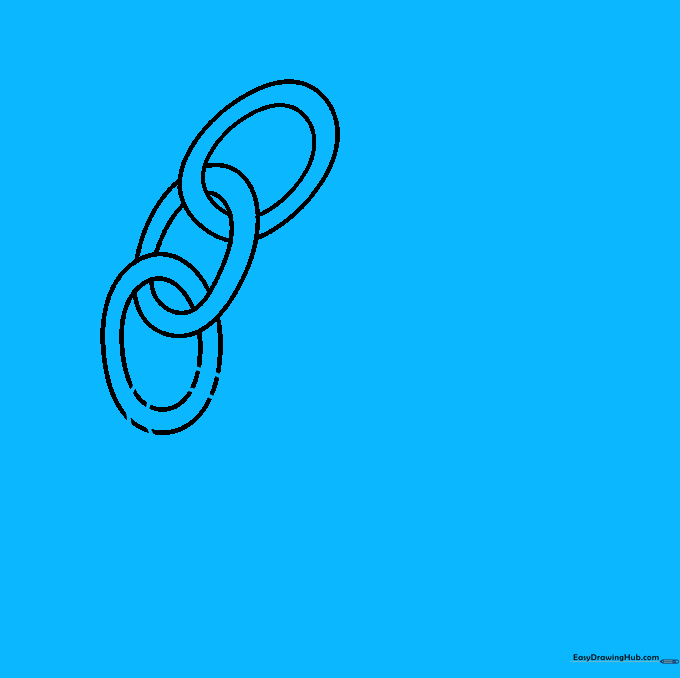
Step 3: Creating the Interlock

Erase the lines where the links overlap to create the illusion of a solid, connected chain. Teacher's Tip: Use a clean eraser to ensure the connection points look seamless.
Step 4: Extending the Chain
Add another oval set to the end of your chain. Teacher's Tip: Keep the size of your ovals consistent so the chain looks uniform and realistic.
Step 5: Cleaning the Connection

Erase the overlapping guide lines on the new link. Teacher's Tip: If you accidentally erase too much, simply redraw the outer edge to maintain the link's shape.
Step 6: Adding More Links
Continue adding links by repeating the oval-within-an-oval technique. Teacher's Tip: You can curve your chain by slightly shifting the angle of each new oval.
Step 7: Refining the Chain

Erase the overlapping guide lines for the additional links. Teacher's Tip: Check your work to ensure every link appears to be 'behind' the one before it.
Step 8: Adding Variation
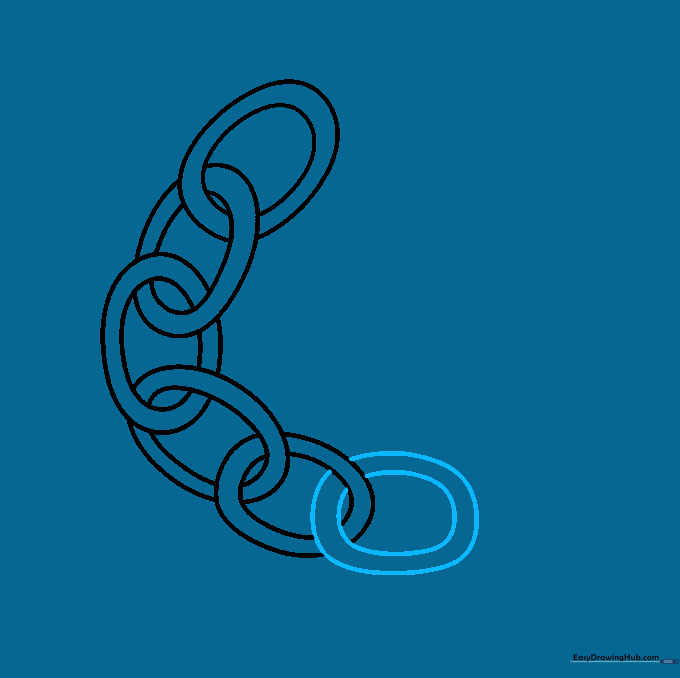
Draw another link, but this time, let it stop just before it fully intersects. Teacher's Tip: This adds a sense of movement to your drawing.
Step 9: Finalizing the Length

Add as many links as you like to reach your desired length. Teacher's Tip: A longer chain is great for drawing necklaces or heavy-duty industrial chains.
Step 10: Adding Color and Shine
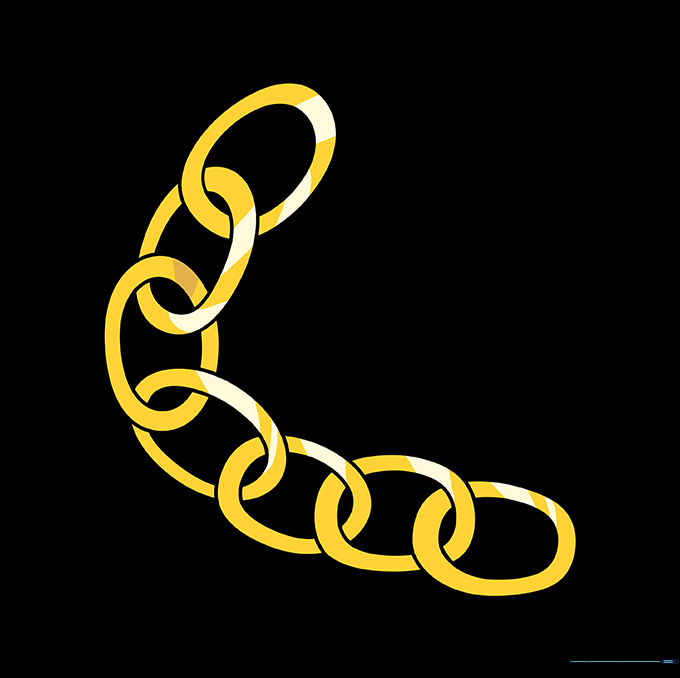
Use two shades of grey or gold to add highlights and shadows. Teacher's Tip: Leave a small white sliver on one side of each link to represent a metallic shine!
More Tutorials


