How to Draw a Cave: Easy 10-Step Landscape Guide
Ready to build your own prehistoric world? This tutorial is perfect for artists ages 5 and up looking to master landscape features. You'll only need a pencil, an eraser, and a piece of paper to create a rugged cave entrance complete with surrounding nature. Let's get started!
🎯 Final Result

Step-by-Step Instructions
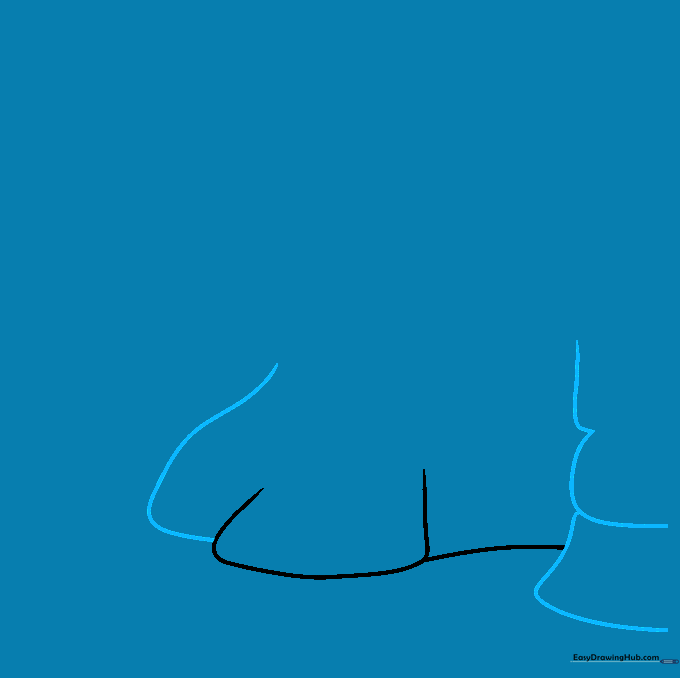
Step 1: Sketching the Base Rocks

Start by drawing the rocky walls at the base of the cave. Use overlapping curved lines to create irregular, jagged shapes. Teacher's Tip: Keep your pencil pressure light so you can easily adjust the rock edges later.
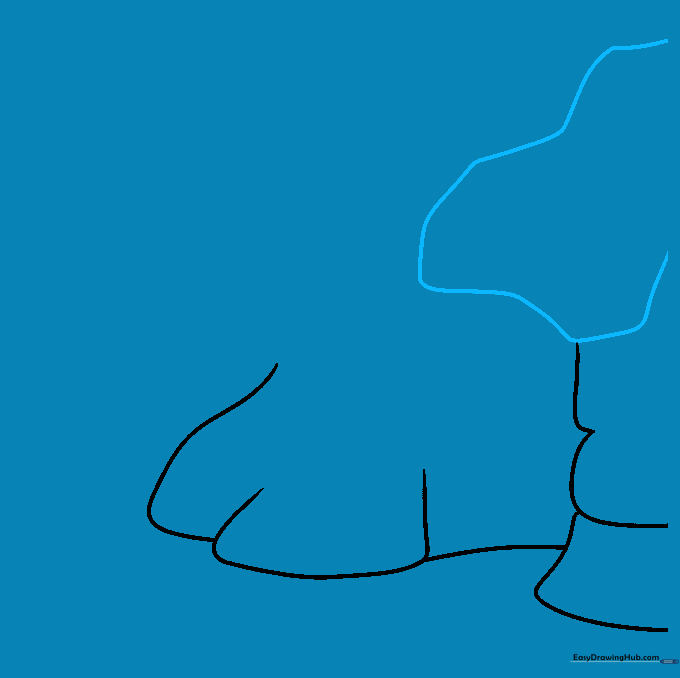
Step 2: Defining the Opening
Continue adding overlapping curved lines to build the sides of the cave entrance. Teacher's Tip: Think of these as two large boulders framing a doorway; make them look sturdy and heavy.
Step 3: Creating the Ceiling
Use a long, sweeping curved line to draw the top arch of the cave opening. Teacher's Tip: Imagine a heavy stone ceiling hanging over the entrance; a slight dip in the line makes it look more natural.
Step 4: Adding Texture

Close the front of the cave and add smaller, jagged lines along the opening to suggest rough stone texture. Teacher's Tip: Vary the length of your lines to make the rock look weathered and old.
Step 5: Details and Greenery
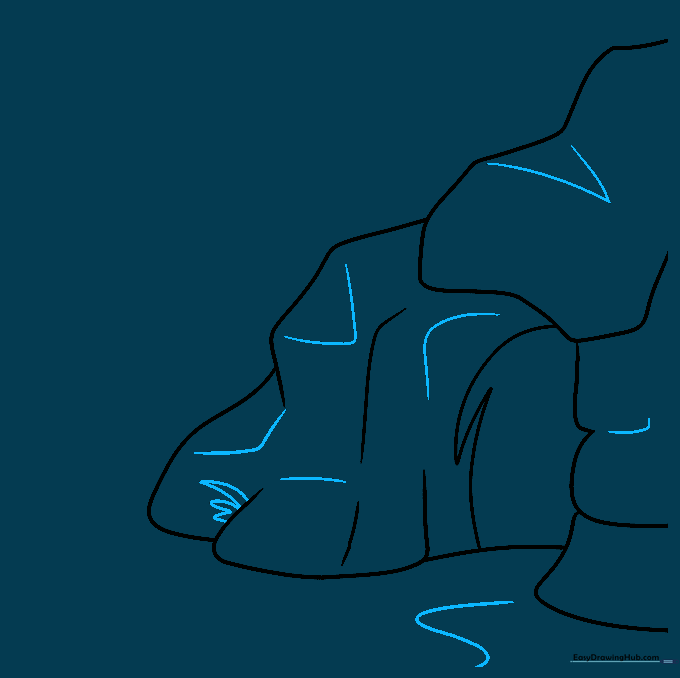
Draw 'V' shaped lines on the rock face for cracks and dimension. Add small, pointed shapes at the base to represent grass. Teacher's Tip: Grass grows in clumps, so draw your 'V' shapes close together.
Step 6: The Path and Stones
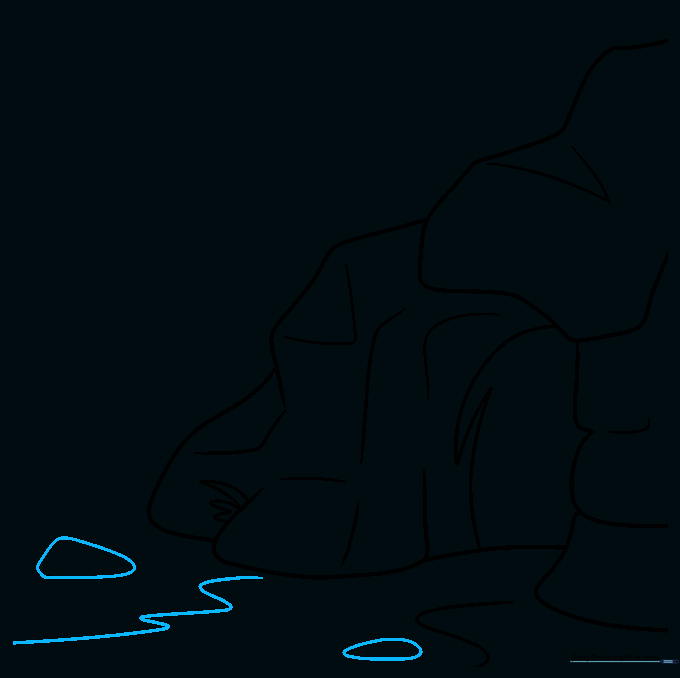
Draw two wavy lines leading away from the cave to show a path, and scatter some irregular circles for stones. Teacher's Tip: Make the stones closer to the cave larger and the ones further away smaller to show perspective.
Step 7: Distant Forest
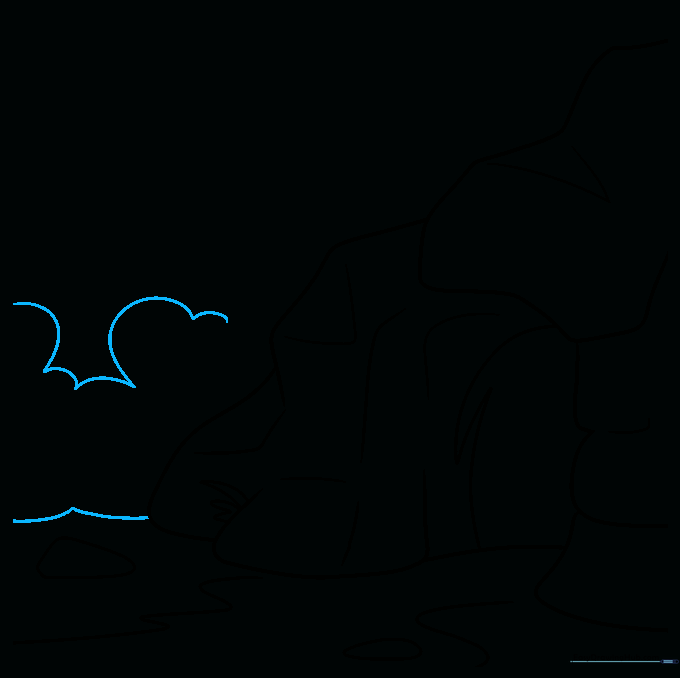
Use connected, rounded lines to draw a treeline in the distance. Teacher's Tip: Keep these lines soft and bubbly to distinguish the trees from the sharp, jagged rocks of the cave.
Step 8: Adding Mountains
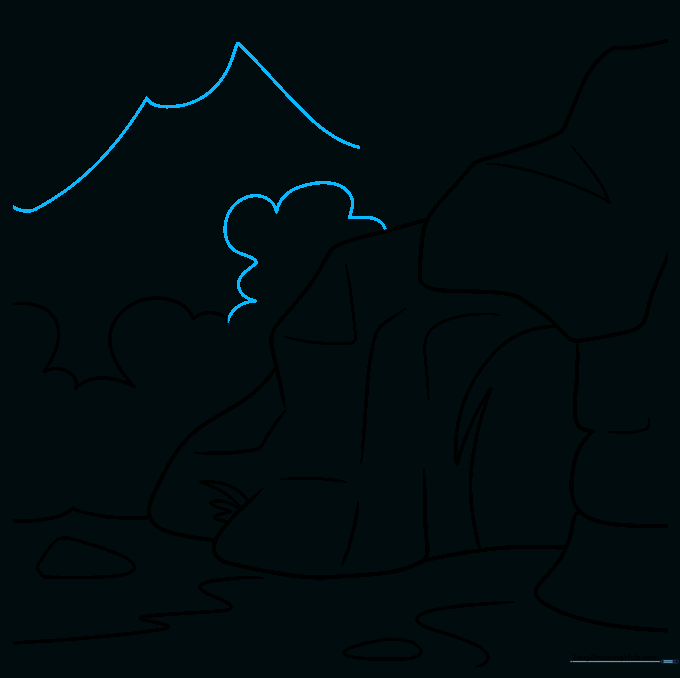
Above your trees, draw large, pointed triangles to form mountains. Teacher's Tip: Mountains are huge, so make sure they reach high up on your page to create a sense of scale.
Step 9: Final Touches
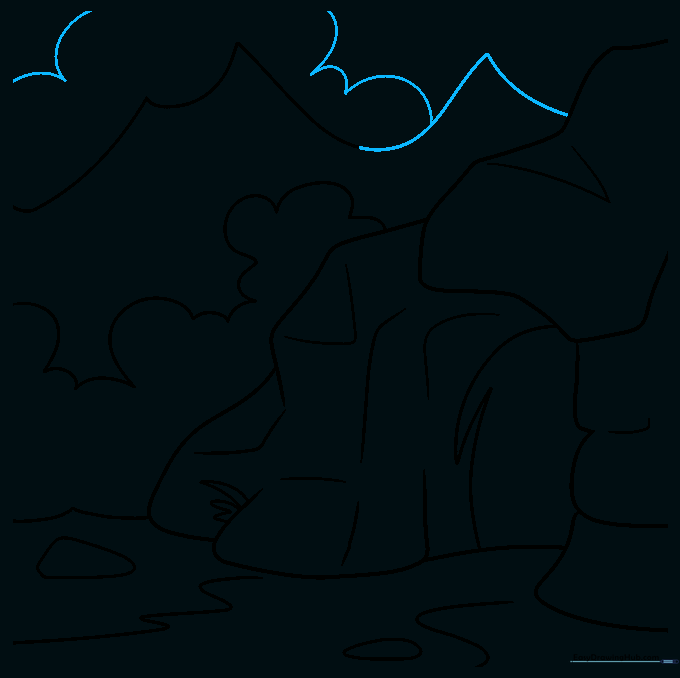
Finish the mountain peaks and add some fluffy, cloud-like shapes in the sky. Teacher's Tip: Clouds don't have to be perfect; soft, rounded, and connected lines work best.
Step 10: Bring It to Life with Color
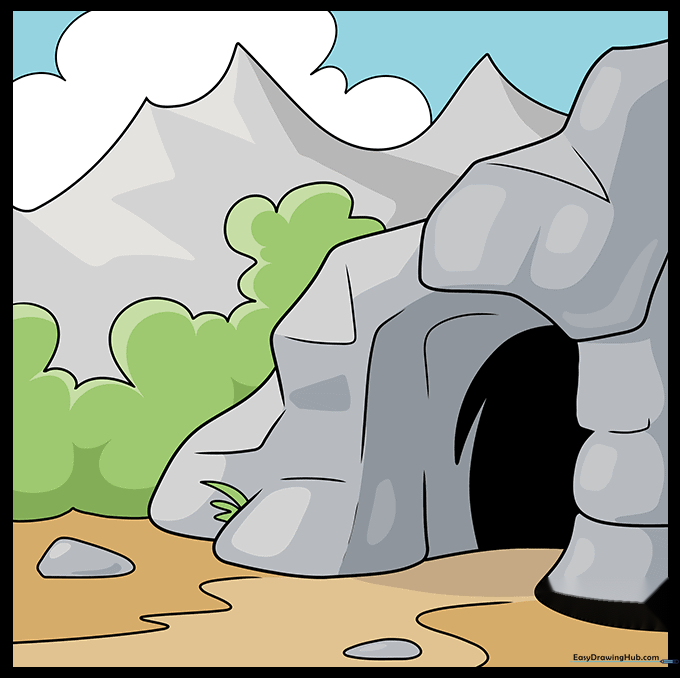
Time to color! Use earthy tones like grays, browns, and greens to make your cave look natural. Teacher's Tip: Use darker colors inside the cave entrance to create a sense of depth and mystery.
More Tutorials


