How to Draw a Catfish: Easy 10-Step Guide for Kids
Ready to explore underwater life? This tutorial is perfect for young artists ages 5+ to practice basic shapes and line work. All you need is a pencil, an eraser, and your favorite markers to bring this whiskered fish to life.
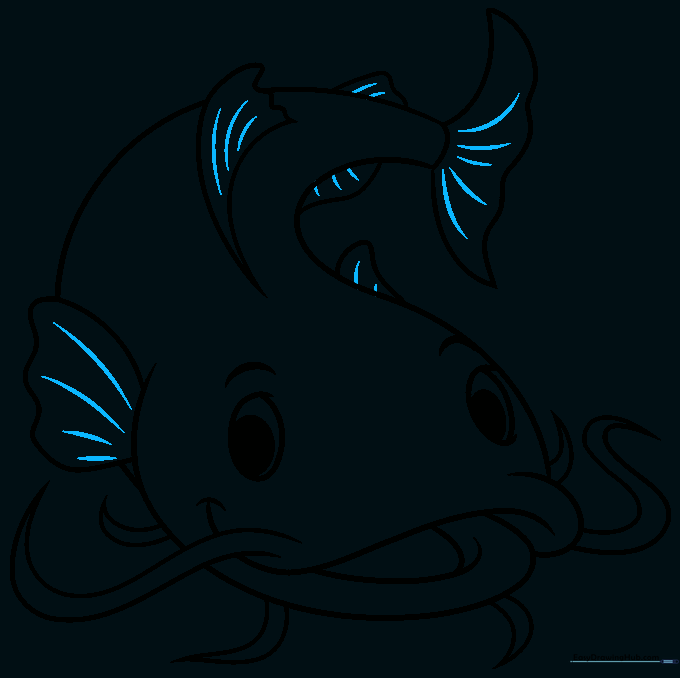
🎯 Final Result

Step-by-Step Instructions
Step 1: Sketching the Expressive Eyes

Start by drawing two large ovals for the eyes. Tip: Keep your pencil pressure light so you can easily adjust the shape. Add small shaded pupils and a soft curved line above each eye to give your catfish a friendly personality.
Step 2: Defining the Mouth and Barbel

Draw the mouth using gentle, curved lines. Catfish are famous for their whiskers, called barbels! Tip: Make sure the lines for the barbel meet at a sharp point to make it look realistic.
Step 3: Outlining the Body

Add a second barbel on the opposite side of the mouth. Now, use a long, flowing 'S' shaped line to start the top of the fish's body. Tip: Imagine the fish is swimming through the water as you draw this curve.
Step 4: Forming the Lower Jaw
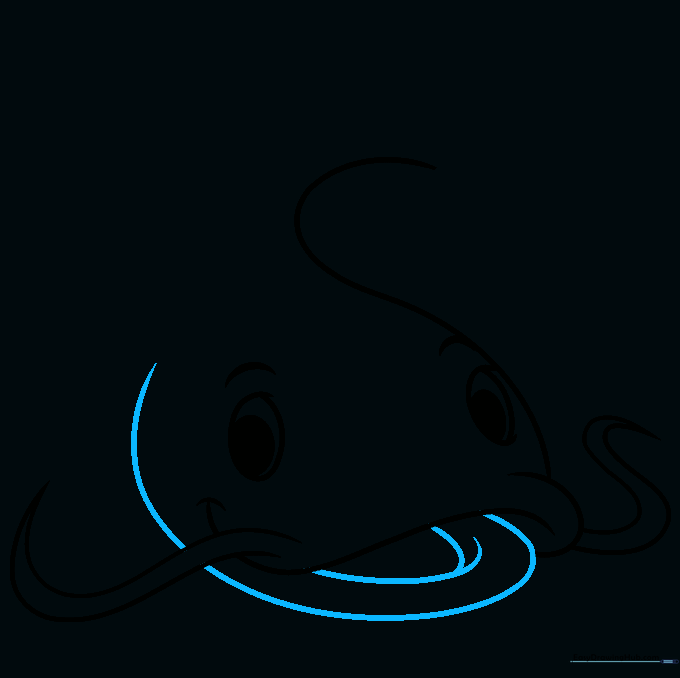
Create the lower jaw using overlapping curved lines. Draw a second, longer line parallel to the first to give the mouth depth. Tip: Keep your hand relaxed to get those smooth, organic curves.
Step 5: Adding More Whiskers

Catfish have several sets of barbels! Draw four additional whiskers around the mouth using pairs of short, curved lines that meet at points. Tip: Vary the length of each whisker to make your fish look more natural.
Step 6: Drawing the Pectoral Fin
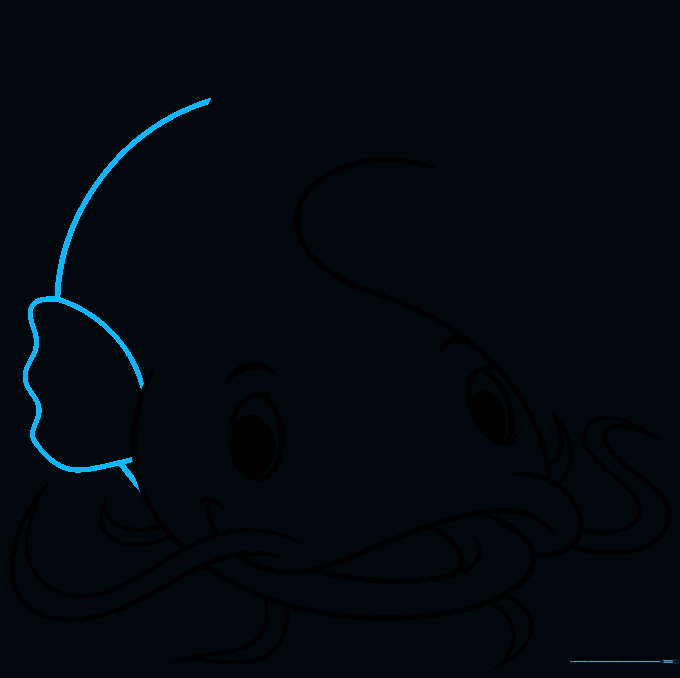
Use a long curved line to draw the pectoral fin, creating a scalloped edge before doubling the line back. Then, continue the curve to outline the rest of the body. Tip: The scalloped edge adds a nice texture that makes the fin look like it's moving.
Step 7: Sketching the Dorsal Fin
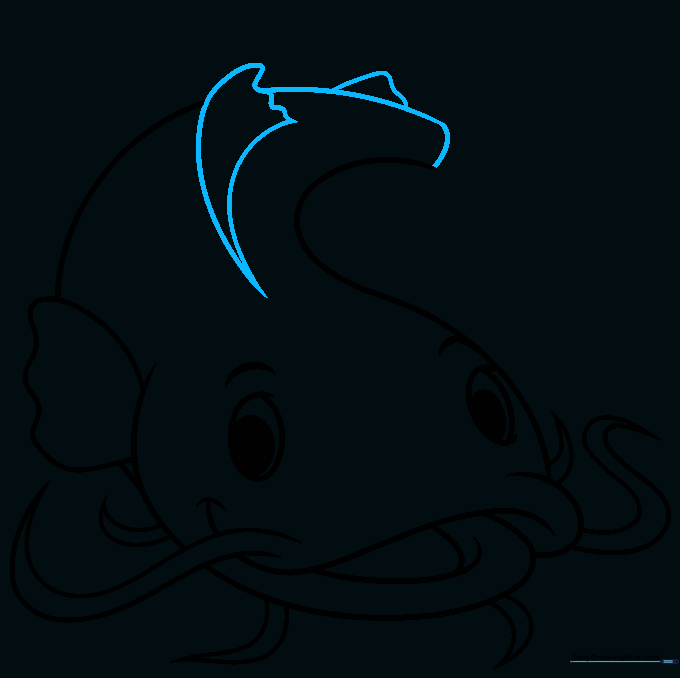
Draw the dorsal fin on the back using a 'V' shape, then connect the tips with a wavy line. Use curved lines to finish the body shape and start the tail. Tip: A wavy line makes the fin look flexible and soft.
Step 8: Adding Tail and Anal Fins
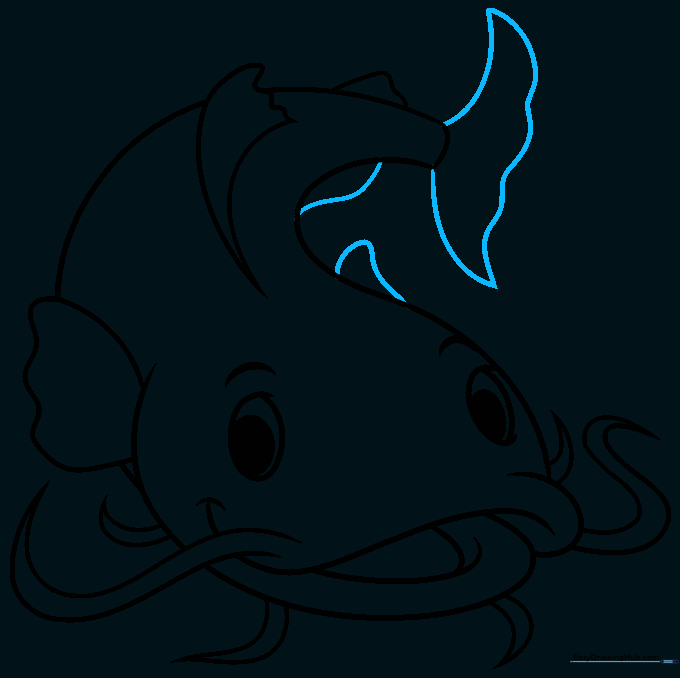
Draw the tail fin by extending two curved lines from the body and connecting them. Add the anal fin underneath the body. Tip: Keep the lines smooth to ensure the fish looks like it is gliding through the water.
Step 9: Adding Fin Texture
Add detail to your drawing by sketching light, curved lines running down the length of the fins and tail. Tip: These lines represent the fin rays, which gives your drawing a professional, realistic touch.
Step 10: Bringing Your Catfish to Life with Color

Now for the fun part! Use dark browns, grays, or greens to help your catfish blend into its environment. Tip: If you want to be creative, look up the 'Glass Catfish'—it's transparent! What color will you choose for your masterpiece?
More Tutorials


