How to Draw a Cat Paw: Easy 10-Step Guide for Beginners
Ready to bring your favorite feline to life? This tutorial is perfect for artists ages 5 and up. All you need is a pencil, an eraser, and a piece of paper to master the anatomy of a cat's paw while developing your hand-eye coordination.
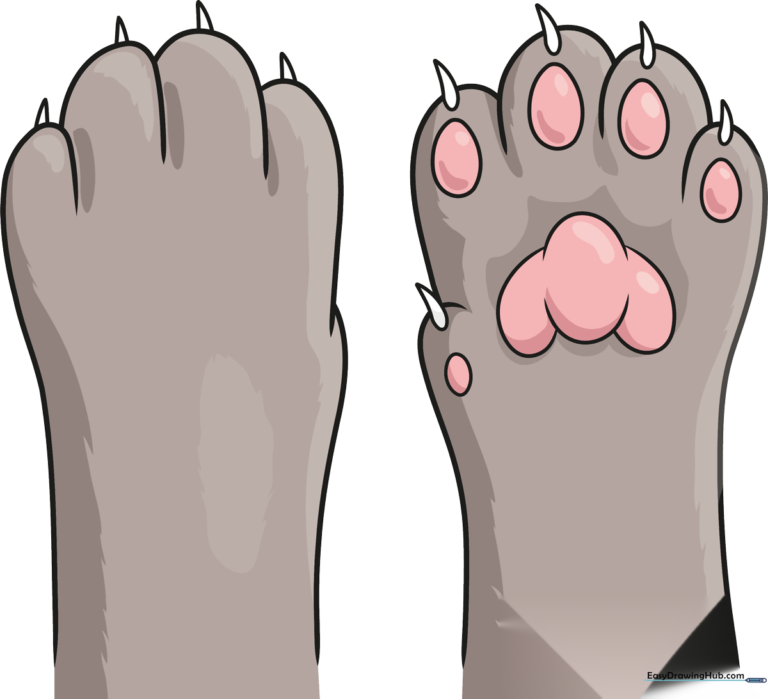
🎯 Final Result
Step-by-Step Instructions
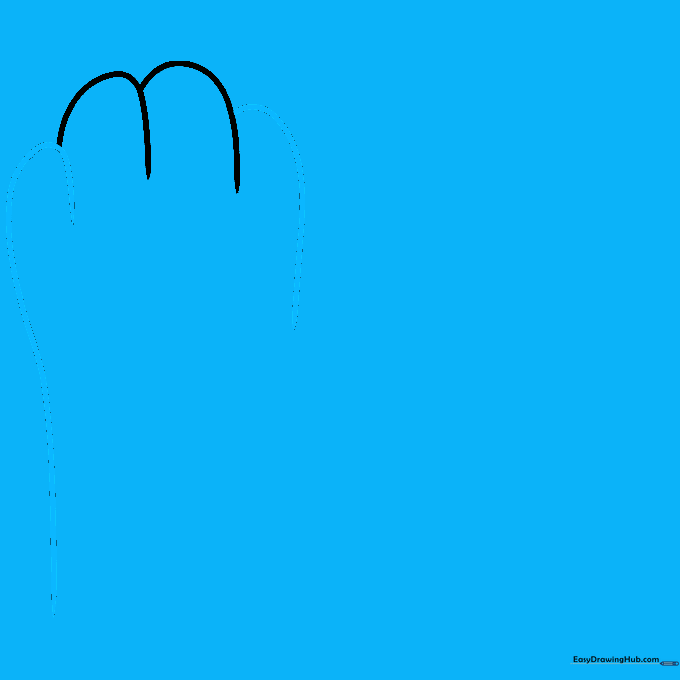
Step 1: Sketching the Base Curves

Draw two gentle, rounded hill shapes that meet in the middle to form an 'M' shape. Teacher's Tip: Keep these lines soft and rounded; they represent the top of the toes.
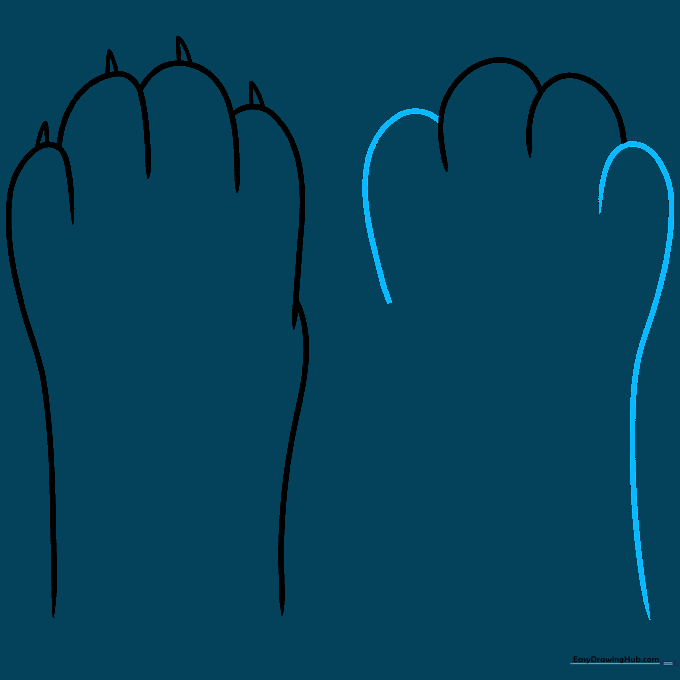
Step 2: Defining the Side Profile
Add two additional hill shapes to the sides and draw a long vertical line on the left. Teacher's Tip: Use a light touch; this vertical line will eventually become the side of the paw.
Step 3: Adding Claw Guides
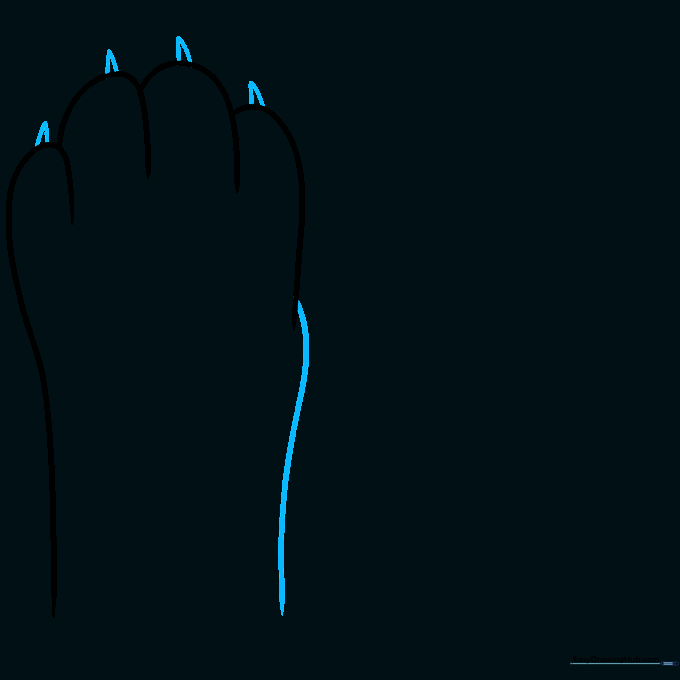
Sketch a vertical line on the right side, then add small triangles at the tips of the hills for claws. Teacher's Tip: Keep the triangles sharp to make the claws look realistic.
Step 4: Expanding the Paw Structure
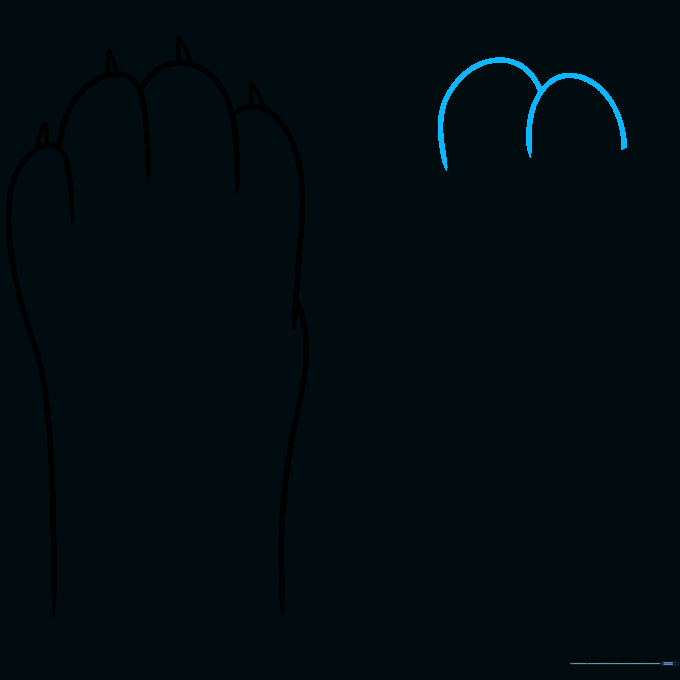
Draw two more hill shapes extending to the right. Teacher's Tip: Ensure these hills are slightly smaller than the first ones to create a natural perspective.
Step 5: Finalizing the Outline
Sketch two more hills and add a vertical line to balance the paw shape. Teacher's Tip: Check that your lines are symmetrical to keep the paw looking balanced.
Step 6: Drawing the Toe Pads
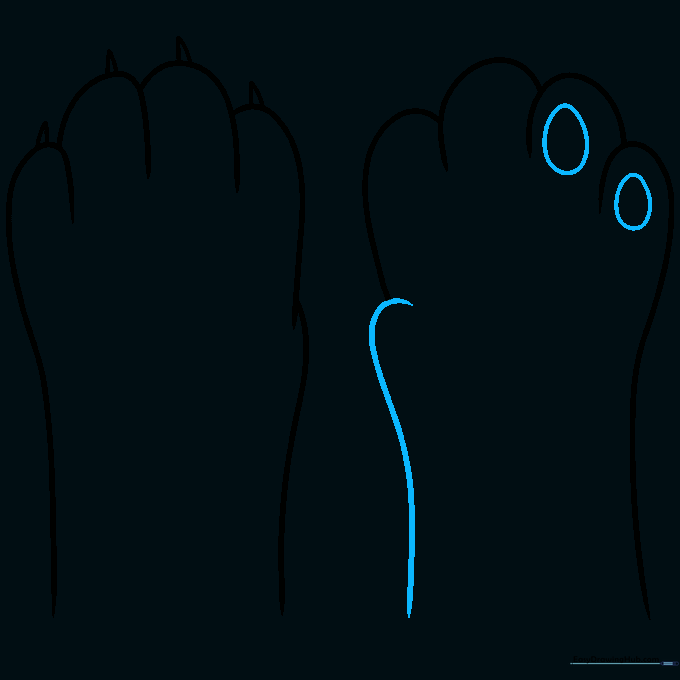
Add a hook shape on the left and two ovals for the toe pads. Teacher's Tip: The ovals should be slightly flattened to look like soft, squishy pads.
Step 7: Adding Detail to the Pads
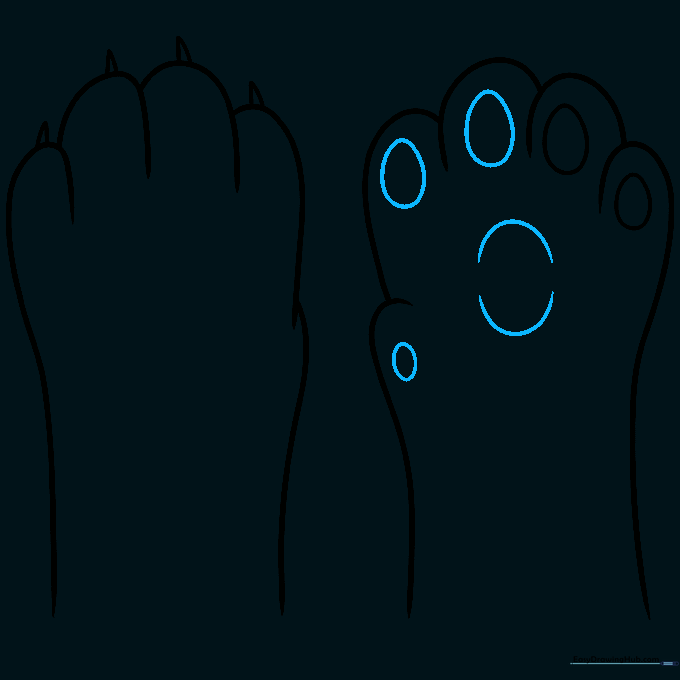
Sketch more ovals and egg shapes inside the paw to define the main pad. Teacher's Tip: Vary the size of the ovals to make the paw look more organic and realistic.
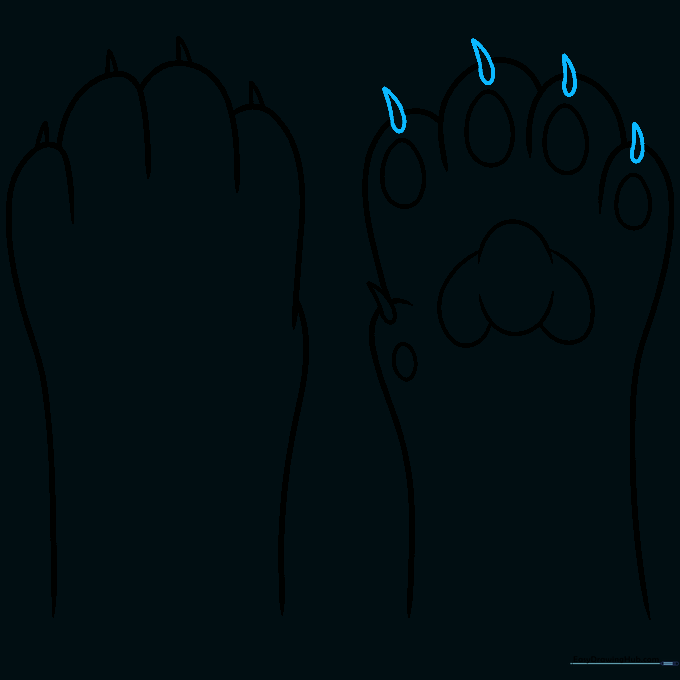
Step 8: Refining the Claws
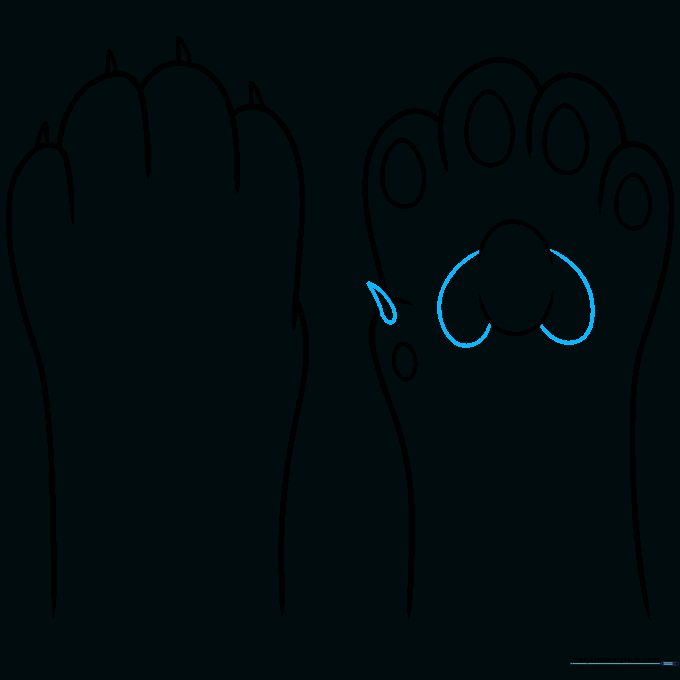
Use a stretched-out teardrop shape for the first claw, then add two curves to the center pad. Teacher's Tip: The teardrop shape gives the claw a sharp, pointed appearance.
Step 9: Completing the Claws
Repeat the teardrop technique for the remaining claws. Teacher's Tip: Ensure all claws are pointing in the same direction for a consistent look.
Step 10: Coloring and Shading
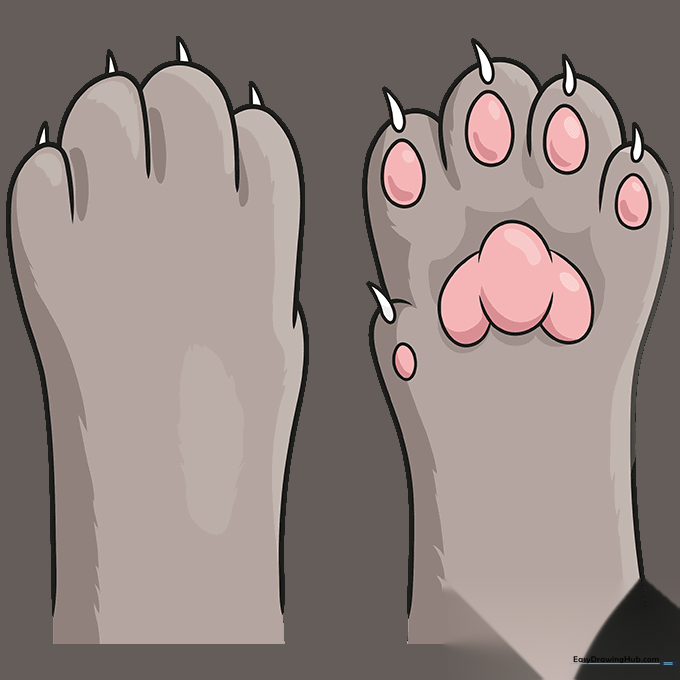
Erase your guidelines, then add color. Use muted browns for the fur, pink for the pads, and leave the claws white. Teacher's Tip: Use darker shades near the base of the pads to create a realistic shadow effect.
More Tutorials


