How to Draw a Cassowary: Easy 10-Step Guide for Kids
Ready to draw one of nature's most prehistoric-looking birds? This tutorial is perfect for young artists ages 7+ who want to master bird anatomy using simple shapes. Grab your pencil, eraser, and paper, and let's bring this colorful rainforest dweller to life.
🎯 Final Result

Step-by-Step Instructions
Step 1: Sketching the Beak and Eye
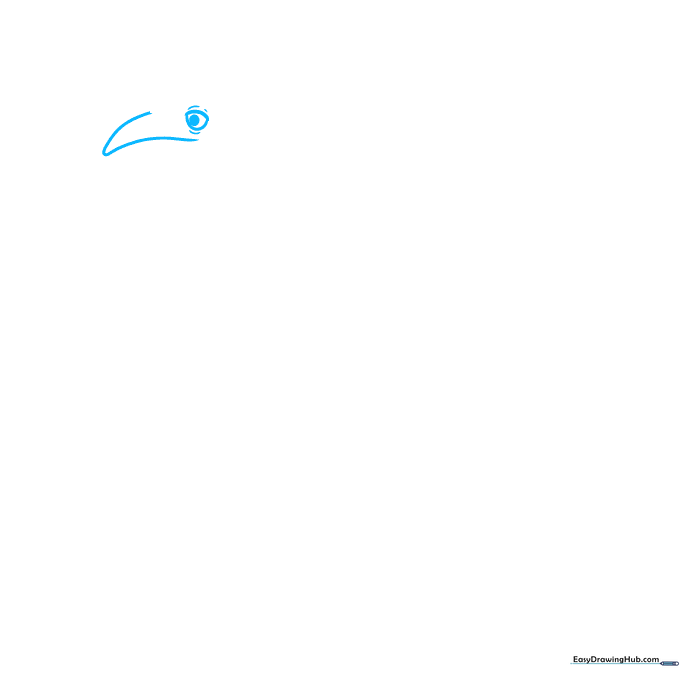
Start by drawing a curved 'V' shape for the beak. Add a small circle for the eye with a dark pupil inside. Teacher's Tip: Keep the eye near the top of the beak line to give your bird a focused, alert expression.
Step 2: Adding the Casque
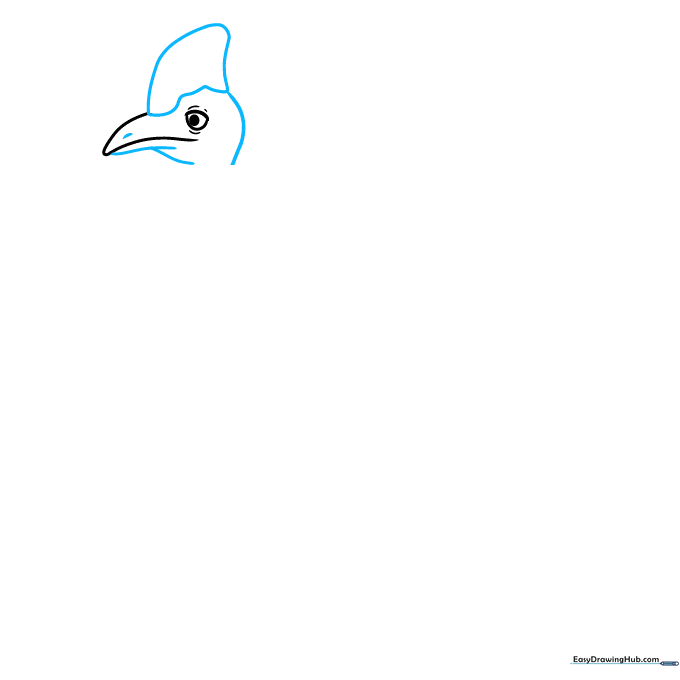
Draw the nostril and the bottom of the beak. Then, add the iconic 'casque' (the helmet-like crest) on top of the head using a rounded triangle shape. Teacher's Tip: The casque should look like a soft, rounded fin.
Step 3: Forming the Neck and Wattles
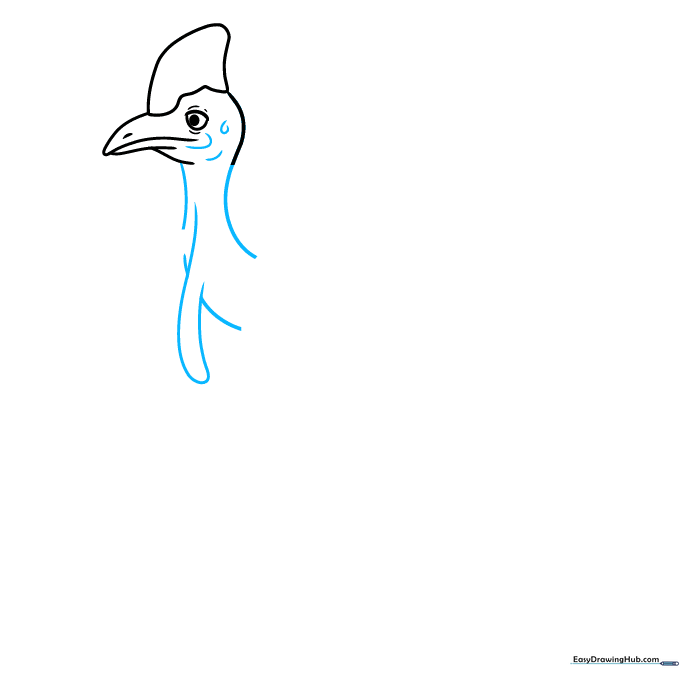
Extend long, graceful lines down for the neck, leaving gaps for the fleshy wattles. Draw the first wattle as a small, rounded loop. Teacher's Tip: Use light, fluid strokes to make the neck look flexible.
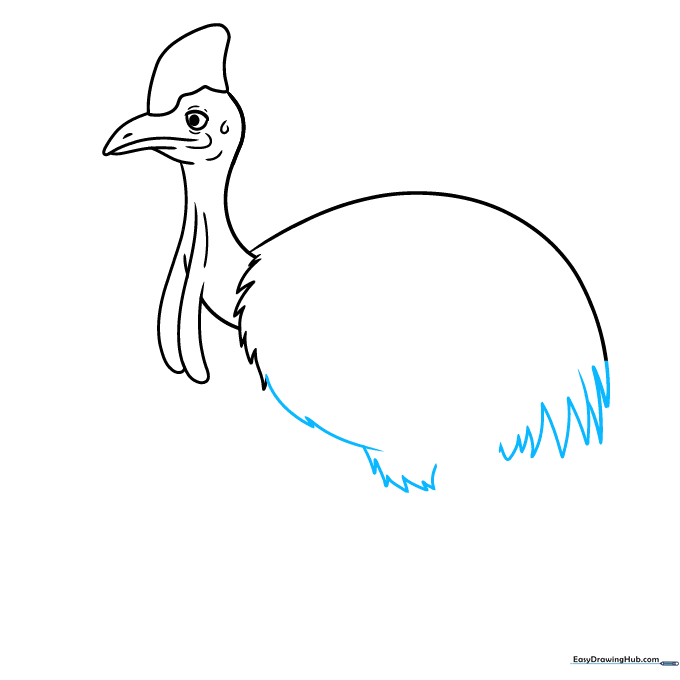
Step 4: Defining the Body and Feathers
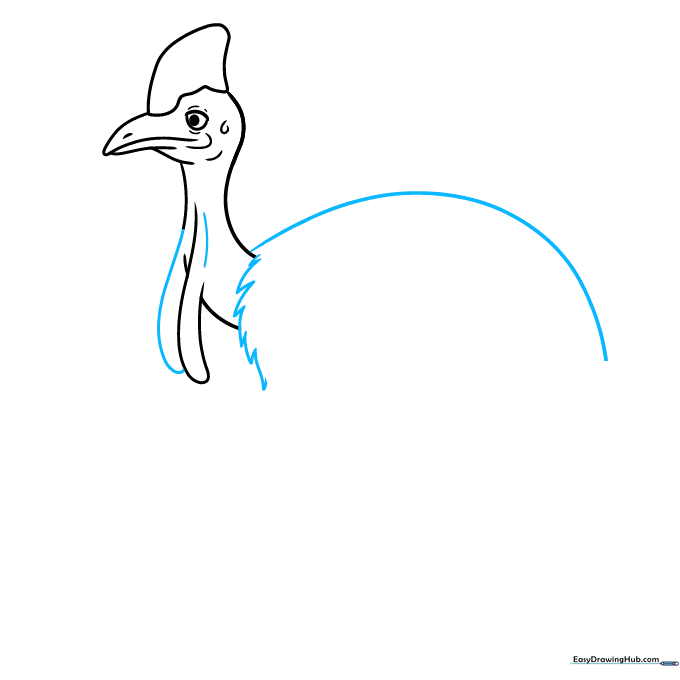
Complete the second wattle and add the back of the bird using a long, sweeping curve. Use short, jagged lines to represent the texture of the feathers. Teacher's Tip: Vary the length of your jagged lines to make the feathers look realistic.
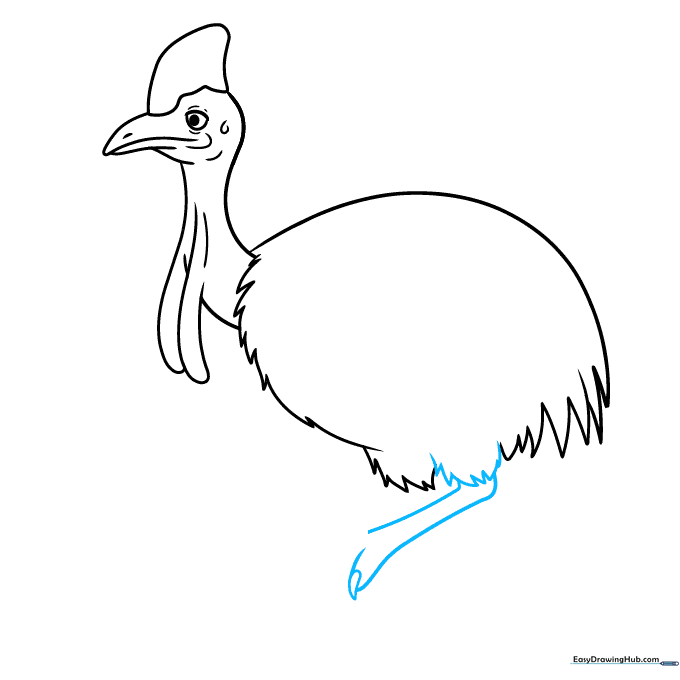
Step 5: Sketching the Belly and Legs
Draw the belly and the tops of the legs using curved lines that meet at sharp points. Teacher's Tip: Think of the legs as strong, sturdy pillars—keep the lines firm.
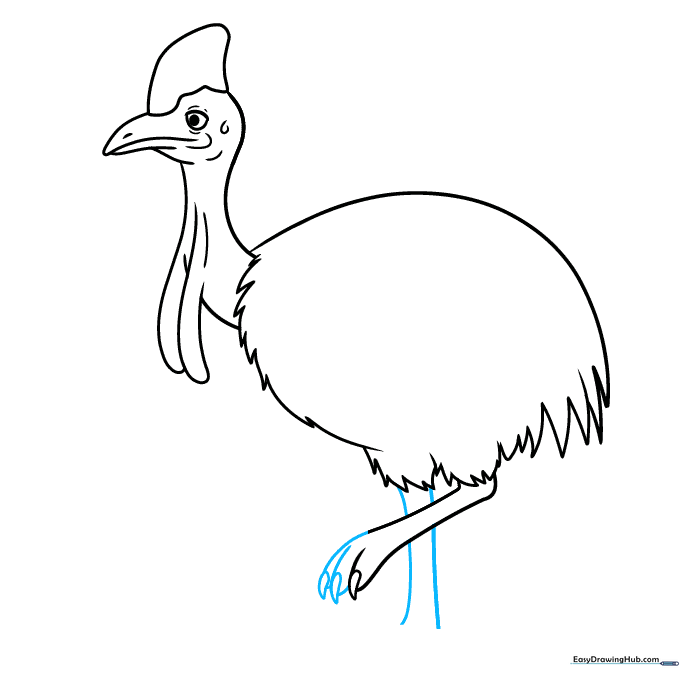
Step 6: Drawing the First Claw
Extend the leg lines downward and draw a teardrop shape at the tip for the claw. Teacher's Tip: Cassowary claws are sharp and powerful; make the point of the teardrop nice and sharp.
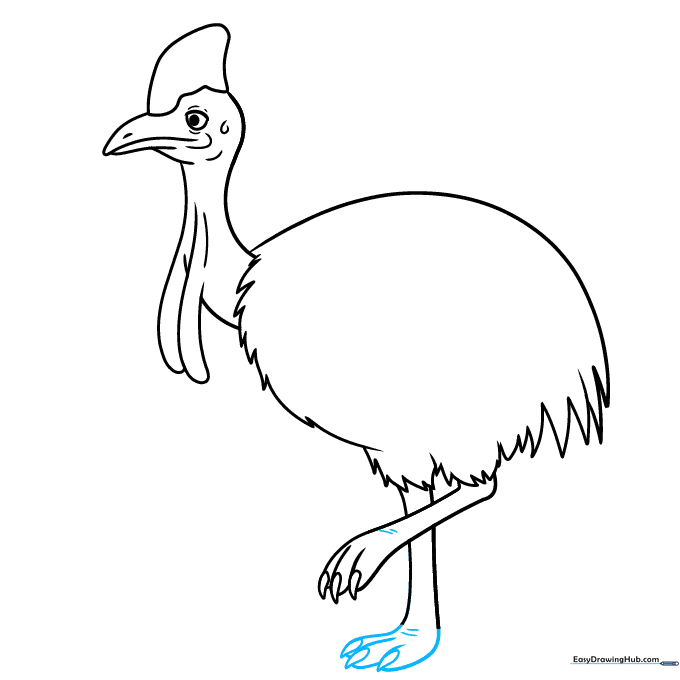
Step 7: Adding More Toes
Add the remaining toes using overlapping curved lines, each ending in a sharp claw. Teacher's Tip: Overlapping lines create depth, making the foot look 3D.
Step 8: Refining the Feet
Complete the foot structure with more teardrop shapes and add short, horizontal lines to the top of the feet to show scaly texture. Teacher's Tip: Short, quick dashes work best for scales.
Step 9: Final Texturing

Go over your drawing and add short lines to the head and legs for texture. Use zig-zag lines on the body to represent the coarse feathers. Teacher's Tip: Don't overdo it—a few well-placed lines are better than too many.
Step 10: Adding Color

Time to bring your bird to life! Use black for the body, gray for the scaly legs, and vibrant blue and red for the neck and head. Teacher's Tip: Use light pressure with your blue pencil to create a nice gradient on the neck.
More Tutorials


