How to Draw a Cartoon Witch: Easy 9-Step Guide
Bring a touch of magic to your sketchbook with this friendly cartoon witch tutorial, perfect for artists ages 5 and up. All you need is a pencil, an eraser, and a piece of paper to get started. By following these simple steps, you will build confidence in character design while creating a whimsical Halloween character.
🎯 Final Result

Step-by-Step Instructions
Step 1: Sketching the Face Shape
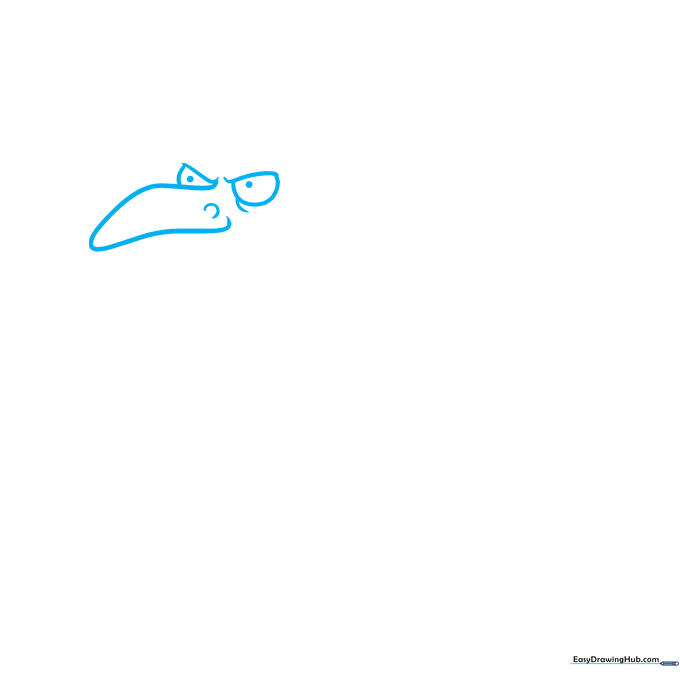
Draw a large, rounded triangle pointing to the left to form the base of the face. Add two small dashes for eyes with semi-circles underneath, then a small dash for the nose. Teacher's Tip: Keep your pencil pressure light here so you can refine the shape later.
Step 2: Adding the Mouth and Teeth
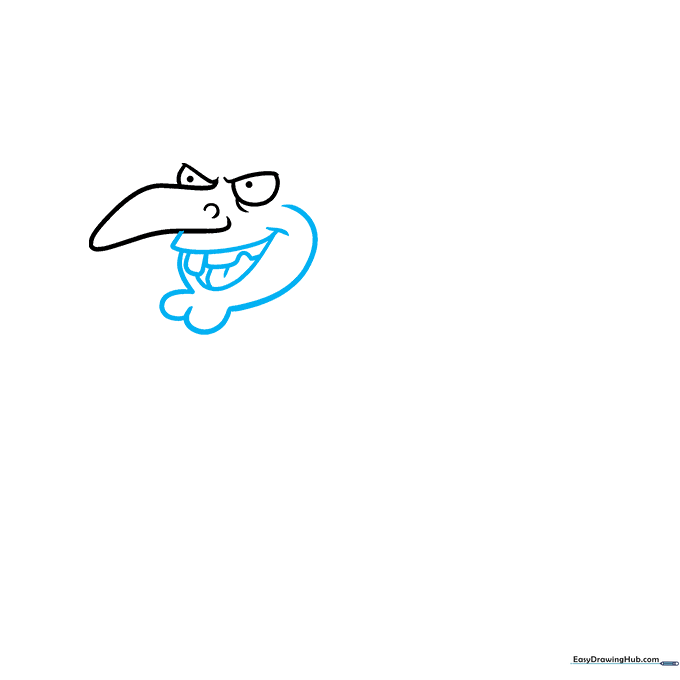
Add a heart shape for the chin and outline the face. Draw a horizontal curve for the mouth, adding a jagged rectangle for a tooth. Teacher's Tip: Use short, quick strokes for the teeth to give them a fun, cartoonish look.
Step 3: Creating the Hair
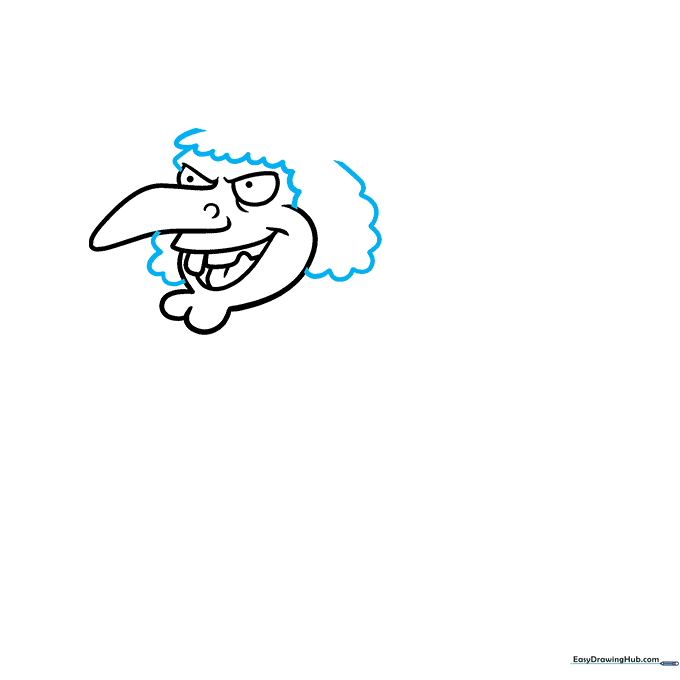
Draw small, rounded hills around the witch's face to create a cloud-like hairstyle. Teacher's Tip: Don't worry about making the hair perfectly symmetrical; messy hair adds character to a witch!
Step 4: Drawing the Witch's Hat
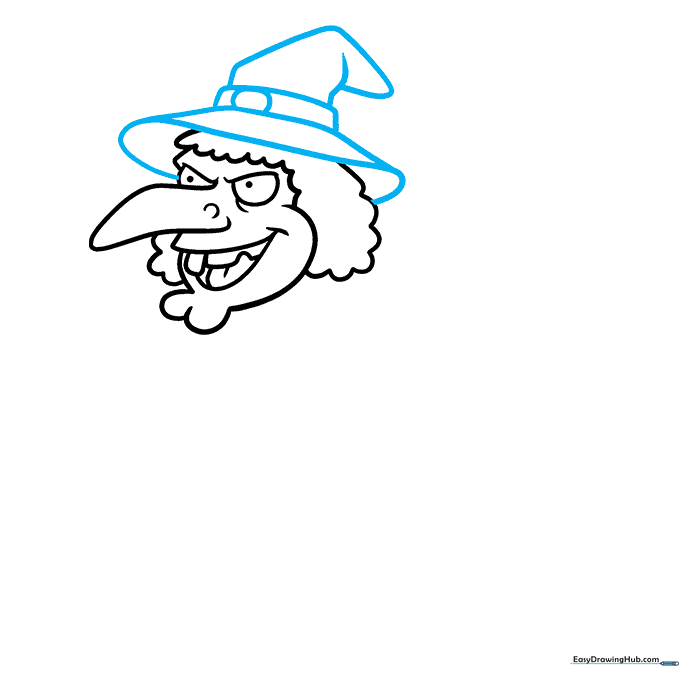
Sketch a diagonal line across the head and build a floppy triangle shape on top. Add a narrow rectangle for the hat band. Teacher's Tip: A 'floppy' hat looks more magical than a stiff one, so feel free to curve your lines.
Step 5: Sketching the Arm
Extend a curved diagonal line from the hair to form the arm. Connect it with a semi-oval and add a heart shape for the hand. Teacher's Tip: Imagine the arm is bending at the elbow to hold a broom.
Step 6: Defining the Fingers
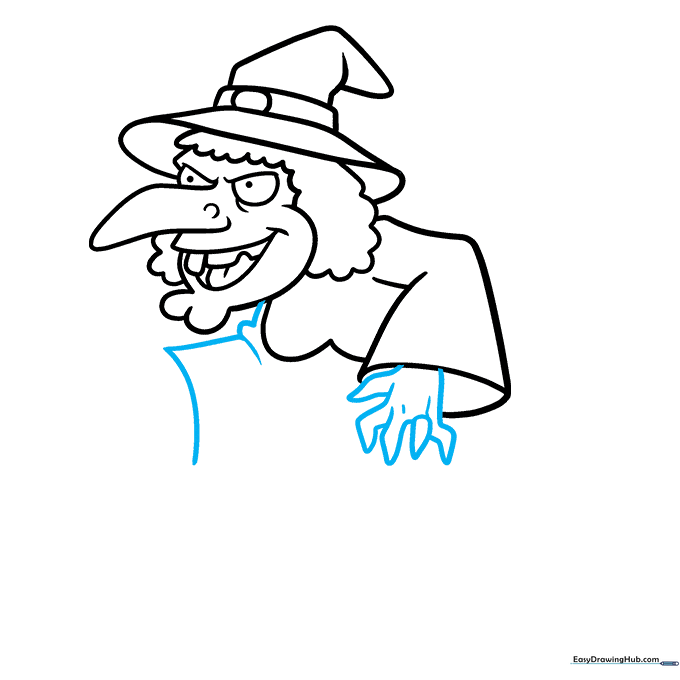
Draw a hook shape for the hand and outline the fingers using narrow, uneven triangles. Add small dashes for detail. Teacher's Tip: Keep the fingers slightly pointed to give her that classic 'witchy' look.
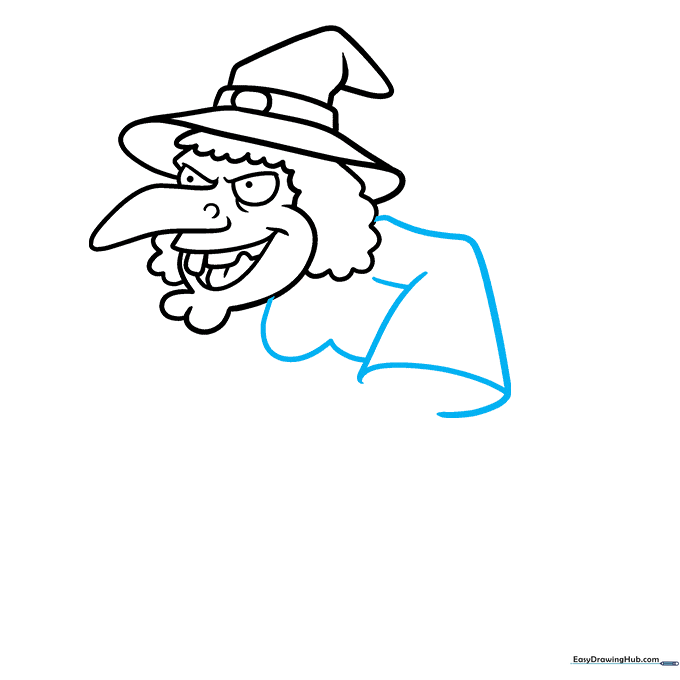
Step 7: Drawing the Second Arm

Add a short curve and a larger curve for the second arm. Connect the hand to the sleeve with a Z-shape. Teacher's Tip: Use the first arm as a guide to keep the proportions consistent.
Step 8: Adding the Dress and Broom
Complete the body with curves and use wavy lines for the dress hem. Start the broom with a circle and sketchy triangles for bristles. Teacher's Tip: Use loose, messy lines for the broom bristles to make them look like real straw.
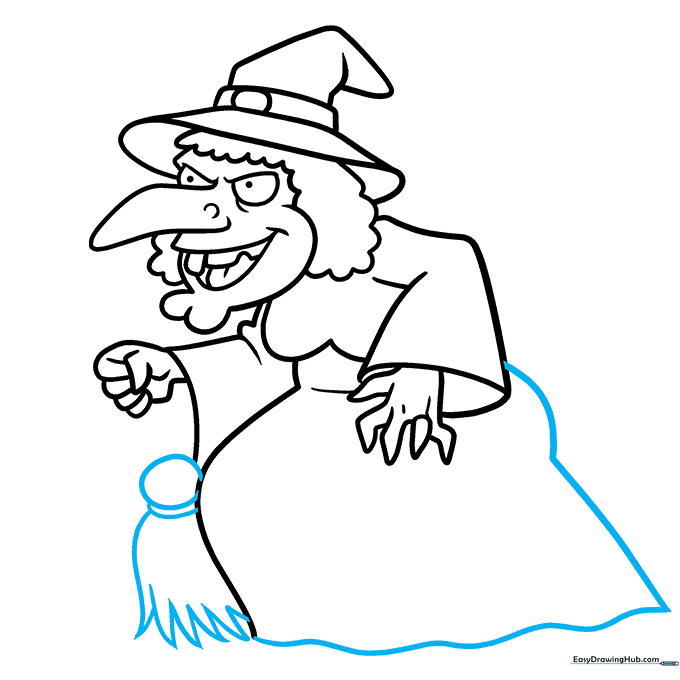
Step 9: Finalizing the Broomstick

Add lines inside the broom and make the handle look bumpy like a carved wooden stick. Teacher's Tip: Vary the thickness of your lines to give the broom a more textured, realistic appearance.
Step 10: Coloring Your Witch
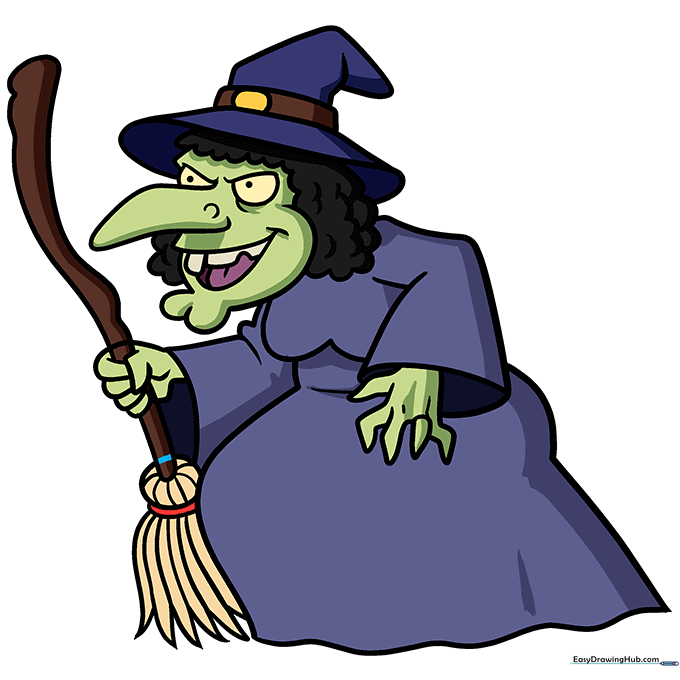
Outline your drawing with black ink. Use shades of purple for the dress, green for the skin, and brown for the broom. Teacher's Tip: Use a lighter green for the skin to keep the character looking friendly rather than scary.
More Tutorials


