How to Draw a Cartoon Werewolf: Easy 10-Step Guide
Ready to create your own mythical creature? This tutorial is perfect for young artists ages 8+ looking to practice character design. You will only need a pencil, an eraser, and some paper to bring this friendly monster to life.
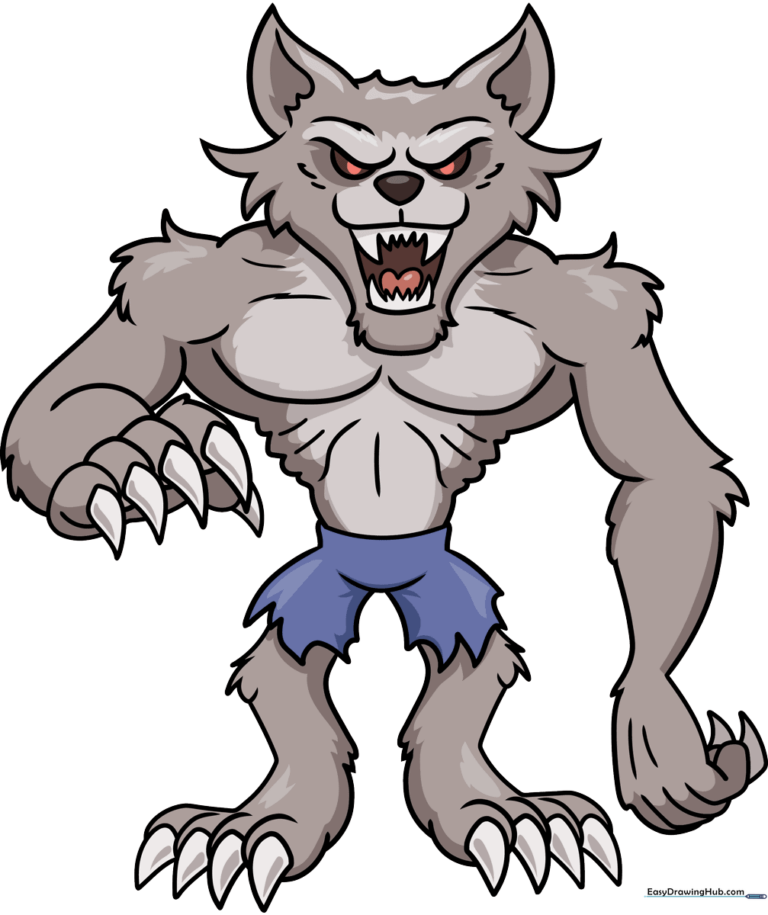
🎯 Final Result
Step-by-Step Instructions
Step 1: Sketching the Snout and Eyes
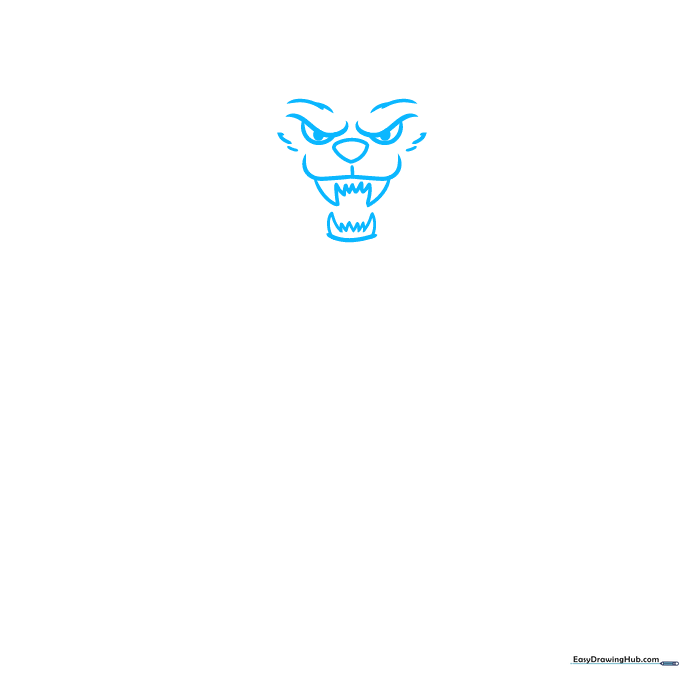
Draw a horizontal line with curved ends for the mouth, then add two large triangles for teeth. Sketch a rounded triangle for the nose and two hook-shaped lines for the eyes. Teacher's Tip: Keep your pencil pressure light here; we want these shapes to be subtle guides.
Step 2: Adding Ears and Tongue
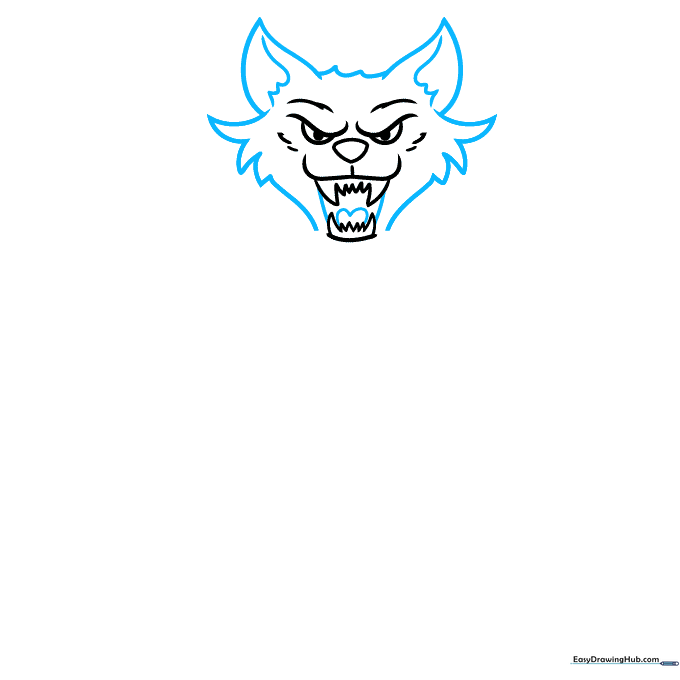
Draw two large teardrop shapes for the ears, connecting them with a wavy line across the top of the head. Add a heart shape for the tongue inside the mouth. Teacher's Tip: Use short, quick strokes to make the ears look furry rather than smooth.
Step 3: Defining the Jaw and Shoulders
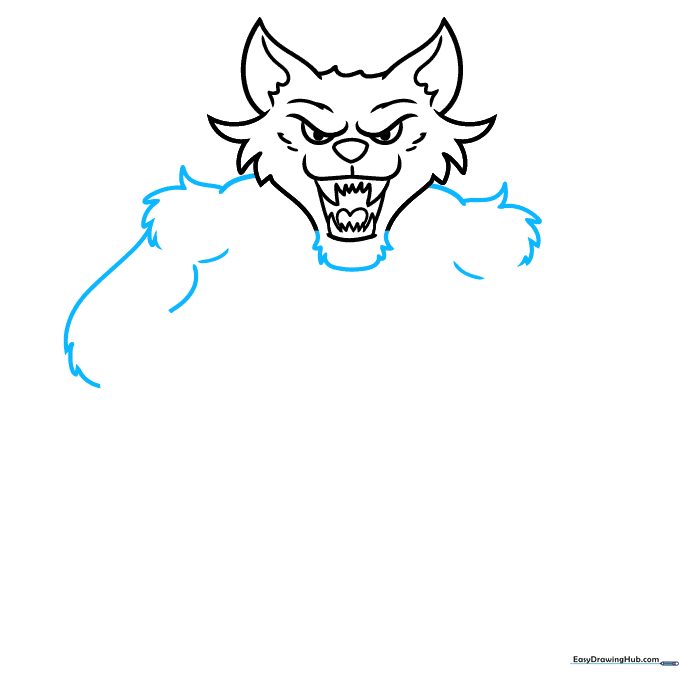
Complete the jawline with jagged triangles on the sides to suggest fur. Add semi-circles with feathery lines for the shoulders. Teacher's Tip: Think of the fur as 'spikes'—the more irregular your lines, the more natural the fur will look.
Step 4: Drawing the First Hand
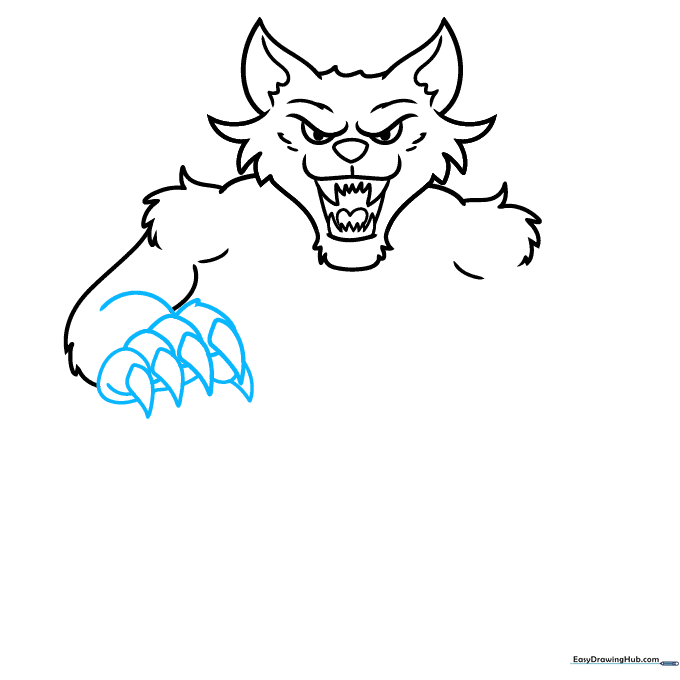
Sketch diamond shapes for the talons and overlapping ovals for the fingers. Teacher's Tip: Claws are just triangles with a slight curve—keep them sharp to give your werewolf a bit of 'scary' character!
Step 5: Drawing the Second Arm
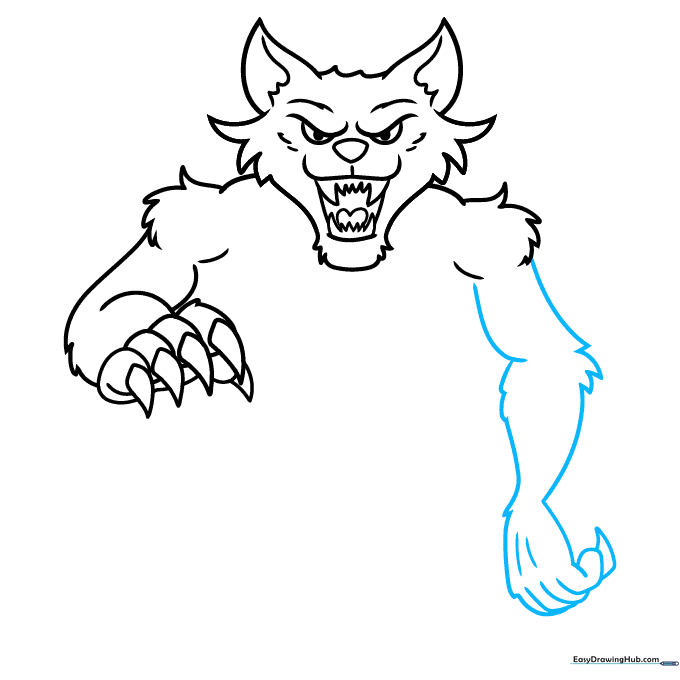
Mirror the process for the second arm, using diagonal lines for the limb and ovals for the fingers. Teacher's Tip: If the arm looks too stiff, add a slight curve to the elbow to show movement.
Step 6: Adding Chest and Body Details
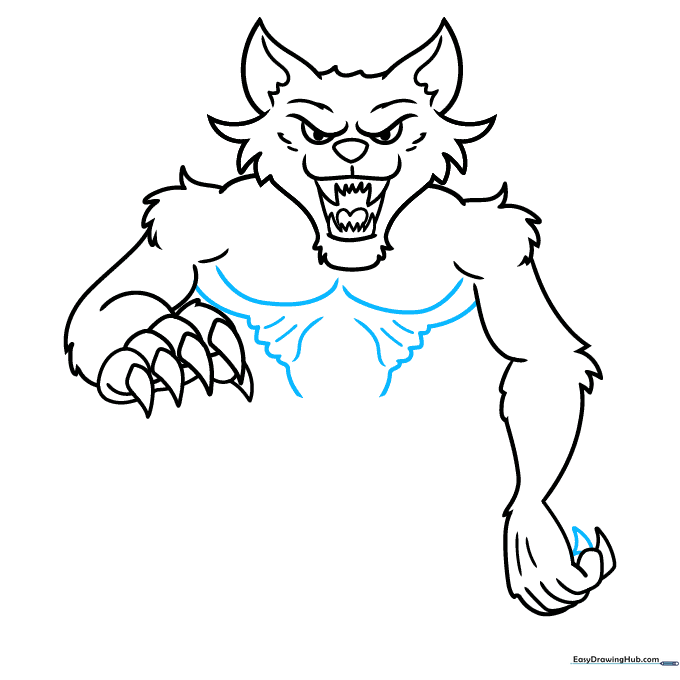
Draw curves on the chest to suggest ribbing and fur texture. Use small 'hills' to outline the torso. Teacher's Tip: Don't worry about perfect symmetry; monsters look better when they are a little rugged!
Step 7: Sketching the Ripped Pants
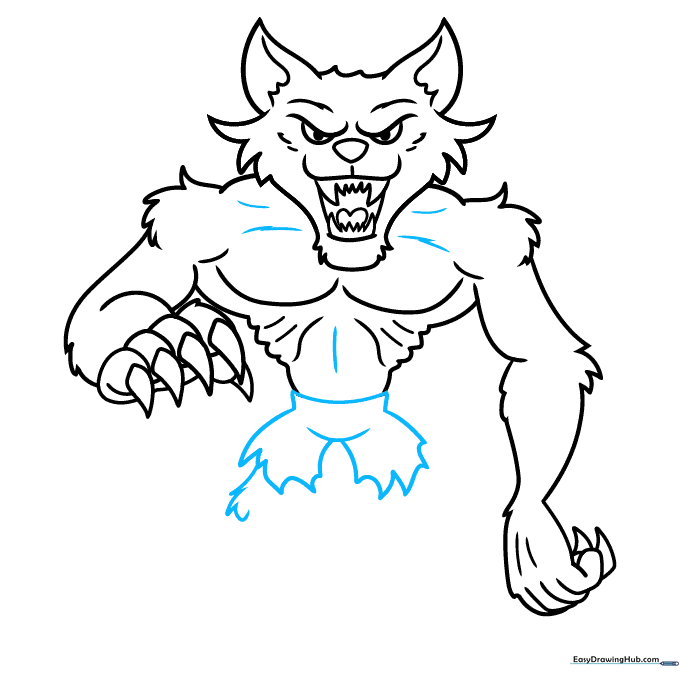
Draw the pants using jagged, uneven lines to create a 'ripped' effect. Add a loop for the knee. Teacher's Tip: Use a darker pencil for the rips to make them stand out from the rest of the clothing.
Step 8: Drawing the Left Leg
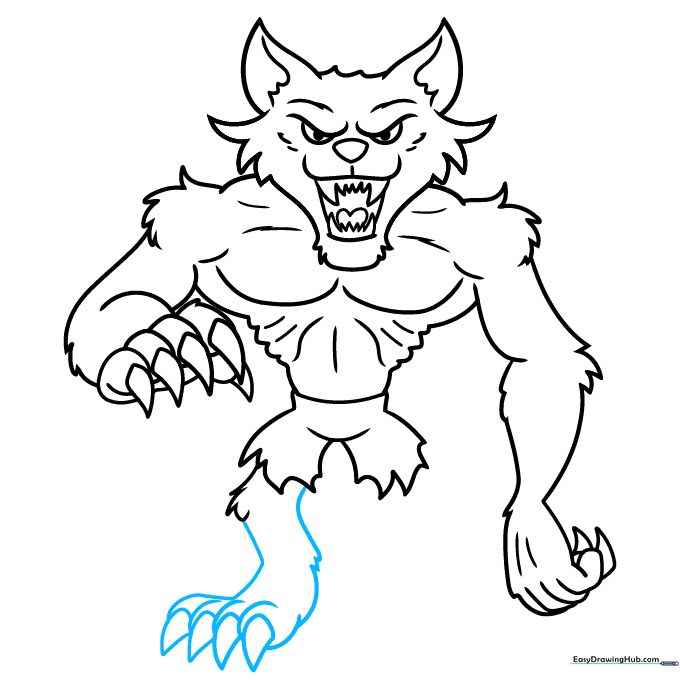
Sketch the leg with straight lines and add diamond-shaped claws at the feet. Teacher's Tip: Remember that werewolf feet are often larger than human feet—make them chunky!
Step 9: Drawing the Right Leg
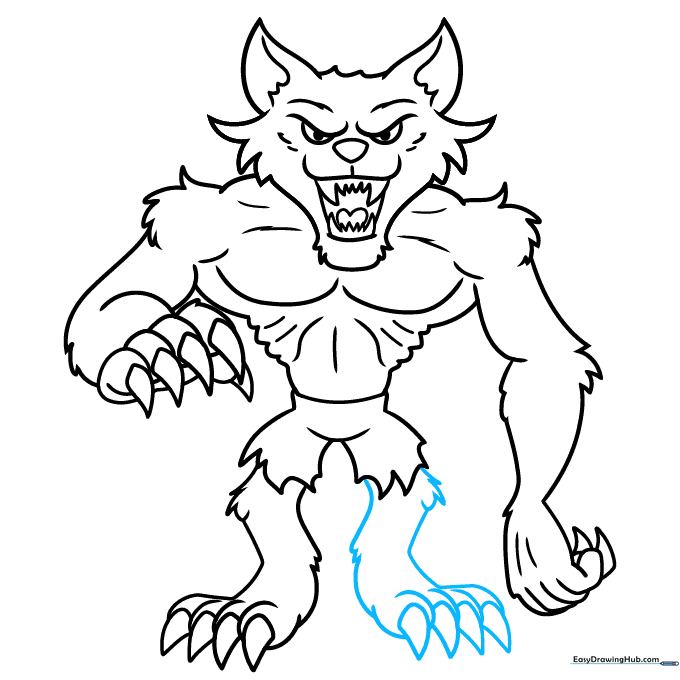
Repeat the previous step for the right leg, mirroring the shape. Teacher's Tip: If you struggle with symmetry, try holding your paper up to a light to trace the general shape of the first leg.
Step 10: Finalizing and Coloring
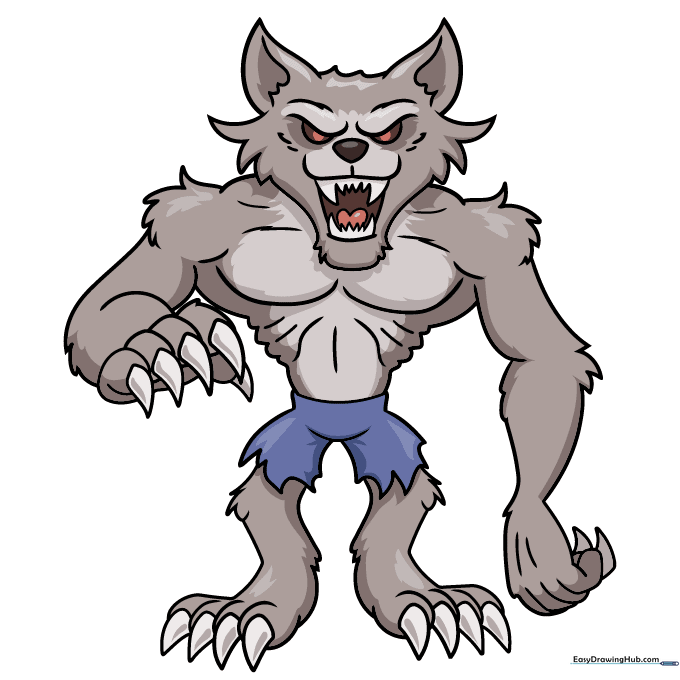
Outline your drawing with a black marker. Use greyish-brown for the fur, navy blue for the pants, and reddish-brown for the eyes. Teacher's Tip: Use a lighter grey for the highlights on the fur to give your werewolf a 3D look.
More Tutorials


