How to Draw a Cartoon Volcano: Easy 10-Step Guide
Ready to create an explosive masterpiece? This tutorial is perfect for young artists ages 5 and up. You will only need a pencil, an eraser, and some markers or crayons to bring your volcanic landscape to life while practicing basic geometric shapes and line control.
🎯 Final Result

Step-by-Step Instructions
Step 1: Sketching the Base
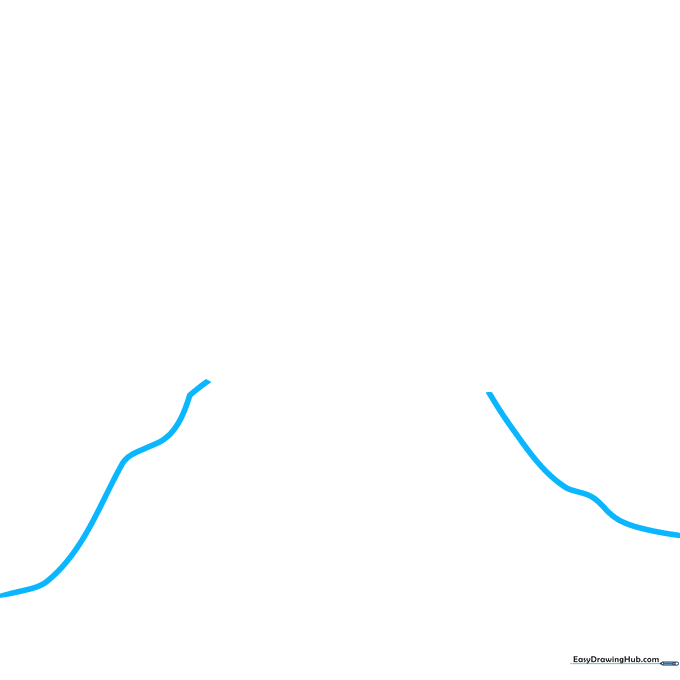
Start by drawing two long, wavy curved lines that slant outward. Teacher's Tip: Keep these lines loose and organic—volcanoes aren't perfectly straight, so don't worry if they look a little bumpy!
Step 2: Creating the Lava Flow
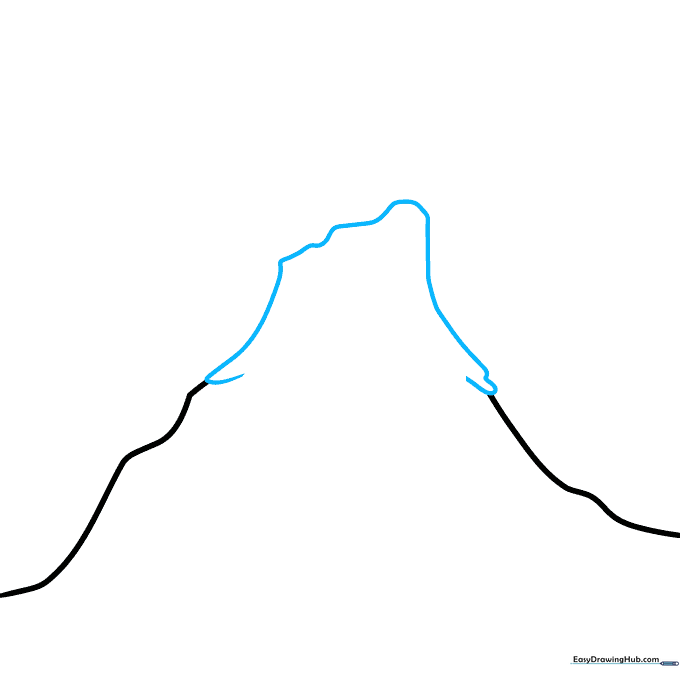
Connect the base lines with a long, curved line, doubling it back at the ends to create a 'drip' effect. Teacher's Tip: Think of this like thick syrup dripping off a spoon—it helps to visualize the weight of the lava.
Step 3: Defining the Vent
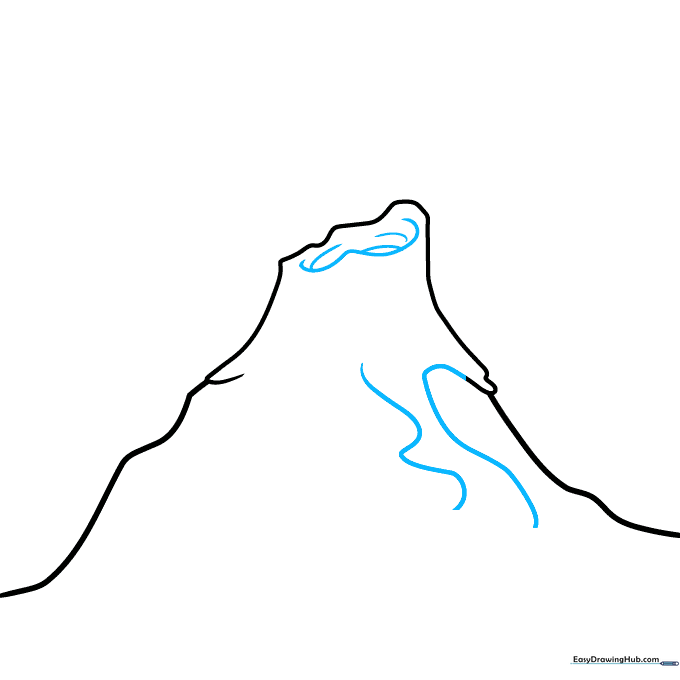
Extend the lava flow and draw a 'C' shaped opening at the top of the volcano. Teacher's Tip: Use overlapping lines here to create depth, making the vent look like a deep hole.
Step 4: Adding Lava Streams
Draw more pairs of curved lines descending the sides, branching them into 'Y' shapes. Teacher's Tip: Vary the length of these streams to make the lava look like it is flowing naturally down the mountain.
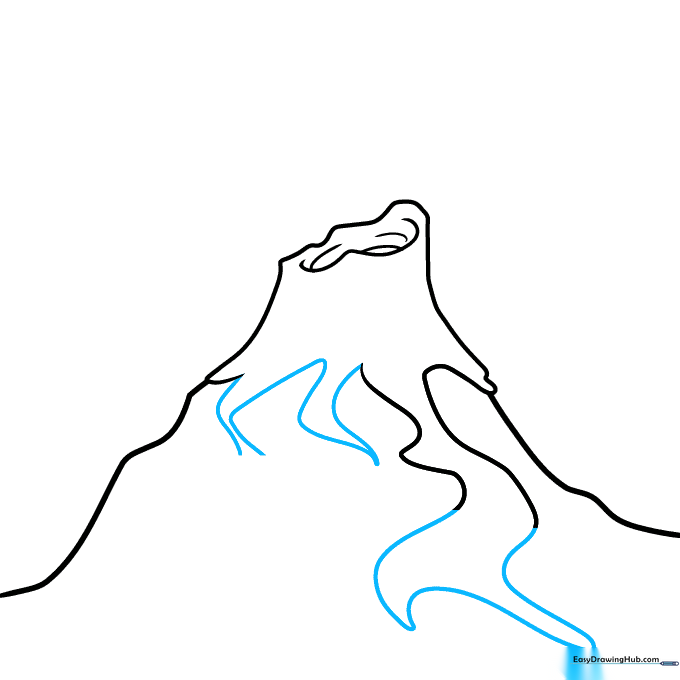
Step 5: Adding Lava Texture
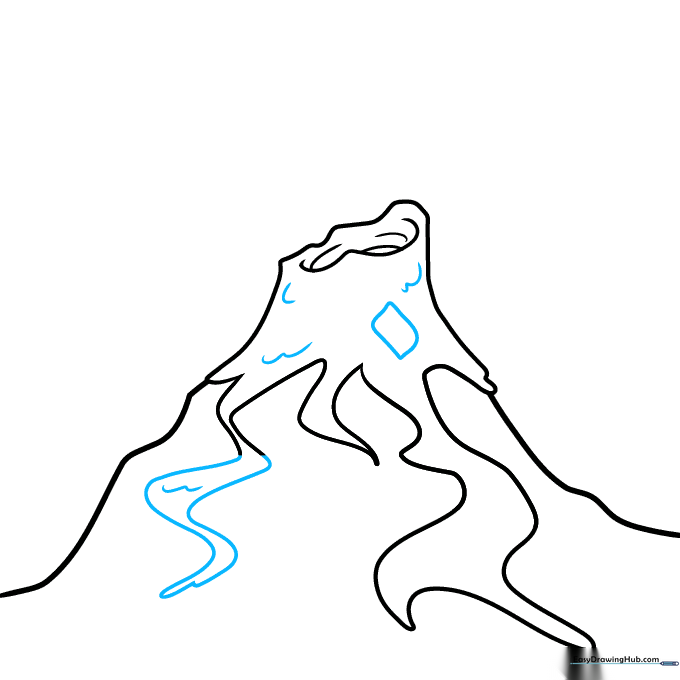
Enclose the final lava flow and add 'U' shaped lines inside to represent bubbling heat. Teacher's Tip: Keep these 'U' shapes small and irregular to make the lava look thick and molten.
Step 6: Drawing Smoke
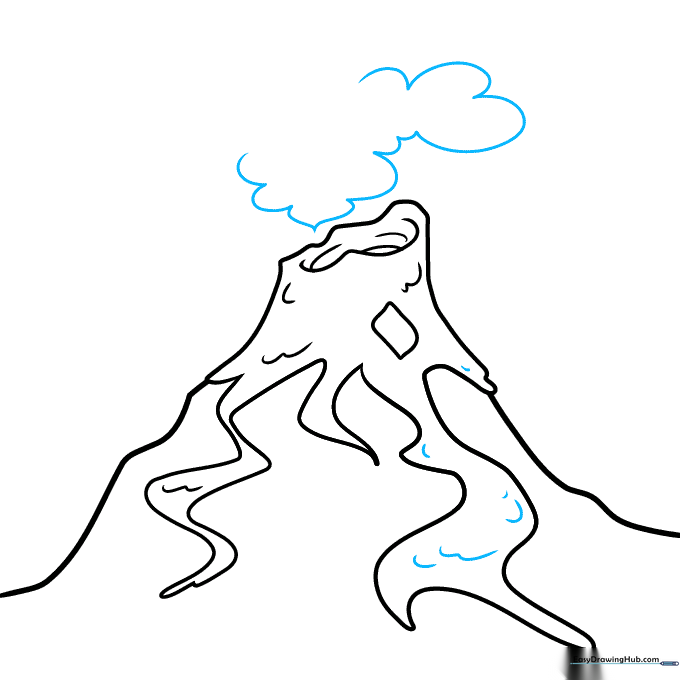
Draw a large, fluffy cloud shape above the volcano using connected curves. Teacher's Tip: Think of drawing a cloud—use soft, rounded lines rather than sharp corners.
Step 7: Adding More Smoke
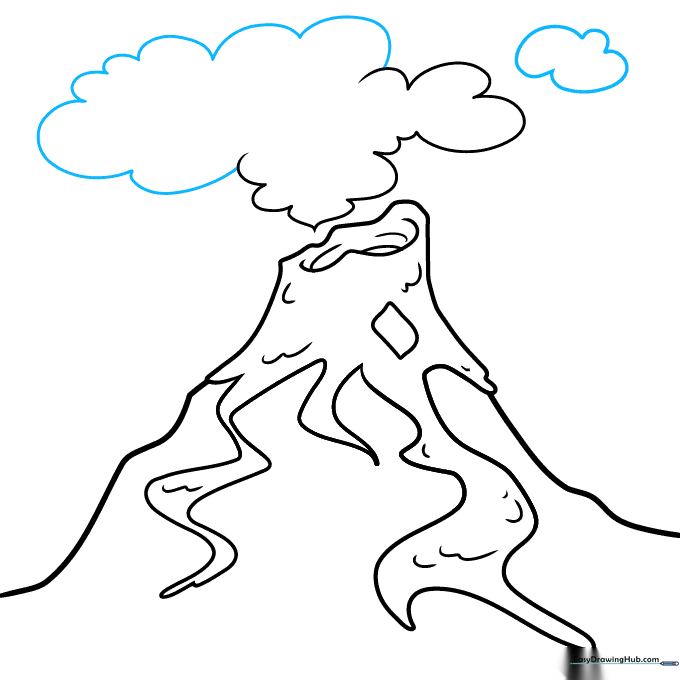
Add a second, smaller cloud of smoke near the first one to create a sense of movement. Teacher's Tip: Overlapping the clouds slightly makes the smoke look more voluminous.
Step 8: Background Mountains
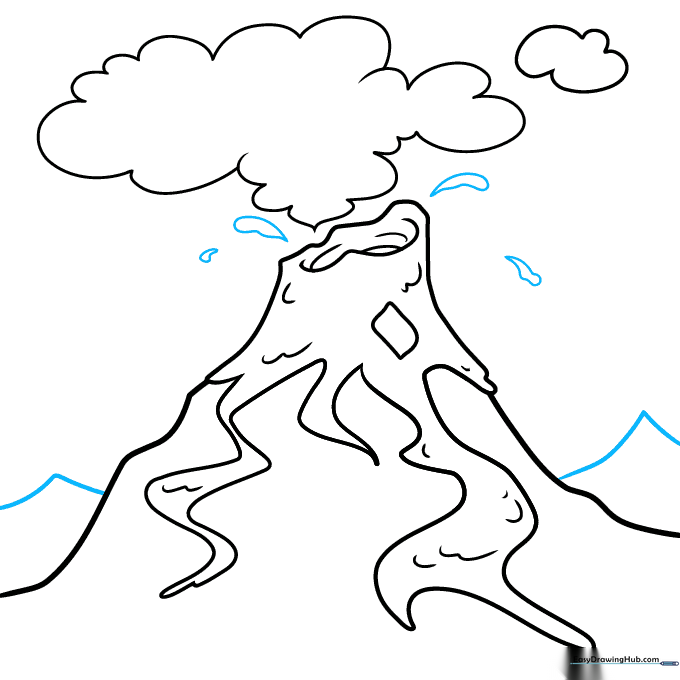
Draw distant mountains using inverted 'V' shapes and add small teardrop shapes for flying lava rocks. Teacher's Tip: Keep the background mountains smaller than the volcano to show distance.
Step 9: Adding Final Details
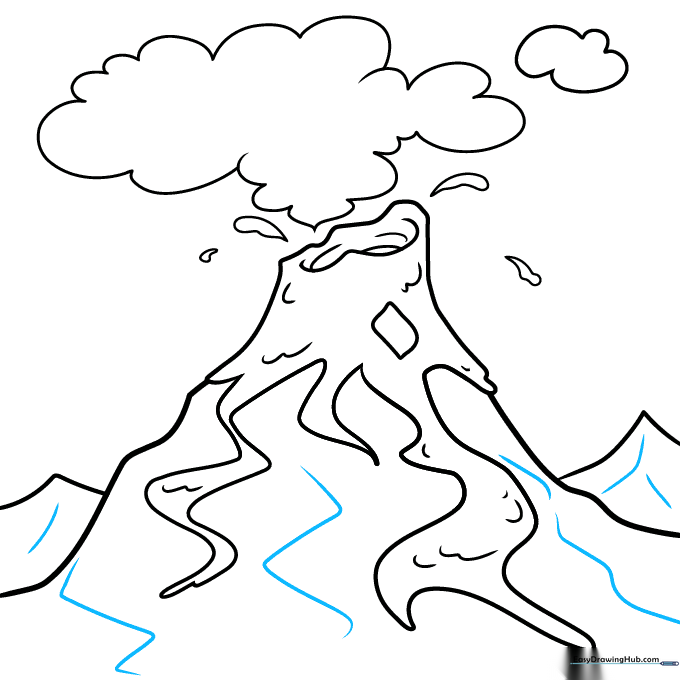
Add texture to the mountain slopes using short, zigzag lines. Teacher's Tip: This adds a 'rocky' feel to your drawing, making it look more realistic.
Step 10: Coloring Your Volcano
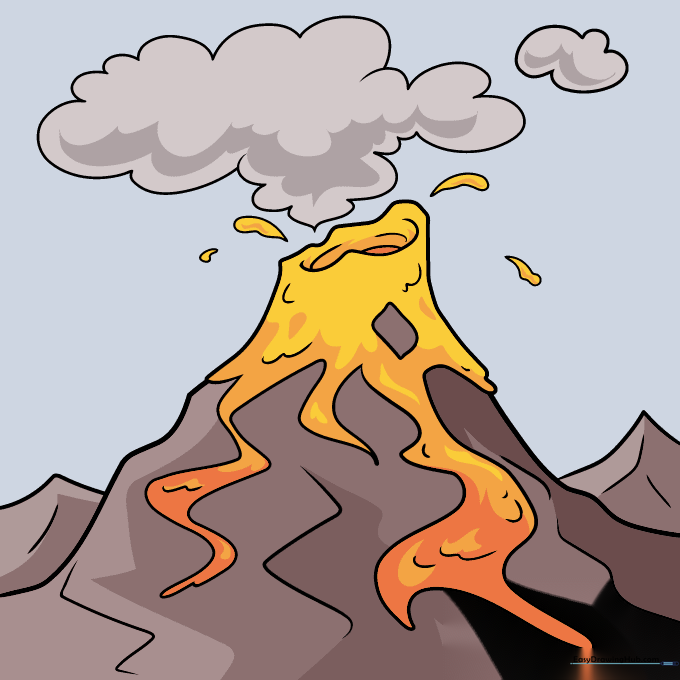
Bring your drawing to life with color! Use brown and gray for the rocky mountain, and bright reds, oranges, and yellows for the lava. Teacher's Tip: Use a darker gray for the smoke to make the bright lava pop!
More Tutorials


