How to Draw a Cartoon Tree: Easy 20-Step Guide
Bring your landscape drawings to life with this friendly cartoon tree! Designed for artists ages 5 and up, this project requires only a pencil, paper, and an eraser. Follow along to master basic shapes and build confidence in your drawing skills.
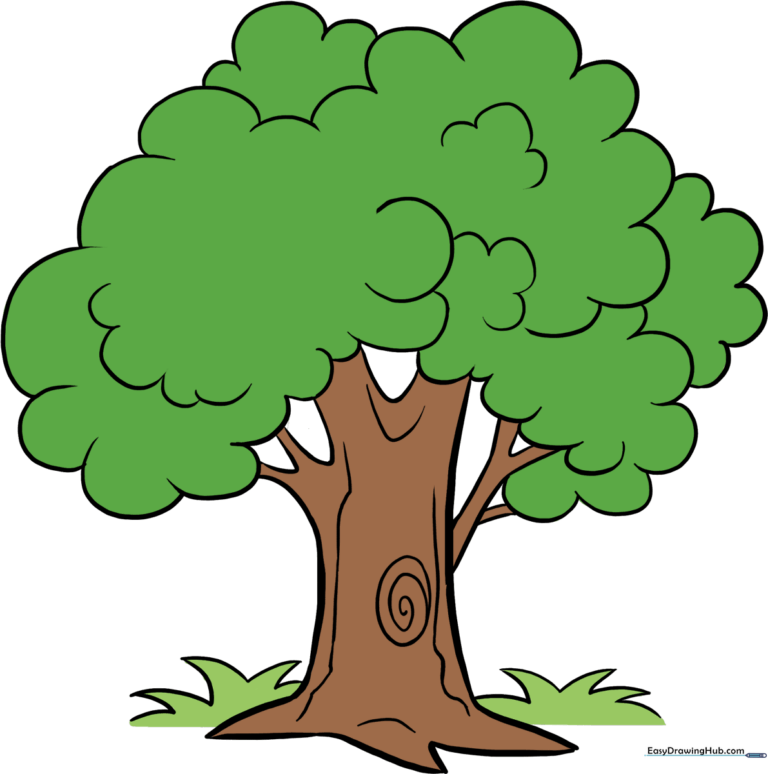
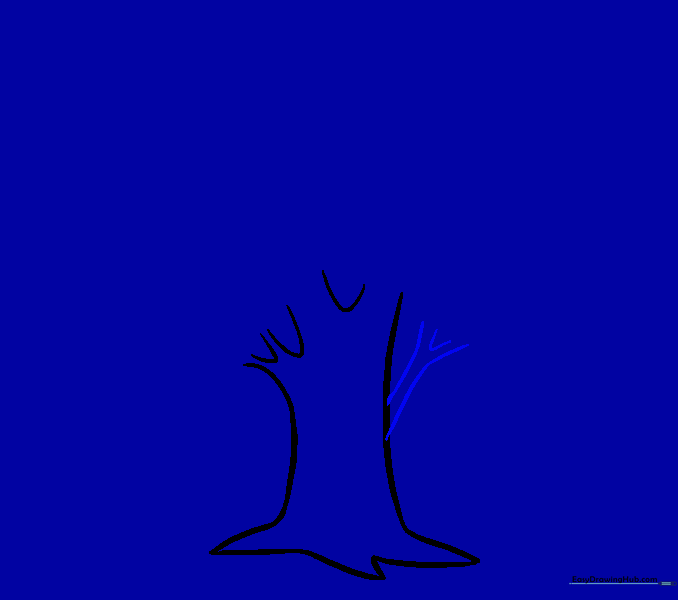
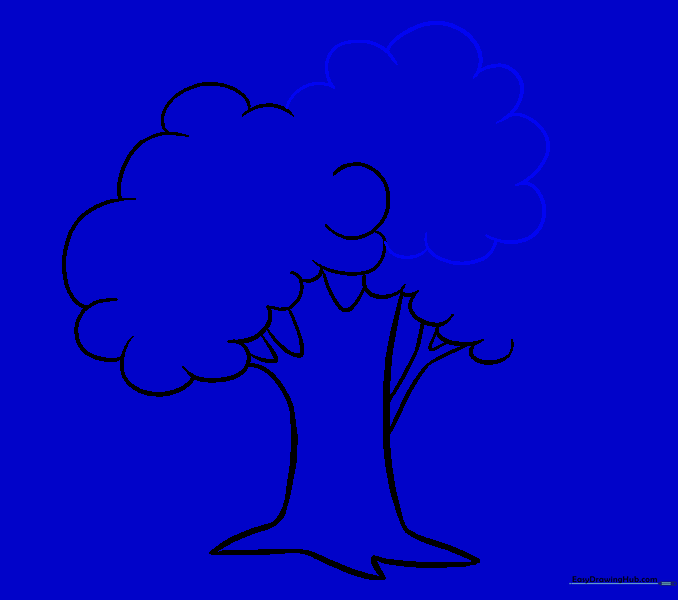
🎯 Final Result
Step-by-Step Instructions
Step 1: Sketching the Trunk
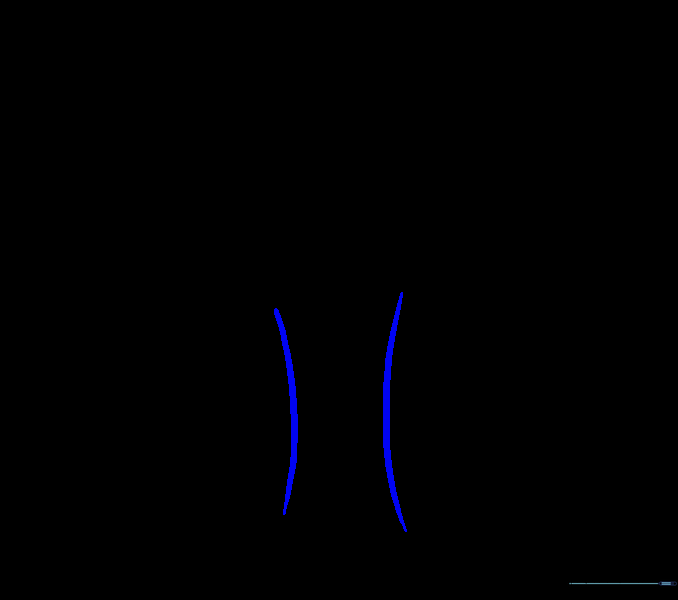
Draw two parallel lines that curve slightly toward each other. Teacher's Tip: Keep these lines soft and light; they form the sturdy base of your tree.
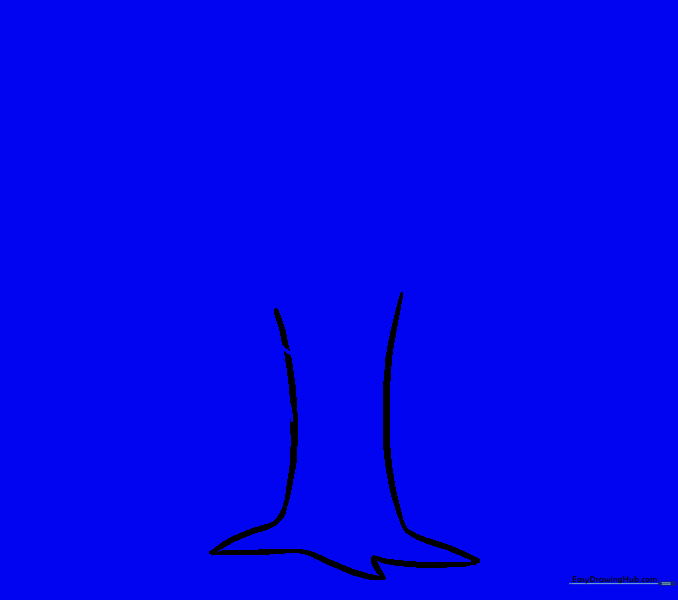
Step 2: Adding the Roots
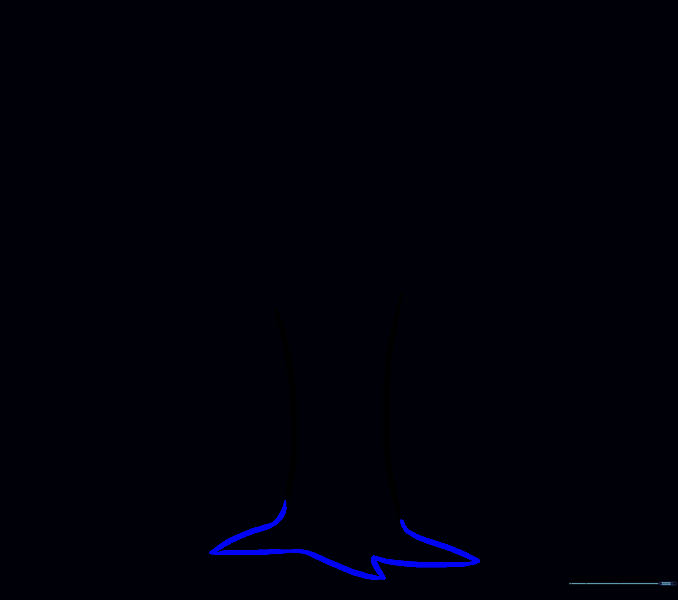
Extend curved lines from the base of the trunk to create roots. Connect them at sharp points. Tip: Think of these as little anchors holding your tree in the ground.
Step 3: Starting the Branches
Extend a curved line from the left side of the trunk. Add three 'U' shapes above it to begin the branch structure. Tip: Keep your 'U' shapes rounded and bouncy.
Step 4: Cleaning Up

Carefully erase the overlapping guide lines inside the branches. Tip: Use a clean eraser and gentle pressure to keep your paper smooth.
Step 5: Adding More Branches
Draw a matching branch on the right side using parallel curved lines and a 'U' shape. Tip: Symmetry makes it look balanced, but don't worry if it's slightly different!
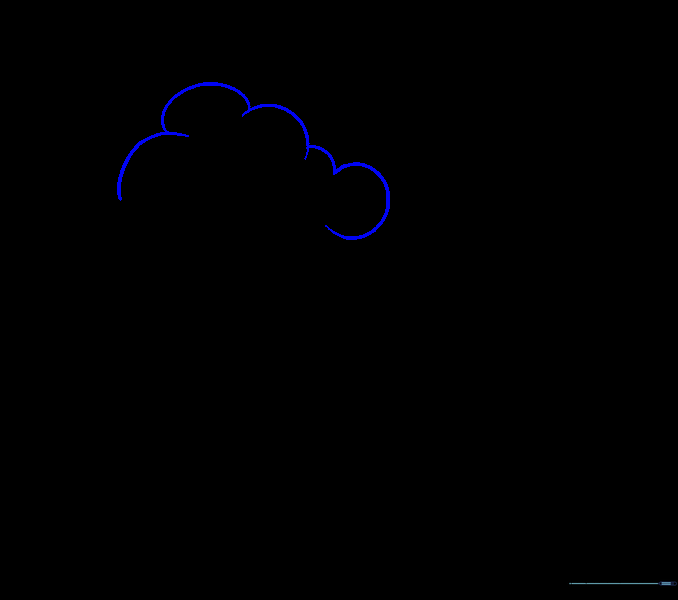
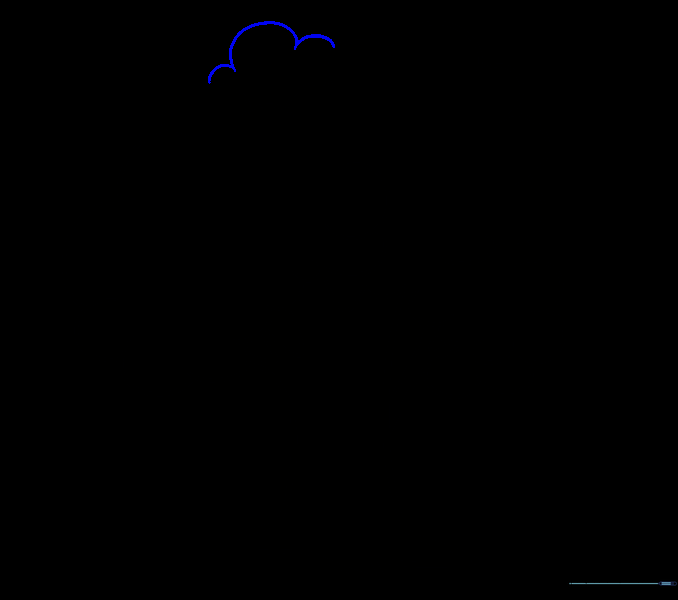
Step 6: Creating the Leafy Canopy
Use a series of connected 'U' shapes to form the top of the tree on the left side. Tip: Imagine you are drawing fluffy clouds sitting on the branches.
Step 7: Expanding the Canopy
Continue the scalloped edge of the leaves with five more 'U' shapes. Tip: Vary the size of your 'U's to make the tree look more natural.
Step 8: Right Side Leaves
Repeat the process on the right side, drawing five 'U' shapes connected to the right branch. Tip: Keep your hand loose and relaxed for smoother curves.
Step 9: Refining the Shape

Erase a small section of the left canopy to prepare for a new branch. Tip: This helps create depth in your drawing.
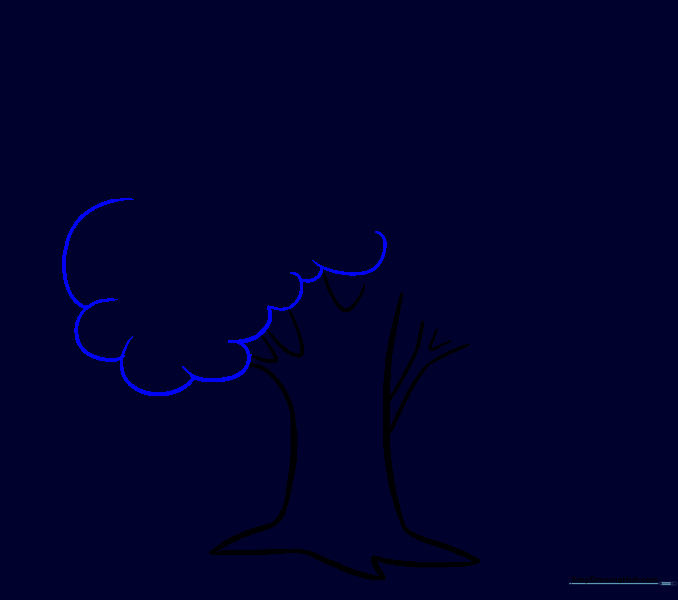
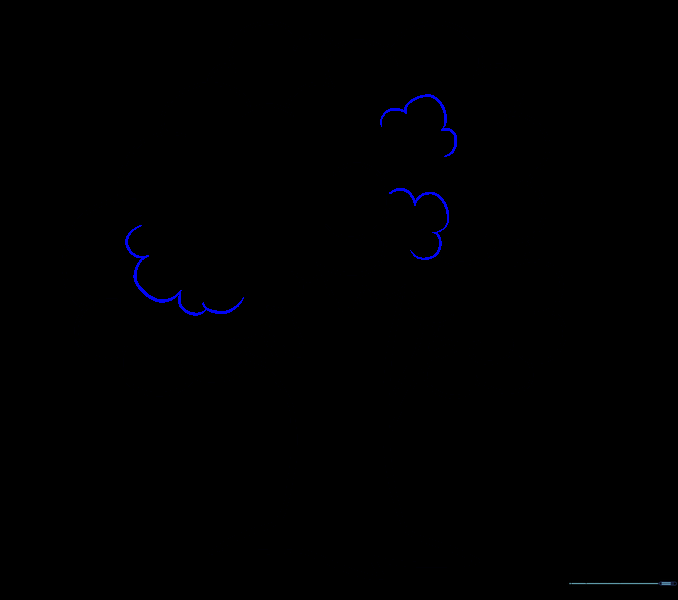
Step 10: Adding More Leaves
Add a new bough in the erased space using eight 'U' shapes. Tip: Overlapping your shapes makes the tree look fuller.
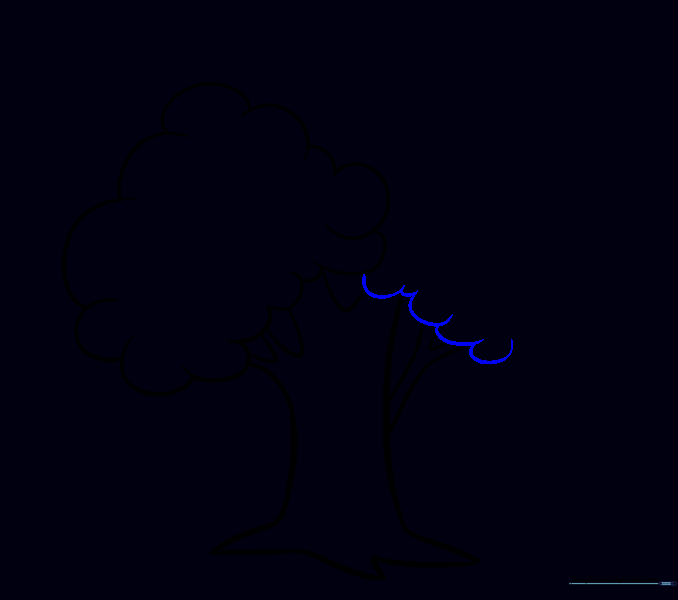
Step 11: Closing the Right Side
Enclose the right bough with five 'U' shapes. Tip: Ensure your lines connect smoothly to the existing branches.
Step 12: Creating Depth

Erase a small portion between the right and middle boughs. Tip: This creates a visual gap that makes the tree look 3D.
Step 13: Top Details
Draw three curved lines at the very top where the boughs meet. Tip: These small details add character to your tree.
Step 14: Adding Texture
Draw three sets of 'U' shapes inside the canopy to represent leaves. Tip: Don't make them too uniform; nature is messy!
Step 15: Trunk Details
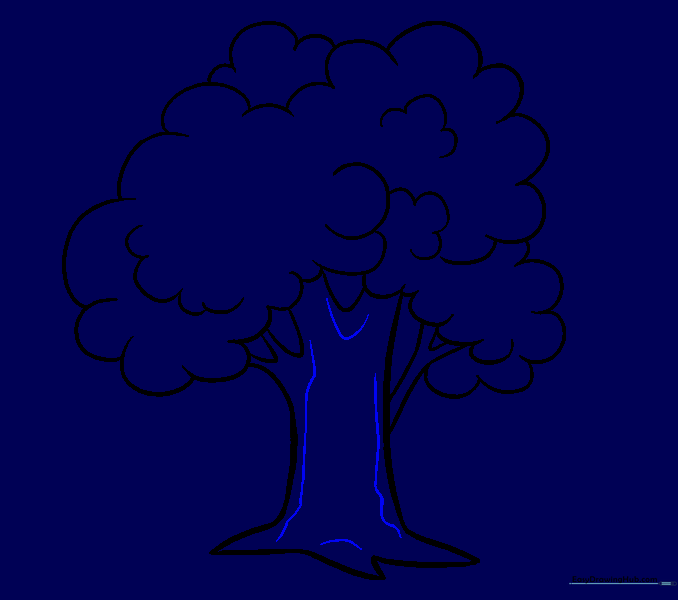
Add texture to the trunk with a 'U' shape near the branches and curved lines near the roots. Tip: These lines suggest the texture of bark.
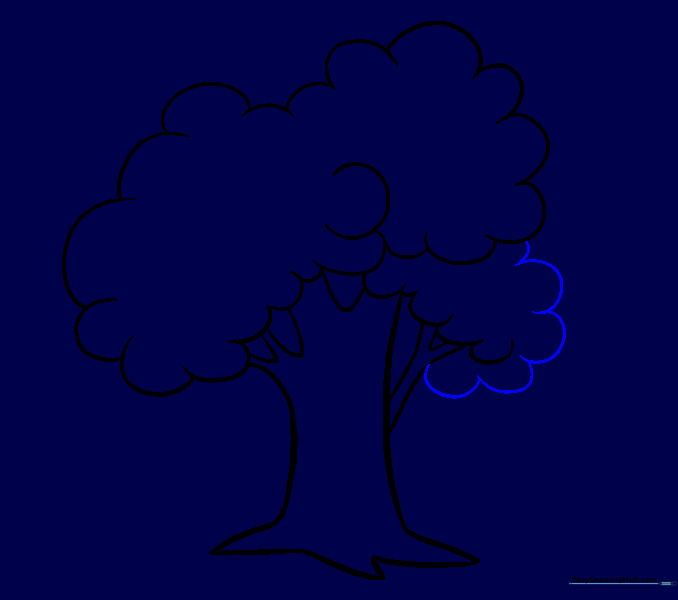
Step 16: Final Canopy Touches

Add a small bough of four 'U' shapes to the right side of the canopy. Tip: This fills in any empty space.
Step 17: Extra Branch

Add a small branch between the right branch and the bough. Tip: Use two parallel lines to keep it consistent with the others.
Step 18: Adding a Knot
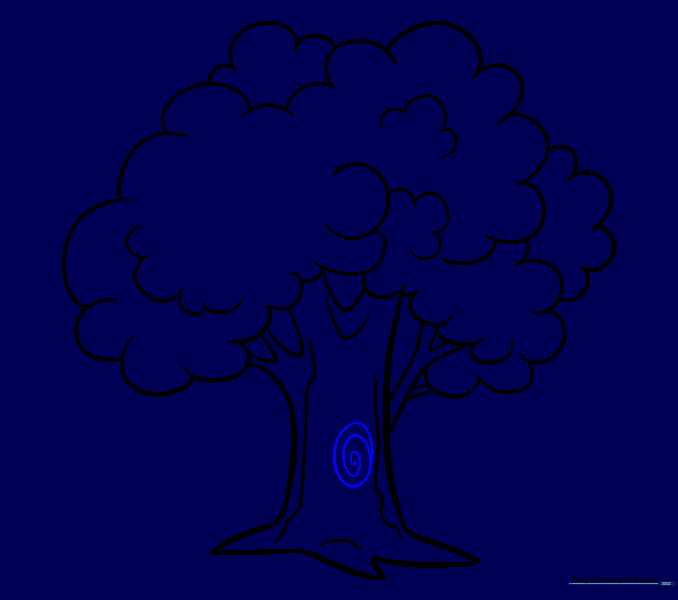
Draw a circle on the trunk with a swirl inside. Tip: This looks like a knothole in the wood!
Step 19: Adding Grass
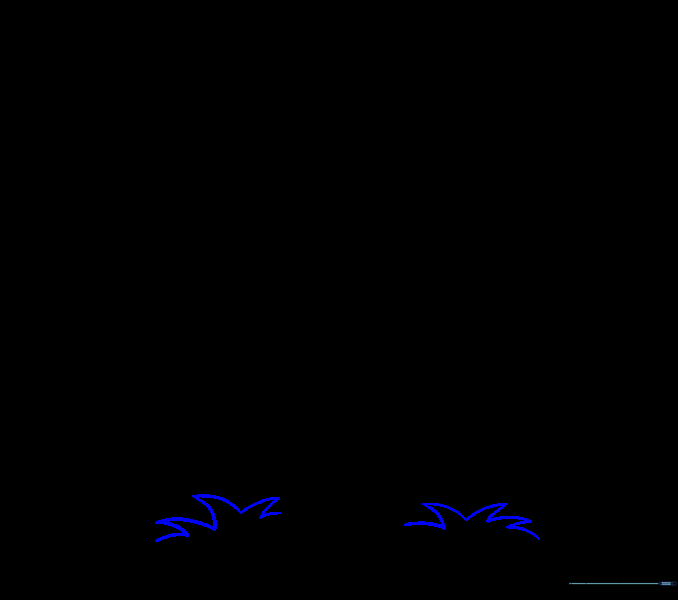
Draw short, jagged lines at the base of the tree to create grass. Tip: Make the lines different heights to look like real grass blades.
Step 20: Coloring Your Tree
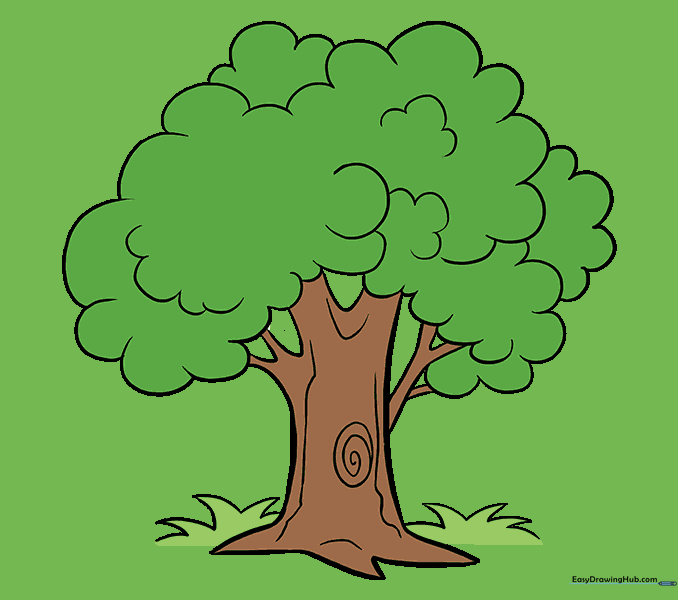
Bring your tree to life with color! Use brown for the trunk and vibrant greens for the leaves. Tip: Try using two shades of green to add highlights and shadows.
More Tutorials


