How to Draw a Cartoon Steak: Easy 10-Step Guide
Ready to serve up some artistic fun? This tutorial is perfect for young artists ages 5 and up who want to practice drawing food. You will need a pencil, an eraser, and your favorite coloring markers to bring this hearty meal to life.
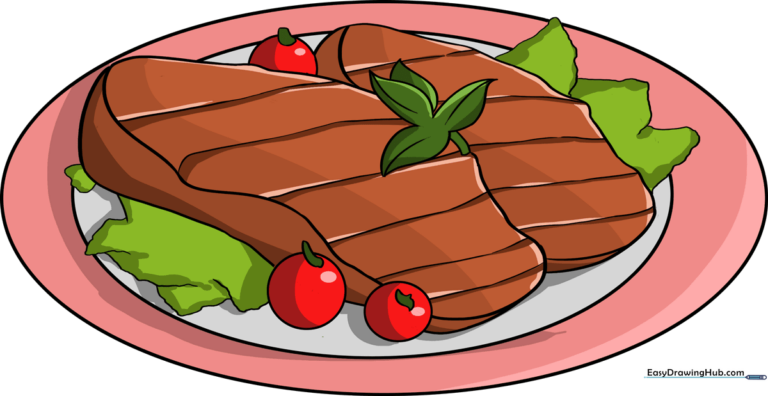
🎯 Final Result
Step-by-Step Instructions
Step 1: Sketching the Platter

Draw a small oval inside a larger, slightly flattened oval. This creates the rim of your plate. Teacher's Tip: Keep your hand loose to get a nice, smooth curve for the plate edge.
Step 2: Outlining the First Steak

Sketch an irregular, wavy shape for the steak. Add a curved line on the side to give it thickness. Teacher's Tip: Real steaks aren't perfect circles, so don't worry if your lines are a bit bumpy!
Step 3: Adding Grill Marks

Draw short, curved lines across the top of the steak to represent grill marks. Teacher's Tip: Space them evenly to make the steak look like it just came off the barbecue.
Step 4: Drawing the Second Steak

Repeat the process to draw a second piece of steak next to the first one, using a similar irregular shape. Teacher's Tip: Make this one slightly smaller to show perspective.
Step 5: Grill Marks on the Second Steak
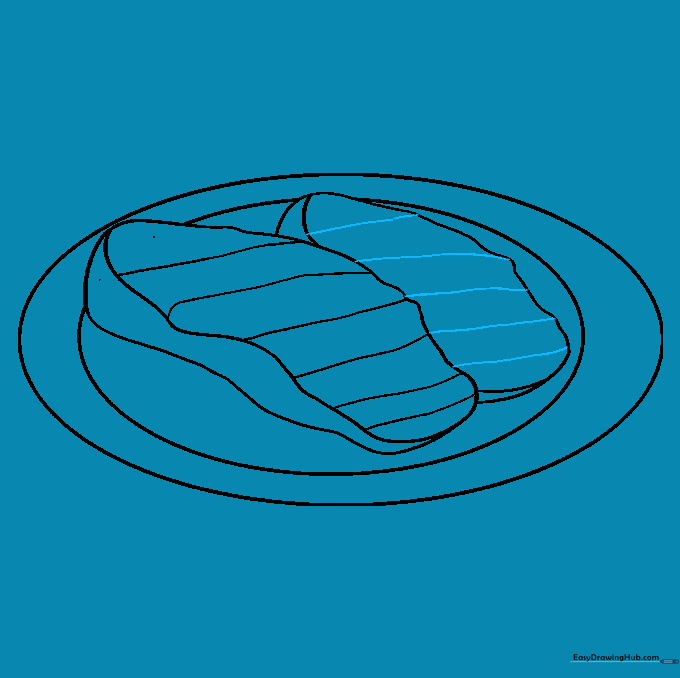
Add horizontal, parallel lines to the second steak. Teacher's Tip: Try to keep these lines consistent with the first steak to make the drawing look unified.
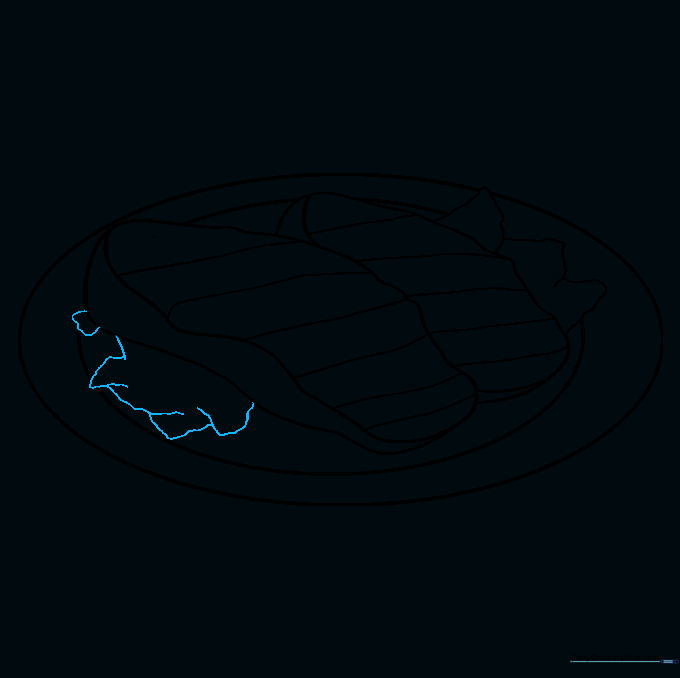
Step 6: Adding Lettuce Garnish

Draw wavy, triangular shapes under the steak to represent lettuce. Teacher's Tip: Use quick, jagged strokes to make the lettuce look fresh and crisp.
Step 7: More Garnish Details
Add more jagged-edged leaves on the opposite side of the steak. Teacher's Tip: Vary the size of the leaves to create a more natural, organic look.
Step 8: Adding Tomatoes

Draw small circles for tomatoes, adding a little stem on top of each. Teacher's Tip: Don't make them perfect circles; slightly oval shapes look more like real cherry tomatoes.
Step 9: Final Herb Garnish

Draw a sprig of herbs on top of the steak using pointed leaves and a central vein line. Teacher's Tip: Use a fine-liner pen to make these small details pop.
Step 10: Color Your Masterpiece
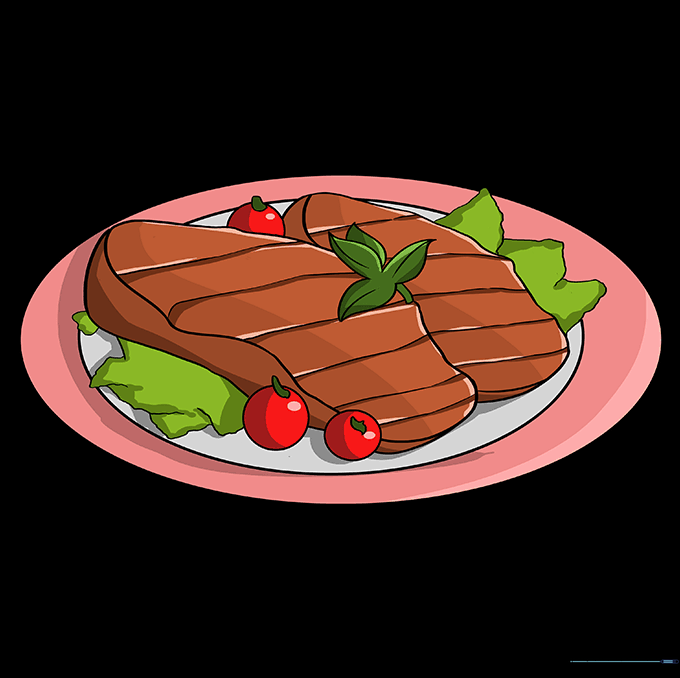
Time to color! Use deep browns for the steak, vibrant reds for the tomatoes, and bright greens for the garnish. Teacher's Tip: Use a darker brown for the grill marks to add contrast.
More Tutorials


