How to Draw a Squirrel: Easy 9-Step Guide for Kids
Ready to bring a forest friend to life? This tutorial is perfect for young artists ages 5 and up. Grab a pencil, an eraser, and a piece of paper to master this adorable squirrel in just nine simple steps.
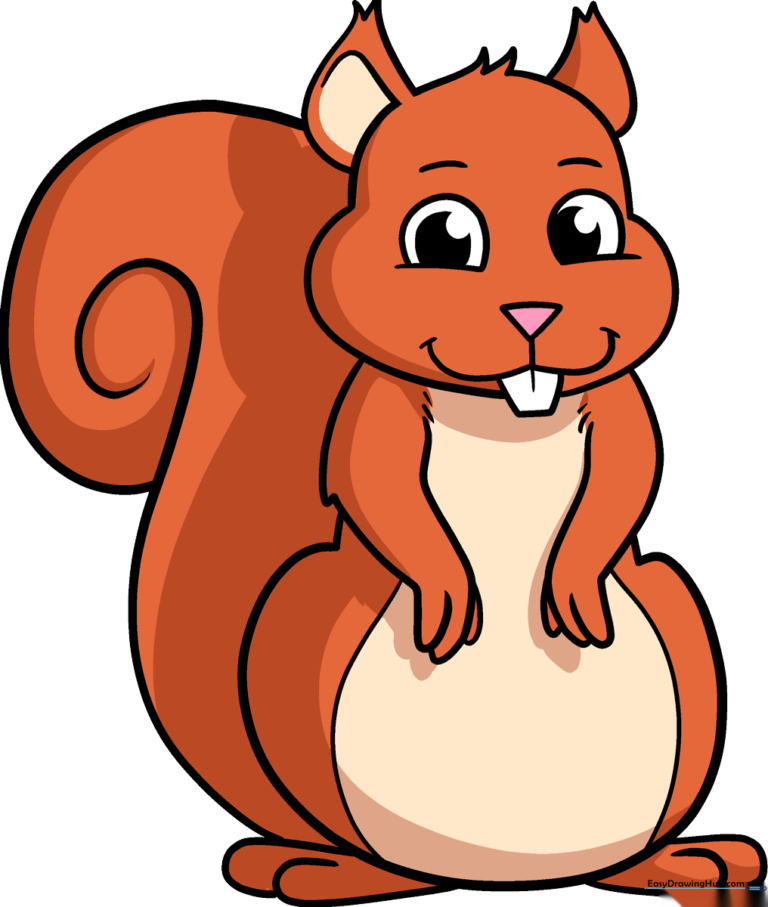
🎯 Final Result
Step-by-Step Instructions
Step 1: Sketching the Expressive Eyes
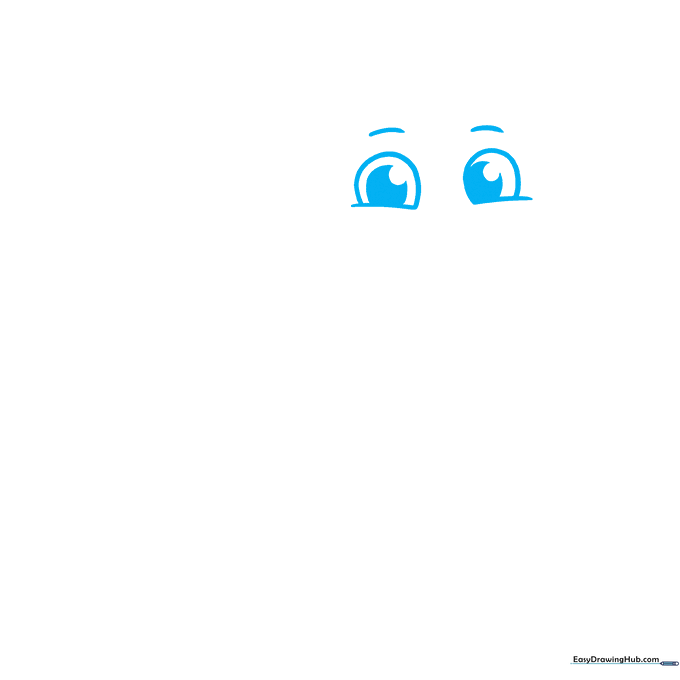
Start by drawing two curved lines for the upper eyelids, then add partial circles beneath them. Add two smaller circles inside for pupils and shade them in. Teacher's Tip: Keep your pencil pressure light so you can easily adjust the shape if the eyes look a bit uneven.
Step 2: Adding the Nose and Teeth
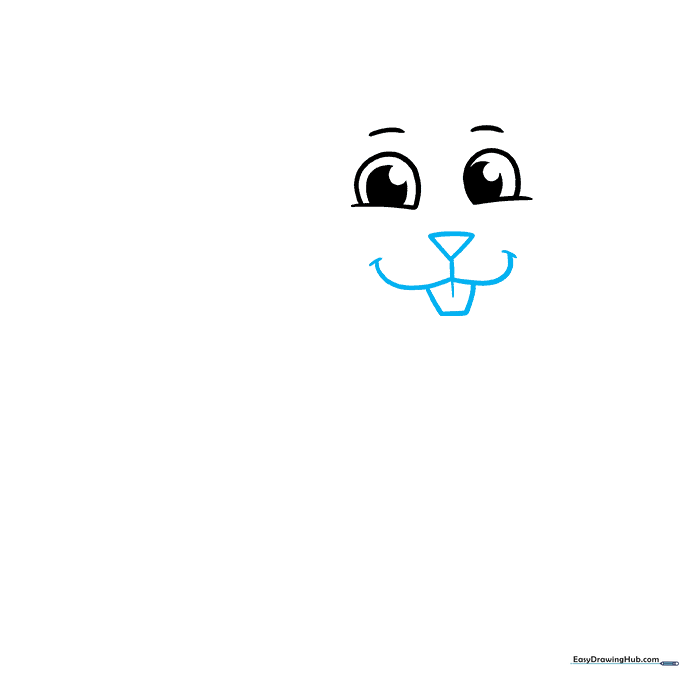
Draw an inverted triangle for the nose, then connect it to a small, happy mouth. Below the mouth, draw a pentagon shape with a vertical line to create those iconic squirrel teeth. Teacher's Tip: Make the teeth slightly rounded at the corners to keep the character looking friendly.
Step 3: Shaping the Head and Cheeks
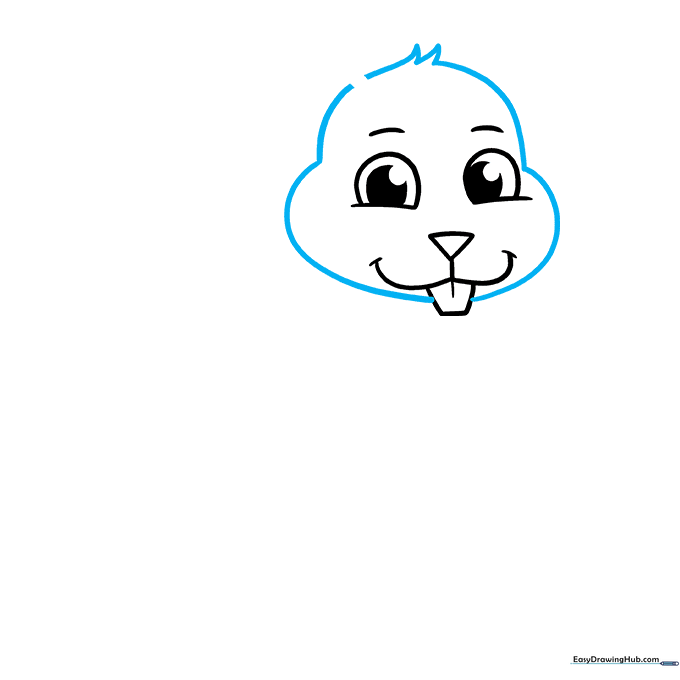
Outline the head and chubby cheeks using soft, curved lines. Add a small tuft of fur on the forehead using short, jagged strokes. Teacher's Tip: Use quick, flicking motions with your pencil to make the fur look soft and realistic rather than stiff.
Step 4: Drawing the Ears
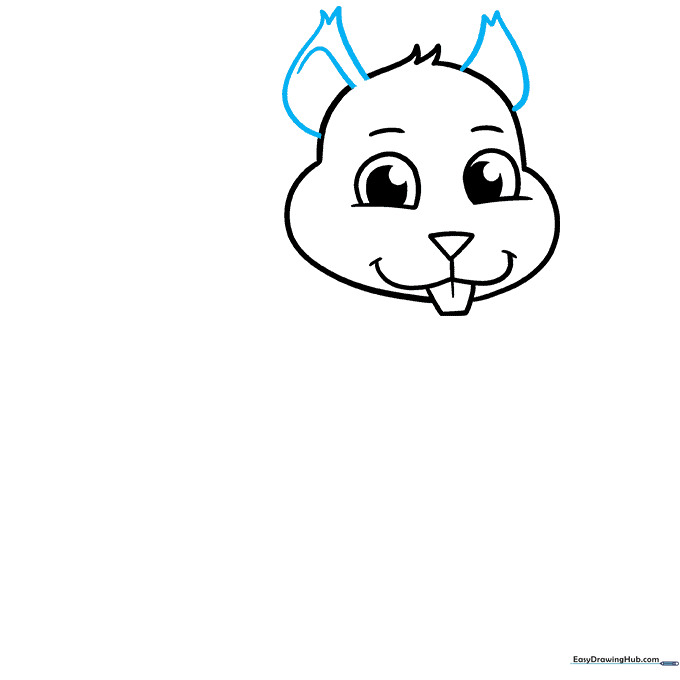
Add two ears on top of the head using curved lines that meet at sharp, furry points. Teacher's Tip: Try to make the ears symmetrical to give your squirrel a balanced, professional look.
Step 5: Sketching the First Arm
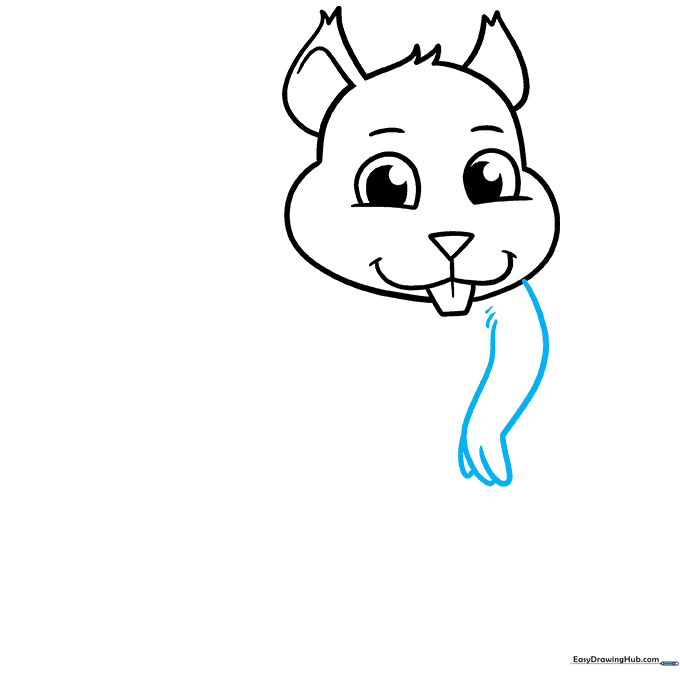
Use overlapping curved lines to create the first arm and paw. Teacher's Tip: Keep the arm lines smooth and flowing so the squirrel looks like it's in a relaxed, natural pose.
Step 6: Adding the Second Arm
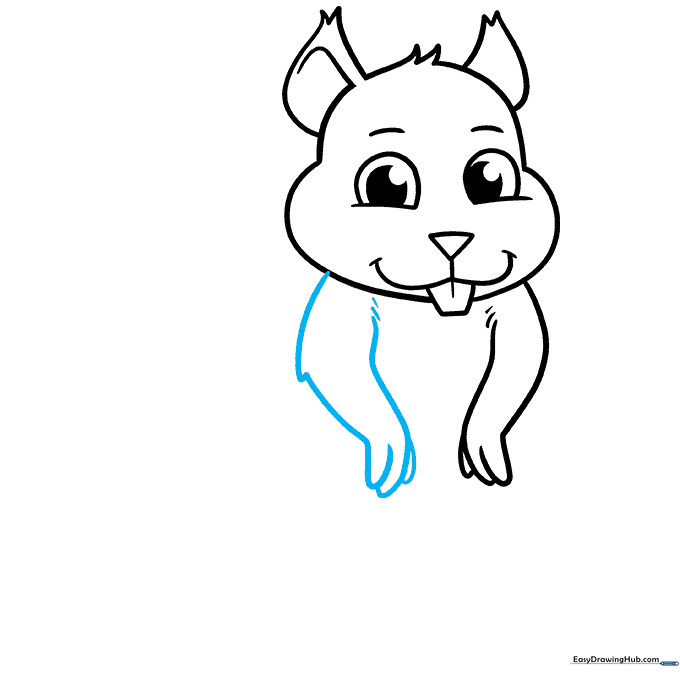
Draw the second arm to match the first. Add a few short lines at the shoulder to suggest texture. Teacher's Tip: Imagine the squirrel is holding a tiny acorn to help you position the paws correctly.
Step 7: Defining the Torso
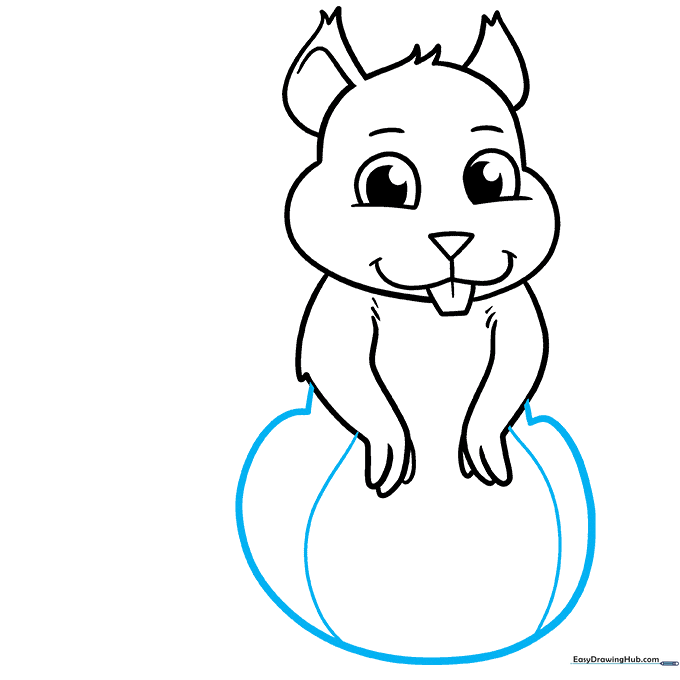
Use a long, sweeping curved line to enclose the body and hips. Add a curved line across the belly to give the squirrel a rounded, cute appearance. Teacher's Tip: A rounder belly makes the character look much more friendly and cartoonish.
Step 8: Drawing the Back Paws
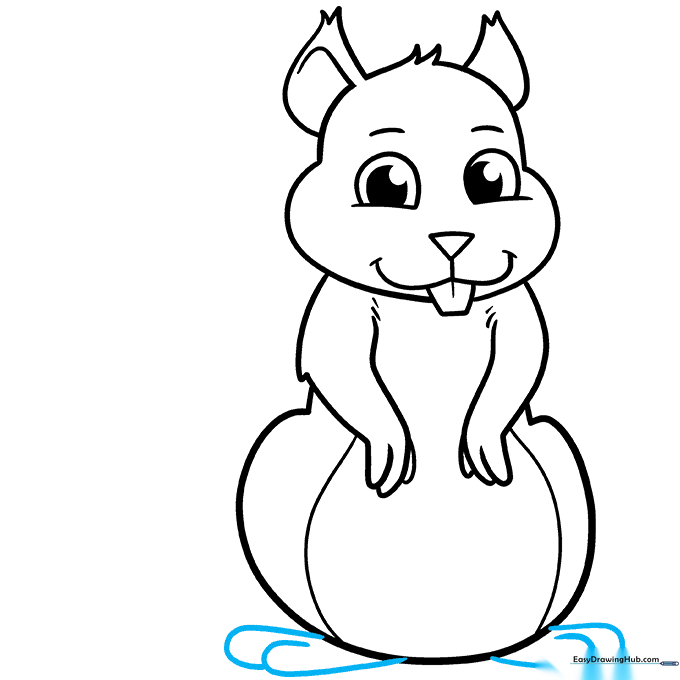
Add the rear paws using overlapping curved lines. Teacher's Tip: Keep these paws slightly larger than the front ones to give the squirrel a sturdy, grounded look.
Step 9: The Fluffy Tail
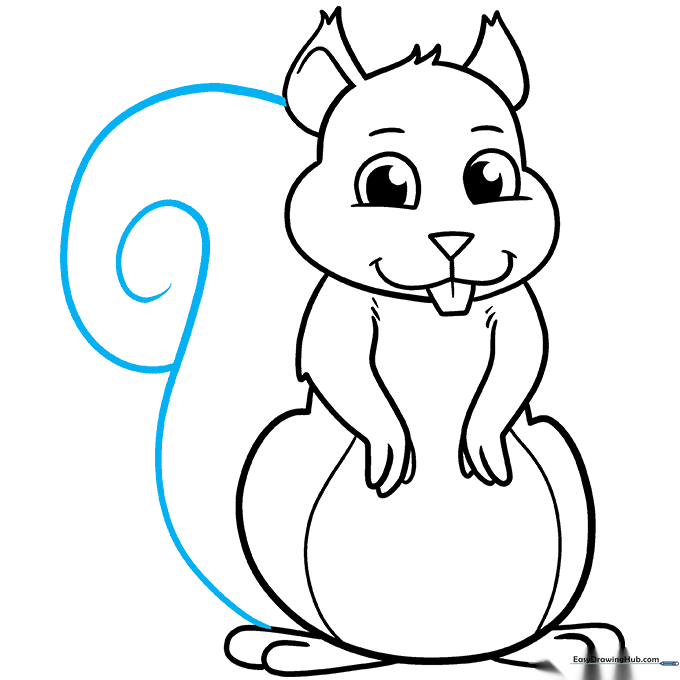
Draw a large, sweeping line from the rear paw, curling it into a spiral at the end. Connect it back to the ear to complete the tail. Teacher's Tip: Don't worry if the spiral isn't perfect; a slightly wobbly tail looks even fluffier!
Step 10: Bringing Your Squirrel to Life with Color
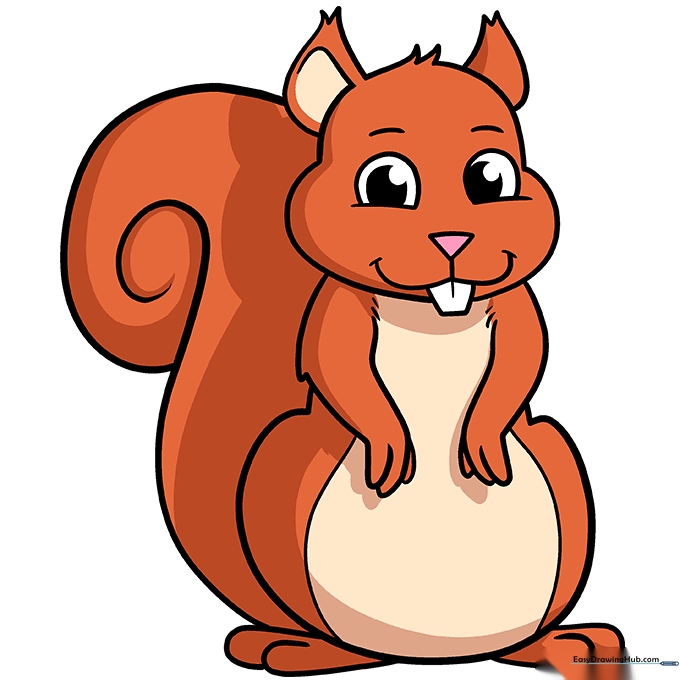
Your outline is complete! Now, add color. Use shades of brown, gray, or reddish-orange to make your squirrel pop. Teacher's Tip: Try using a lighter shade for the belly and a darker shade for the tail to add depth to your drawing.
More Tutorials


