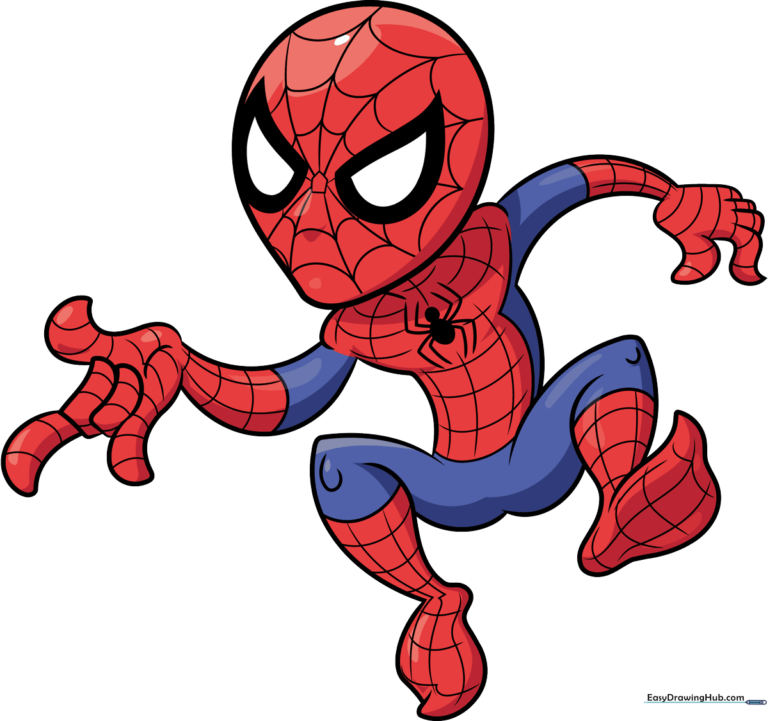
How to Draw Spider-Man: Easy 9-Step Cartoon Guide
Ready to bring your favorite web-slinger to life? This tutorial is perfect for young artists ages 6+ looking to master character proportions. All you need is a pencil, an eraser, and a black fine-liner to create your own heroic masterpiece.
🎯 Final Result
Step-by-Step Instructions
Step 1: Sketching the Head and Eyes
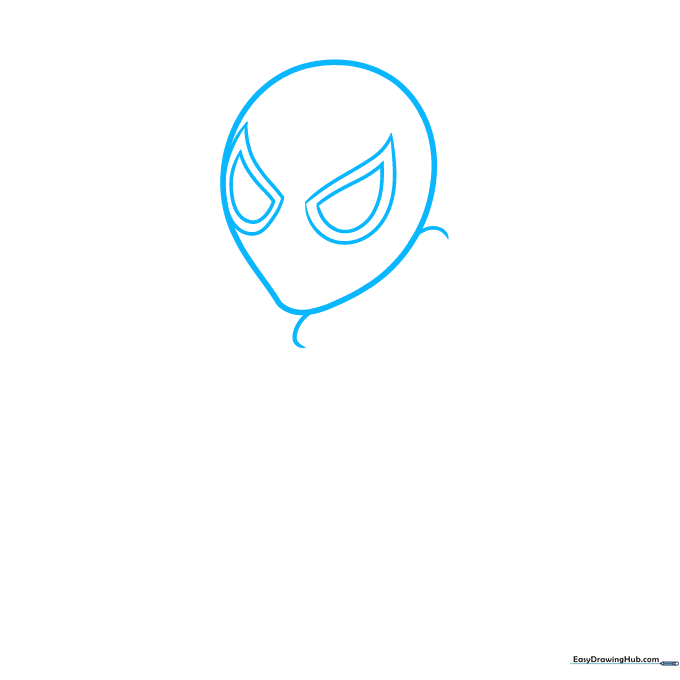
Draw a rounded oval with a slightly narrower bottom to form the chin. Add two large, angular eye shapes with deep curves. Teacher's Tip: Keep the eyes symmetrical to give your Spider-Man that classic heroic look.
Step 2: Outlining the Torso and Arms
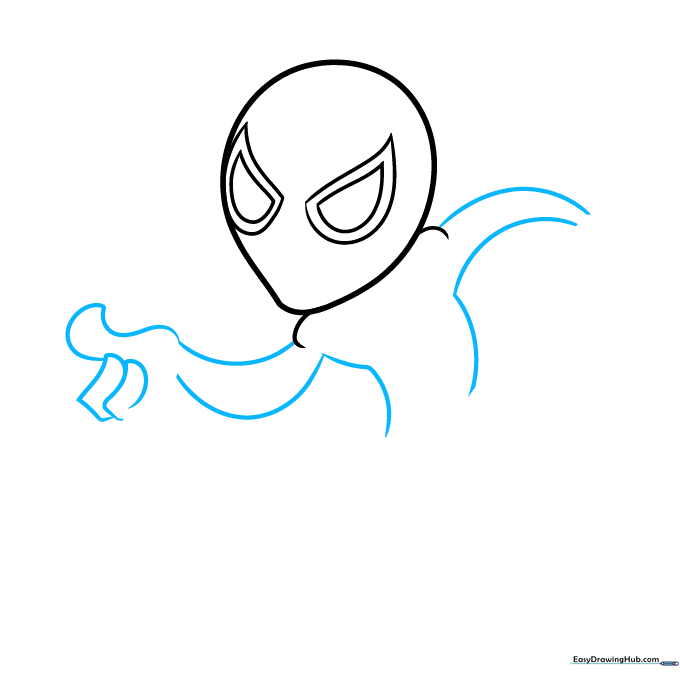
Use simple, curved 'banana' shapes to map out the arms and torso. Keep the lines fluid to suggest movement. Teacher's Tip: Don't press too hard; these are just your guide shapes for the pose.
Step 3: Drawing the Hands
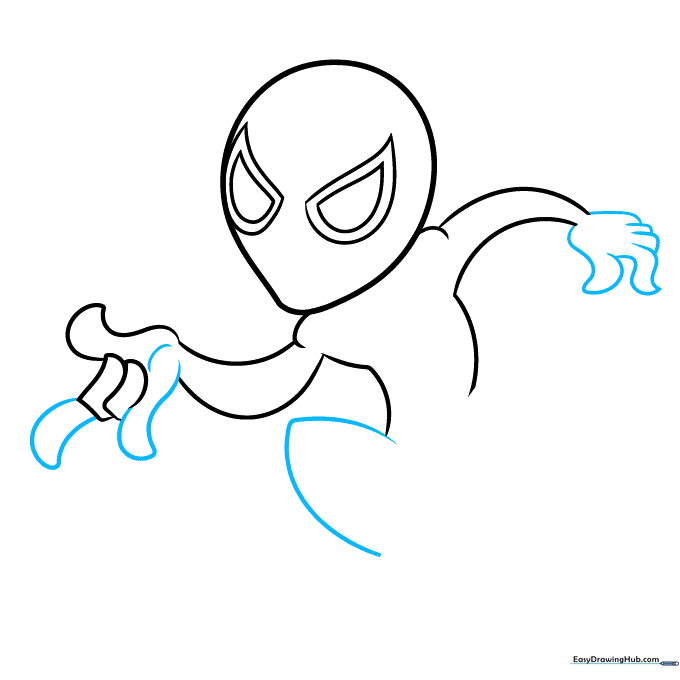
Add the fingers using rounded, overlapping shapes. Ensure the thumb is positioned correctly for a dynamic action pose. Teacher's Tip: Think of the fingers as small, soft sausages to keep them looking cartoonish and friendly.
Step 4: Mapping the Legs
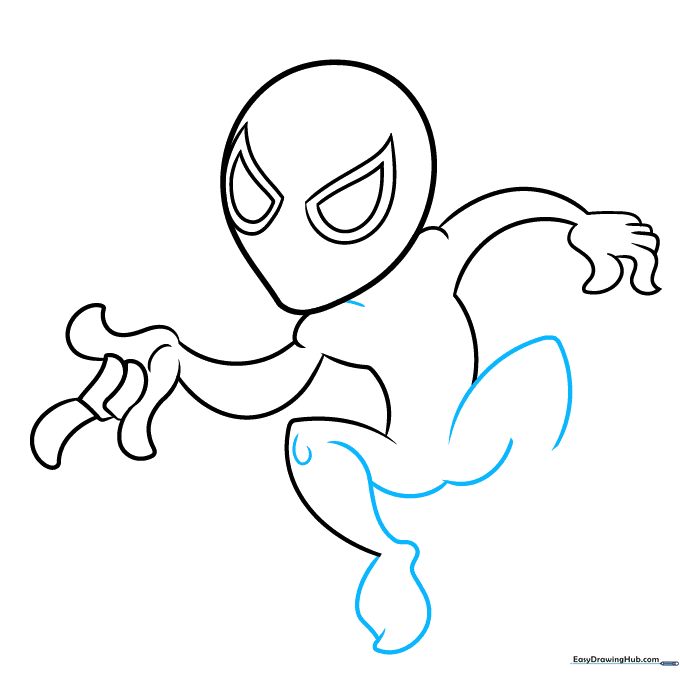
Sketch the knees and lower legs using semi-football shapes. Connect them with smooth, flowing curves to create the crouched stance. Teacher's Tip: Use a light touch to ensure the legs look proportional to the body.
Step 5: Refining the Feet
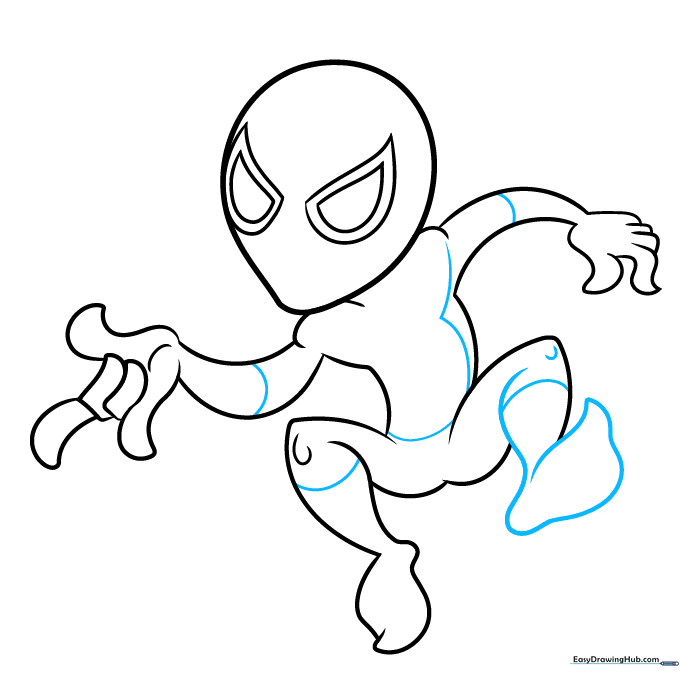
Define the feet with triangular shapes for the toes and rounded ovals for the heels. Add curved lines across the body to suggest muscle definition. Teacher's Tip: Keep the foot shapes simple; they don't need to be anatomically perfect for a cartoon style.
Step 6: Adding the Chest Emblem
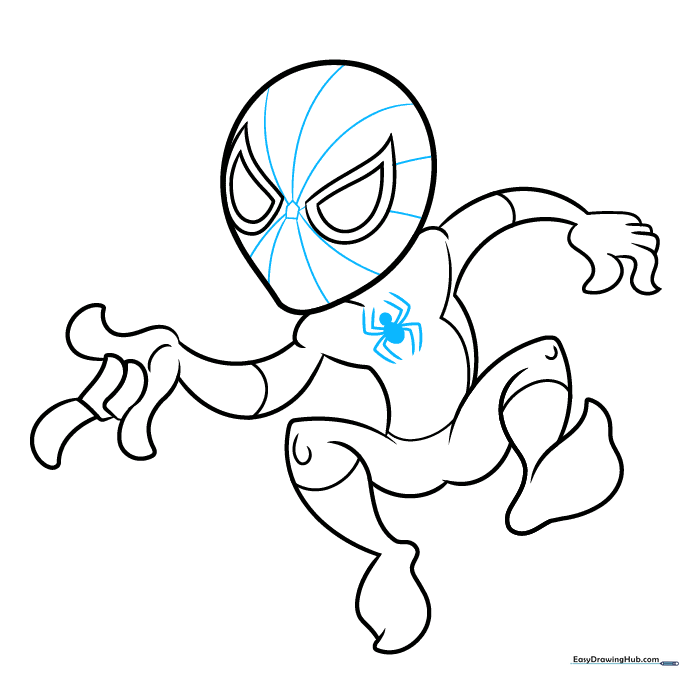
Draw a small pentagon shape on the chest, then add the spider legs using simple, sharp diagonal lines. Teacher's Tip: Make sure the spider is centered so the character looks balanced.
Step 7: Creating the Web Pattern
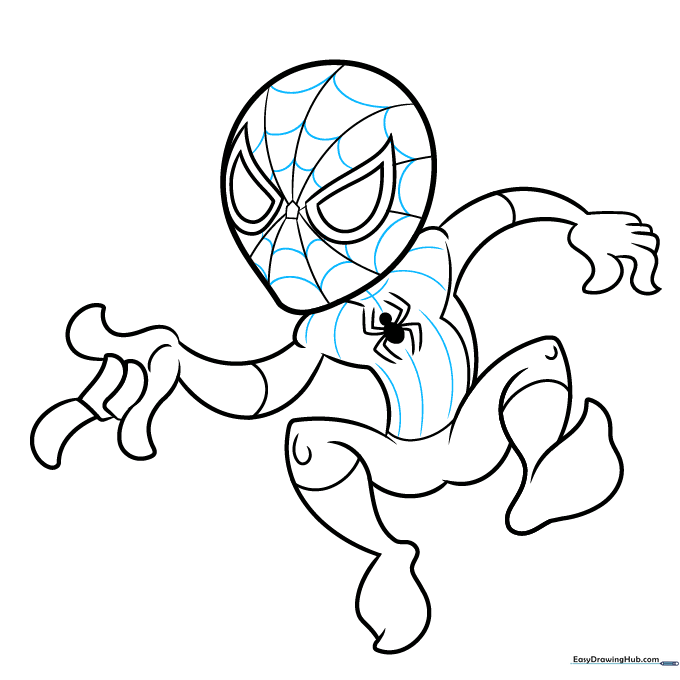
Draw curved lines across the mask to create the web effect. Add small horizontal and vertical dashes to the suit areas. Teacher's Tip: Start from the center of the face and work your way out to keep the web pattern even.
Step 8: Detailing the Suit

Continue the web pattern down the arms and legs. Be careful not to draw over the spider emblem on the chest. Teacher's Tip: Use a lighter pencil pressure for these details so they don't overwhelm the main outline.
Step 9: Final Inking and Cleanup
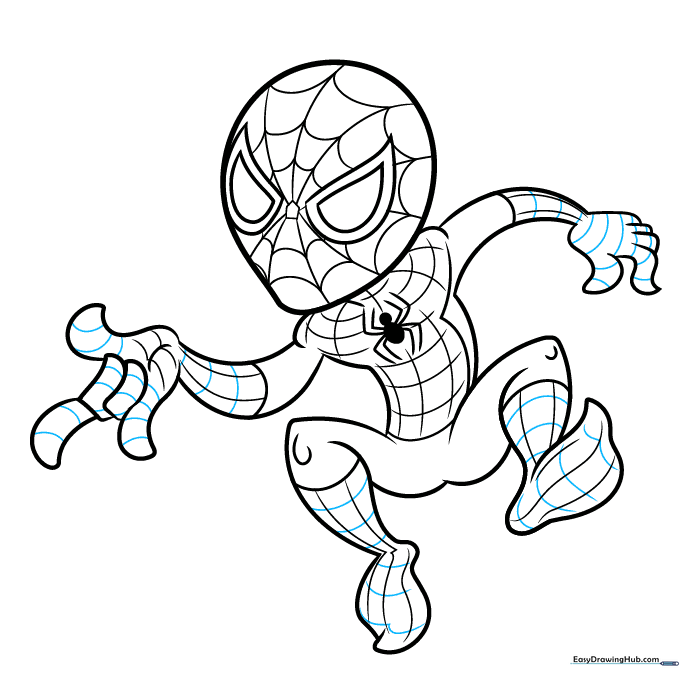
Use a black fine-liner to trace your final lines. Once the ink is dry, erase your pencil marks. Teacher's Tip: Use thinner lines for the web details to make the main character outline pop.
Step 10: Adding Color
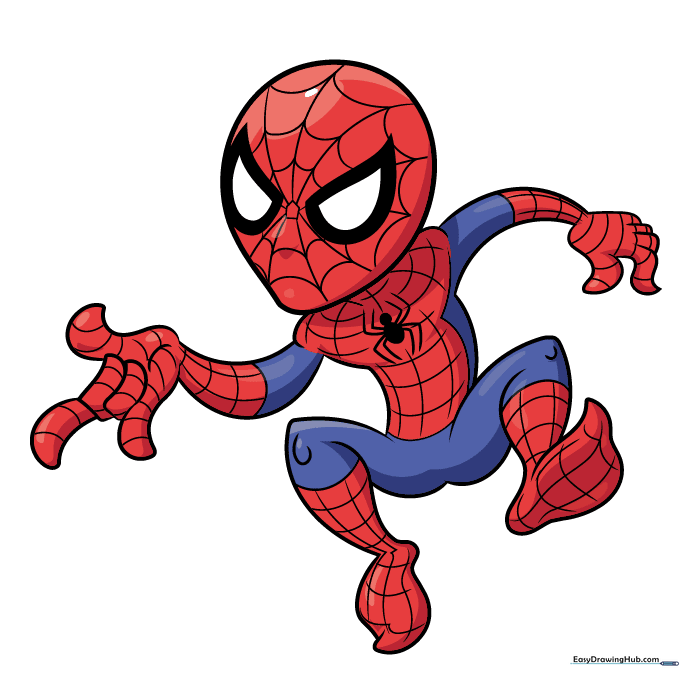
Color the area around the eyes black, then use vibrant reds and blues for the suit. Add a small white highlight on the head for a polished look. Teacher's Tip: Use a light touch with your red pencil to allow for layering and shading.
More Tutorials


