How to Draw a Cartoon Spaceship: Easy 10-Step Guide
Blast off into creativity with this simple spaceship drawing guide, designed specifically for young artists ages 5 and up. All you need is a pencil, an eraser, and a sheet of paper to build your own cosmic explorer. Follow these steps to master basic shapes and bring your very own rocket ship to life.
🎯 Final Result

Step-by-Step Instructions
Step 1: Sketching the Nose Cone and Body
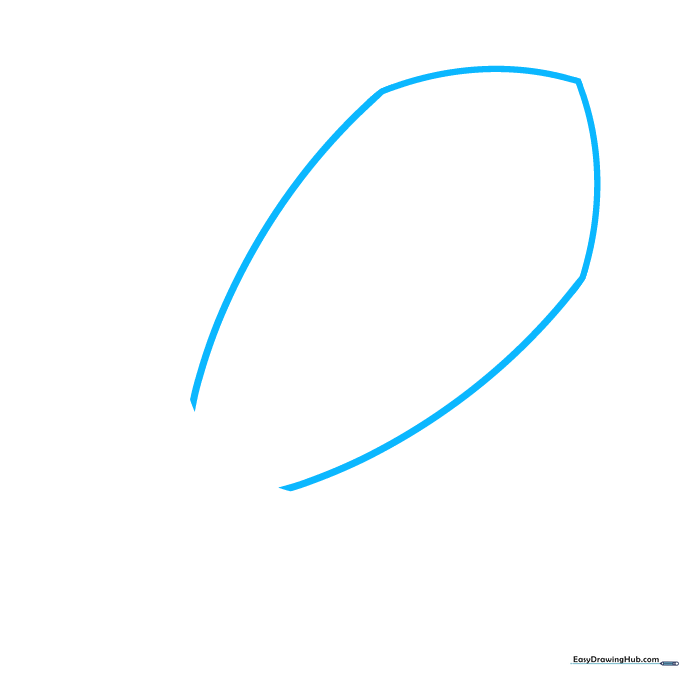
Start by drawing a series of curved lines to form an irregular, open pentagon shape. The top two lines create the nose cone, while the bottom lines form the fuselage. Teacher's Tip: Keep your pencil pressure light so you can easily adjust the shape if it looks a bit wobbly.
Step 2: Defining the Base and Fins
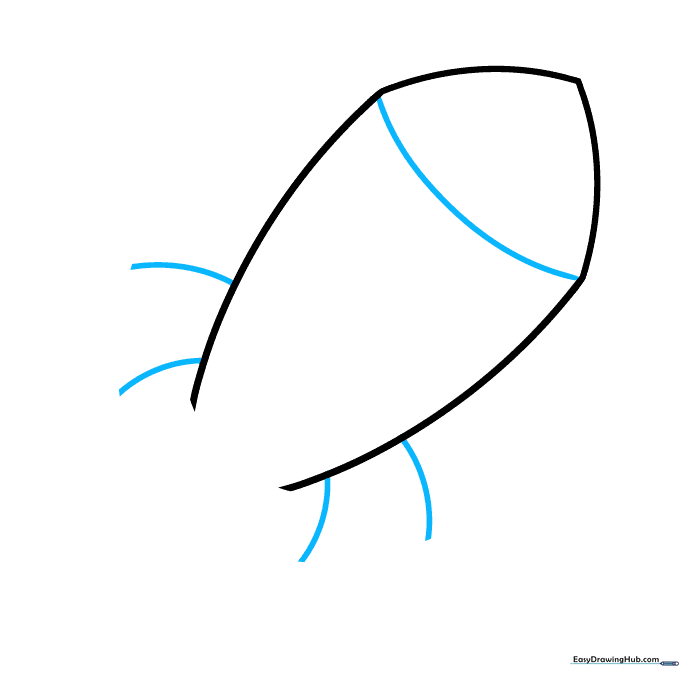
Draw a curved line across the bottom of the nose cone to close the shape. Then, extend two pairs of curved lines from the sides of the body to start your fins. Teacher's Tip: Make sure the fin lines are symmetrical to help your spaceship look balanced and aerodynamic.
Step 3: Shaping the Stabilizer Fins
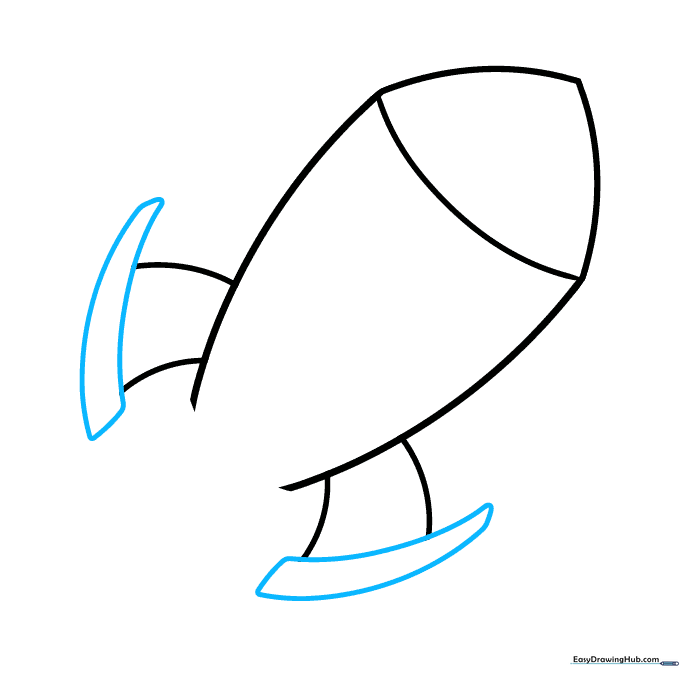
Enclose a curved parallelogram shape at the end of each fin guideline. This gives your spaceship its signature look. Teacher's Tip: Think of these as triangles with rounded corners to keep the cartoon style consistent.
Step 4: Adding Depth and Engine Details
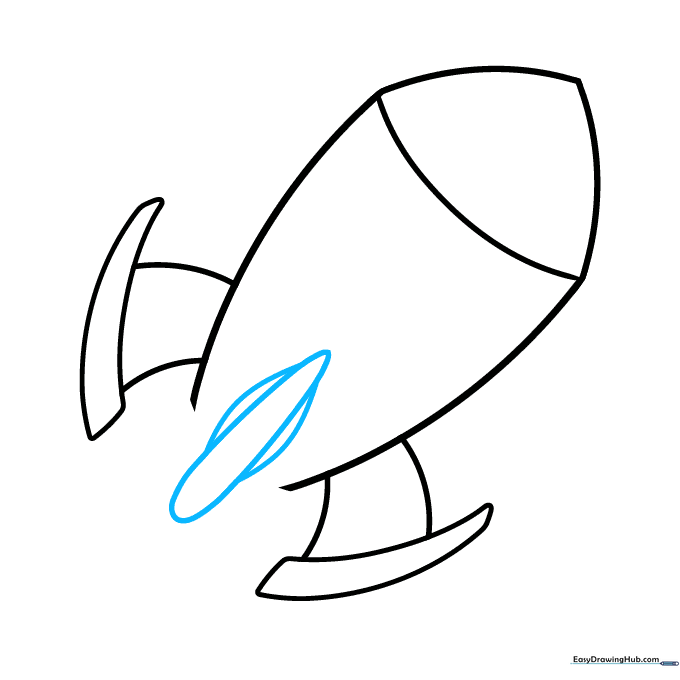
Draw a third fin at a different angle for perspective. Between the main fins, draw a long teardrop shape for the engine, flanked by two smaller curved shapes. Teacher's Tip: Use smooth, fluid motions for the teardrop to make it look like a sleek engine component.
Step 5: Adding the Viewport Window
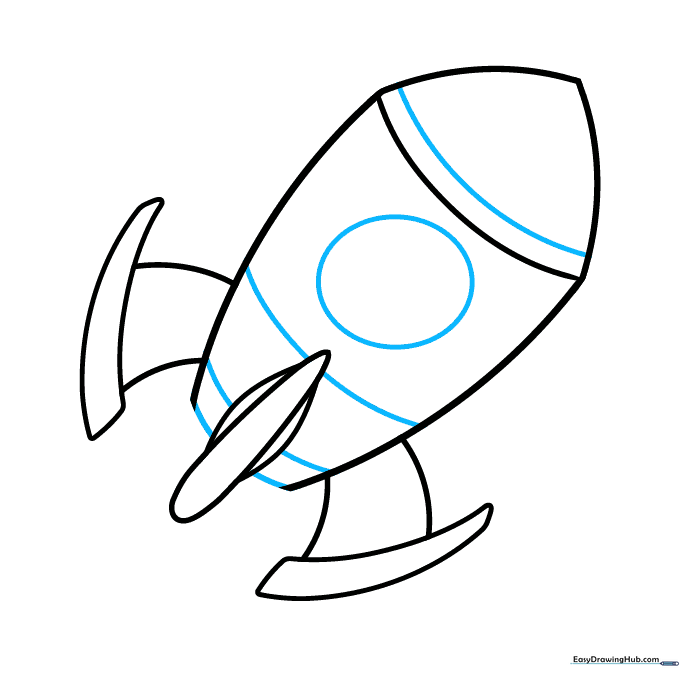
Add horizontal curved lines across the nose and body to define the structure. Then, draw a circle on the side of the fuselage for the portal window. Teacher's Tip: Use a circular object like a bottle cap if you find it tricky to draw a perfect circle freehand!
Step 6: Refining the Window and Adding Bolts
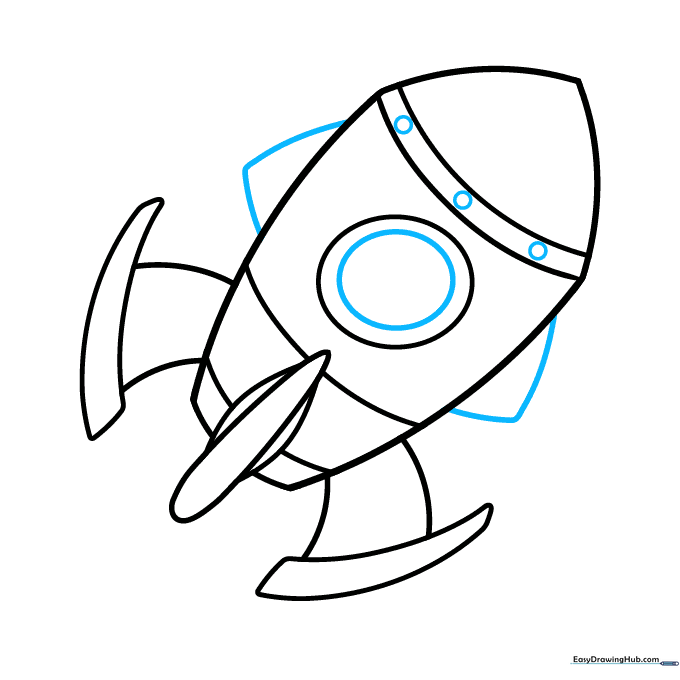
Draw a smaller circle inside the first to create the window frame. Add rounded triangles to the sides of the body and small circles along the nose cone to represent bolts. Teacher's Tip: Varying the size of your circles adds a professional, mechanical look to your drawing.
Step 7: Starting the Rocket Flames
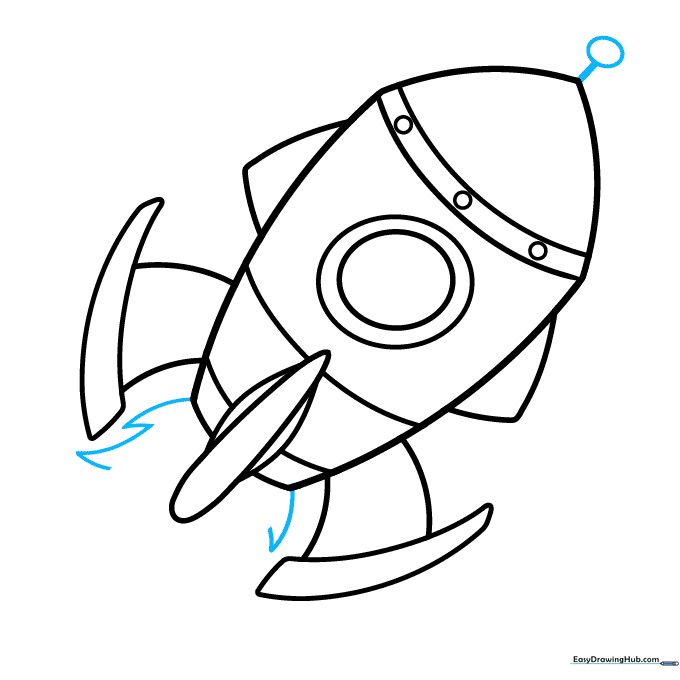
Draw a small antenna on the nose cone. Then, begin the flames at the bottom using jagged, uneven lines. Teacher's Tip: Flames are organic, so don't worry about making them perfectly symmetrical—the more jagged, the more energetic they look!
Step 8: Expanding the Blast
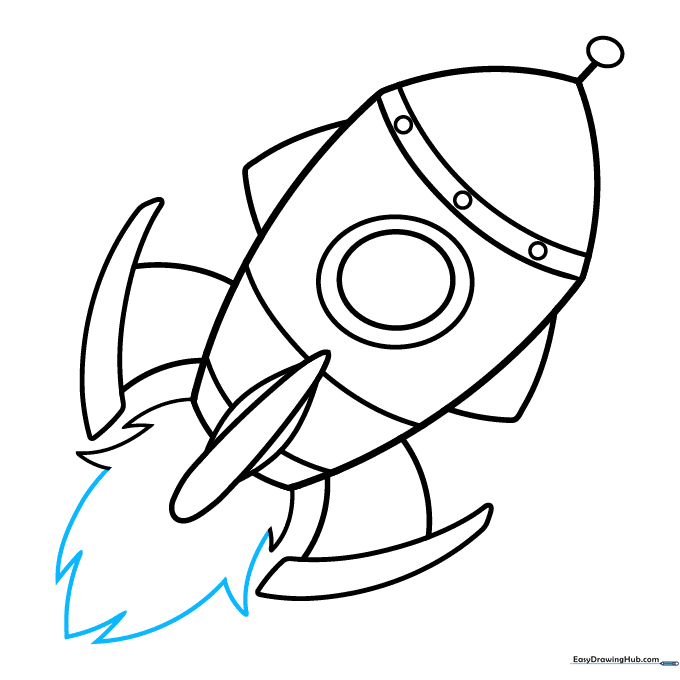
Continue enclosing the fire shapes using curved lines that meet at sharp points. Teacher's Tip: Imagine the fire is pushing the rocket upward; draw the lines pointing away from the engine.
Step 9: Adding Detail to the Flames
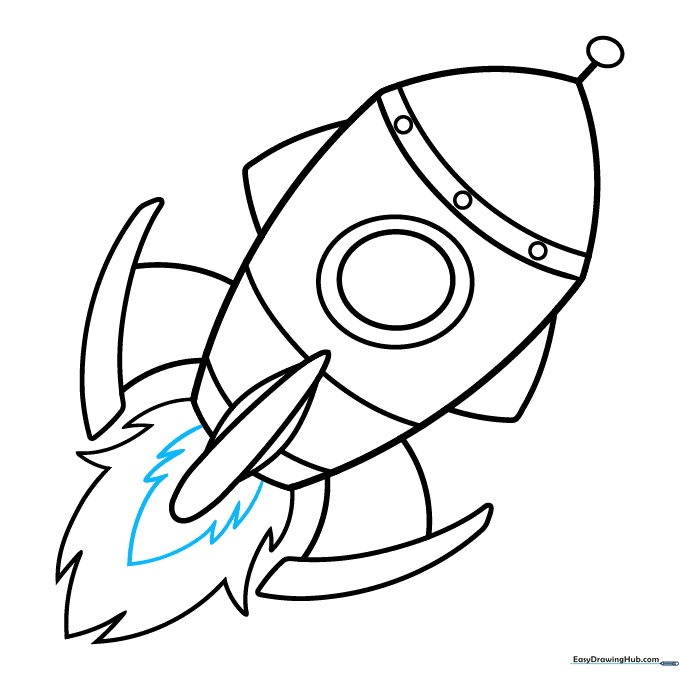
Draw a second, smaller layer of flame inside the first to create a sense of heat and intensity. Teacher's Tip: Use shorter, sharper strokes for this inner layer to make the fire look hotter.
Step 10: Bringing It to Life with Color

Your outline is complete! Now, add your favorite colors. We used classic silver, red, and blue for a retro sci-fi look, with bright yellow and orange for the flames. Teacher's Tip: Use markers for bold lines or colored pencils for a softer, blended effect.
More Tutorials


