How to Draw a Cartoon Snail: Easy 9-Step Guide
Looking for a fun, screen-free activity for your little artist? This cartoon snail tutorial is perfect for children ages 5 and up. All you need is a pencil, an eraser, and a piece of paper to bring this friendly garden creature to life.
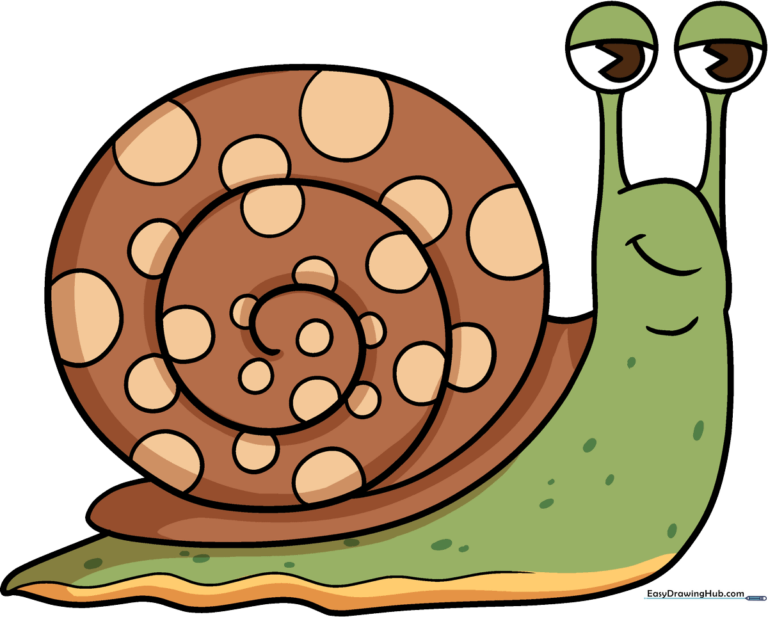
🎯 Final Result
Step-by-Step Instructions
Step 1: Sketching the Eyes
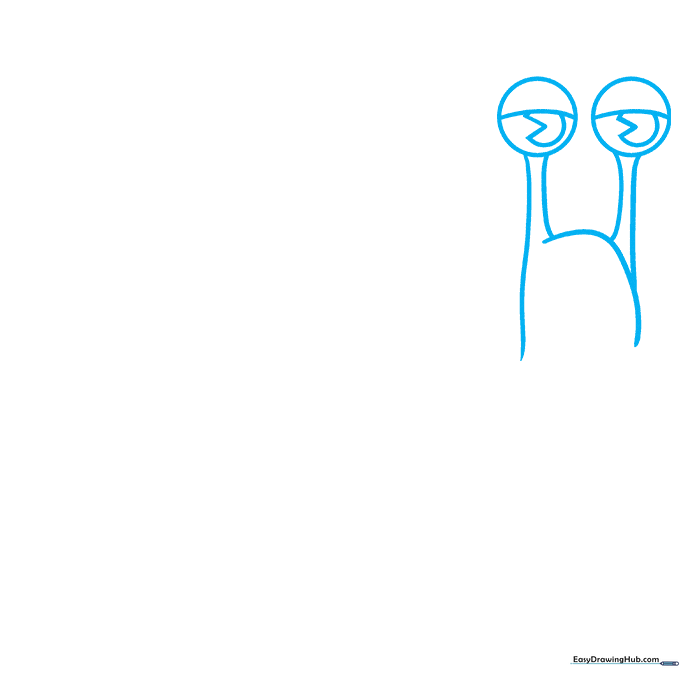
Draw two circles for the eyes. Inside each, add a small 'Pacman' shape for the pupil. Teacher's Tip: Keep these circles small and close together to give your snail a curious, friendly expression.
Step 2: Defining the Foot

Extend two curved lines downward from the eyes to form the neck. Then, draw a long, wavy line at the bottom to create the snail's foot. Tip: Use a fluid, continuous motion to make the foot look smooth and 'slimy'.
Step 3: Adding the Smile

Draw a parallel wavy line to complete the foot's thickness. Add a curved line for the mouth and a small chin line. Tip: A slightly upturned mouth makes your snail look happy and approachable.
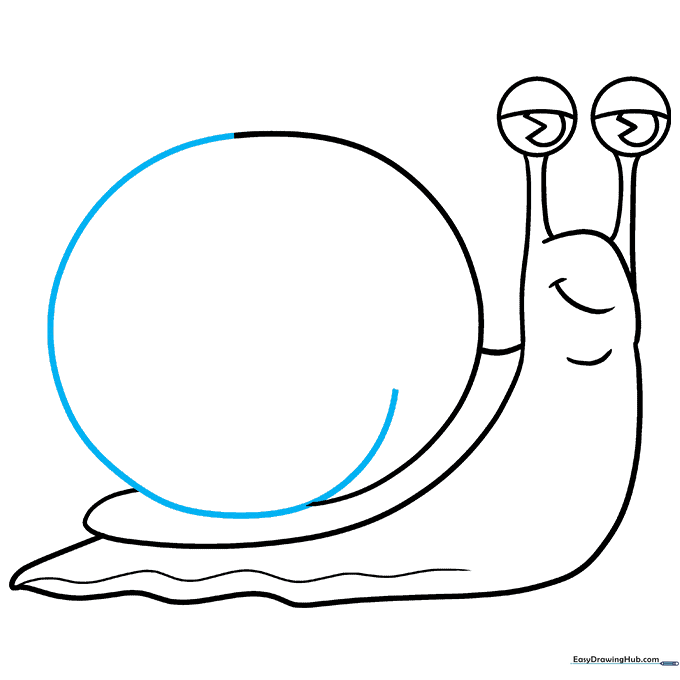
Step 4: Starting the Shell

Draw a long curved line from the back of the head, looping it back to form the base of the shell. Connect the tail of the foot to this shell base. Tip: Ensure the shell base is wide enough to look sturdy.
Step 5: The Shell Spiral

Draw a large 'C' shaped line to begin the spiral of the shell. Connect it to the head with a short, clean line. Tip: Keep this line light so you can adjust the curve if needed.
Step 6: Closing the Spiral
Continue the shell line to close the circle, then extend it inward to start the spiral pattern. Tip: Imagine you are drawing a coiled rope to get the right shape.
Step 7: Refining the Spiral
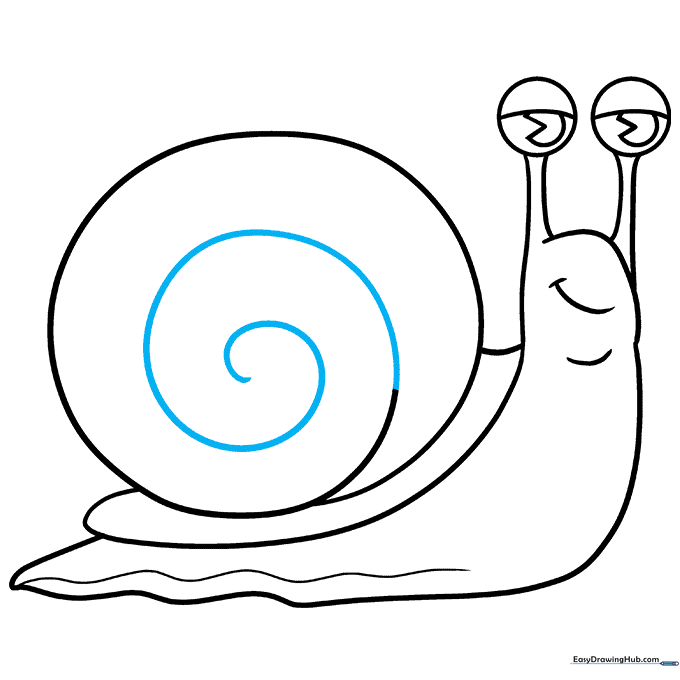
Keep drawing the spiral line inward toward the center. Tip: Don't rush this part; slow, steady strokes make for a much cleaner spiral.
Step 8: Adding Shell Details
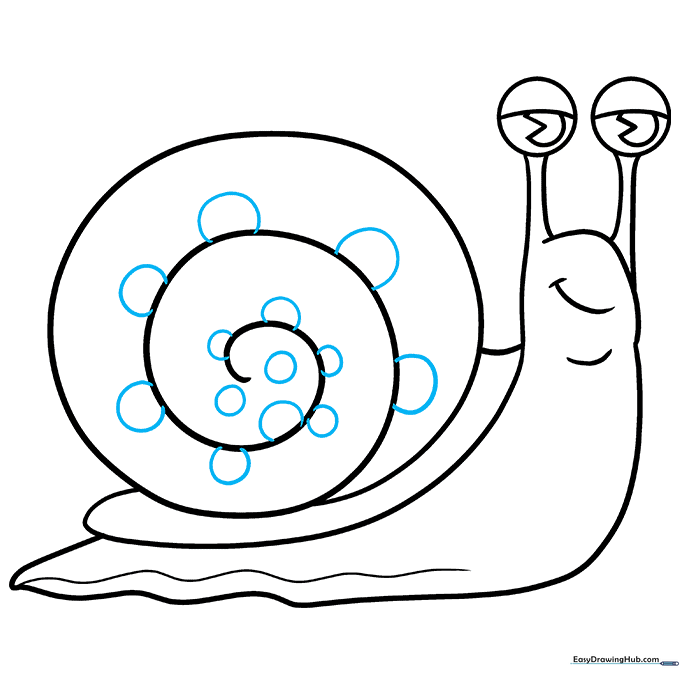
Draw small, partial circles along the spiral line. Notice how they get smaller as they move toward the center. Tip: These circles represent the texture of the shell.
Step 9: Final Touches
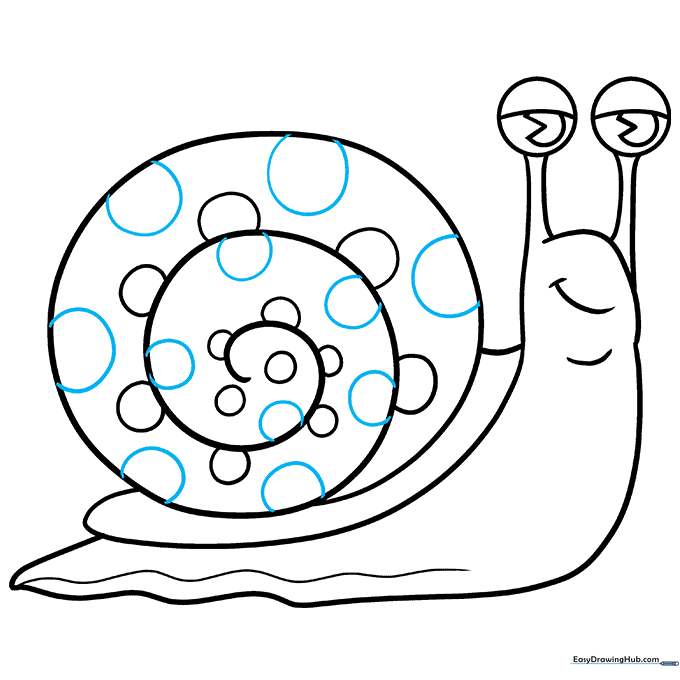
Fill the rest of the shell with circular spots. Now you're ready to color! Tip: Use bright, contrasting colors like green and tan to make your snail pop off the page.
Step 10: Coloring Your Snail
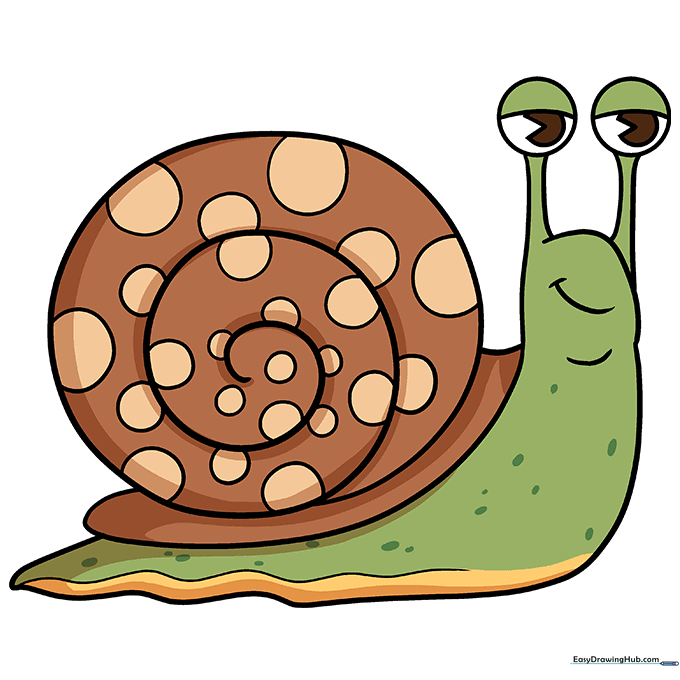
While garden snails are often brown, feel free to get creative! Use vivid colors for a fantasy snail or natural tones for a realistic look. Tip: Use light pressure with your colored pencils to create soft shading.
More Tutorials


