How to Draw a Cartoon Skull: Easy 10-Step Guide
Ready to add a spooky touch to your sketchbook? This tutorial is perfect for artists ages 6 and up. All you need is a pencil, an eraser, and a piece of paper to bring this friendly cartoon skull to life.
🎯 Final Result

Step-by-Step Instructions
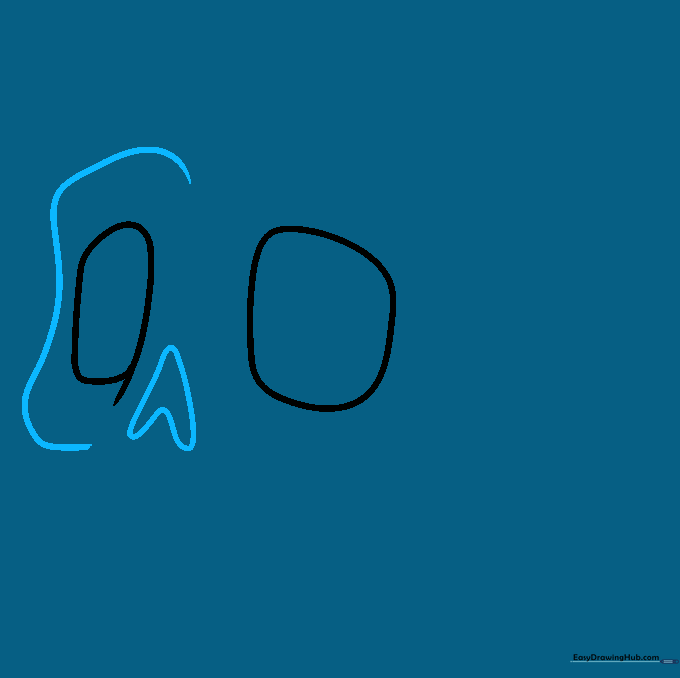
Step 1: Sketching the Eye Sockets

Draw two rounded rectangles to form the eye sockets. Teacher's Tip: Keep your pencil lines light so you can easily adjust the spacing if they look a bit uneven.
Step 2: Defining the Cheek and Nose
Draw a curved line for the cheekbone and an inverted 'V' shape in the center for the nasal cavity. Teacher's Tip: Think of the nose shape like a small, upside-down triangle with soft edges.
Step 3: Refining the Eye Area

Add a curved line above and below the eye socket to give it depth. Teacher's Tip: These extra lines make the skull look more 3D and less flat on the page.
Step 4: Starting the Top Teeth
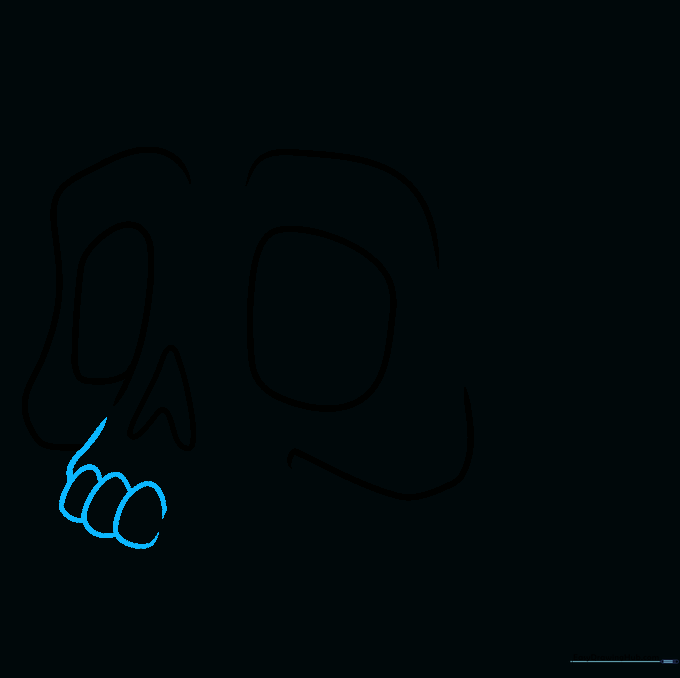
Draw the side of the jaw and use overlapping 'C' shapes to create the top row of teeth. Teacher's Tip: Don't worry about making them perfect; cartoon teeth look great when they are a little wiggly!
Step 5: Completing the Upper Jaw
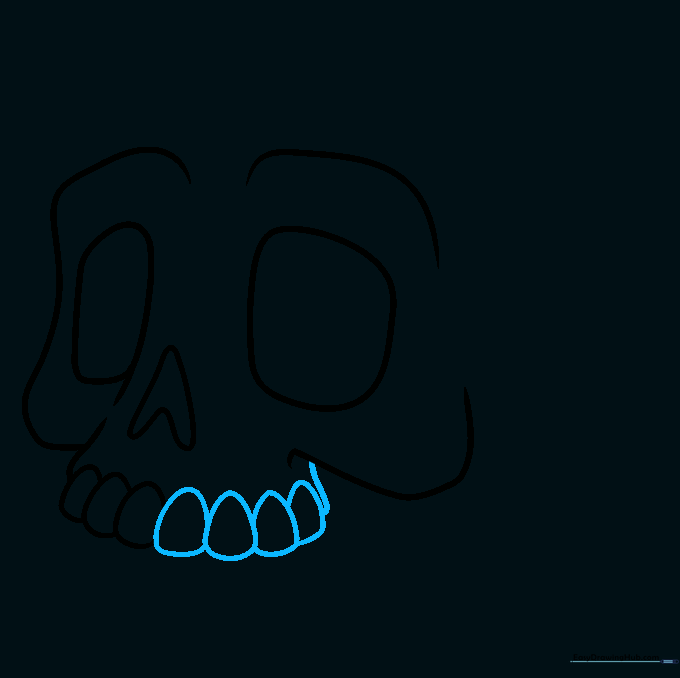
Finish the row of teeth and close the other side of the jaw with a smooth, curved line. Teacher's Tip: Ensure the jawline connects naturally to the cheekbone area you drew earlier.
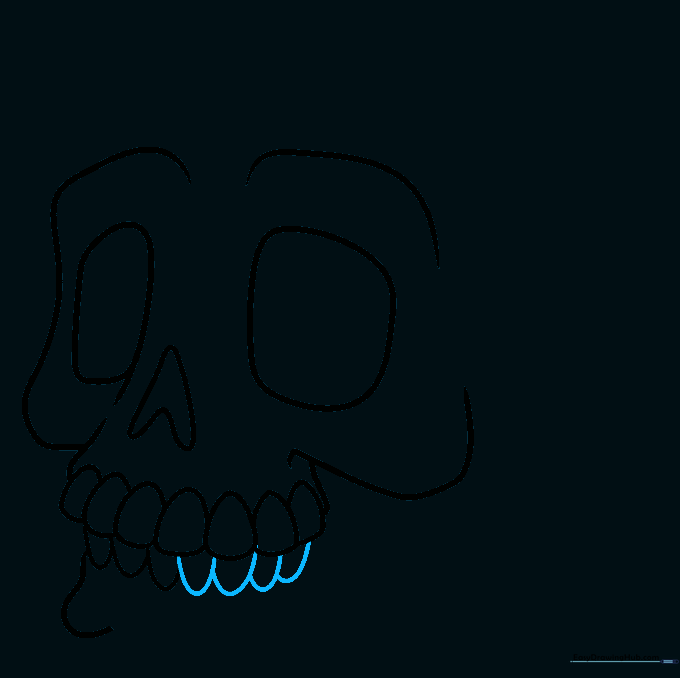
Step 6: Drawing the Lower Jaw
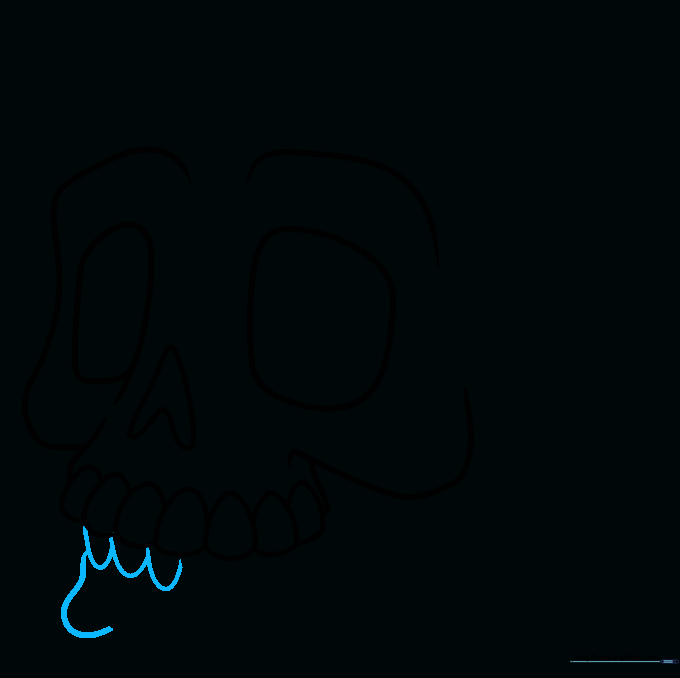
Use 'U' shaped lines to create the bottom teeth and start the outline of the lower jaw. Teacher's Tip: Keep your U-shapes consistent in size to make the teeth look uniform.
Step 7: Matching the Teeth
Continue adding 'U' shaped teeth along the bottom jaw, aligning them with the teeth above. Teacher's Tip: Take your time here—this is where the skull starts to look really expressive!
Step 8: Finalizing the Jaw
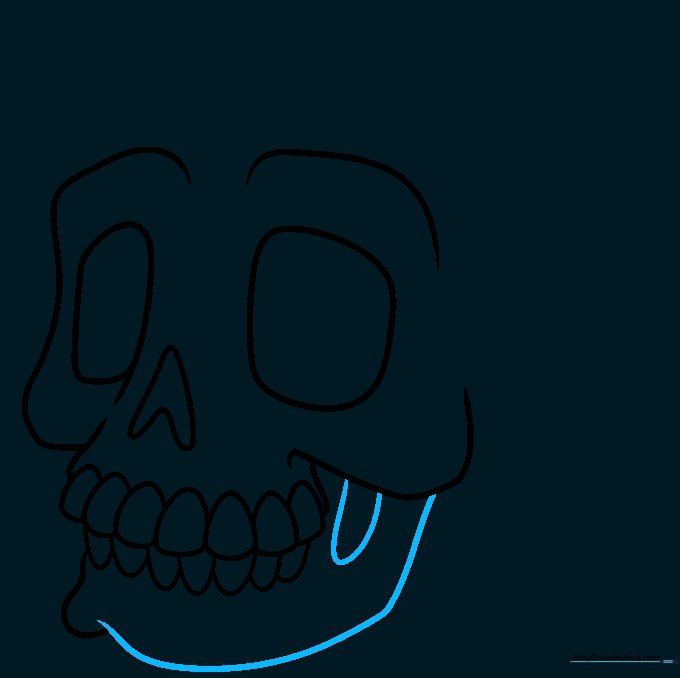
Close the jawbone with a long, sweeping curved line and add a 'U' shape to define the mouth opening. Teacher's Tip: A bold, dark line here helps separate the top and bottom of the skull.
Step 9: Adding Final Contours
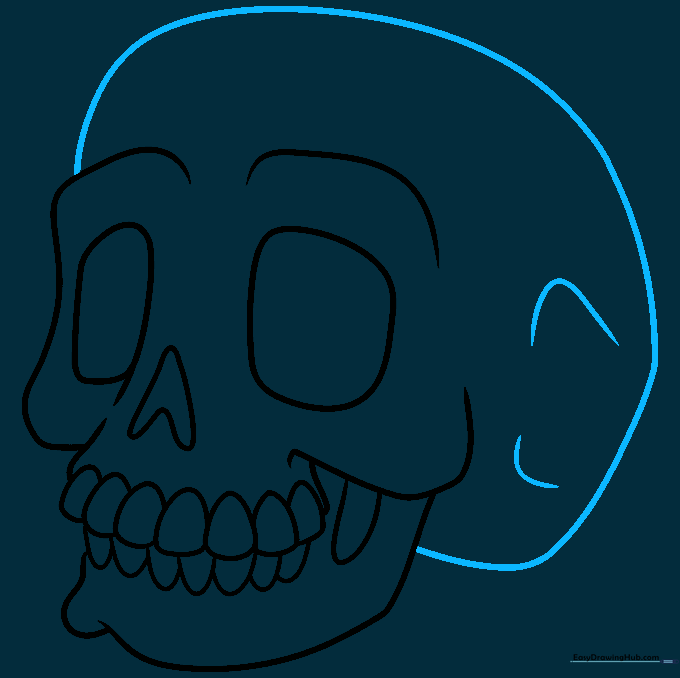
Draw a long curve from the eye to the jaw and add small lines for the sphenoid bone. Teacher's Tip: These details add character and make your drawing look like a professional cartoon.
Step 10: Bringing it to Life with Color
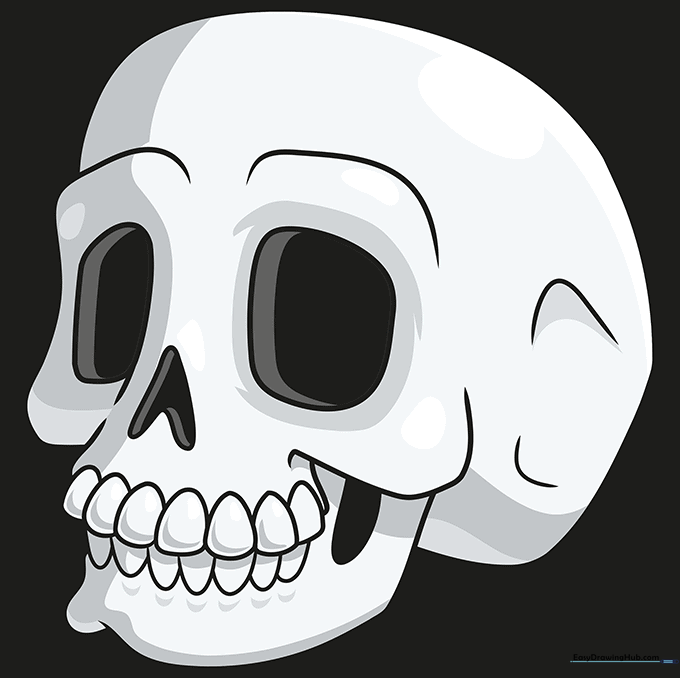
Time to color! Use off-white or light grey for the bones to give it a realistic, aged look. Teacher's Tip: Use a darker grey or black for the eye sockets and nose to make them pop!
More Tutorials


