How to Draw a Cartoon Skeleton: Easy Step-by-Step Guide
Ready to bring a spooky-cute character to life? This tutorial is perfect for young artists ages 6+ looking to practice character design. All you need is a pencil, an eraser, and a piece of paper to master this fun, friendly skeleton.
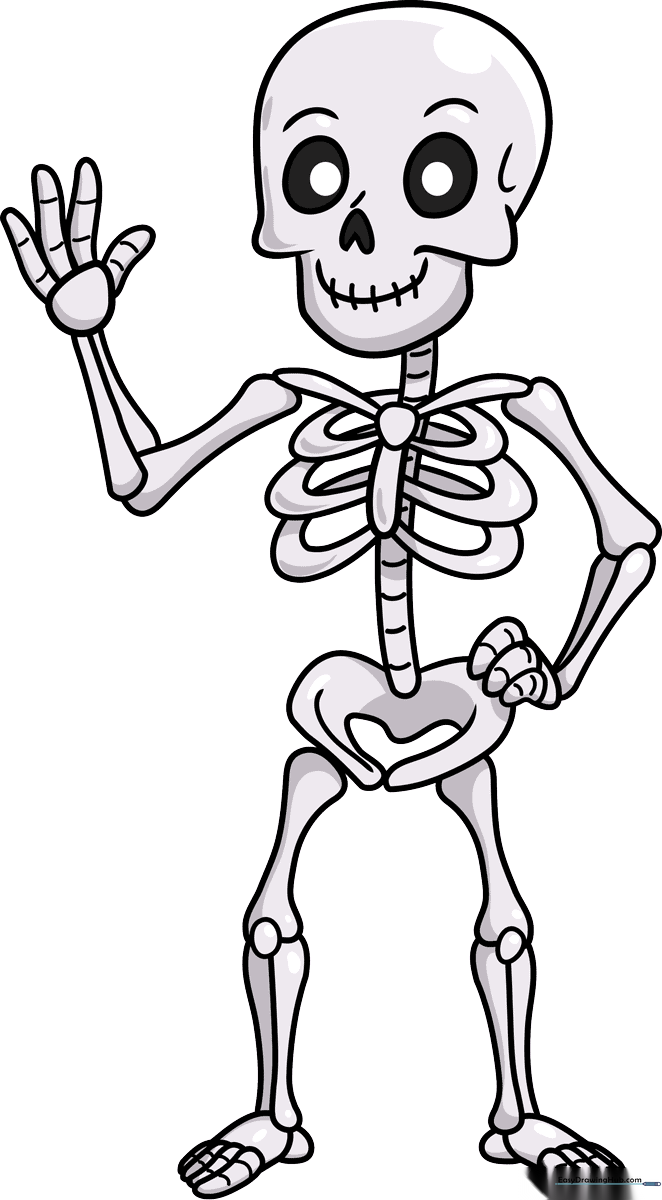
🎯 Final Result
Step-by-Step Instructions
Step 1: Sketching the Skull Base

Start by drawing two light circles near the top of your page for the eye sockets. Add smaller circles inside for pupils, then sketch two curves above for the brow and an upside-down heart for the nose. Teacher's Tip: Keep your pencil pressure light so you can easily erase the guidelines later.
Step 2: Defining the Jaw and Neck
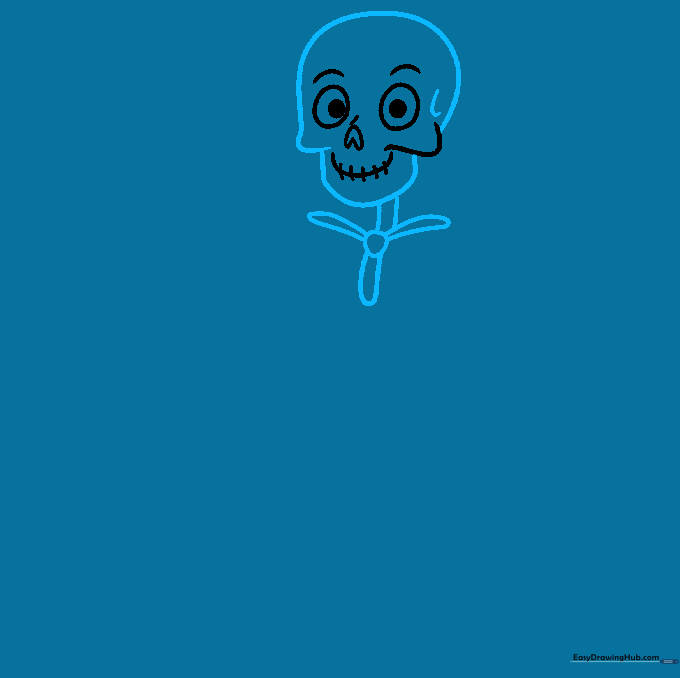
Draw a dome for the top of the skull and an inverted dome for the jaw. Connect them to create a classic cartoon head shape. Below, sketch a small, uneven circle for the neck joint. Tip: Use smooth, continuous strokes to make the skull look rounded rather than jagged.
Step 3: Starting the Left Arm
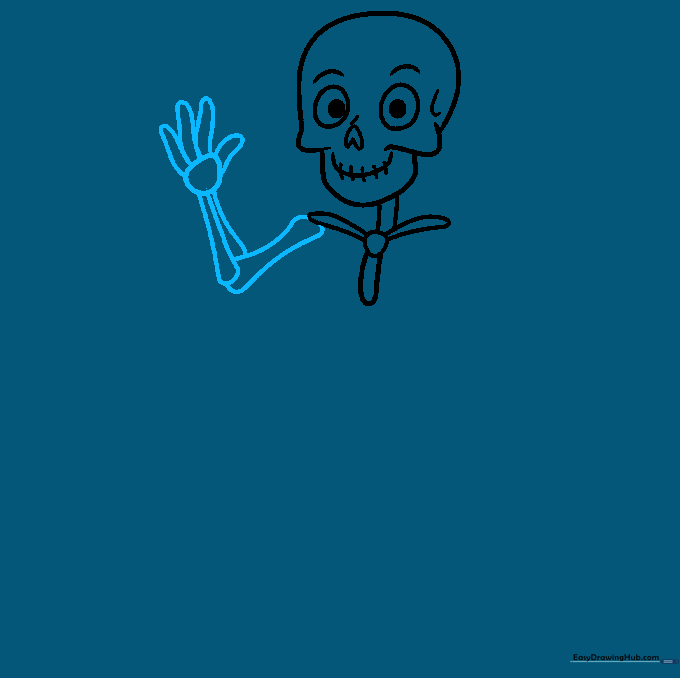
On the left side, draw a half-dome for the shoulder and sausage-like shapes for the fingers. Connect these to the neck with straight lines for the upper arm. Tip: Think of the fingers as small, rounded rectangles to keep them looking like a cartoon.
Step 4: Drawing the Right Arm
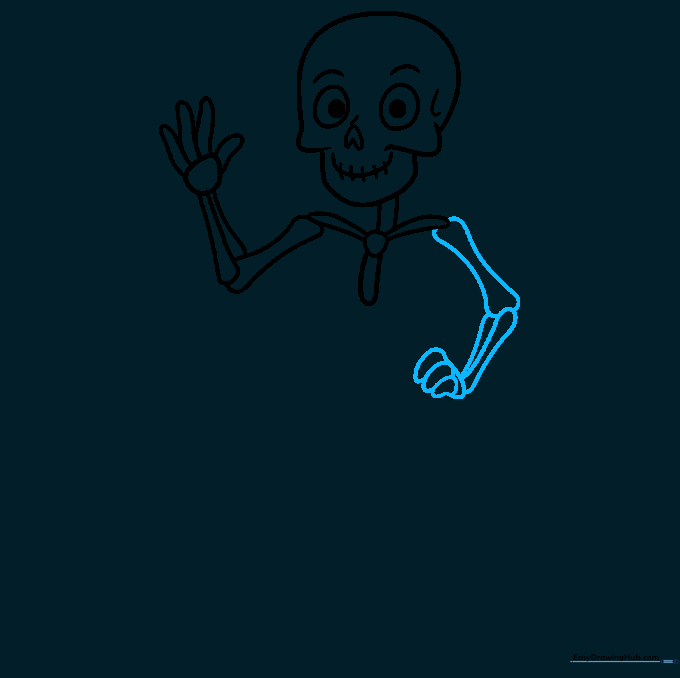
Repeat the process on the right side by drawing parallel lines for the arm and elongated petal shapes for the forearm. Add chunky, overlapping sausage shapes for the fingers. Tip: Vary the length of the fingers slightly to make the hand look more natural.
Step 5: Sketching the Rib Cage
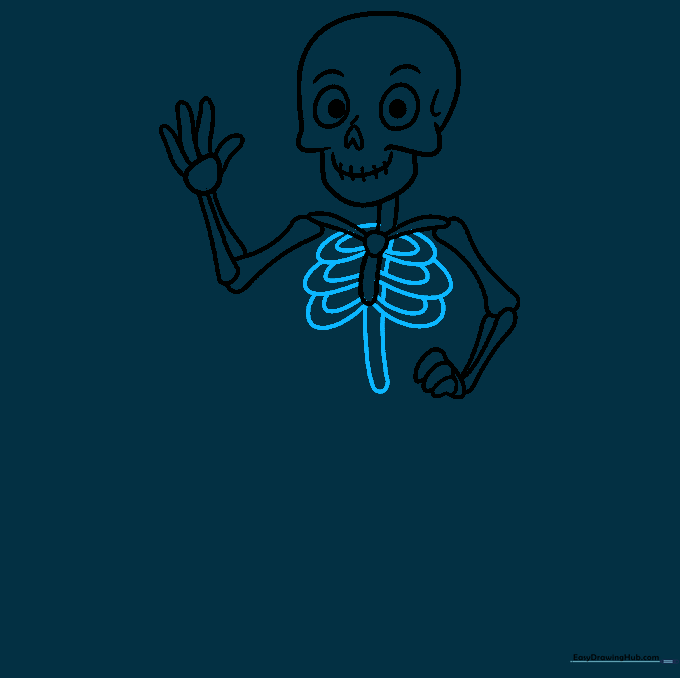
Draw ribbon-like loops to form the rib cage. Place a long, vertical sausage shape behind them to represent the spine. Tip: Ensure the ribs overlap the spine slightly to create a layered, 3D effect.
Step 6: Adding the Pelvis
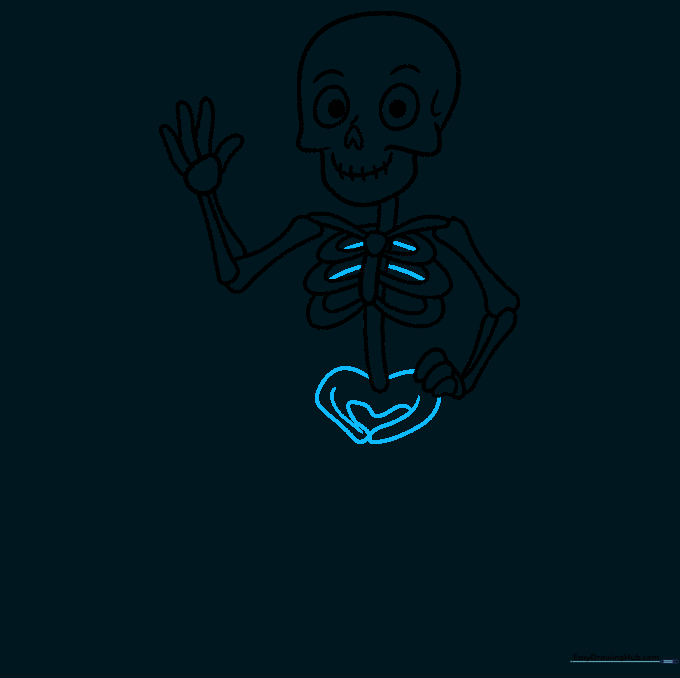
Draw a wide heart shape for the pelvis. Add a smaller heart shape inside to define the bone structure, then add a few extra lines for depth. Tip: Don't worry about perfect symmetry; a slightly organic shape makes the skeleton look more 'cartoonish'.
Step 7: Drawing the Leg Bones
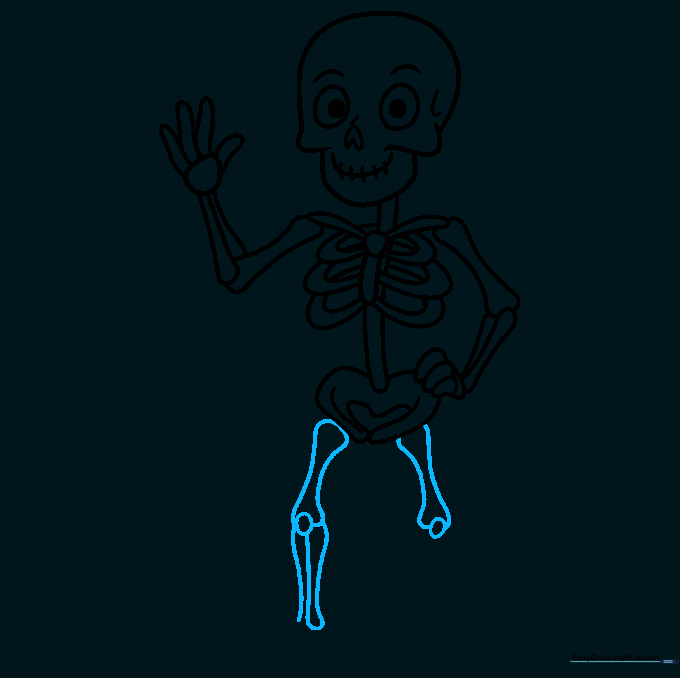
Create the upper leg bones using curved parallel lines. Add a small circle at the joint for the kneecap. Repeat this for the lower leg, adding a center line to show the bone's structure. Tip: Keep the leg bones slightly thicker than the arm bones for a balanced look.
Step 8: Feet and Toes
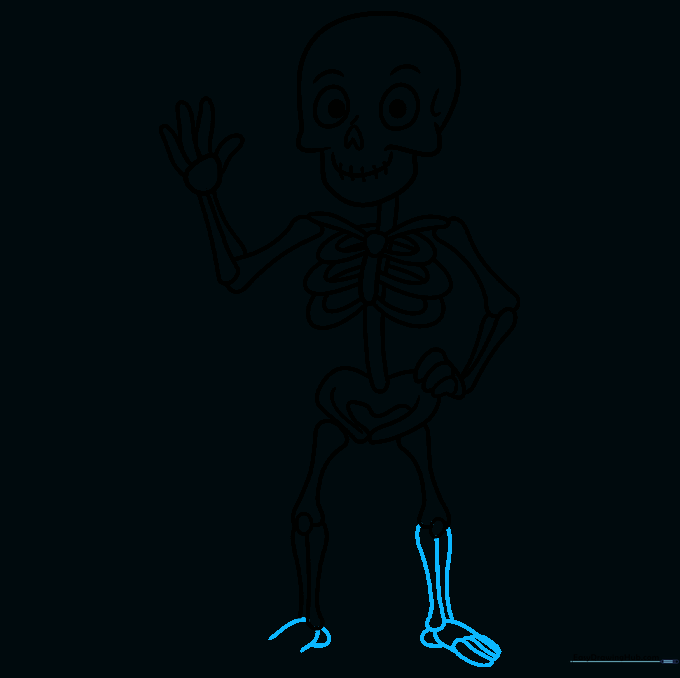
Repeat the leg process for the right side. Add half-oval shapes at the bottom for the feet, and attach overlapping sausage shapes for the toes. Tip: Make the toes slightly rounded to match the style of the fingers.
Step 9: Final Outlines
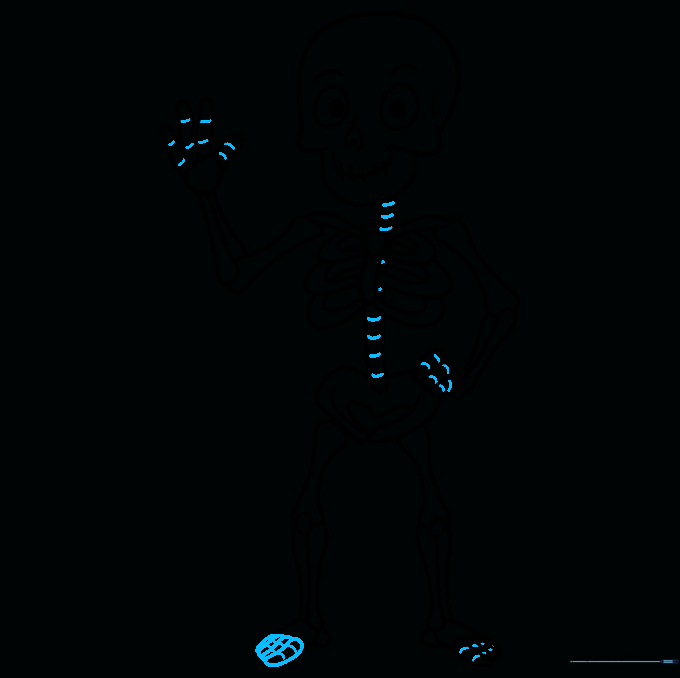
Add final details like curved lines inside the spine and fingers to suggest bone texture. Use a black marker to outline your drawing, then carefully erase your pencil guidelines. Tip: Wait a few seconds for the ink to dry before erasing to avoid smudging!
Step 10: Adding Color
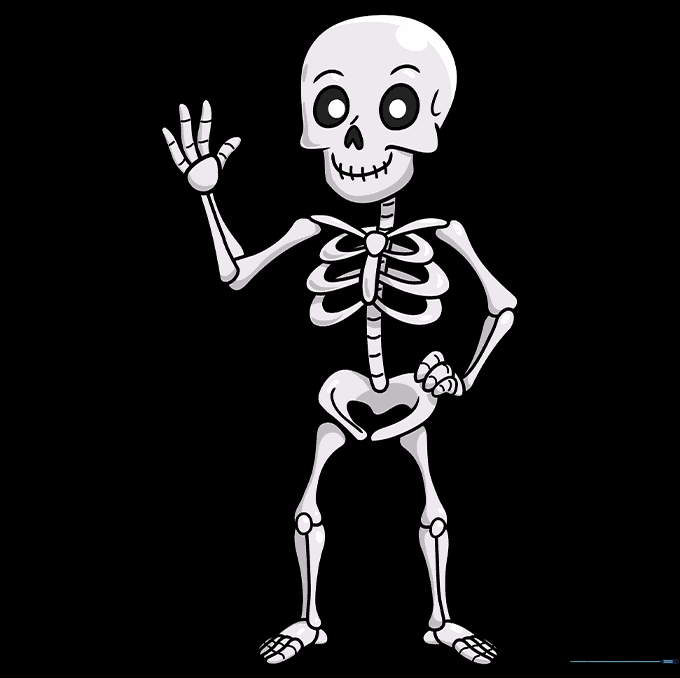
Bring your skeleton to life with color! Use off-white or light grey for the bones to give them a realistic yet cartoonish look. Color the eye sockets and nose black, but leave the pupils white for a friendly expression. Tip: Add a touch of light blue shading on one side of the bones to create a sense of light and shadow.
More Tutorials


