How to Draw a Cartoon Skateboard: Easy 9-Step Guide
Ready to design your own ride? This tutorial is perfect for young artists ages 5 and up who want to learn how to draw a classic skateboard deck with custom flame decals. All you need is a pencil, an eraser, and your favorite markers to bring this design to life.
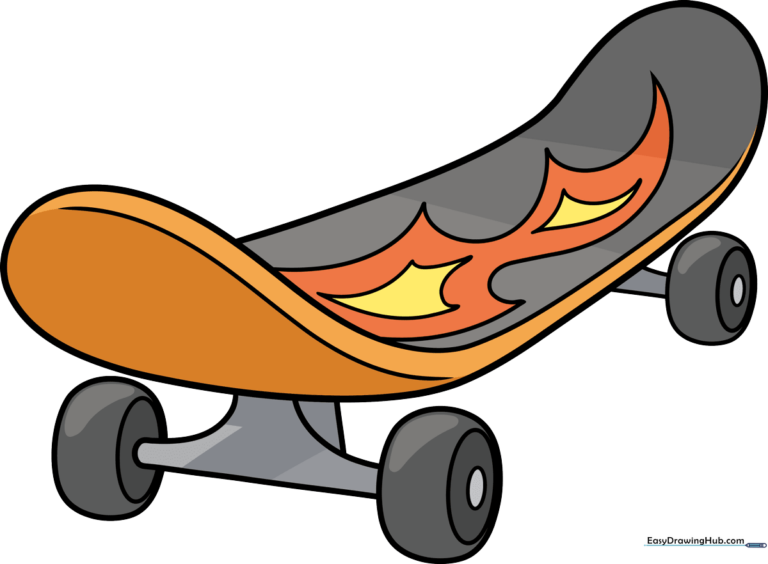
🎯 Final Result
Step-by-Step Instructions
Step 1: Sketching the Deck's Nose
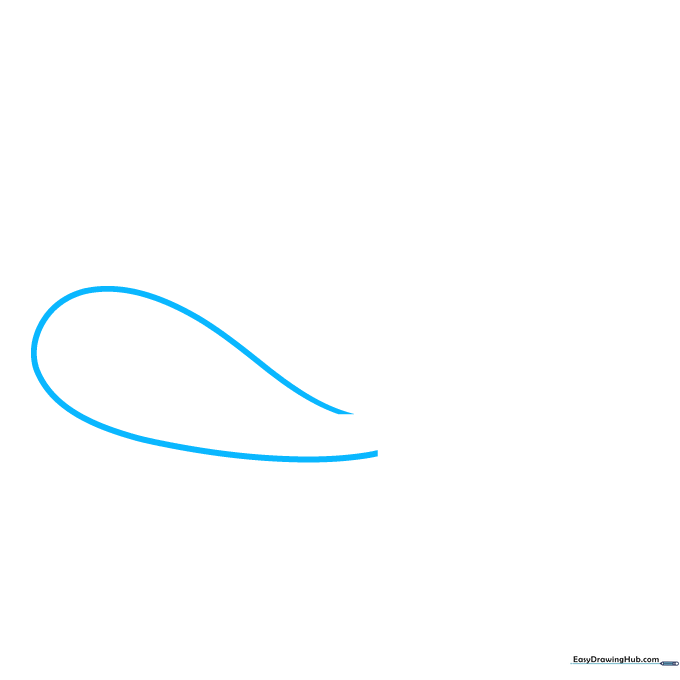
Draw a curved line that loops back on itself to create the upturned nose of the skateboard. Teacher's Tip: Keep this curve gentle—it should look like a soft 'C' shape.
Step 2: Defining the Deck Shape
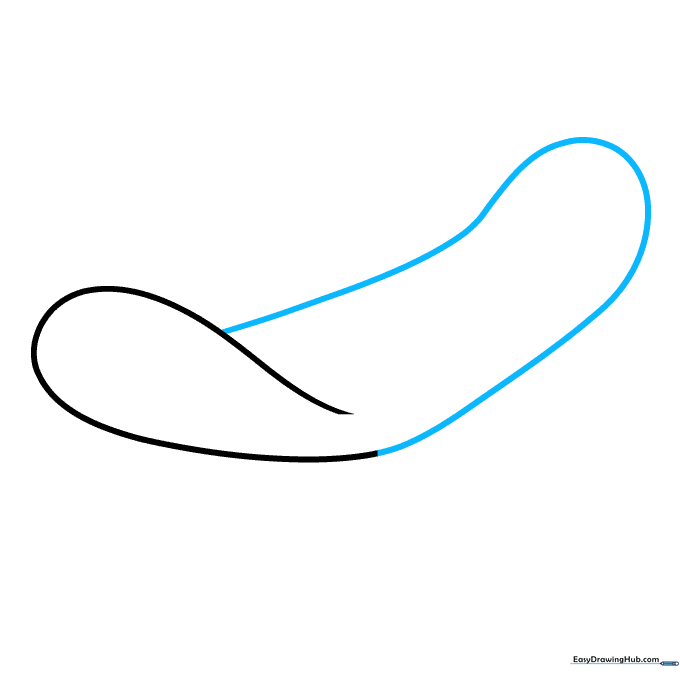
Extend the line and loop it back to close the shape of the deck. Teacher's Tip: Think of this as drawing a long, flattened oval that is slightly bent at the ends.
Step 3: Adding Depth and the First Wheel
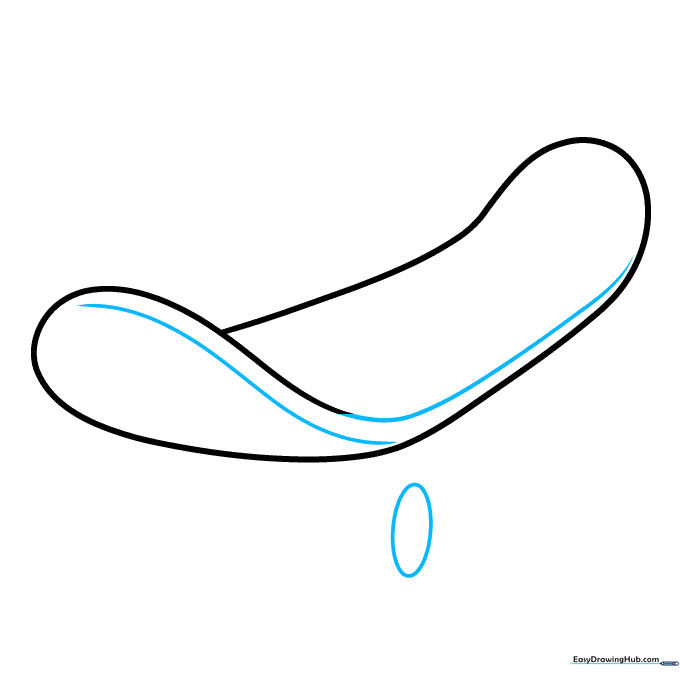
Add a parallel line along the side to give the board thickness. Then, draw a small oval beneath the board for the first wheel. Teacher's Tip: The oval should be narrow to show it's viewed from the side.
Step 4: Detailing the Wheel
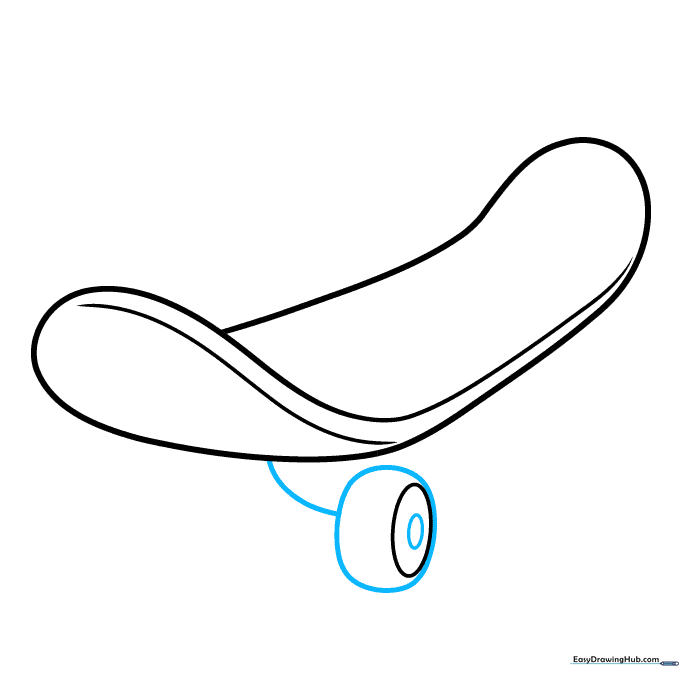
Draw a smaller oval inside the first one, then a larger, slightly flattened oval around it. Connect it to the deck with a short line. Teacher's Tip: This creates the look of a wheel hub and tire.
Step 5: Drawing the Axle (Truck)
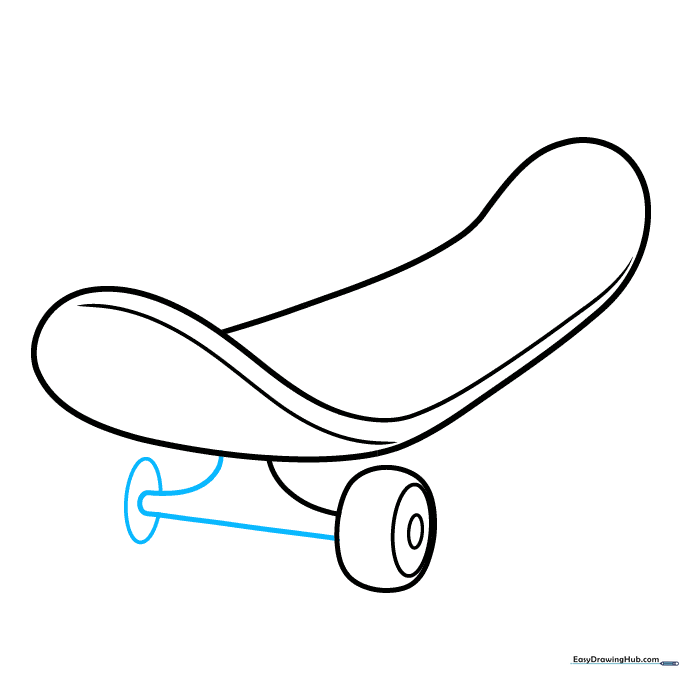
Use curved lines to draw the 'T' shaped truck beneath the board, and add another wheel on the opposite side. Teacher's Tip: Keep your lines smooth to make the metal look solid.
Step 6: Adding More Wheels
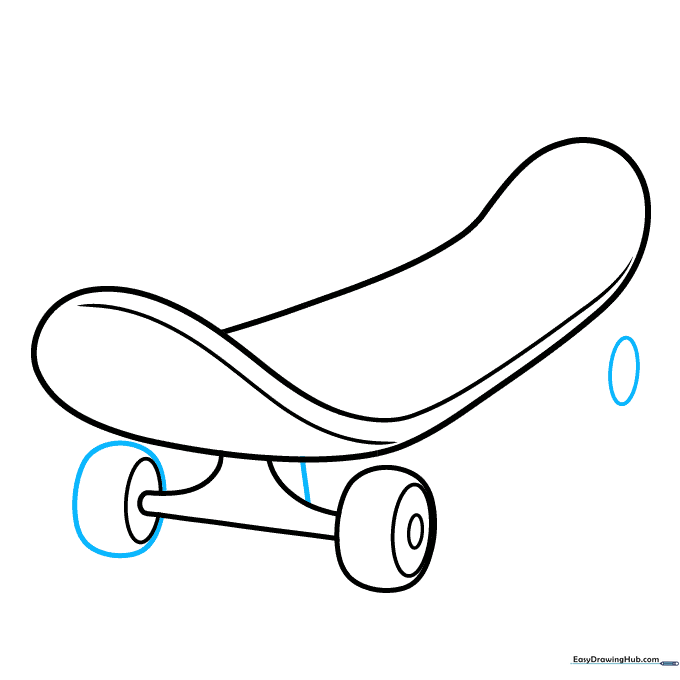
Complete the second wheel and start a third one further down the board. Teacher's Tip: Ensure the wheels are aligned so the board looks like it can actually roll!
Step 7: Finalizing the Wheels
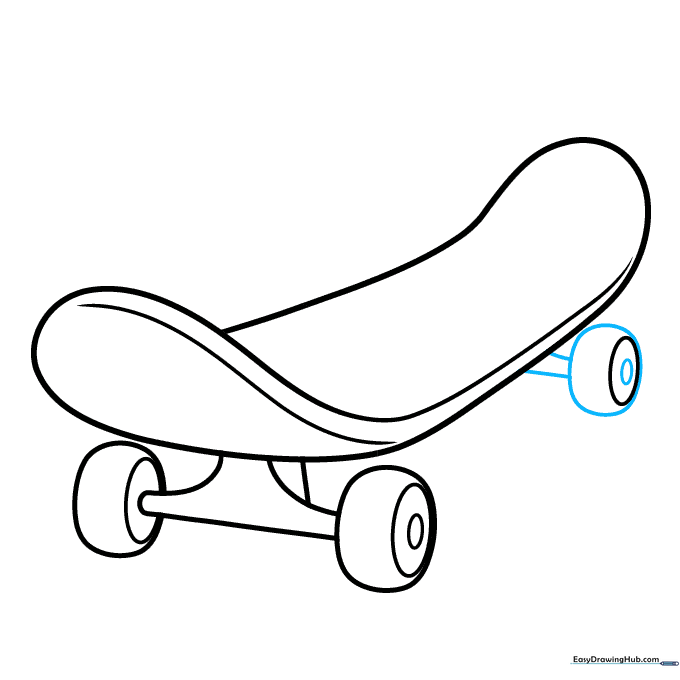
Add the final details to the third wheel and connect it to the deck. Teacher's Tip: Use consistent oval sizes for all wheels to keep the drawing balanced.
Step 8: Designing the Flames
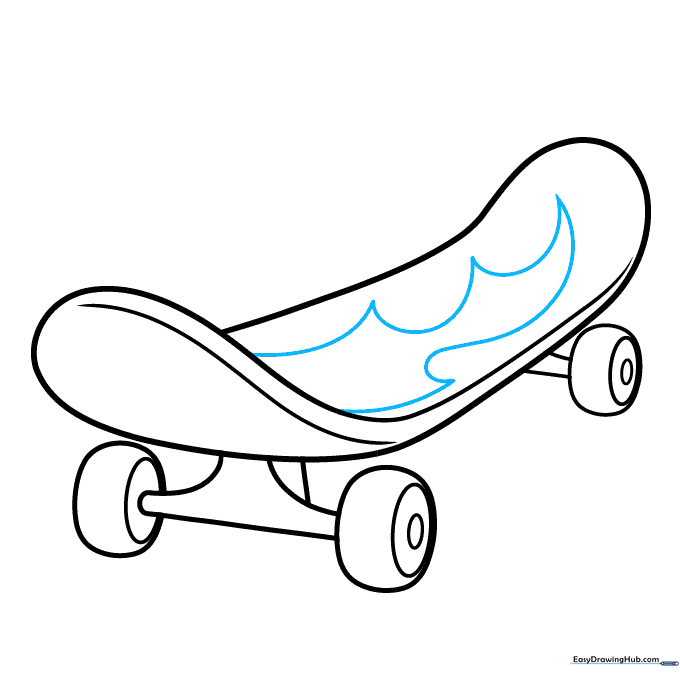
Draw sharp, curved flame shapes on top of the deck. Teacher's Tip: Don't worry about making them perfect—flames are naturally irregular and look great with jagged edges.
Step 9: Adding Flame Detail
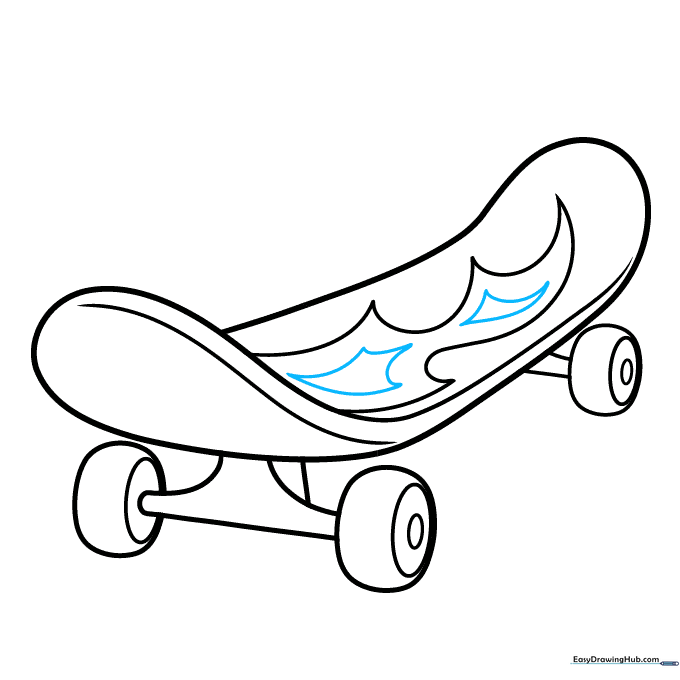
Add smaller, multi-pointed shapes inside the flames to create depth. Teacher's Tip: This makes your flames look like they have a 'hot' center and a 'cool' outer edge.
Step 10: Coloring Your Masterpiece
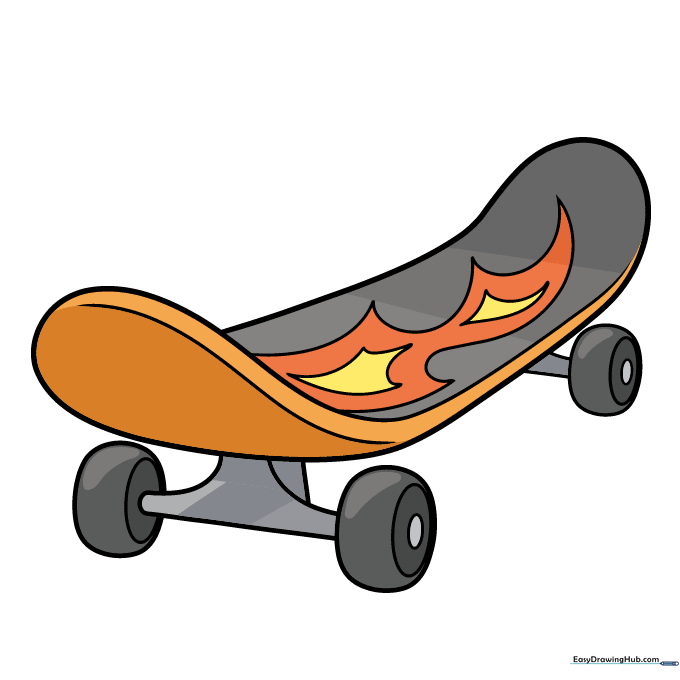
Use bright markers to color your board. Try using reds and oranges for the flames to make them pop! Teacher's Tip: Use a darker color for the wheels to contrast with a bright deck.
More Tutorials


