How to Draw a Cartoon Scientist: Easy 10-Step Guide
Ready to bring a brilliant inventor to life? This tutorial is perfect for young artists ages 7+ who want to practice character design. Grab a pencil, an eraser, and a piece of paper to follow along as we build our scientist from simple shapes to a finished masterpiece.
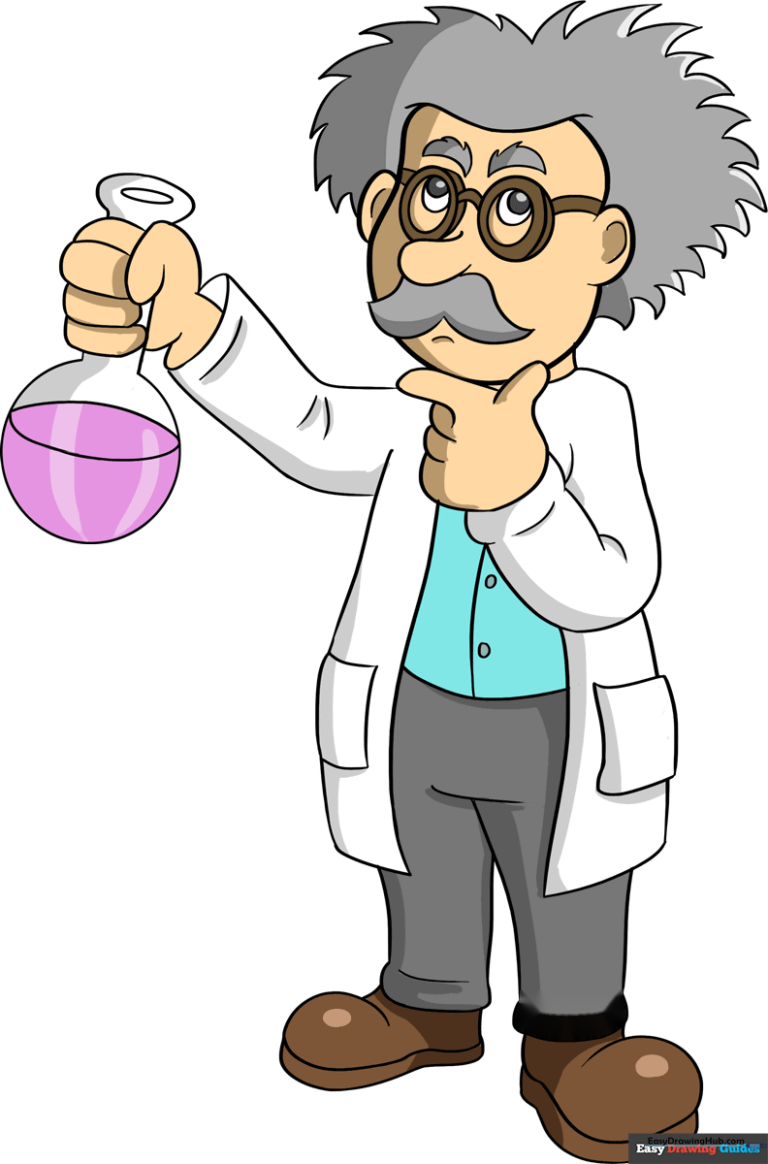
🎯 Final Result
Step-by-Step Instructions
Step 1: Sketching the Head
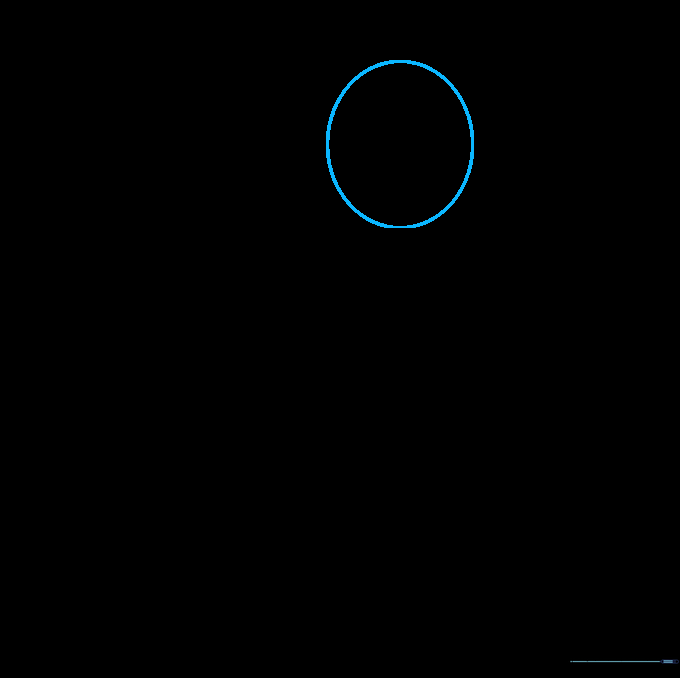
Draw a light circle to serve as the base for the scientist's head. Teacher's Tip: Keep your pencil strokes very faint so you can easily erase the guidelines later!
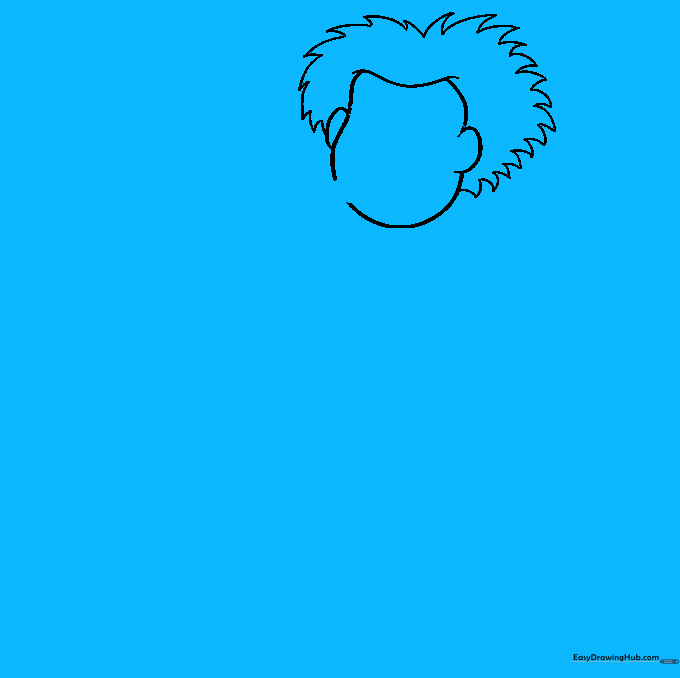
Step 2: Defining the Face Shape
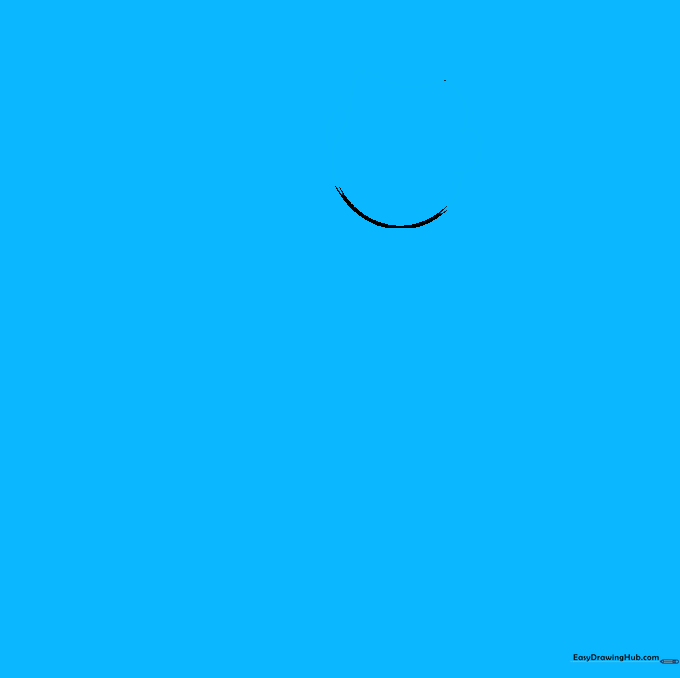
Erase the top of your circle and draw a chin line to give the face structure. Add 'C' shaped curves on the sides for ears. Tip: Think of the chin as a rounded 'U' shape to keep the character looking friendly.
Step 3: Adding the Hair
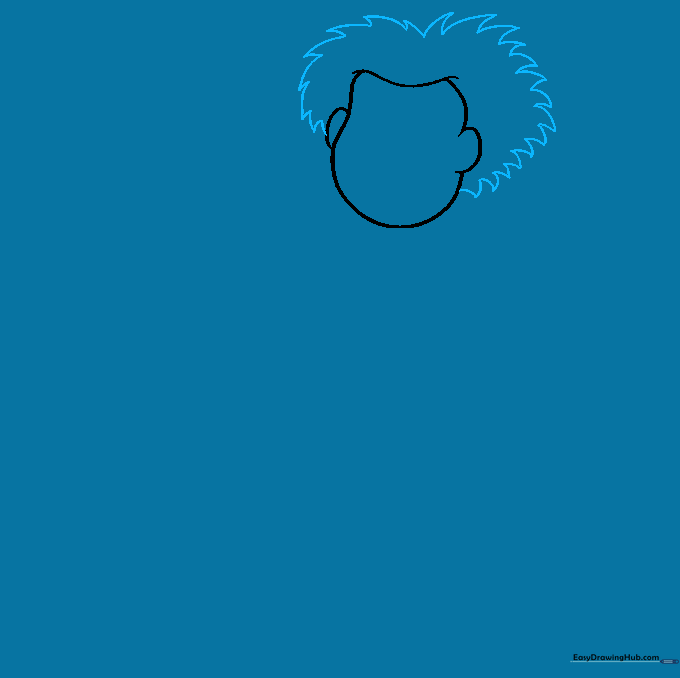
Use short, jagged, curved lines to draw the hair on top of the head. Tip: Don't worry about making it perfect; messy hair makes the scientist look like they've been busy in the lab!
Step 4: Drawing the Face and Glasses
Draw circular glasses, bushy eyebrows, a nose, and a mustache. Tip: Draw the glasses first to help you center the eyes; the mustache adds a classic 'mad scientist' personality.
Step 5: Sketching the Torso
Draw the shoulders and sleeves using curved lines. Tip: Use gentle curves to show where the fabric of the lab coat folds at the elbows.
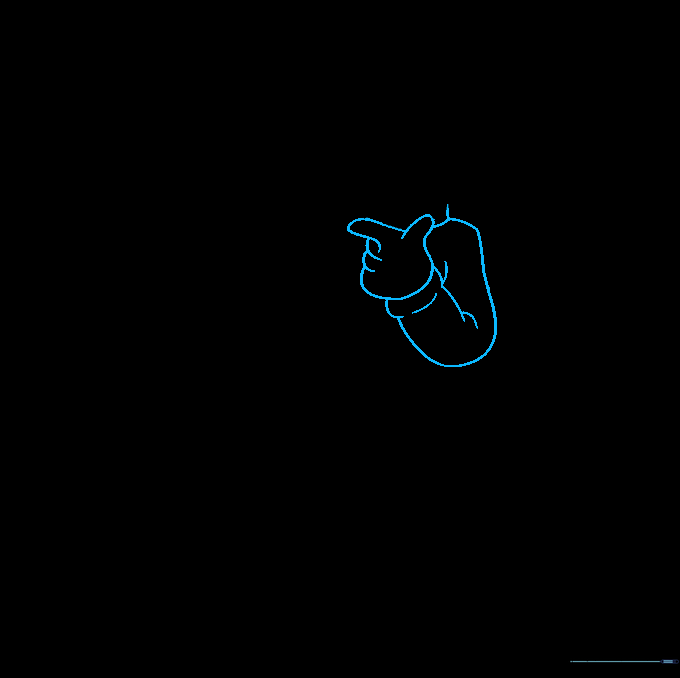
Step 6: Adding the Lab Flask
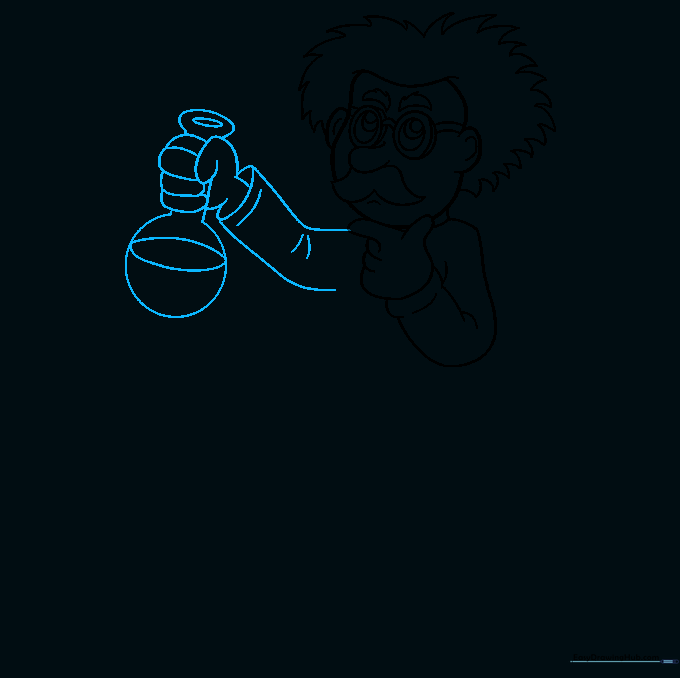
Draw an outstretched arm holding a laboratory flask. Tip: Draw the liquid line inside the flask horizontally to make it look like it's sitting flat.
Step 7: The Lab Coat Details
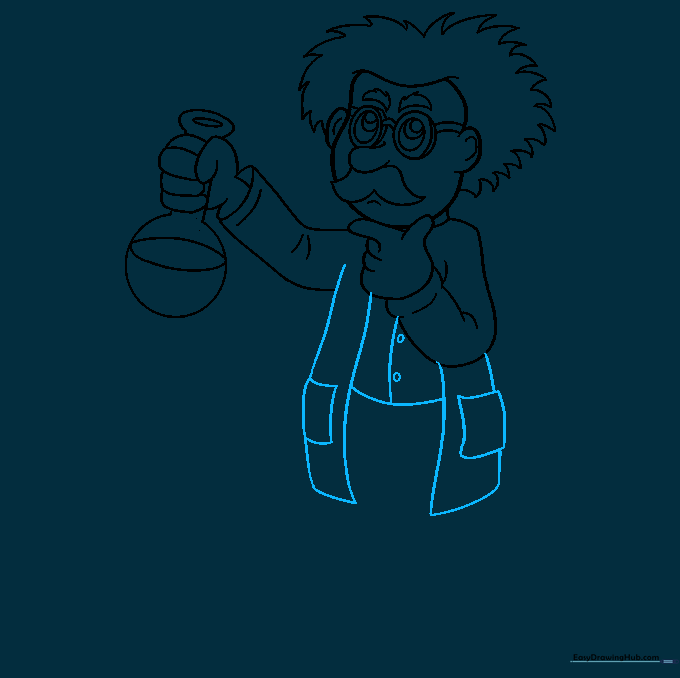
Extend the coat downward and add pockets and buttons. Tip: Keep your button circles small and evenly spaced to make the coat look professional.
Step 8: Drawing the Pants
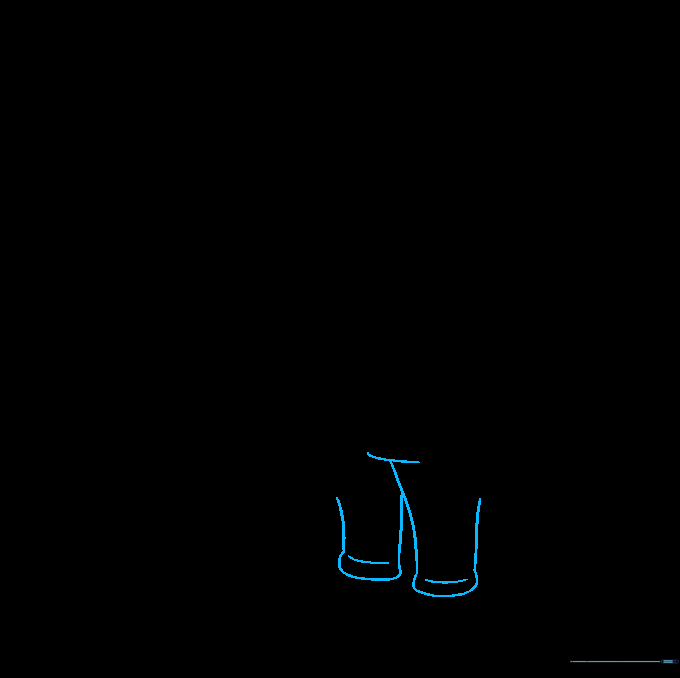
Draw the legs of the pants using 'L' shaped curves. Tip: Add a few extra lines near the knees to represent fabric folds.
Step 9: Adding Shoes
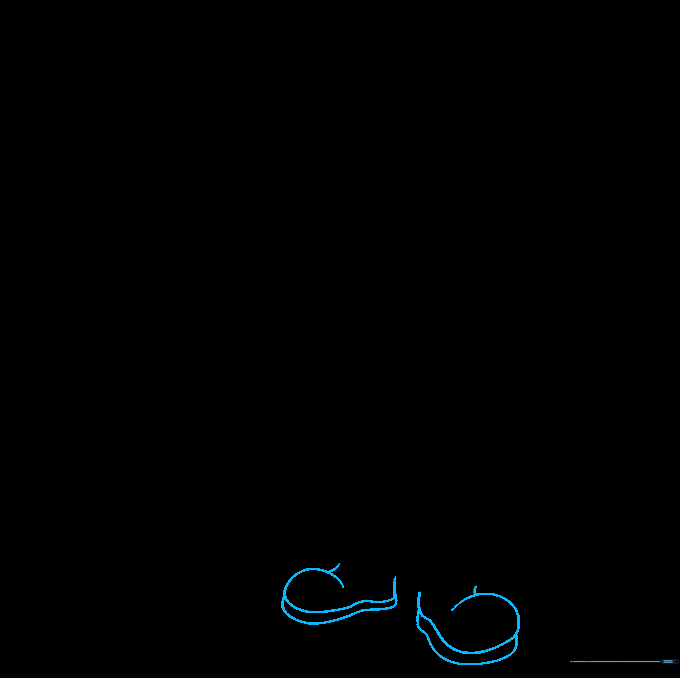
Outline the shoes at the bottom of the pants. Tip: Draw a parallel line near the bottom of each shoe to create the sole.
Step 10: Final Touches and Color
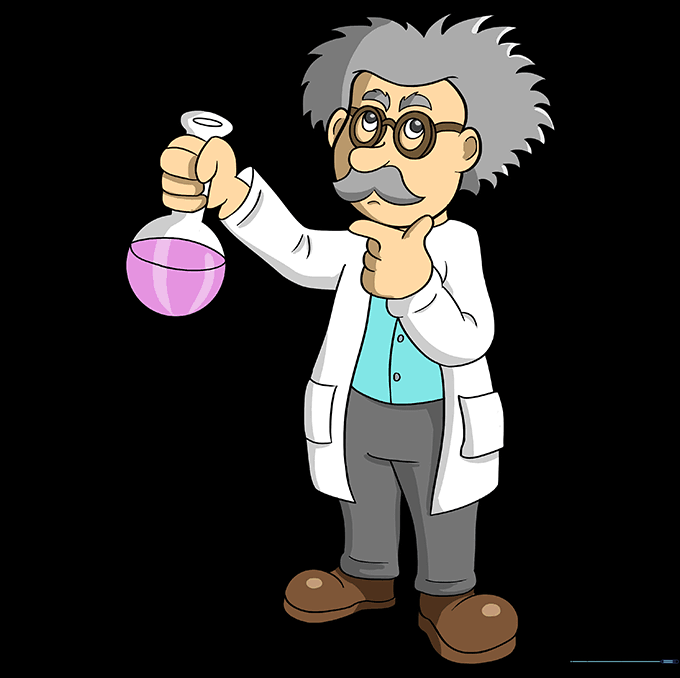
Erase any remaining guidelines and add your favorite colors! Tip: Use bright colors for the liquid in the flask to make your scientist look like they are working on a fun experiment.
More Tutorials


