How to Draw a Cartoon School Bus: Easy 10-Step Guide
Ready to hit the road? This tutorial is perfect for young artists ages 5 and up who want to draw their own cheerful school bus. All you need is a pencil, an eraser, and a piece of paper to get started. By the end, you'll have a bright, custom bus ready for coloring!
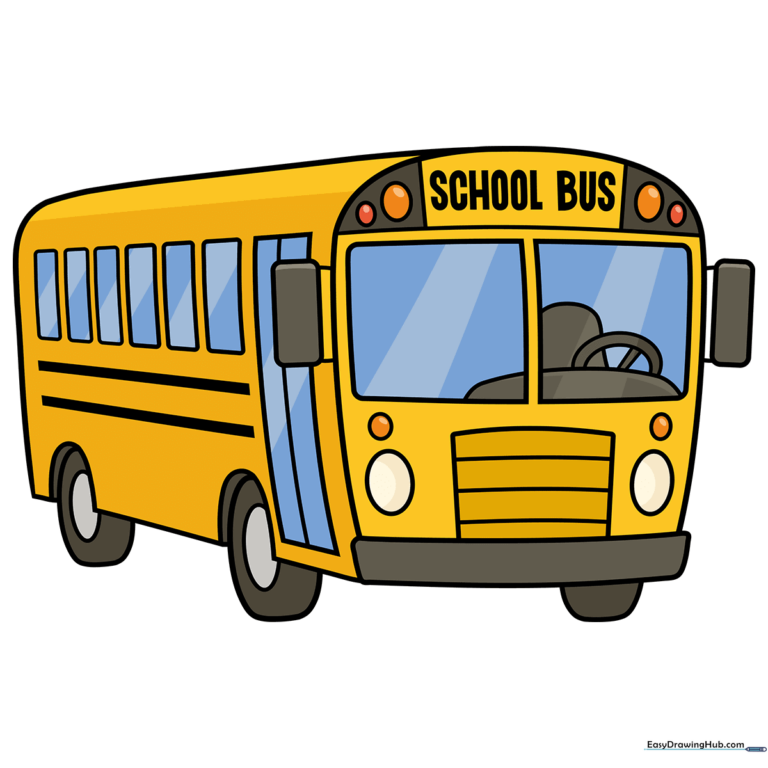
🎯 Final Result
Step-by-Step Instructions
Step 1: Sketching the Front Bumper
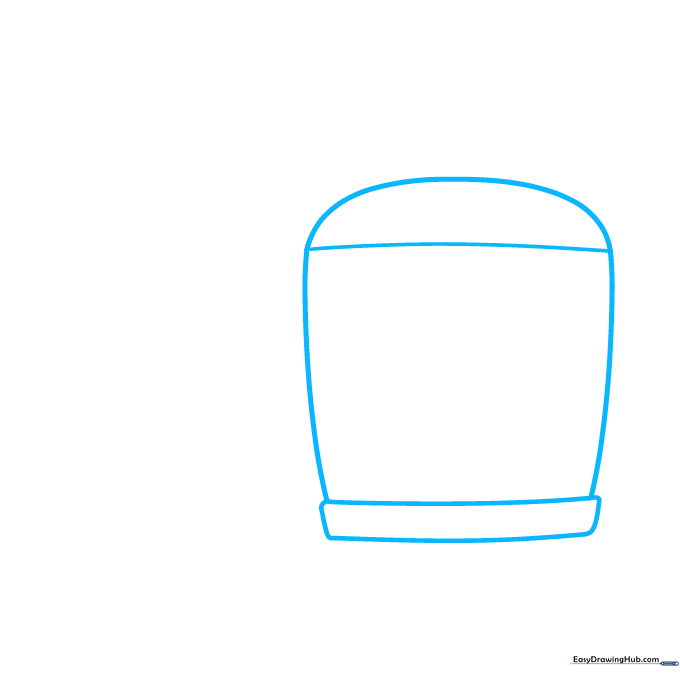
Draw a long, narrow trapezoid for the front bumper. From there, extend a curved line up and around to create the rounded rectangle shape of the bus body. Teacher's Tip: Keep your pencil pressure light here so you can easily adjust the shape if needed.
Step 2: Defining the Windshield and Grill
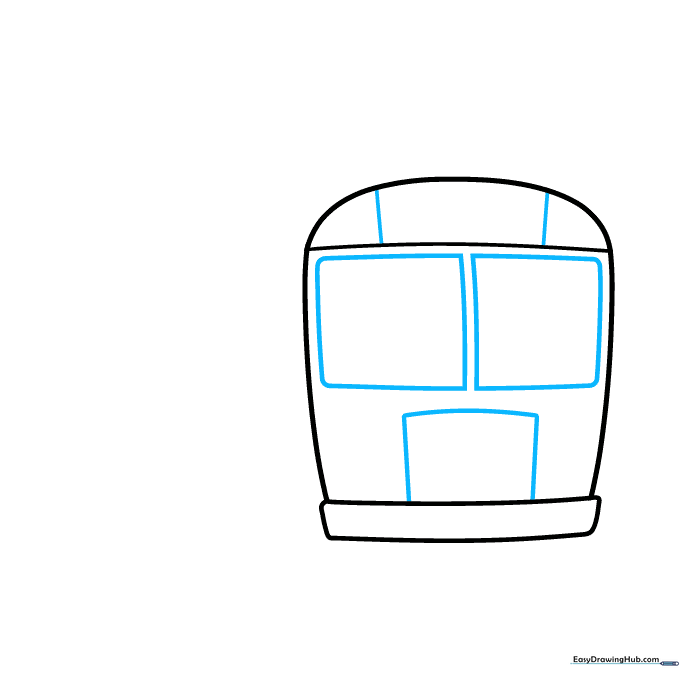
Add two horizontal lines across the top for the roofline, then sketch three irregular squares on the front to represent the windshield and the radiator grill. Teacher's Tip: Don't worry about perfect straight lines; a little wobble adds character to your cartoon!
Step 3: Adding Lights
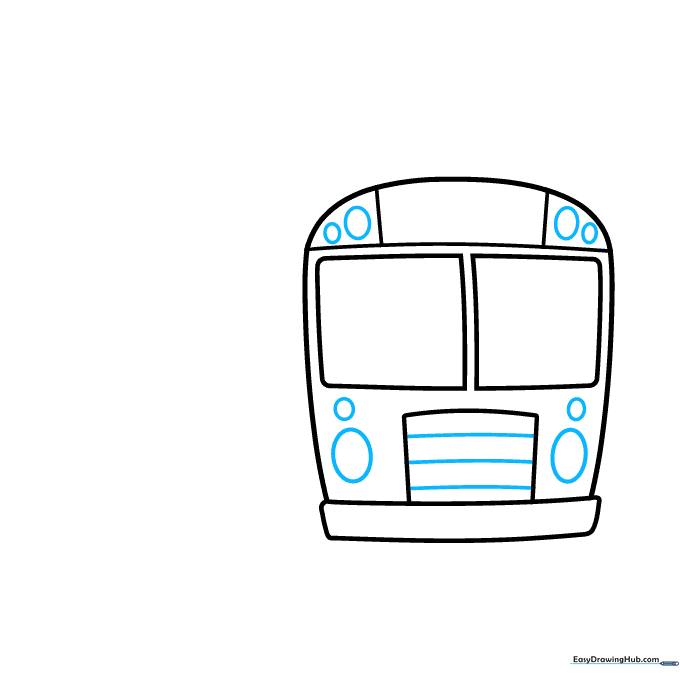
Draw ovals for the headlights and caution lights on the front. Add three horizontal lines across the grill area. Teacher's Tip: Use different sizes for the lights to make the bus look friendly and expressive.
Step 4: Mirrors and Wheel Wells
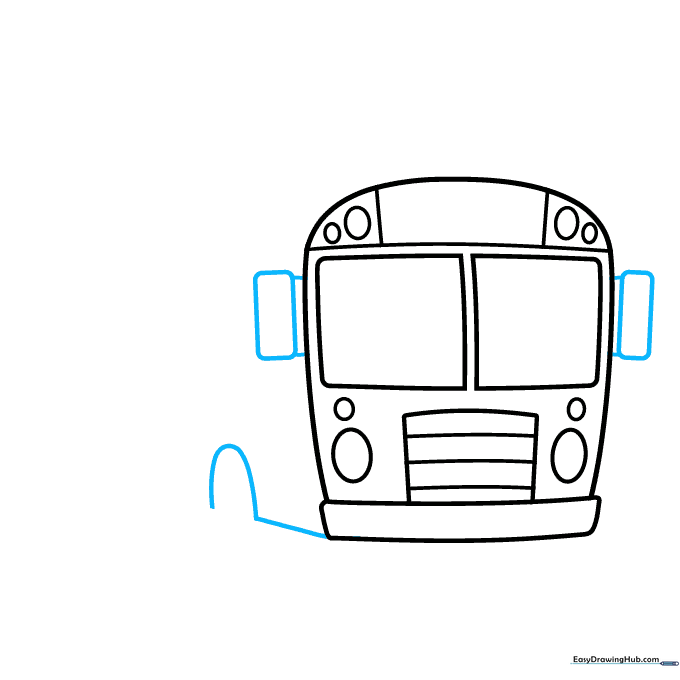
Attach rounded rectangles to the sides for rearview mirrors. Then, draw a diagonal line from the bumper and a large 'U' shape to start the wheel well. Teacher's Tip: Mirrors help give the bus a sense of depth and realism.
Step 5: Extending the Body and Wheels
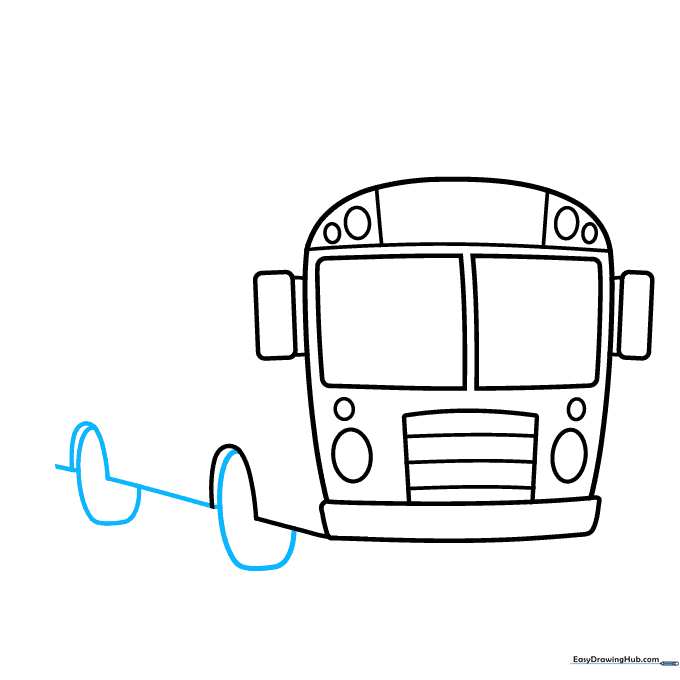
Continue the side of the bus with a 'U' shape for the second wheel well. Sketch partial ovals inside these wells for the tires. Teacher's Tip: Make sure your wheels are roughly the same size so the bus looks balanced.
Step 6: Adding the Door and Tires

Draw an 'L' shaped line to finish the back of the bus. Add a tall, narrow rectangle for the door and complete the tires with inner ovals. Teacher's Tip: The door should look like it's slightly recessed into the bus body.
Step 7: Drawing the Windows
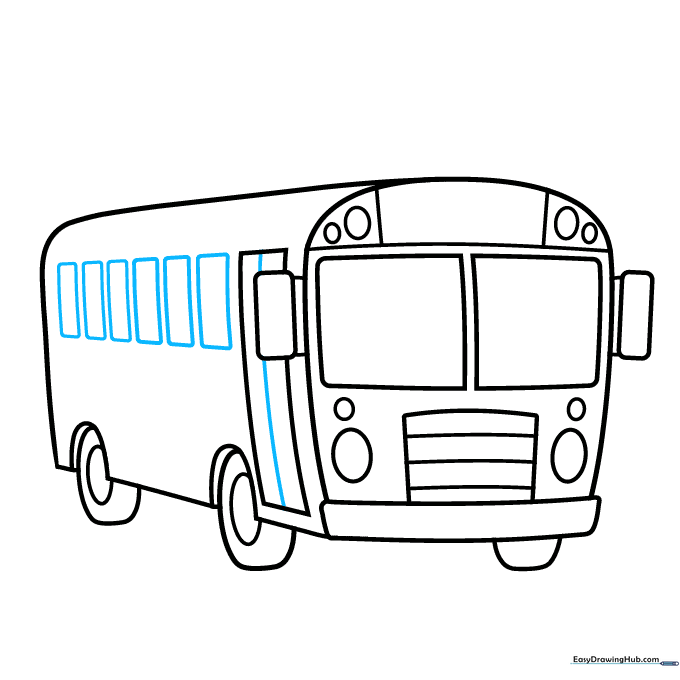
Add a vertical line down the door and sketch a series of rounded rectangles along the side for the windows. Teacher's Tip: Keep the windows evenly spaced to make the bus look professional.
Step 8: Interior Details
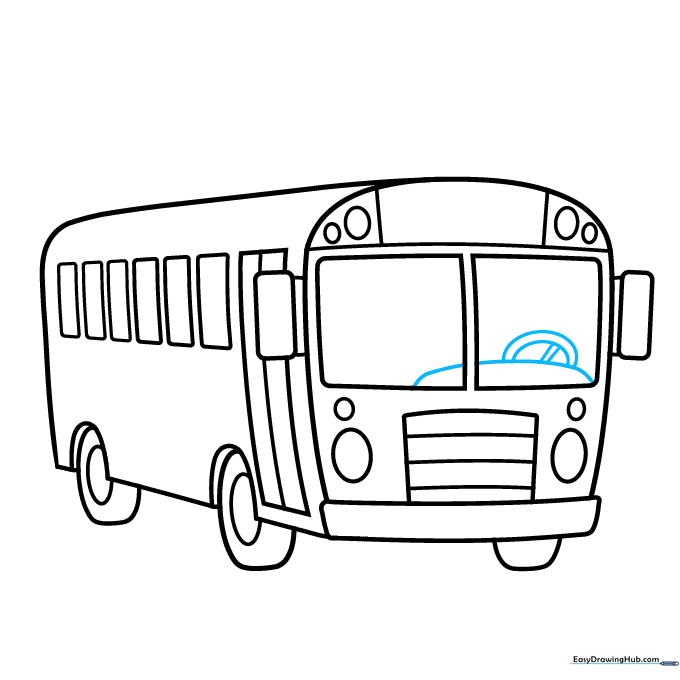
Draw a curved line for the dashboard and a steering wheel using two half-ovals with parallel lines. Teacher's Tip: This adds a fun 'driver's view' perspective to your drawing.
Step 9: Final Touches
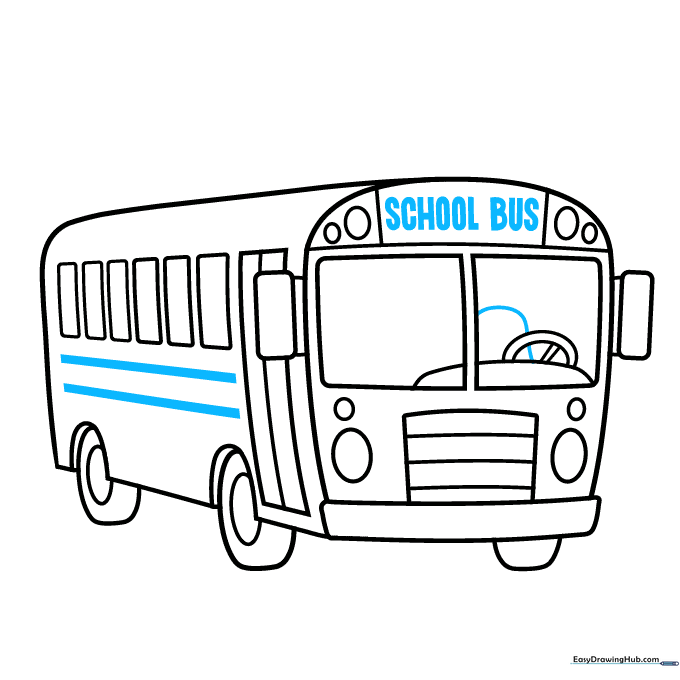
Draw the driver's seat and add the words 'SCHOOL BUS' across the top. Teacher's Tip: Use a ruler if you want the letters to look perfectly straight, or keep them hand-drawn for a playful style.
Step 10: Bring It to Life with Color
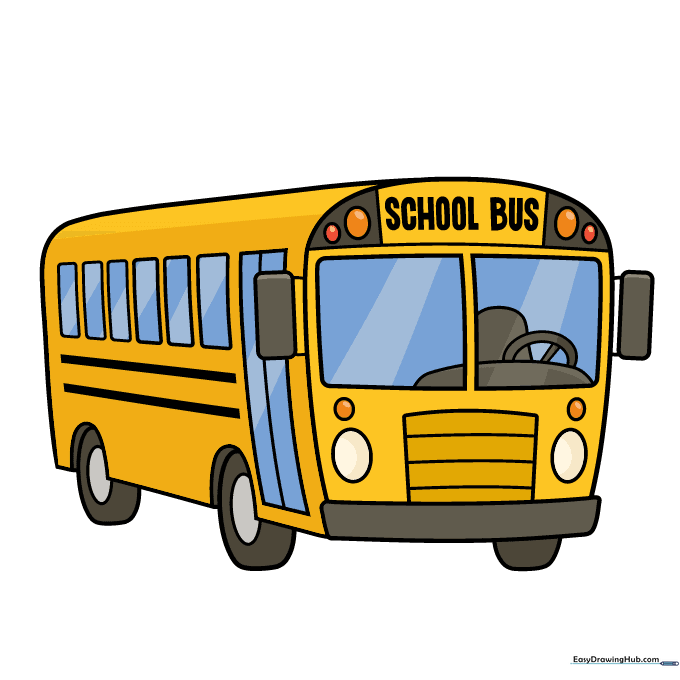
Now for the fun part! Color your bus a classic bright yellow. Use black for the tires and grey for the windows. Teacher's Tip: Try using colored pencils for a soft look or markers for a bold, vibrant finish.
More Tutorials


