How to Draw a Cartoon Reindeer: Easy 20-Step Guide
Ready to bring a festive friend to life? This tutorial is perfect for young artists ages 7+ looking to master character proportions. Grab a pencil, eraser, and paper, and follow along as we build our reindeer from basic shapes into a holiday masterpiece.
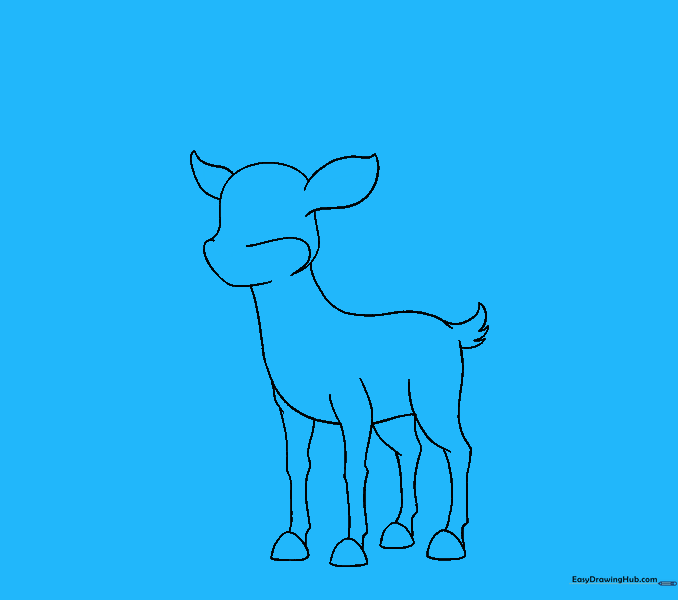
🎯 Final Result
Step-by-Step Instructions
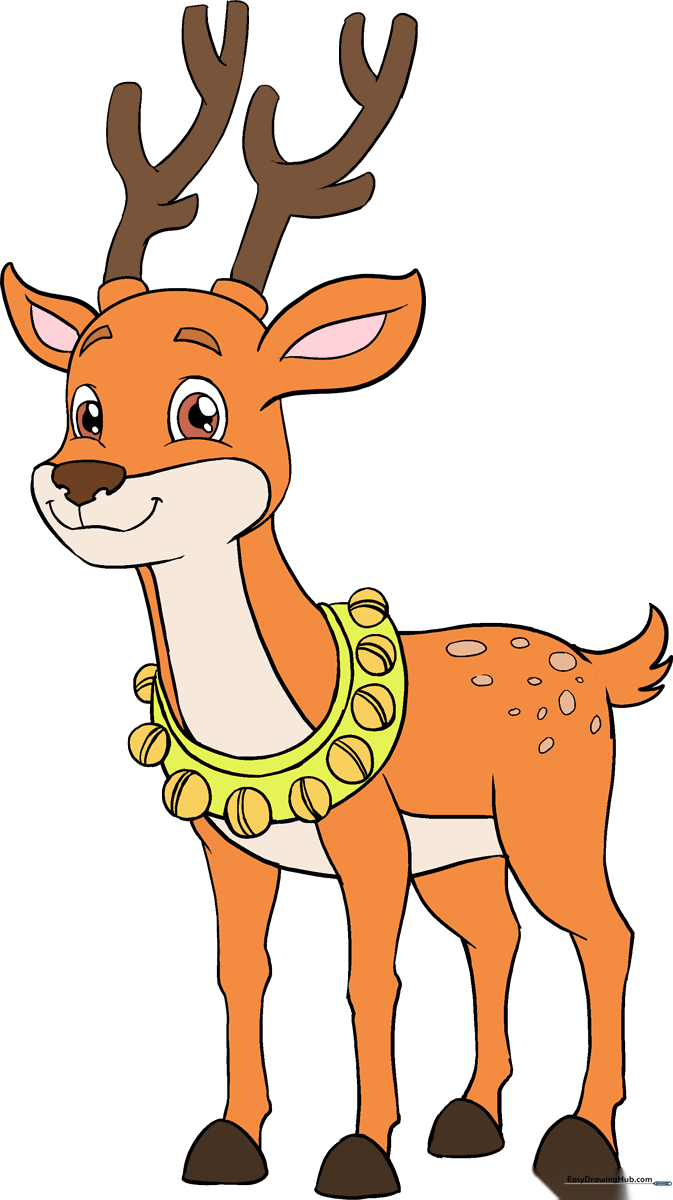
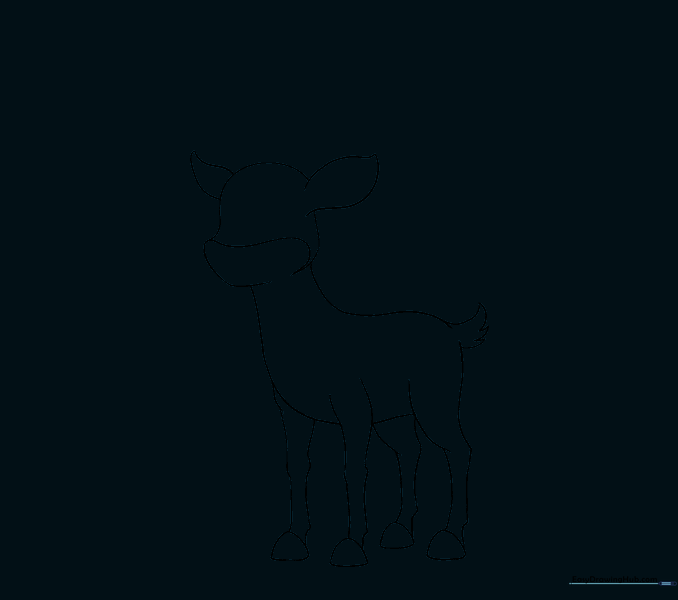
Step 1: Sketching the Head

Draw a light circle to outline the reindeer's head. Teacher's Tip: Keep this circle about the size of a ping-pong ball to leave plenty of room for the antlers later.
Step 2: Defining the Snout

Overlap an irregular, rounded shape onto the bottom of your circle to form the snout. Tip: Think of this as a soft, rounded rectangle.
Step 3: Connecting the Features
Use short, smooth, curved lines to blend the snout into the head circle. Tip: Use a light touch so the connection looks seamless.
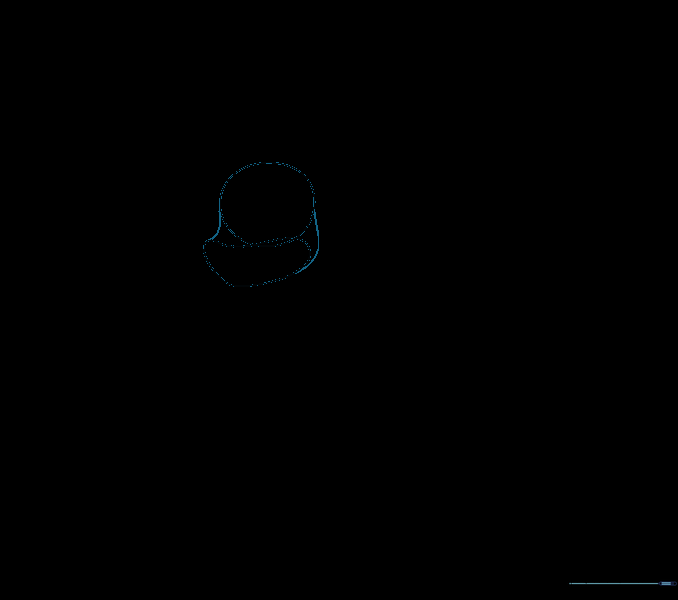
Step 4: Outlining the Body

Extend two long, graceful curved lines downward from the head to create the neck and torso. Tip: Keep these lines fluid to give your reindeer a sense of movement.
Step 5: Drawing the First Leg
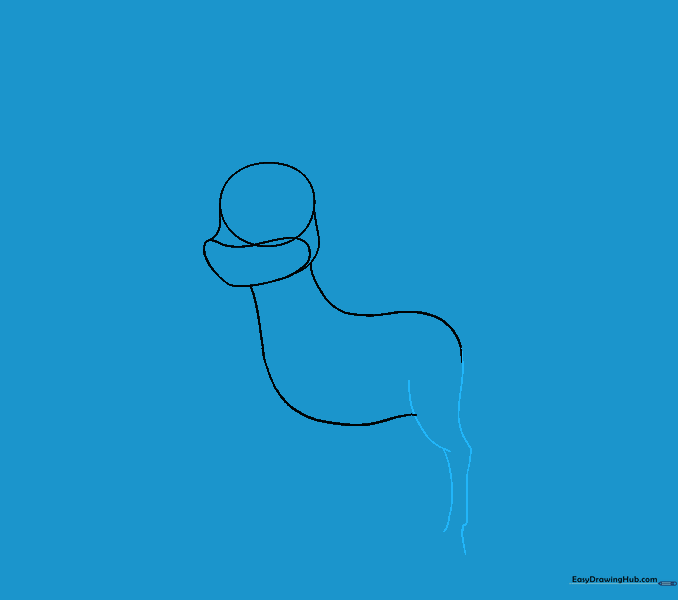
Sketch the front leg using curved lines. Notice how the leg widens at the top near the shoulder. Tip: Keep the knee joint slightly bent to make the character look more natural.
Step 6: Adding the Second Leg
Draw the second front leg parallel to the first. Tip: Ensure the knees align so your reindeer looks like it is standing firmly on the ground.
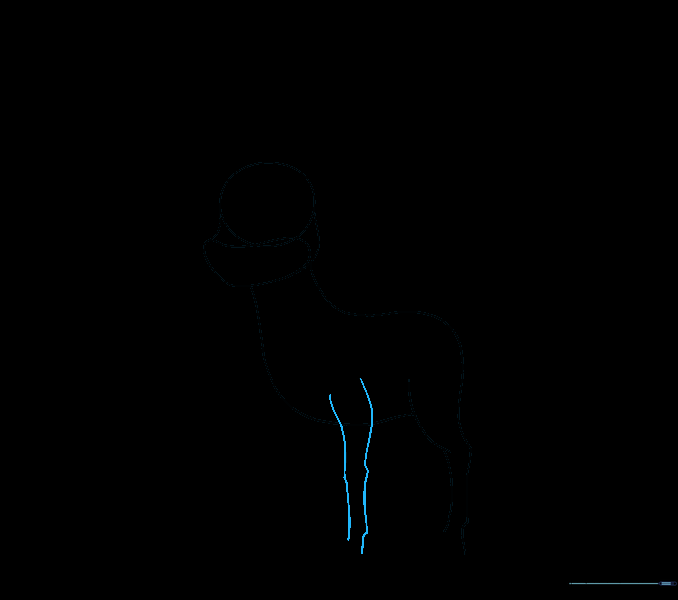
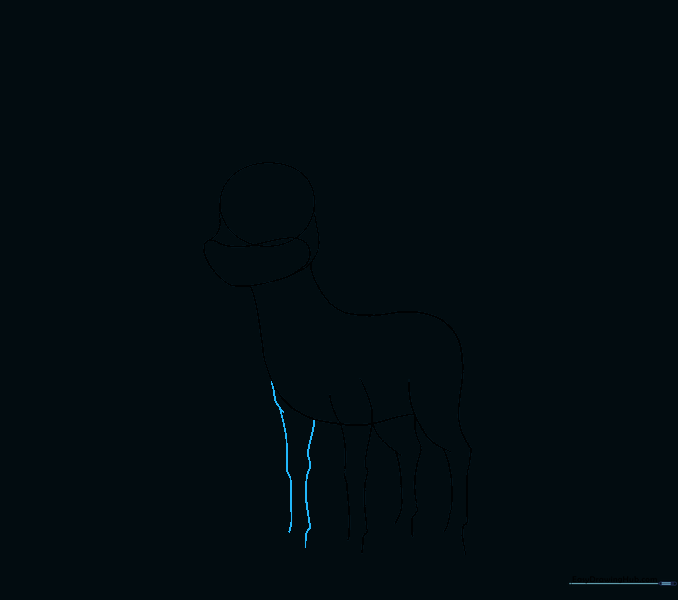
Step 7: Sketching the Rear Leg
Add the far rear leg. Tip: Since this leg is further away, you can draw it slightly shorter to create a sense of depth.
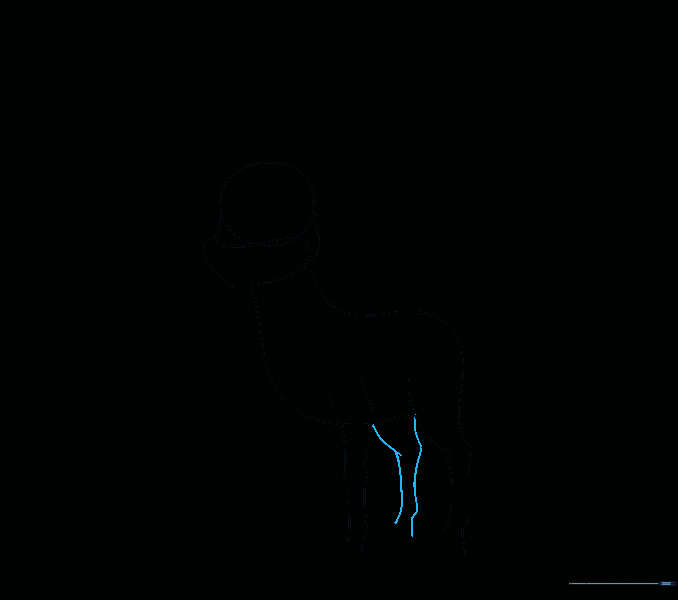
Step 8: Completing the Legs
Draw the final front leg. Tip: Focus on the curve of the ankle to give the leg a realistic, graceful shape.
Step 9: Adding Hooves
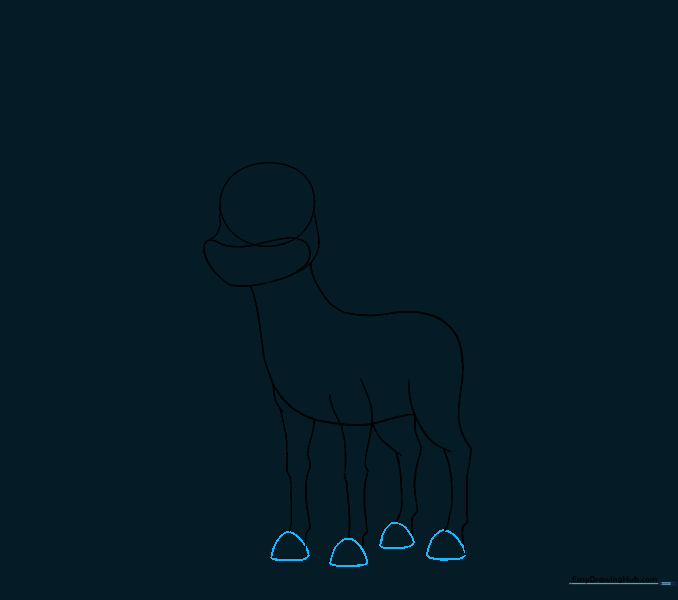
Enclose a small, rounded triangular shape at the base of each leg to form the hooves. Tip: Keep them small so the reindeer looks agile.
Step 10: Ears and Tail
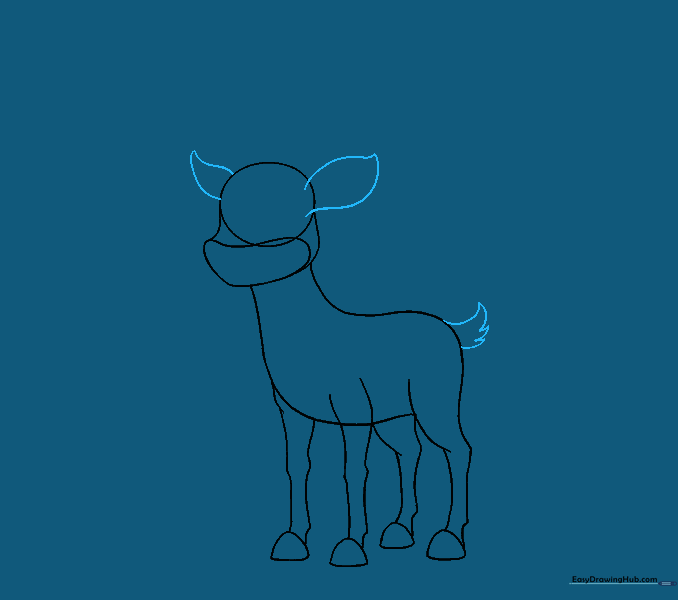
Draw two curved lines for each ear, meeting at a point. Add a fluffy, jagged tail. Tip: Use short, quick strokes for the tail to make it look furry.
Step 11: Cleaning Up
Gently erase any overlapping guide lines from the face and body. Tip: A kneaded eraser works best for lifting graphite without smudging.
Step 12: Adding Facial Detail
Add inner ear details and a rounded, triangular nose with nostril depressions. Tip: The nose is the focal point, so take your time making it symmetrical.
Step 13: Expression
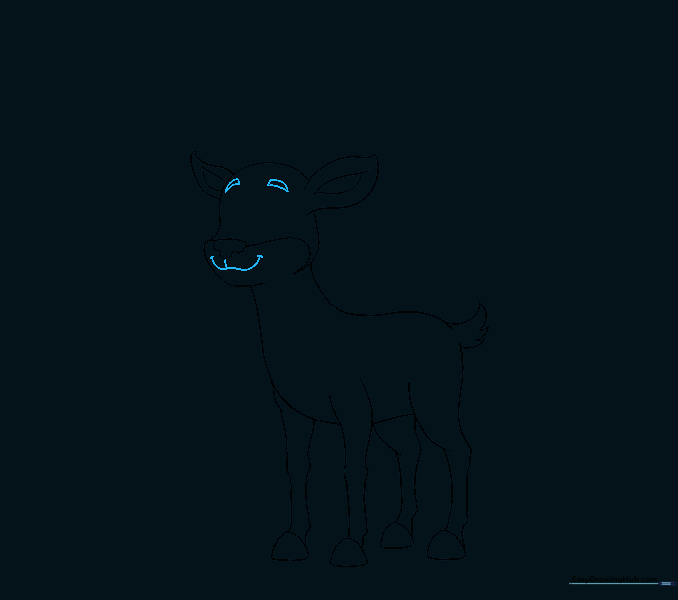
Draw arched eyebrows and a wide, happy smile. Tip: A slight curve in the mouth makes the reindeer look friendly and approachable.
Step 14: Eyes and Antler Bases
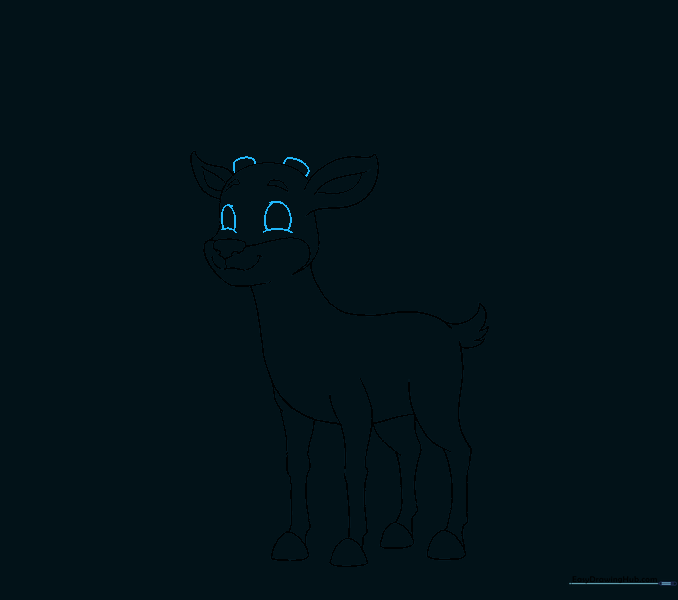
Add oval eyes and the base of the antlers on the forehead. Tip: Draw the eyes slightly larger to give the character a cute, 'cartoon' look.
Step 15: The Harness
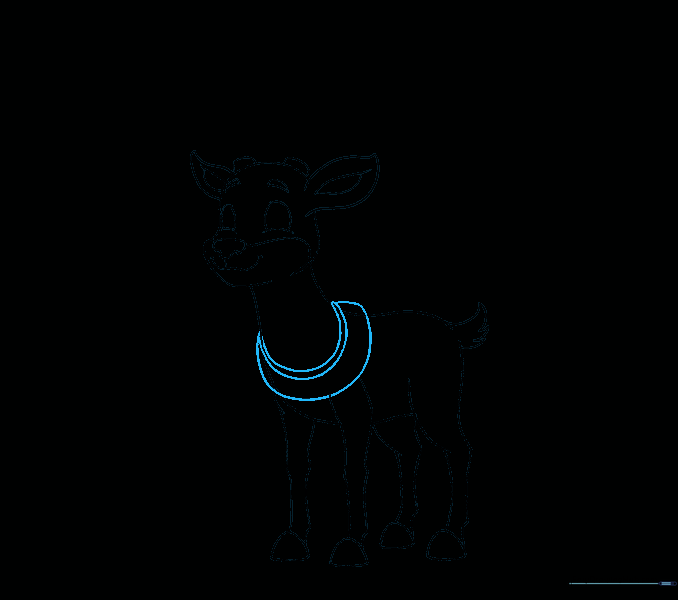
Draw the neck harness using curved lines. Tip: Imagine it as a collar that sits comfortably around the neck.
Step 16: Jingle Bells
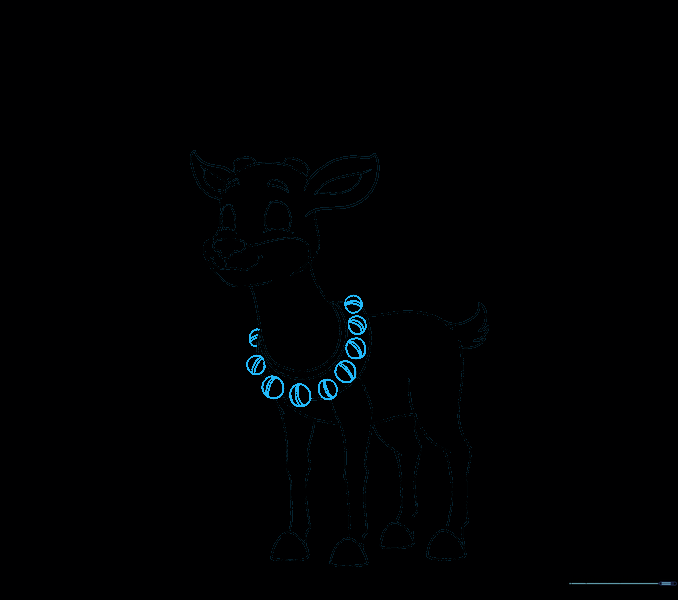
Add circles to the harness for jingle bells. Tip: Draw a small line inside each circle to show the bell's opening.
Step 17: Body Details
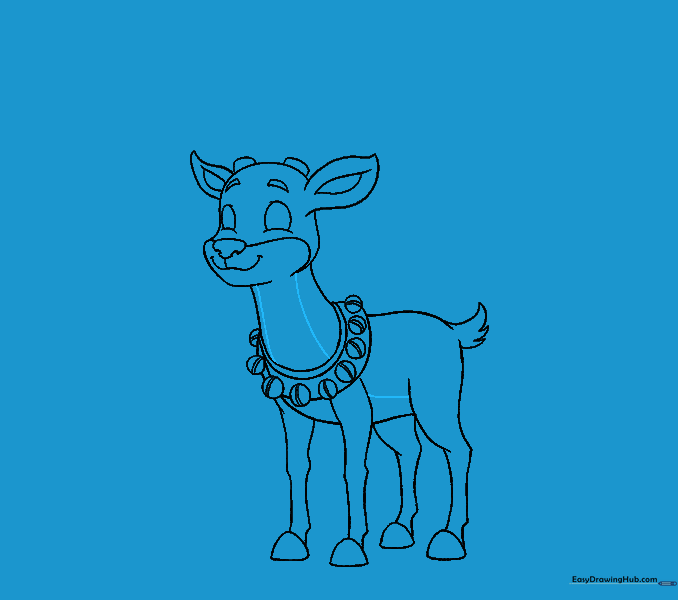
Add curved lines to the neck and belly to define the reindeer's shape. Tip: These lines add volume and make the character look more three-dimensional.
Step 18: Eyes and Spots
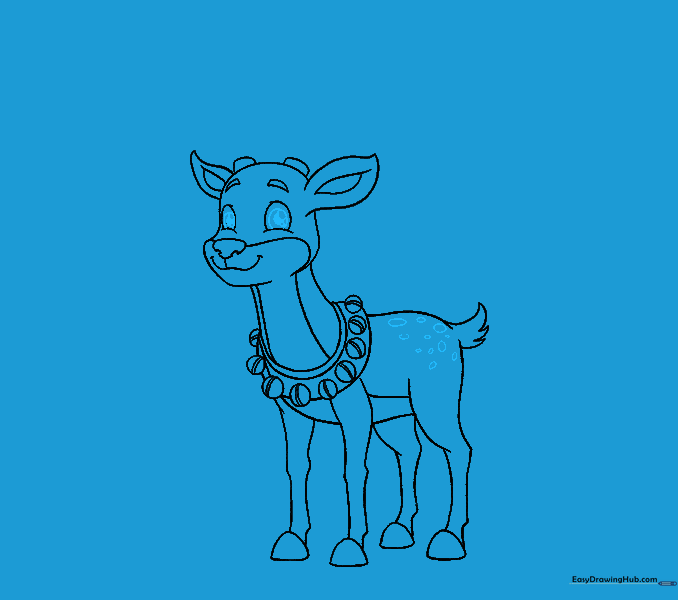
Add pupils to the eyes and spots on the rump. Tip: Vary the size of the spots to make them look more natural.
Step 19: The Antlers
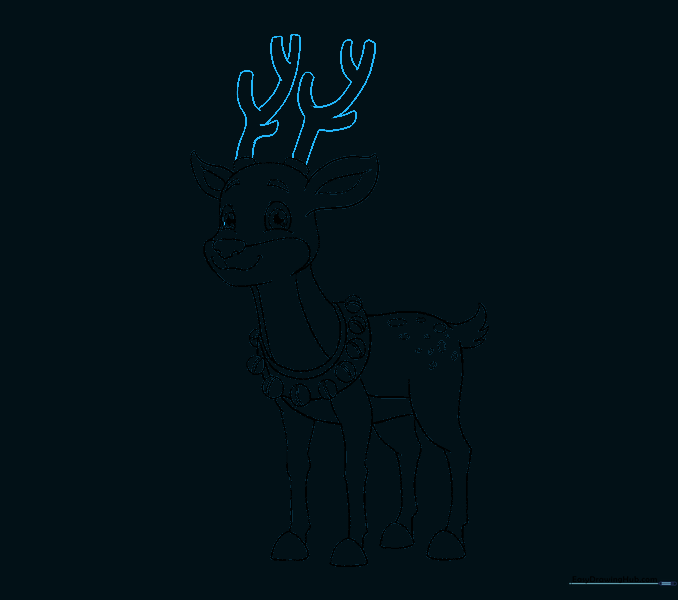
Draw the branching antlers. Tip: Start with a main stem and add smaller branches off to the sides, like a tree.
Step 20: Final Coloring
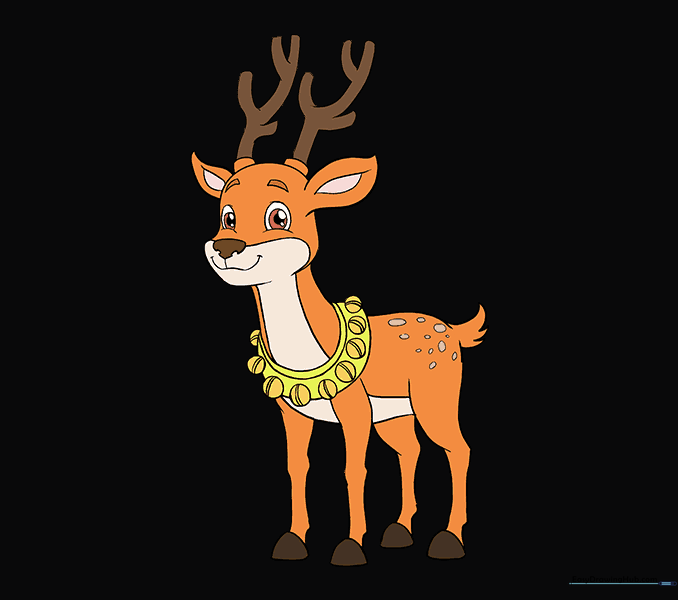
Time to color! Use warm browns for the fur and bright colors for the harness. Tip: Use a darker brown for the hooves to create contrast.
More Tutorials


