How to Draw a Cartoon Pig: Easy 20-Step Guide
This step-by-step guide is perfect for budding artists ages 5 and up. All you need is a pencil, an eraser, and a piece of paper to bring this cheerful pig to life. Follow along to practice basic shapes and build your confidence in character design.
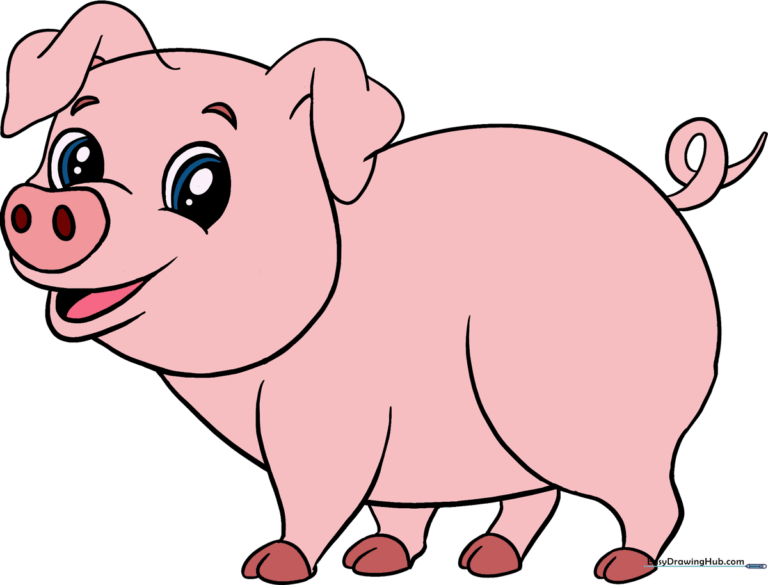
🎯 Final Result
Step-by-Step Instructions
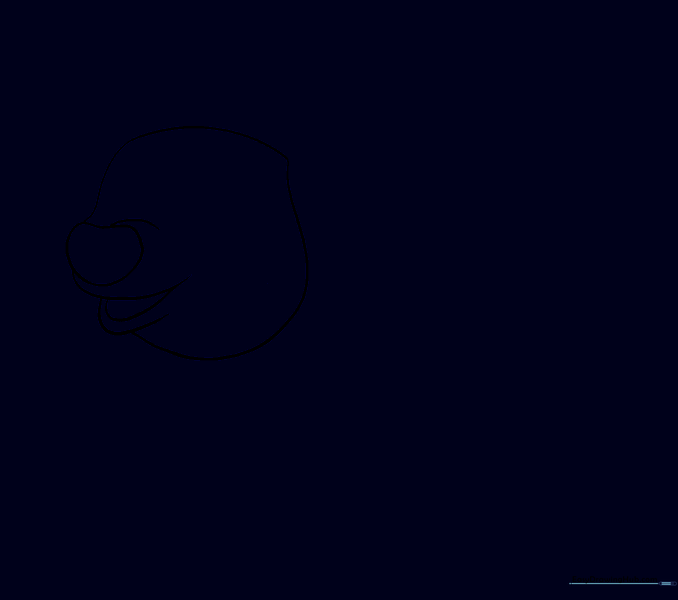
Sketching the Head
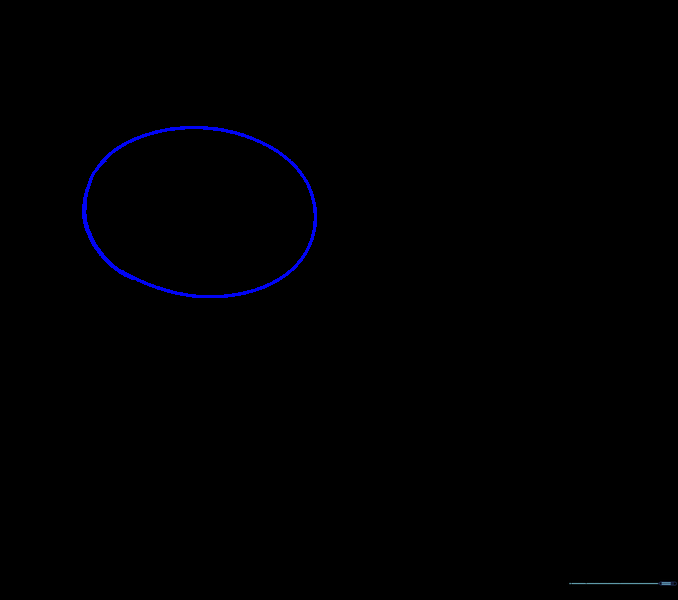
Draw a light oval to serve as the pig's head. Teacher's Tip: Keep your pencil strokes very faint so you can easily erase your guide lines later.
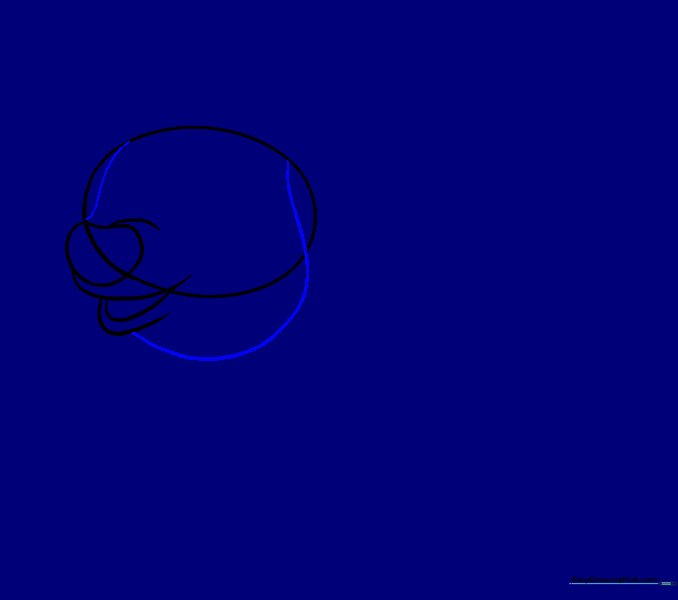
Adding the Snout
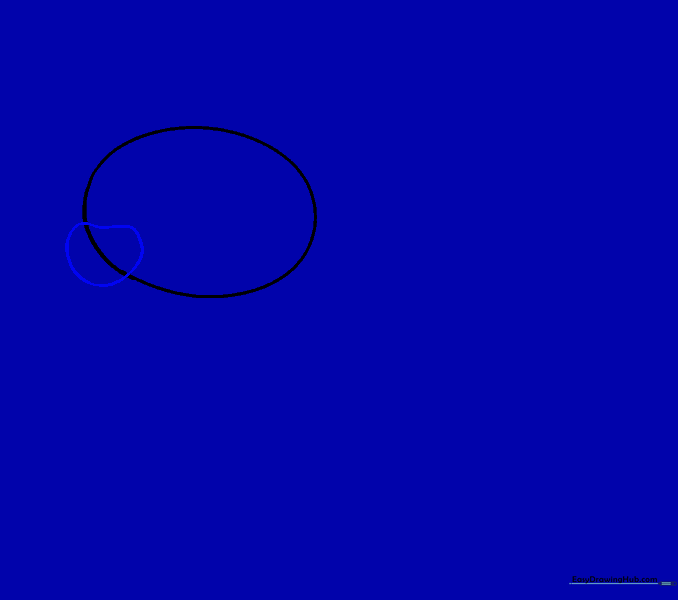
Draw an irregular heart shape with a rounded bottom overlapping the center of the oval. Tip: This is the pig's snout, so make sure it's centered to keep the face symmetrical.
Defining the Mouth
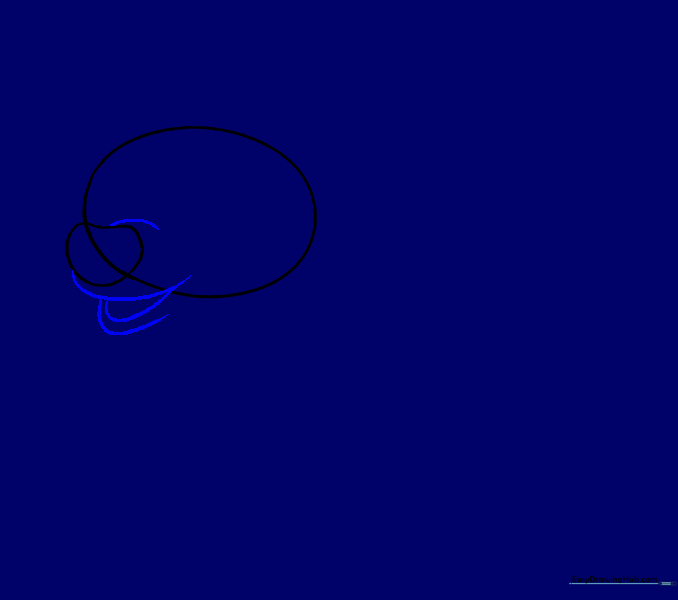
Draw a curved line above the snout and a longer one below it. Add two 'U' shapes at the bottom for an open, happy mouth. Tip: Keep the 'U' shapes small to make the pig look friendly.
Connecting the Face
Draw curved lines connecting the snout and mouth back to the main head oval. Tip: Use smooth, flowing motions to make the transition look natural.
Cleaning the Guide Lines
Carefully erase the original oval lines inside the snout and mouth area. Tip: Use a clean eraser to avoid smudging your drawing.
Drawing the First Ear
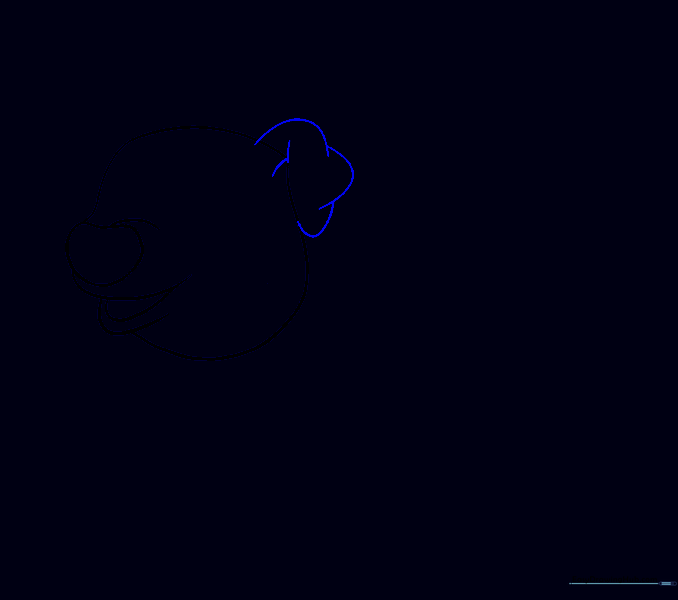
Use a series of connected 'U' shaped lines to form the first ear on the side of the head. Tip: Make the ear slightly floppy to give the pig character.
Drawing the Second Ear
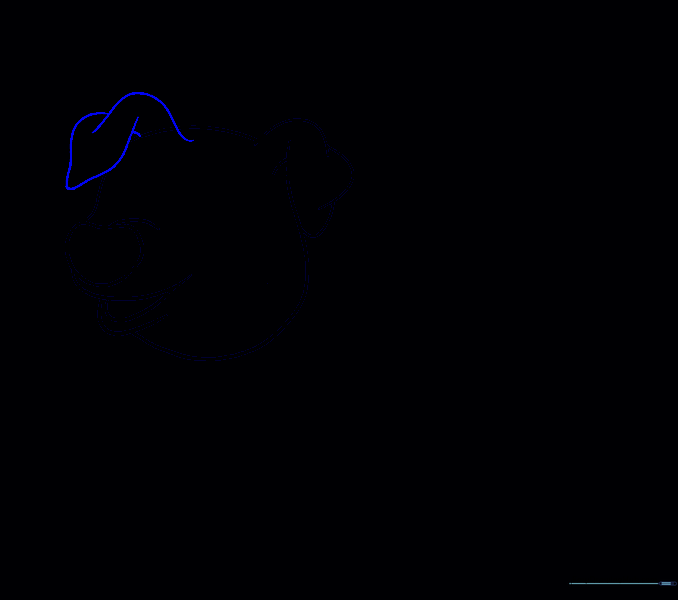
Repeat the process to add the second ear on the opposite side. Tip: Try to match the size of the first ear for balance.
Forming the Body
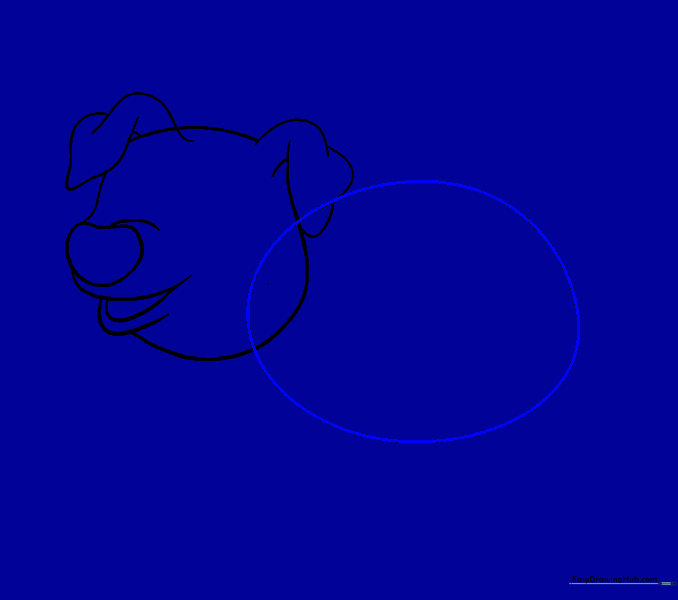
Draw a large oval overlapping the back of the head. Tip: This oval should be bigger than the head to make the pig look cute and chubby.
Connecting Head and Body
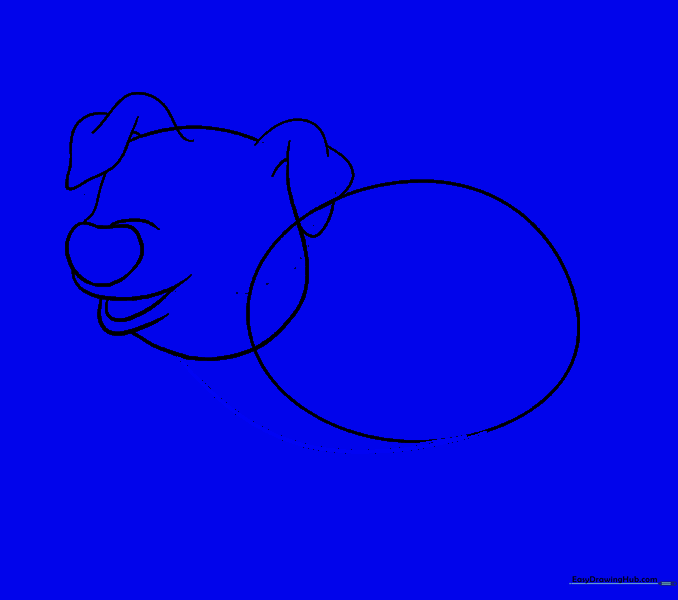
Draw a long, curved line from the bottom of the head to the body. Tip: This creates the neck area.
Refining the Body

Erase the overlapping guide lines where the head meets the body. Tip: Keep the outline clean for a professional cartoon look.
Drawing the Front Legs

Outline the legs with two sets of curved lines. Make them wider at the top and narrower at the bottom. Tip: This gives the legs a sturdy, cartoonish appearance.
Adding Back Legs
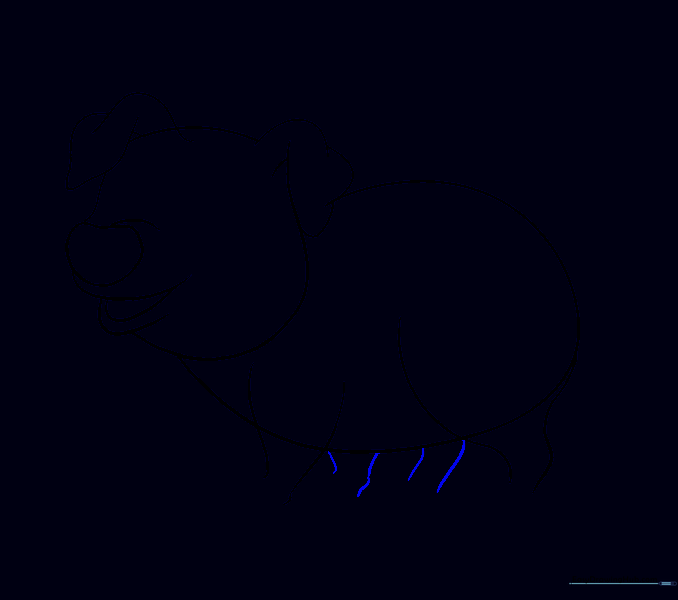
Draw two more sets of curved lines extending from the belly for the back legs. Tip: Position these slightly behind the front legs to create depth.
Cleaning Leg Lines
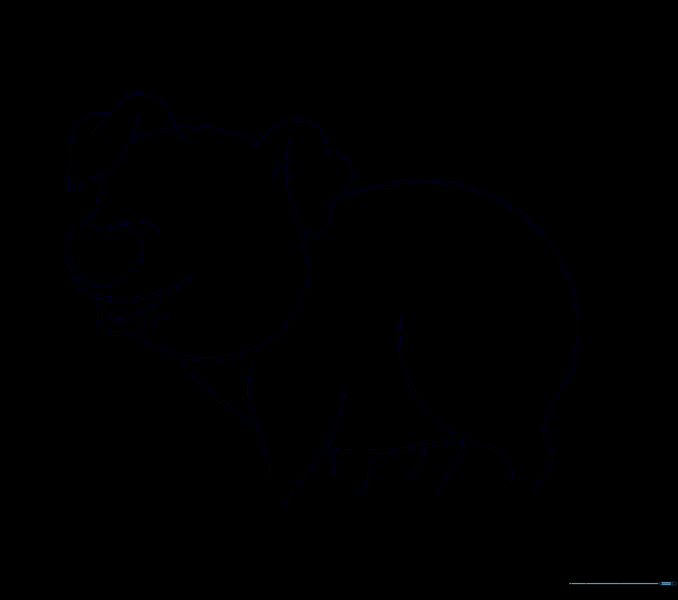
Erase the guide lines inside the legs. Tip: This makes the legs look like they are part of the body.
Adding Hooves
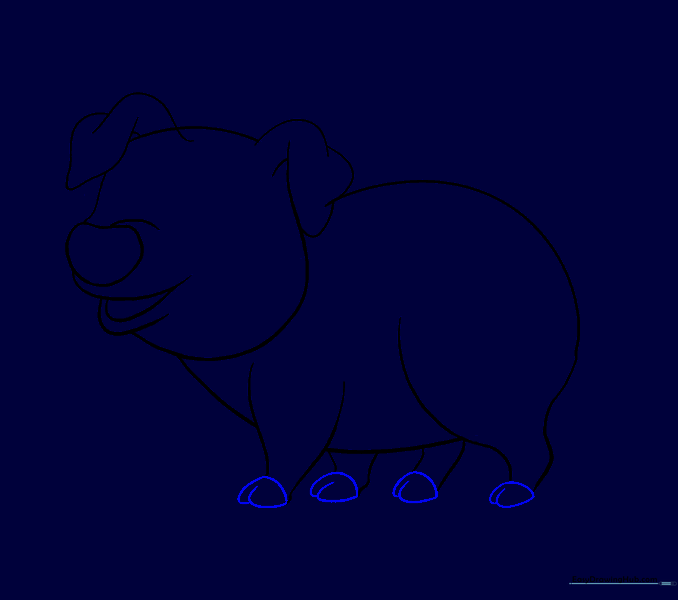
Connect the leg lines with a curve and add two 'U' shapes at the bottom of each leg for hooves. Tip: Keep the 'U' shapes small and even.
Drawing the Tail
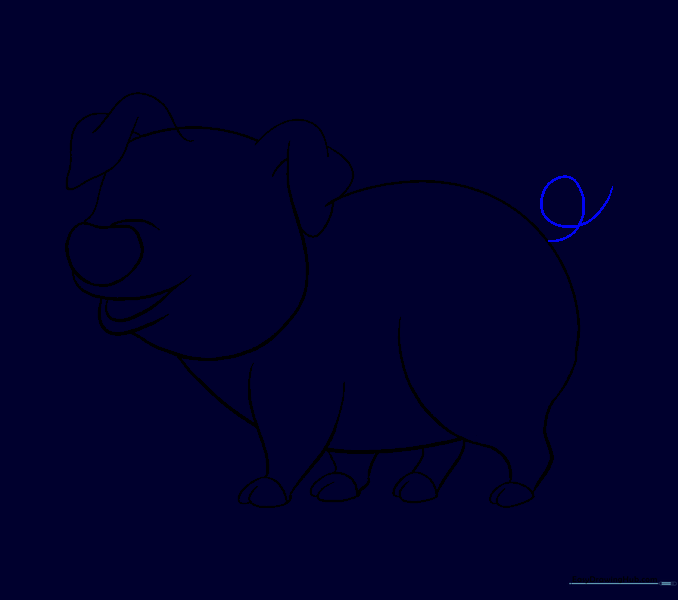
Draw a curly, overlapping spiral for the tail. Tip: Don't worry if it's not perfect; a messy, curly tail looks more natural for a pig!
Refining the Tail
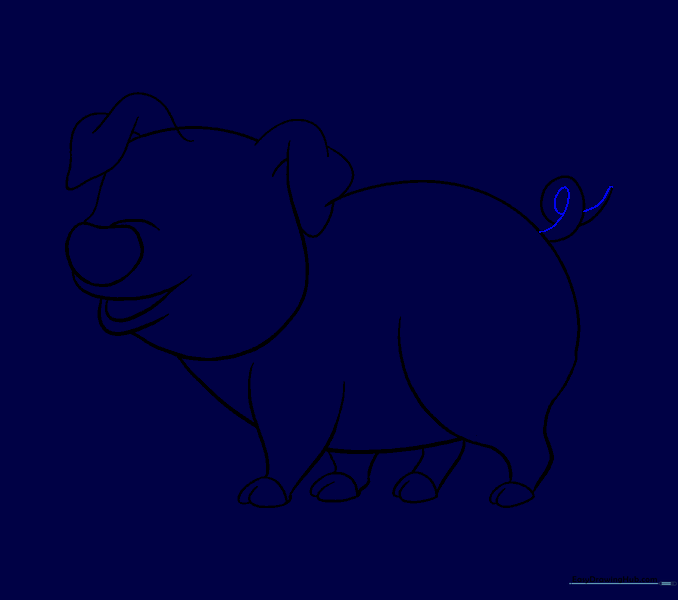
Draw a parallel line to the first curl to give the tail thickness. Tip: Erase any overlapping lines to make it look like a single, solid shape.
Drawing the Eyes
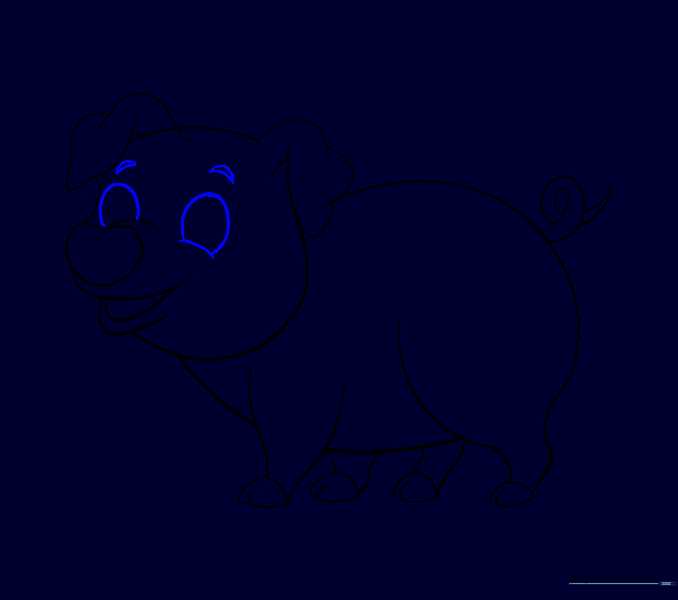
Draw two partial ovals for the eyes, with curved lines above them for eyelids. Tip: Adding eyelids gives your pig a friendly, expressive look.
Adding Details

Draw two small ovals on the snout for nostrils and a curved line in the mouth. Tip: Shade the top of the mouth lightly to add depth.
Finishing the Eyes
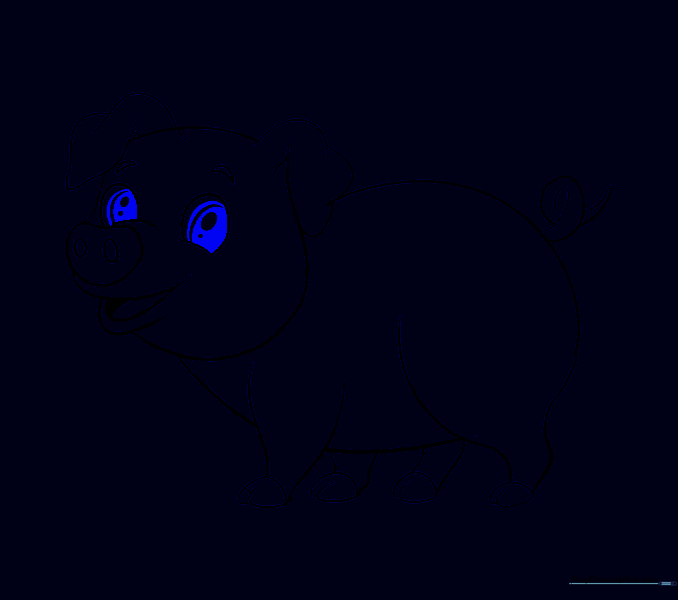
Add pupils to the eyes by drawing small ovals and shading the surrounding area. Tip: Leave a tiny white spot in the pupil to create a 'glint' or sparkle.
Coloring Your Pig
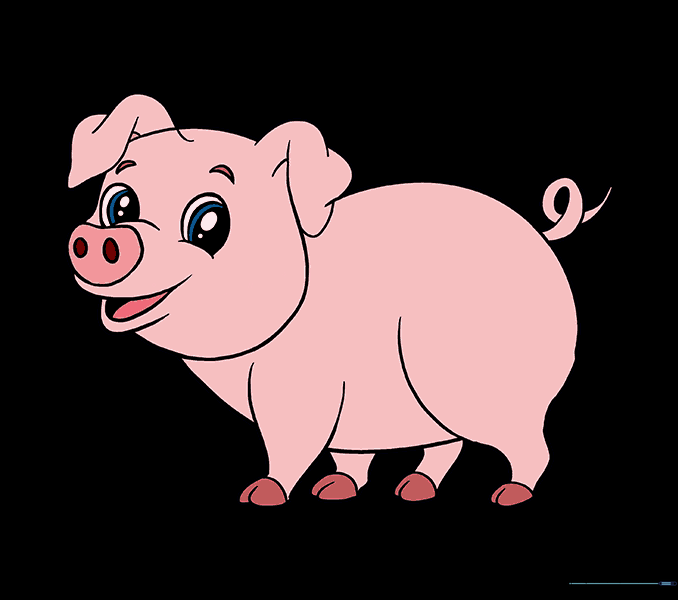
Time to bring your pig to life! Use pink, or get creative with spots, brown, or black. Tip: Use light pressure with your colored pencils to blend colors smoothly.
More Tutorials


