How to Draw a Cute Cartoon Monster: Easy 20-Step Guide
Bring your own friendly creature to life with this easy, screen-free drawing activity. Designed for artists ages 5 and up, this tutorial uses simple shapes to build confidence and character. Grab your pencil and paper to create a unique monster that is more silly than scary!
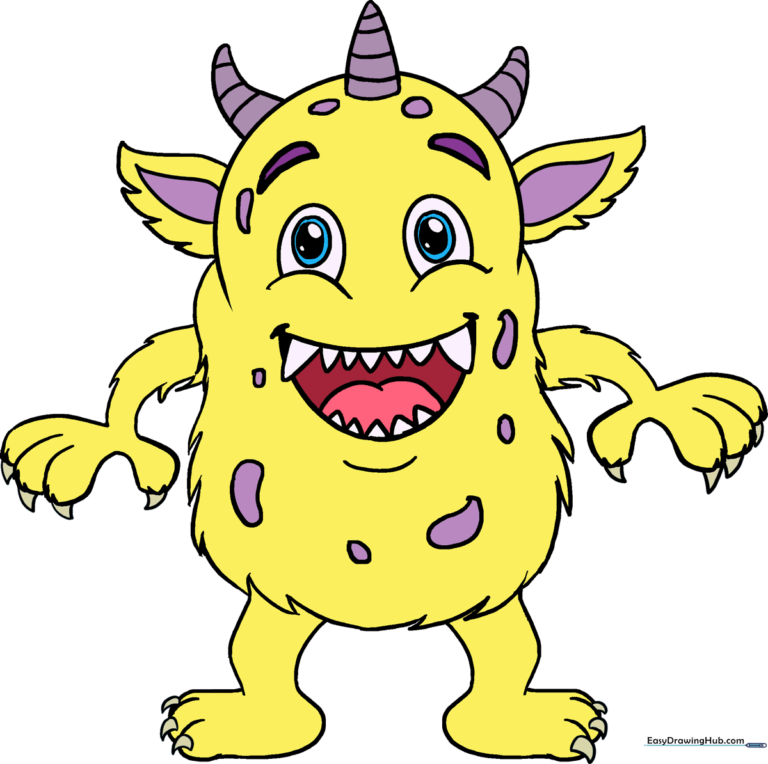
🎯 Final Result
Step-by-Step Instructions
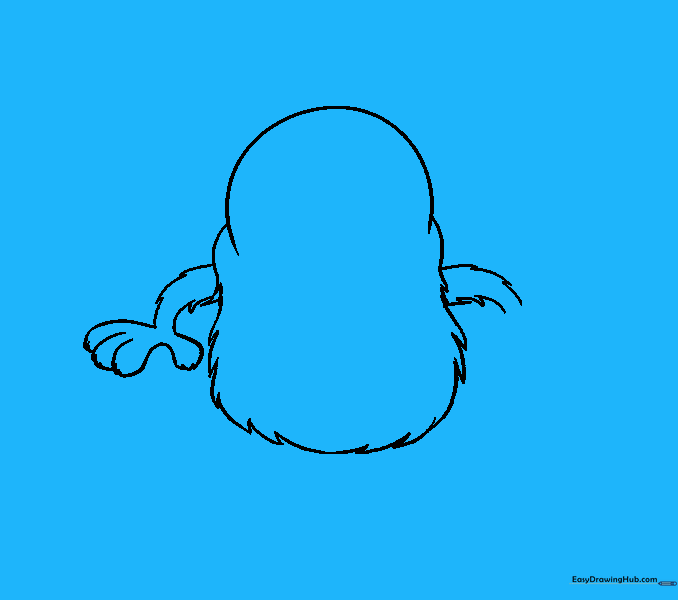
Step 1: Sketching the Head

Draw a light circle to outline the monster's head. Teacher's Tip: Keep this about the size of a coin; drawing it lightly makes it much easier to erase your guide lines later.
Step 2: Adding a Furry Body
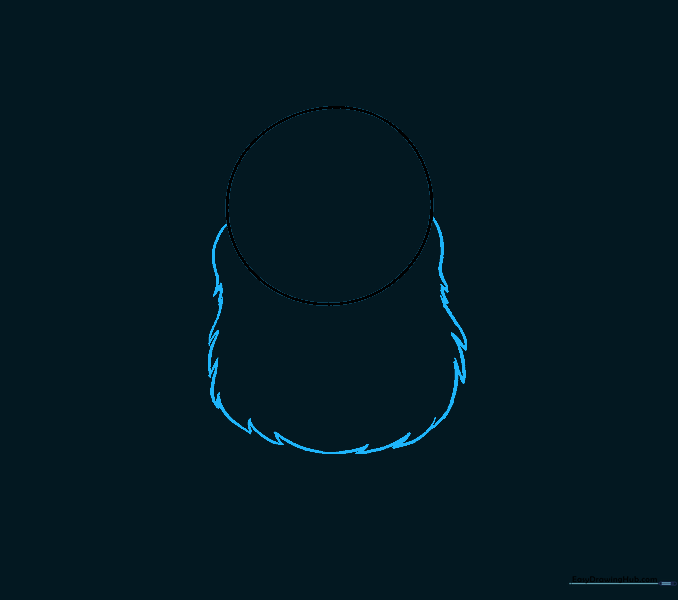
Beneath the head, outline the body using short, connected, jagged lines. Tip: Think of these as little 'V' shapes or zig-zags to give your monster a soft, fuzzy texture.
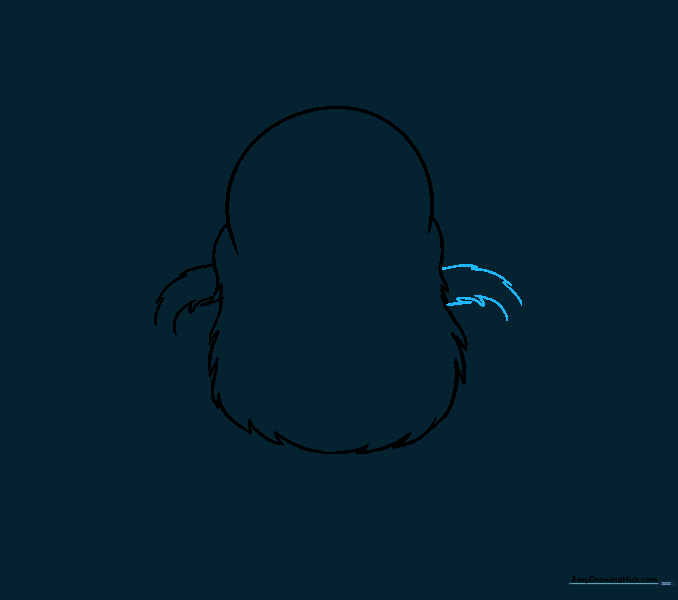
Step 3: Cleaning the Outline

Carefully erase the guide line where the head meets the body. Tip: Use a clean eraser and gentle pressure to keep your paper smooth.
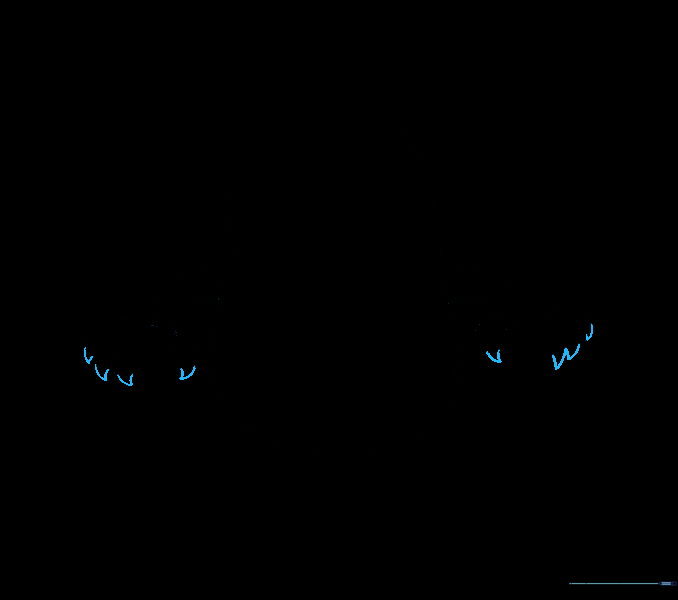
Step 4: Drawing the First Arm

Extend an arm from the side of the body using the same jagged, furry line technique. Tip: Keep the arm slightly curved to make the monster look relaxed.
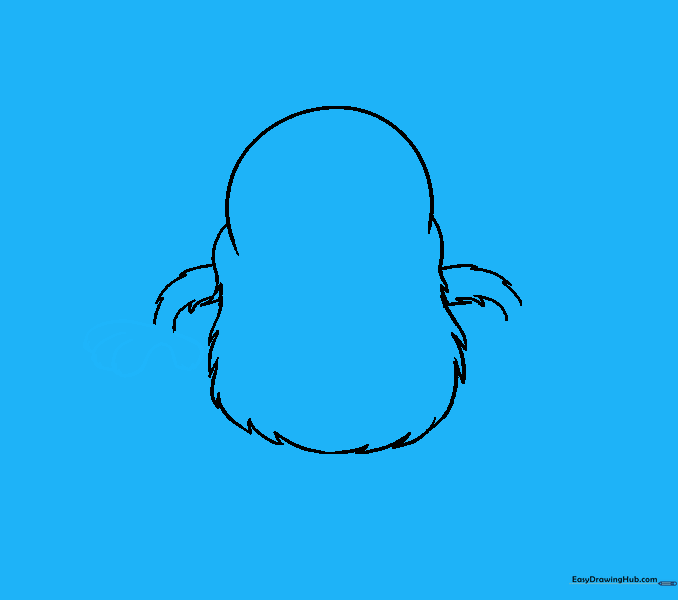
Step 5: Drawing the Second Arm
Repeat the arm-drawing process on the other side. Tip: Try to match the length and curve of the first arm to keep your monster balanced.
Step 6: Adding Fingers
Draw large 'U' shaped lines at the end of the arms for fingers. Tip: Add a few tiny jagged lines on the fingers to keep that consistent furry look.
Step 7: Completing the Hands
Add fingers to the other arm, mirroring the first hand. Tip: Don't worry if they aren't perfectly symmetrical; monsters come in all shapes and sizes!
Step 8: Adding Claws
Draw small triangles at the tip of each finger for claws. Tip: Make them sharp and pointy to give your monster a little bit of 'monster' personality.
Step 9: Drawing the First Leg
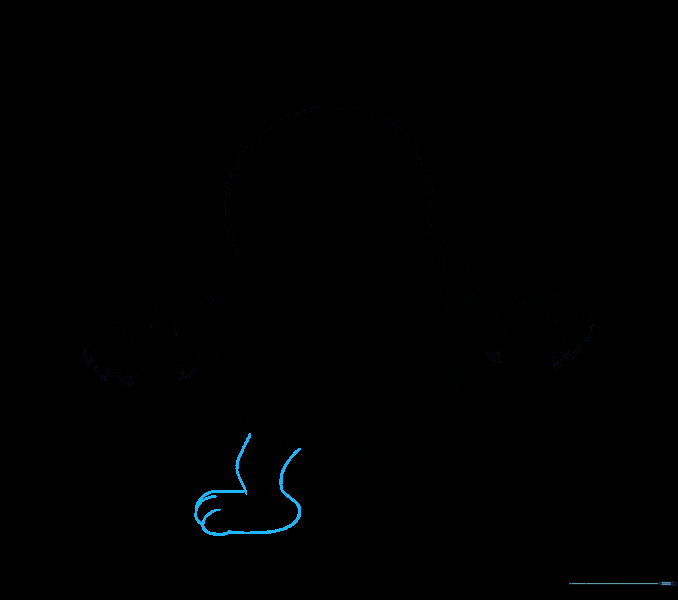
Extend two curved lines down for the leg and add a foot with 'U' shaped toes. Tip: Make the foot slightly wider than the leg to help your monster look like it can stand up.
Step 10: Drawing the Second Leg

Repeat the leg and foot process on the other side. Tip: Ensure the feet are level so your monster looks like it's standing on the ground.
Step 11: Adding Toe Claws
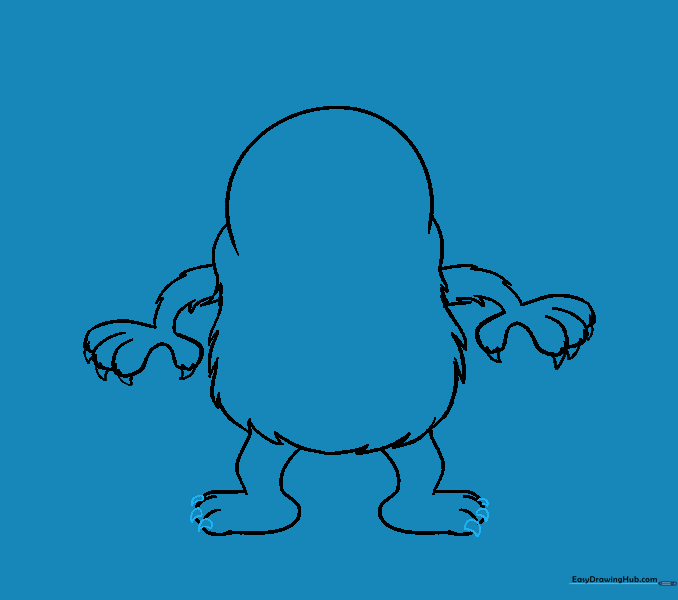
Add small curved triangles to the toes for claws. Tip: Keep these consistent with the hand claws for a clean look.
Step 12: Drawing the First Ear
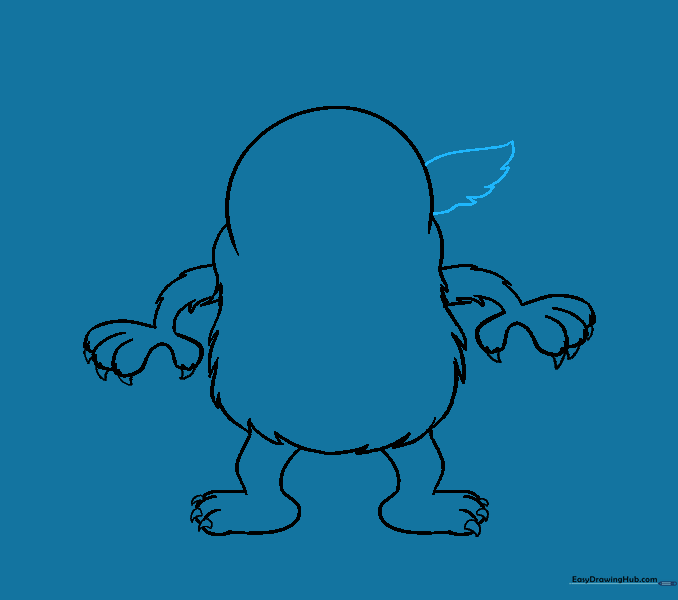
Draw a curved line from the side of the head and enclose it with jagged lines to create a furry ear. Tip: Make the ear large to give your monster a curious expression.
Step 13: Drawing the Second Ear
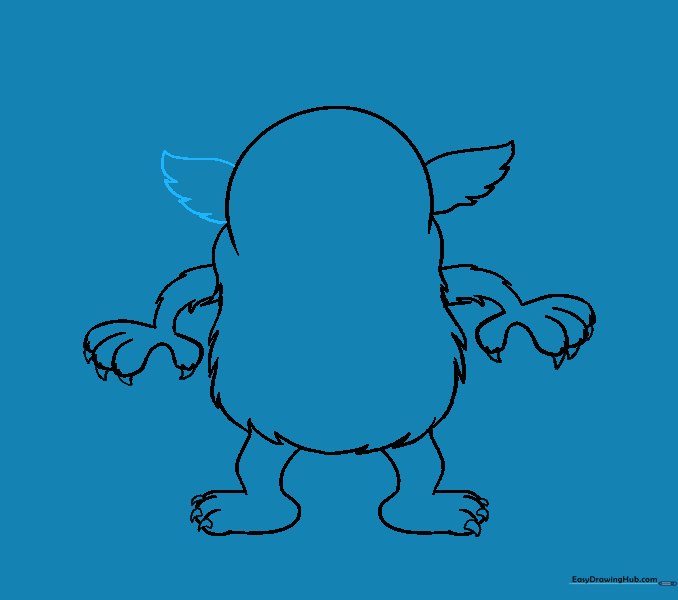
Mirror the first ear on the opposite side. Tip: If you want a silly monster, try making one ear slightly larger than the other!
Step 14: Detailing the Ears
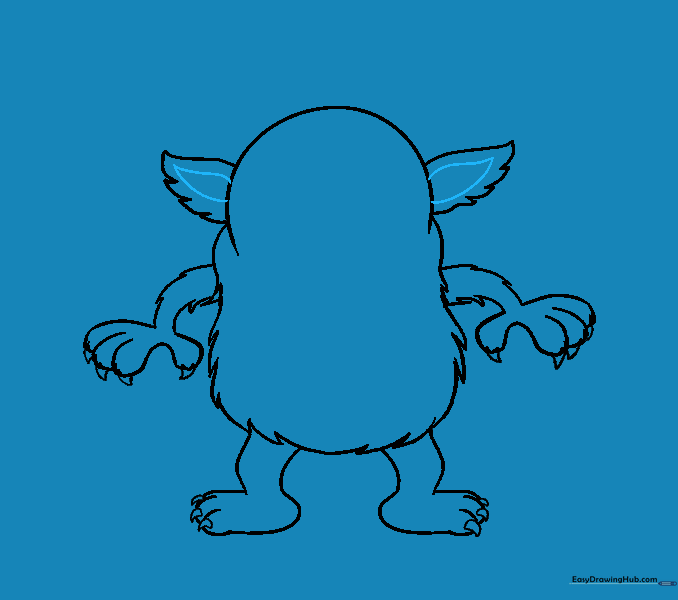
Draw a smaller shape inside each ear using two curved lines. Tip: This adds depth and makes the ears look more realistic.
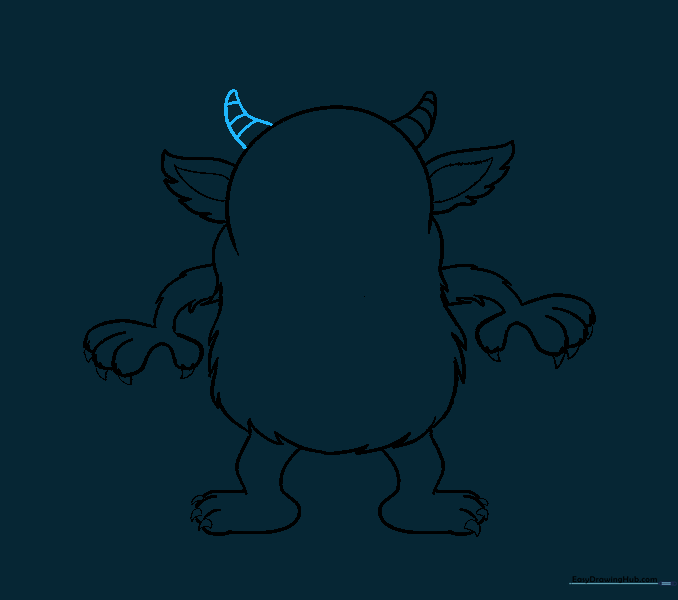
Step 15: Drawing the First Horn
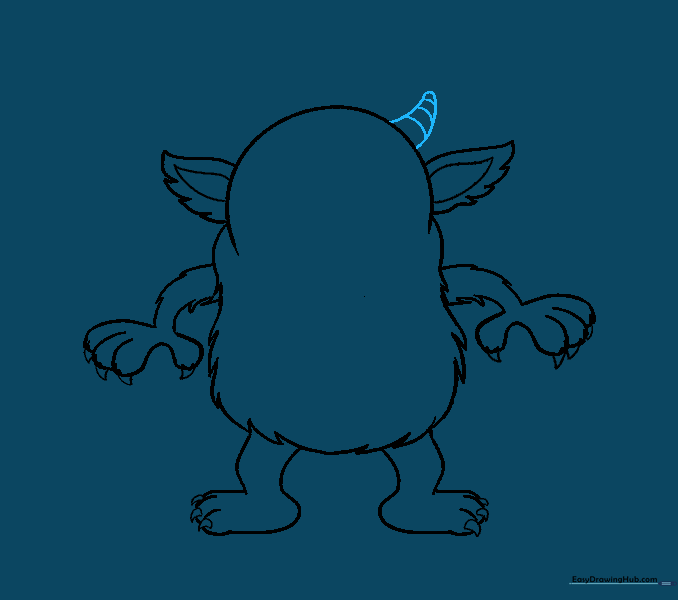
Draw a horn on top of the head using two curved lines that meet at a point. Add small horizontal lines across the horn for texture. Tip: The horizontal lines make the horn look like it has ridges.
Step 16: Drawing the Second Horn
Add a matching horn on the other side. Tip: Keep the angle similar to the first horn for a balanced look.
Step 17: Adding a Center Horn
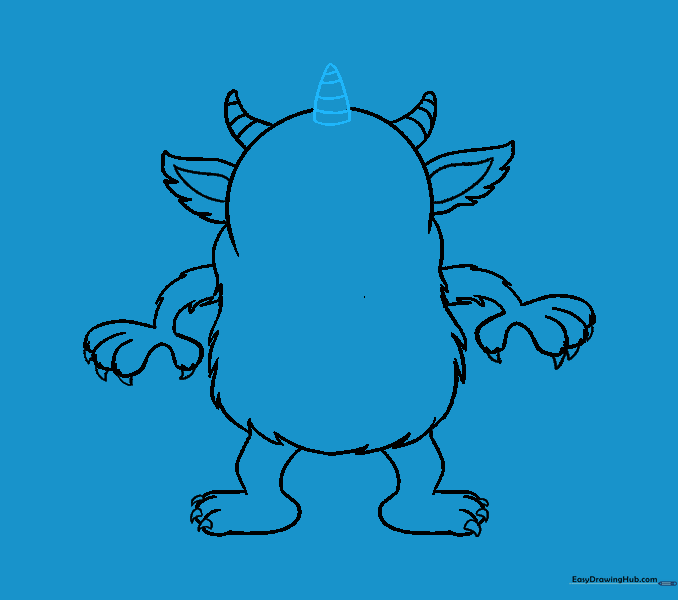
Draw a third, smaller horn in the center of the head. Tip: This makes your monster look extra unique and fun!
Step 18: Drawing the Face
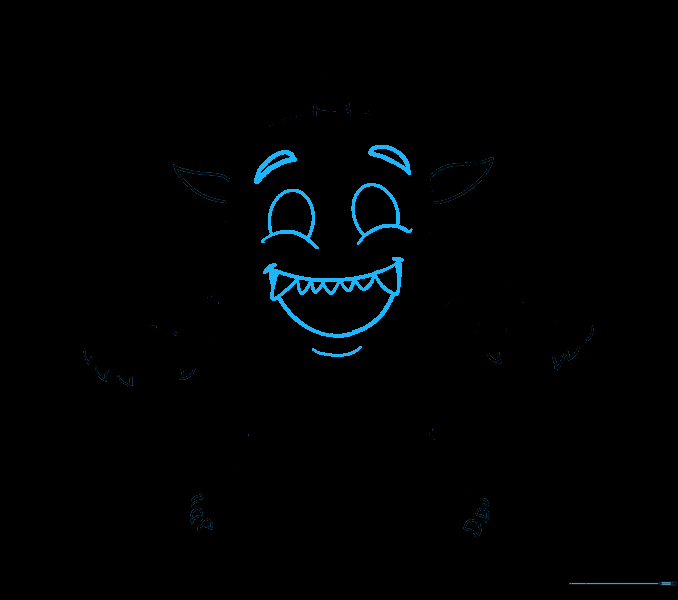
Draw a large 'U' for the mouth, add teeth, and sketch the eyes and eyebrows. Tip: Use different sized 'U' shapes for the teeth to give the monster a goofy, friendly smile.
Step 19: Final Details
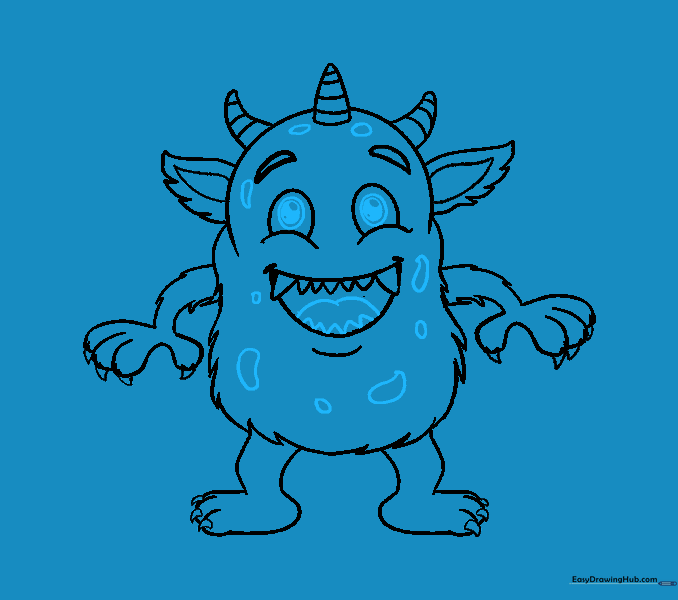
Add pupils to the eyes, a tongue, and spots on the body. Tip: Vary the size of the spots to make the monster's skin look natural and interesting.
Step 20: Color Your Monster
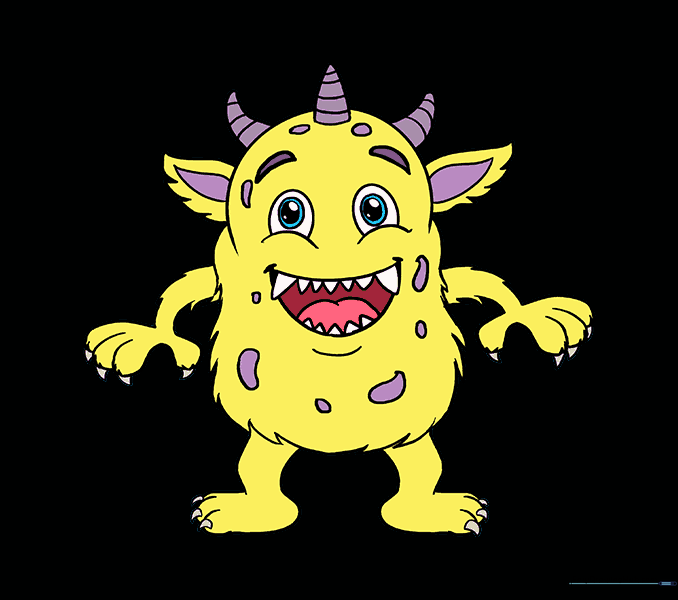
Bring your monster to life with your favorite colors! Tip: Use bright, bold colors to make your monster stand out.
More Tutorials


