How to Draw a Cartoon Knife: Easy 10-Step Guide
Perfect for young artists ages 6+, this tutorial breaks down a cartoon knife into simple, manageable shapes. You will only need a pencil, an eraser, and a piece of paper to get started. By following these steps, you'll practice controlling your lines to create a clean, professional-looking illustration.
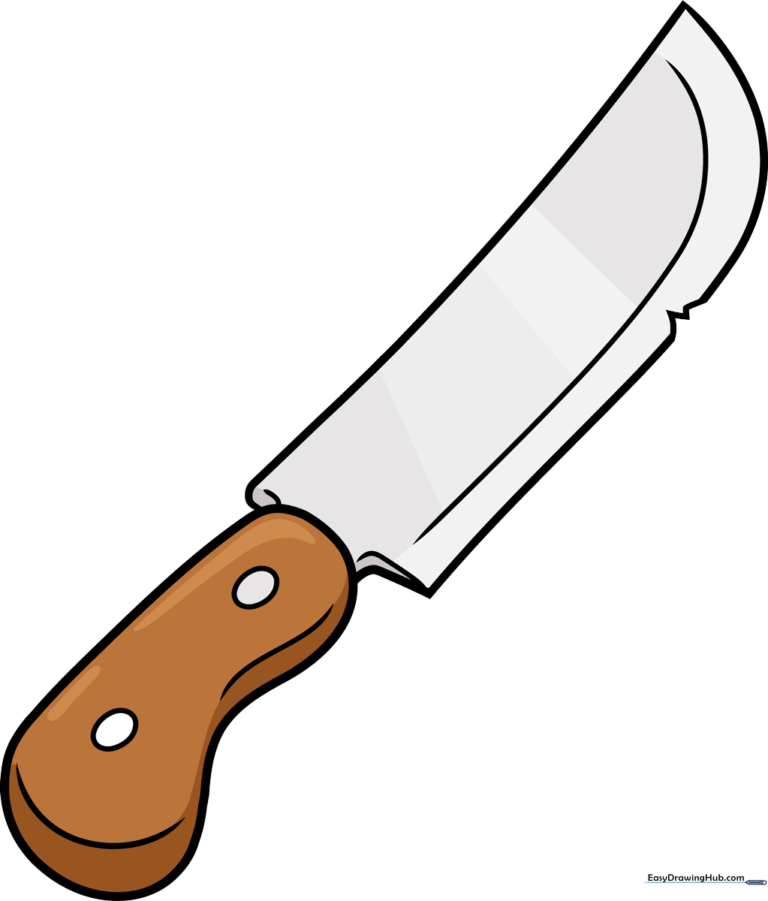
🎯 Final Result
Step-by-Step Instructions
Step 1: Sketching the Handle Base
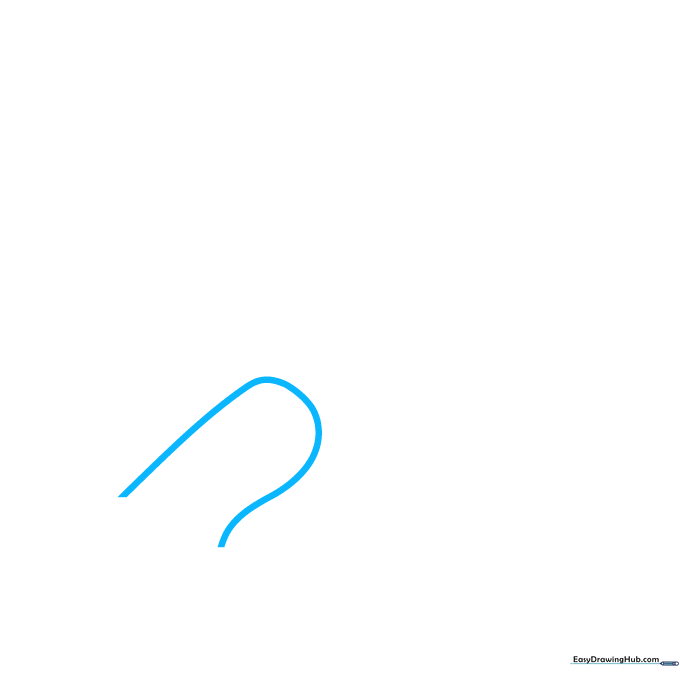
Start by drawing a curved line that loops back on itself to form the grip of the handle. Teacher's Tip: Keep this shape rounded and smooth; it should look like a small, soft bean.
Step 2: Closing the Handle Shape
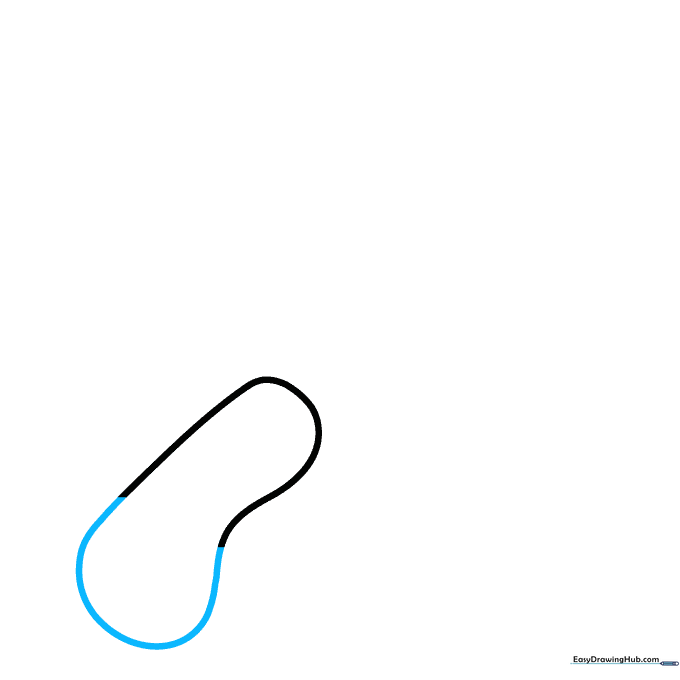
Continue your line until it meets the starting point, sealing the handle shape. Teacher's Tip: Make sure the connection is smooth so the handle looks like one solid piece.
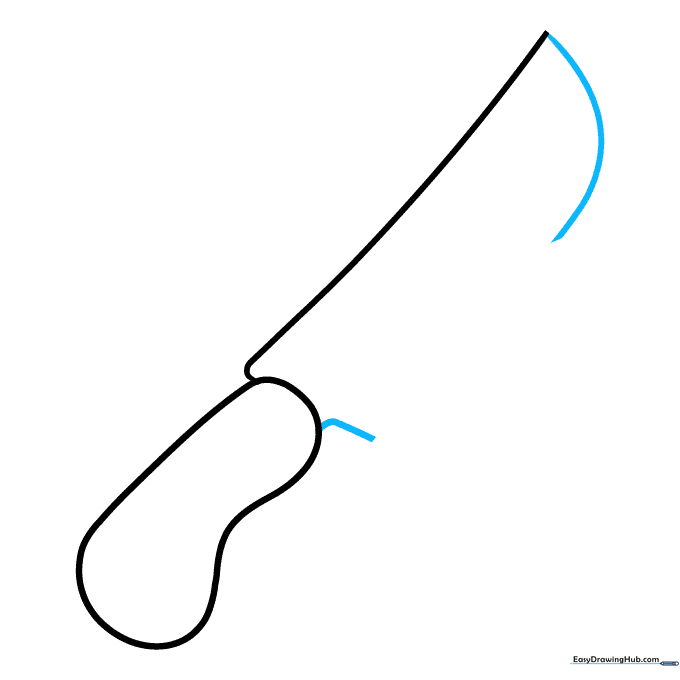
Step 3: Starting the Blade Spine
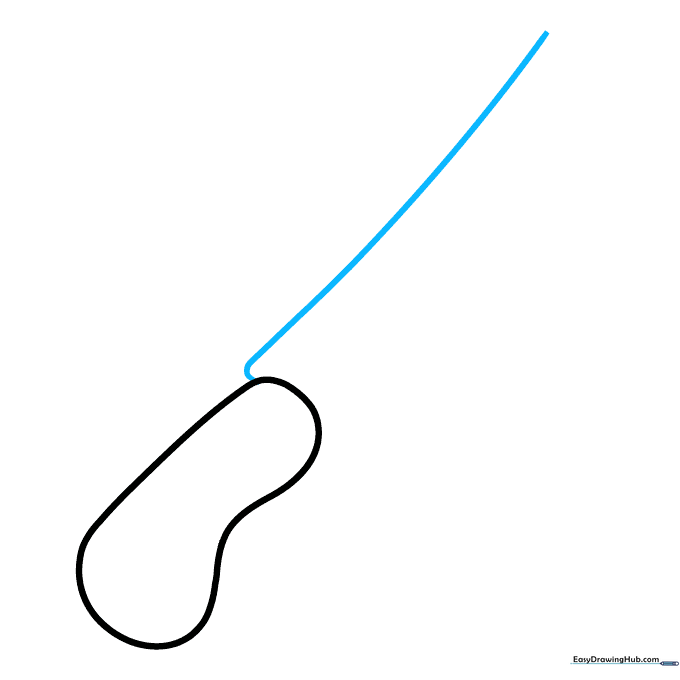
Extend a long, straight line from the top of the handle, adding a small 'L' shape near the base. Teacher's Tip: This 'L' shape is the bolster, which connects the blade to the handle.
Step 4: Defining the Blade Edge
Add a matching 'L' shape on the bottom of the handle and draw a long, sweeping curved line to form the sharp edge of the blade. Teacher's Tip: Use a light touch to keep the curve graceful.
Step 5: Adding Blade Character
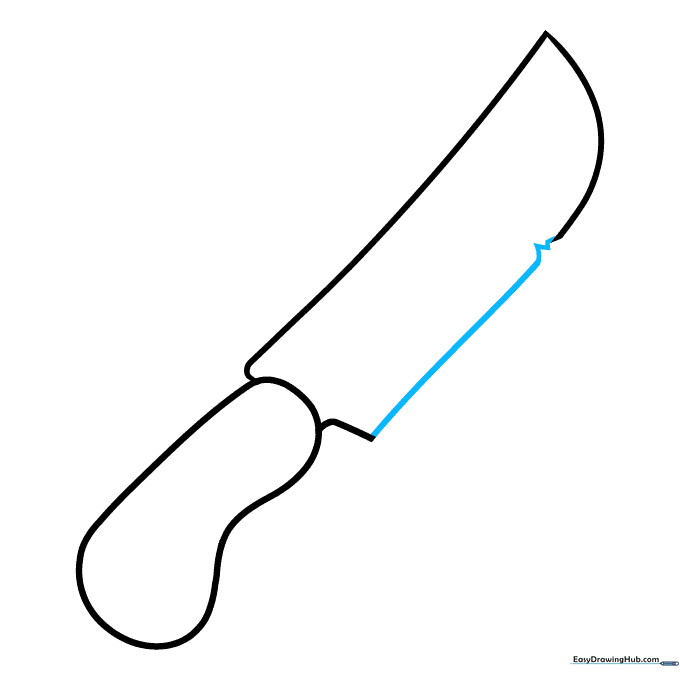
Draw a small zigzag at the tip of the blade to show a 'nick' or detail, then connect it back to the handle. Teacher's Tip: Keep the zigzag small so it looks like a stylistic choice rather than a mistake.
Step 6: Contouring the Blade
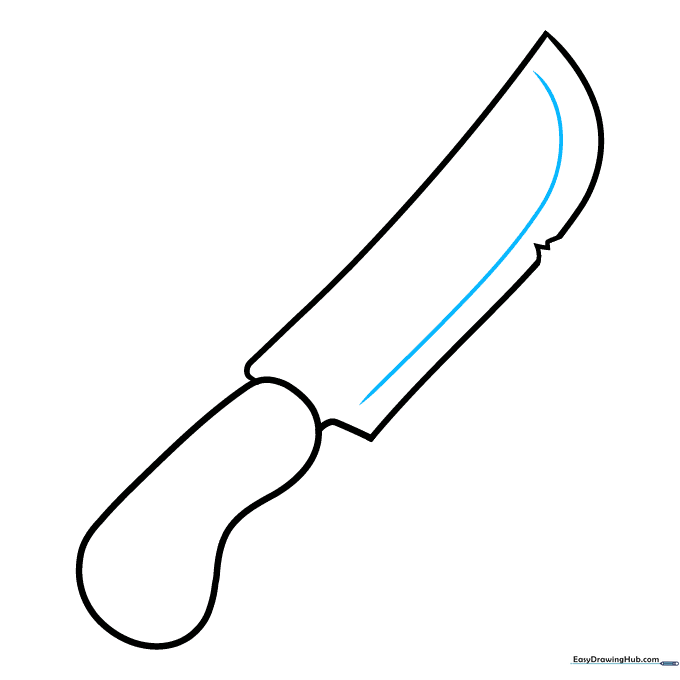
Draw a curved line parallel to the bottom edge of the blade. Teacher's Tip: This line creates a 'bevel' effect, making the blade look sharp and metallic.
Step 7: Adding Handle Fasteners
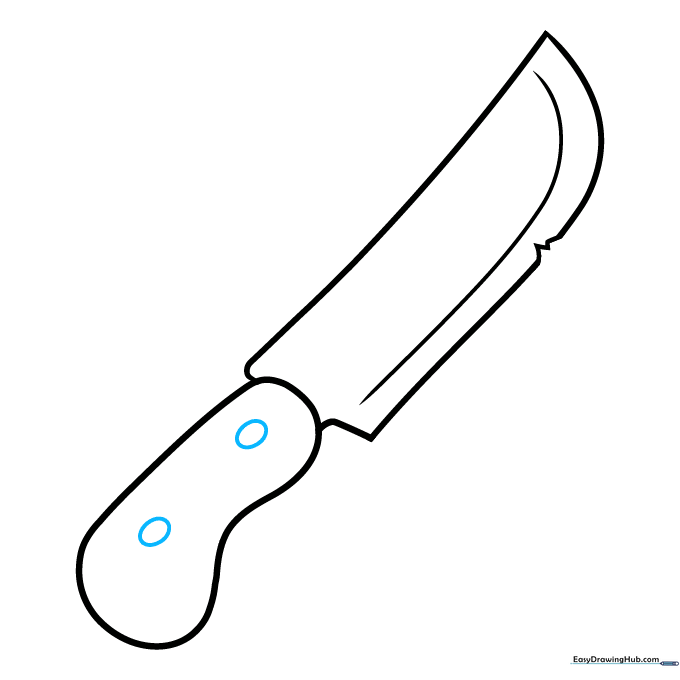
Draw two small ovals on the handle. Teacher's Tip: These represent the rivets that hold the handle scales onto the metal tang of the knife.
Step 8: Adding 3D Dimension
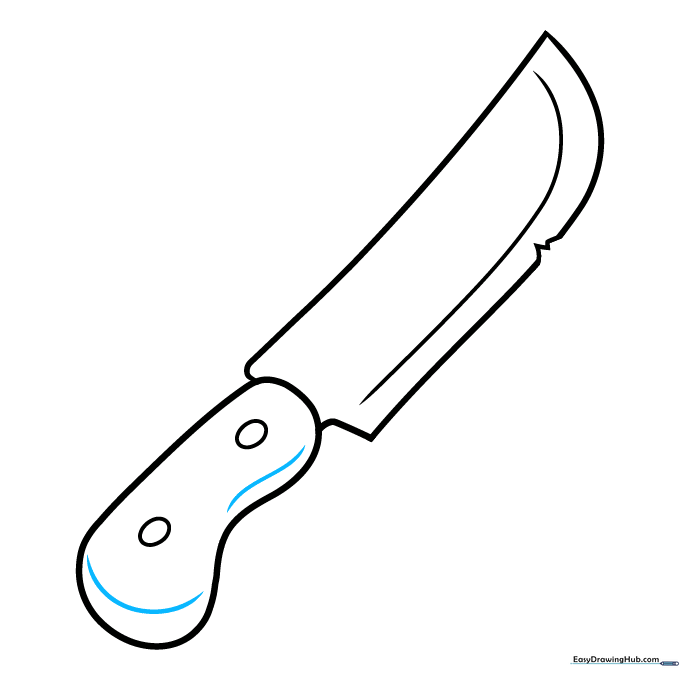
Add curved lines along the side of the handle to give it volume. Teacher's Tip: Following the curve of the handle makes it look rounded rather than flat.
Step 9: Finalizing the Blade Thickness
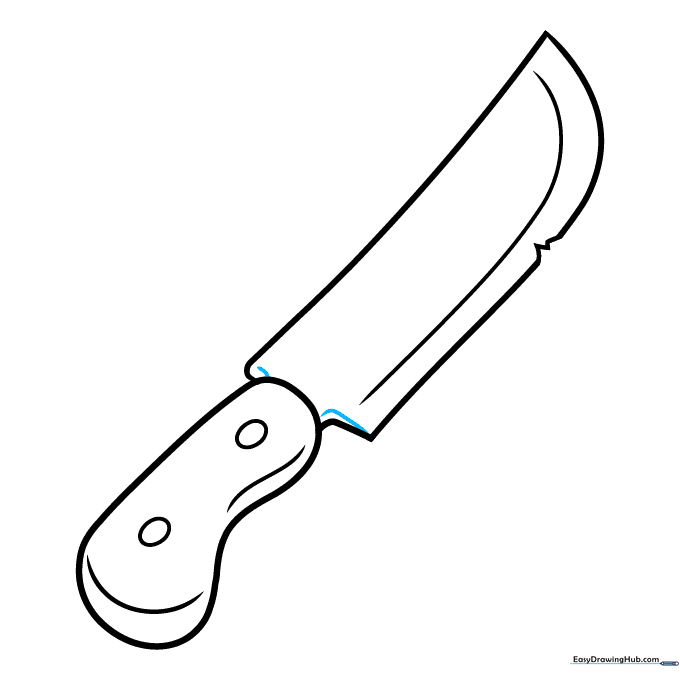
Draw short lines at the base of the blade where it meets the handle. Teacher's Tip: This small detail shows the thickness of the metal, making your drawing look more realistic.
Step 10: Coloring Your Masterpiece
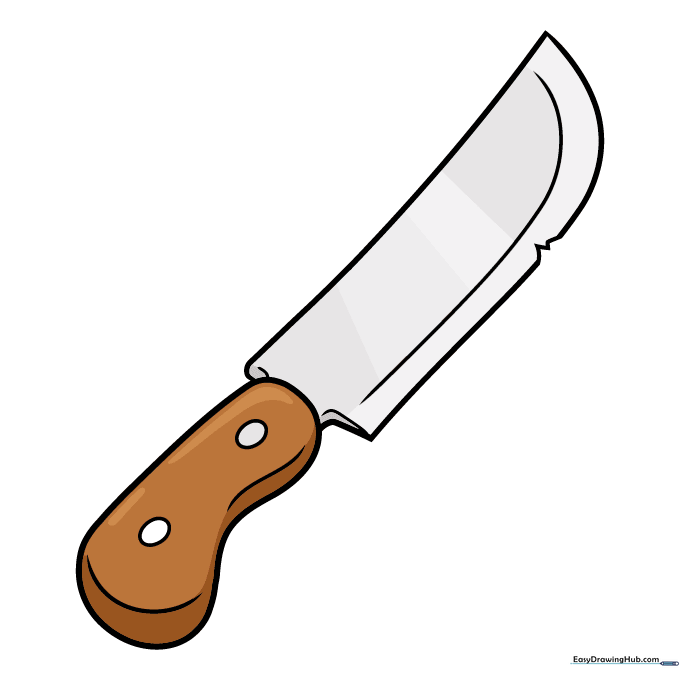
Color your knife! Use brown for the wooden handle and light grey for the blade. Teacher's Tip: Use a darker grey near the spine of the blade to create a shadow, which makes the edge look sharper.
More Tutorials


