How to Draw a Cartoon Horse: Easy 10-Step Guide
Ready to bring a friendly horse to life? This tutorial is perfect for young artists ages 5 and up. All you need is a pencil, an eraser, and a piece of paper to start building your drawing skills through simple, guided shapes.
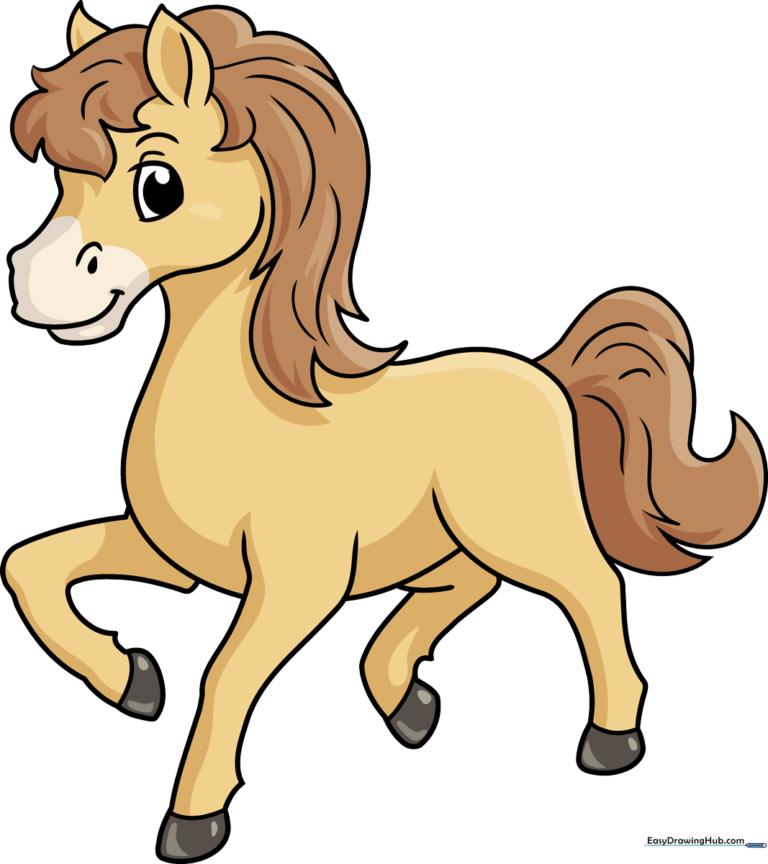
🎯 Final Result
Step-by-Step Instructions
Sketching the Snout and Eye

Start by drawing the snout with a gentle curved line. Add a small teardrop shape for the nostril. For the eye, draw a soft curve for the lid and a small, shaded circle for the pupil. Teacher's Tip: Keep the eye near the top of the snout to give your horse a friendly, youthful expression.
Defining the Jaw and Ear
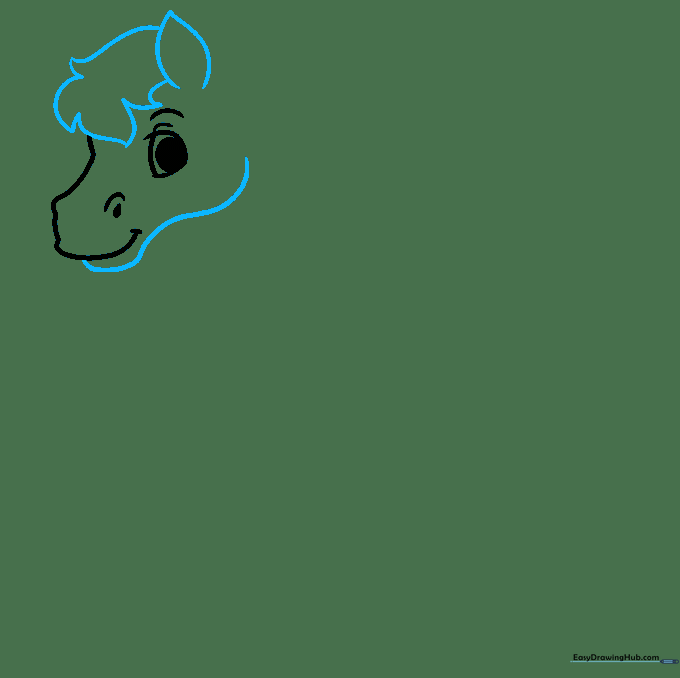
Draw a long, smooth curve for the lower jaw. At the top of the head, create a pointed ear using two curved lines. Add jagged, short strokes at the front of the head to represent the start of the mane. Tip: Make the ear slightly tilted to give your horse personality.
Adding the Second Ear and Flowing Mane
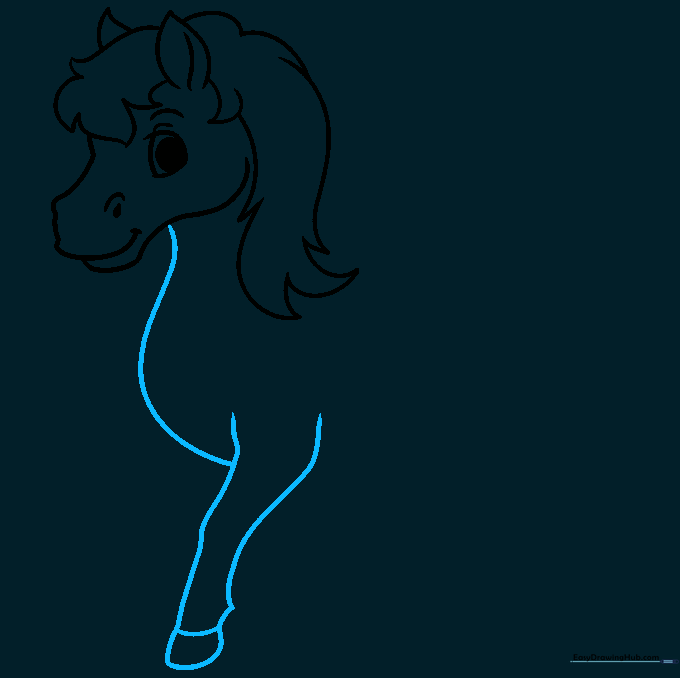
Draw the second ear peeking out from behind the mane. Continue the mane down the neck using long, flowing curved lines that meet at sharp points. Tip: Vary the length of your mane strokes to make the hair look natural and bouncy.
Outlining the Neck and First Leg

Extend a long, graceful curve from the head to form the neck and chest. Create the first front leg by drawing a curved line that doubles back on itself. Add a small horizontal curve at the base for the hoof. Tip: Ensure the leg is thick enough to support the horse's body.
Sketching the Back and Rear Leg
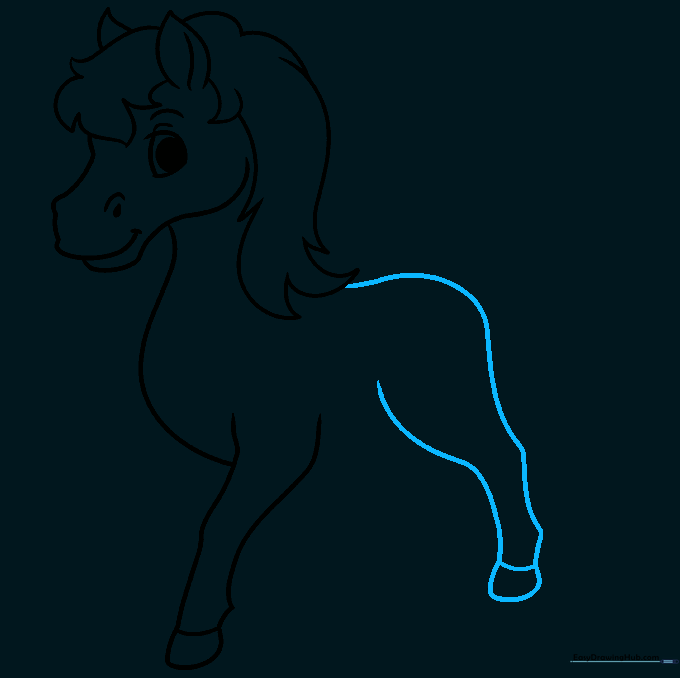
Trace the horse's back and rounded rump with a long, smooth curve. Draw the rear leg using a similar technique to the front leg, doubling it back to create a sturdy shape. Tip: Imagine the horse is standing in a field; keep the back line rounded to show the horse's posture.
Adding the Second Front Leg
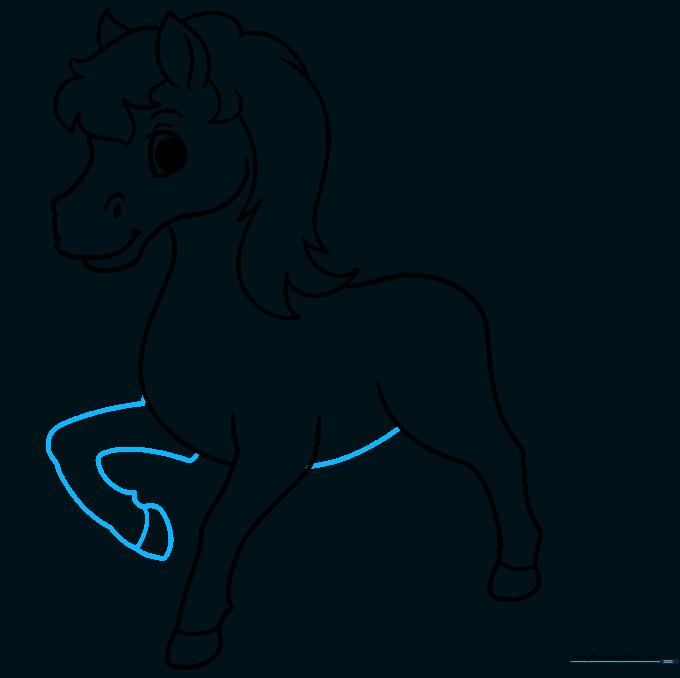
Draw the second front leg raised slightly at the knee to give the horse a sense of movement. Connect the front and back legs with a gentle curve for the belly. Tip: Drawing the leg bent makes the horse look like it's trotting or playing.
Drawing the Second Rear Leg

Complete the legs by adding the second rear leg, also slightly raised. Ensure the hoof matches the others. Tip: Check that all four hooves are roughly at the same level so your horse doesn't look like it's floating!
Adding the Tail
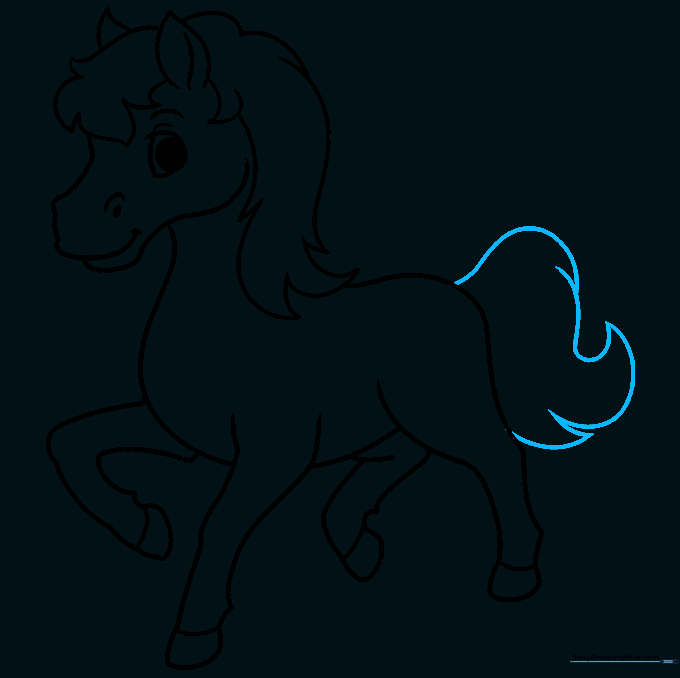
Draw a long, flowing tail using curved lines that taper to sharp points. Tip: Make the tail look like it's swishing by adding a slight curve to the end of the lines.
Refining the Details
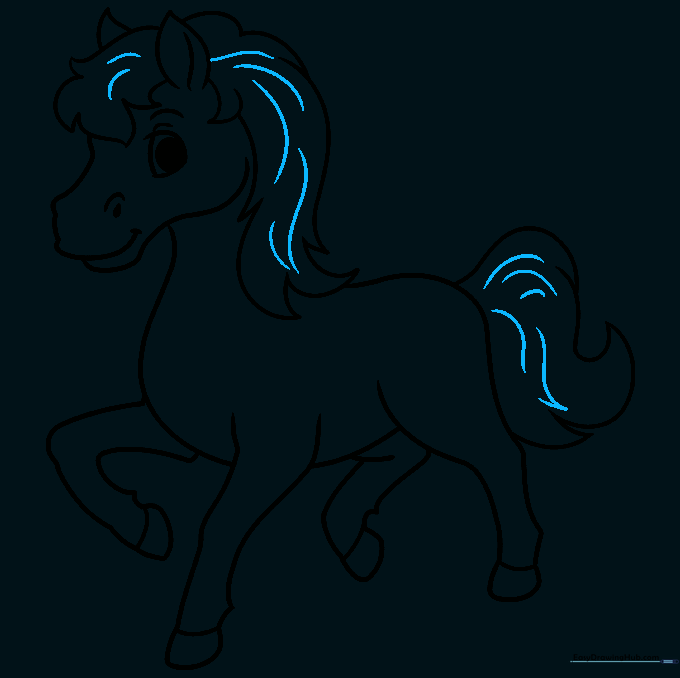
Go over your drawing and add extra curved lines to the mane and tail to give them texture and volume. Erase any stray guidelines. Tip: Use short, quick strokes for the hair to make it look soft.
Bringing Your Horse to Life with Color
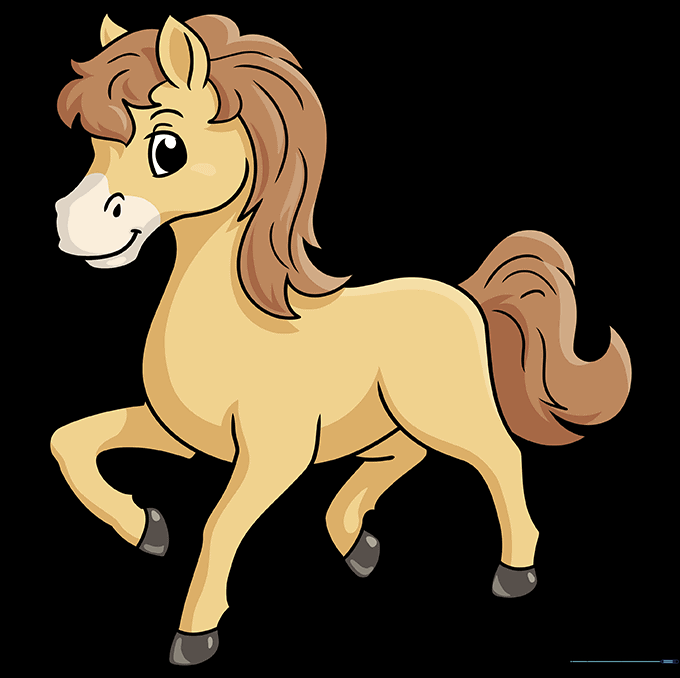
Time to color! Use your favorite shades for the coat and mane. We chose a classic brown and blonde, but feel free to add spots or a star on the forehead. Tip: Use light pressure with your colored pencils to blend colors smoothly.
More Tutorials


